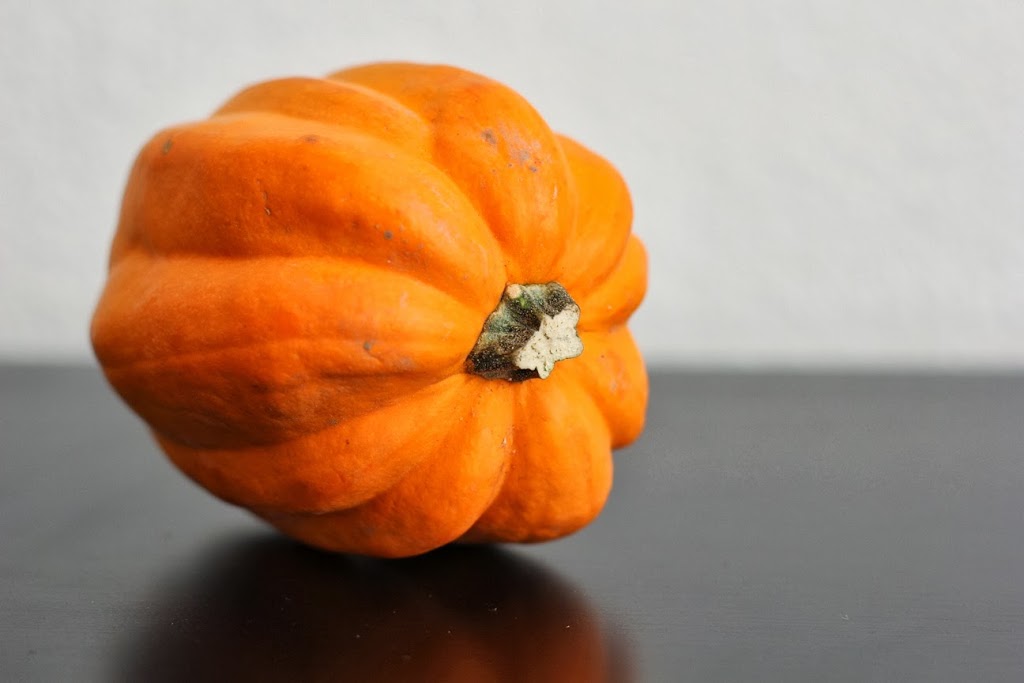
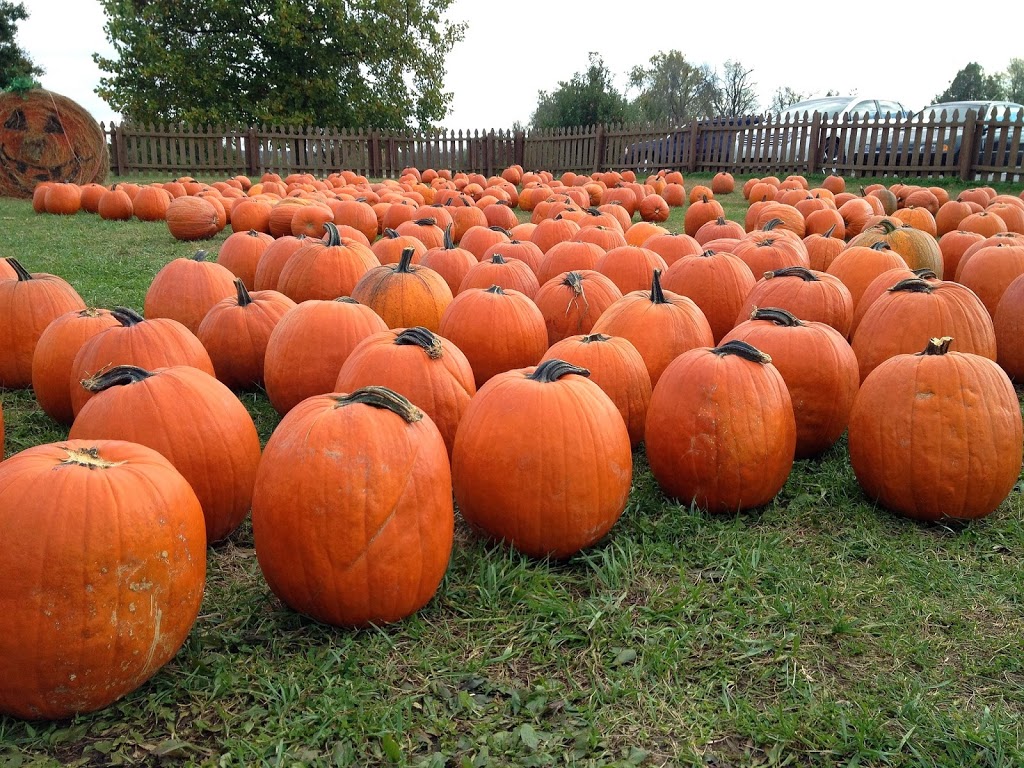
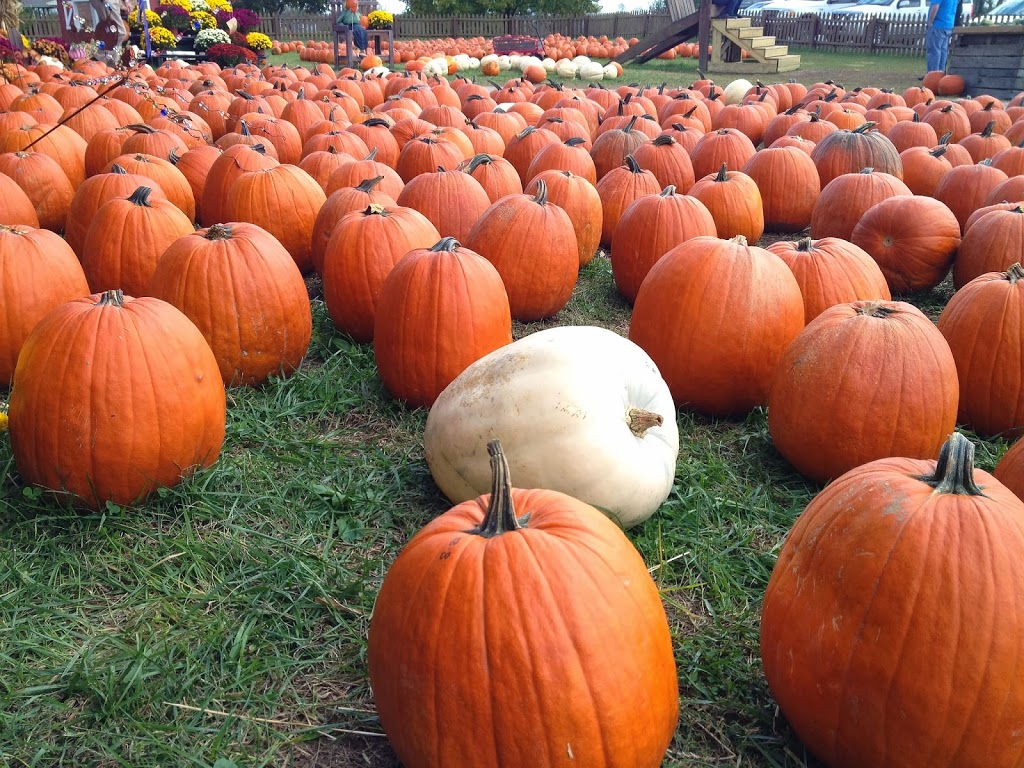
I can see them before I pull up to the entrance of the farm. They are specs of bright orange sunshine amid a sea of dry, brown brush. The excitement builds as I get closer and begin to make out the endless shapes and sizes. Some perfectly symmetrical, others with an odd bump here or a groove there that only adds to their character.
Picking a pumpkin is unlike any other garden harvest. It takes a good eye and a good bit of strength to find (and haul) the right one. First, I judge by size. I have to get this thing back to the front register to check out, so as tempting as those extra-large beauties may be, I have to leave those in the field for someone a bit stronger.
Next, they must be analyzed from every angle ensuring there is at least one good side to show off to the neighborhood. It may take a while to find one, but there is nothing I enjoy shopping for more than the perfect pumpkin.
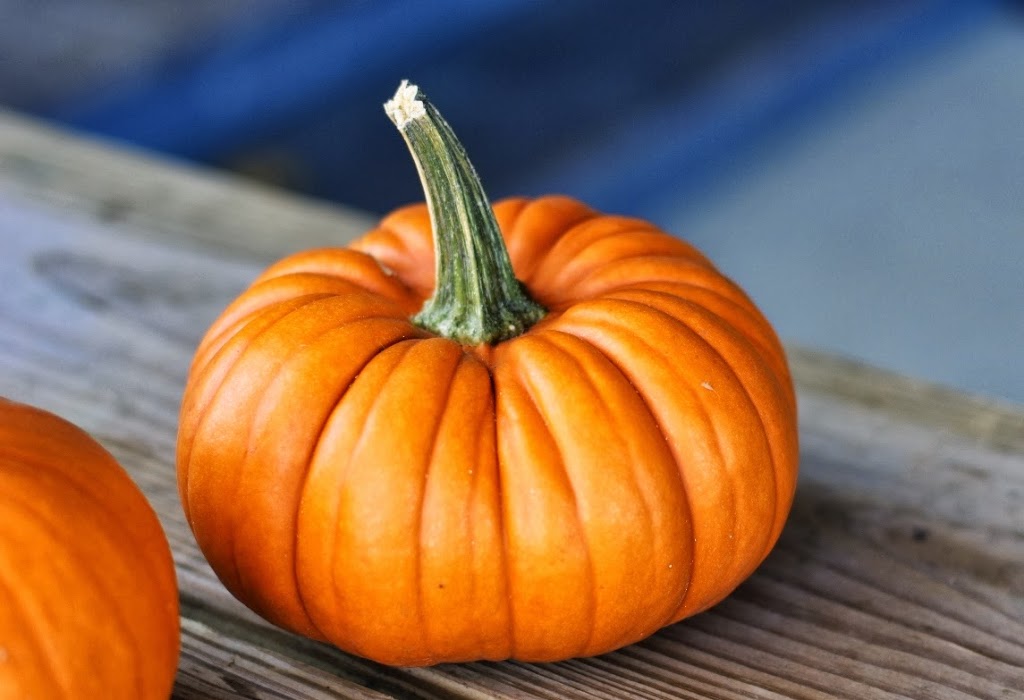
While I have memories of pumpkin hunting from my childhood, the appreciation of the local pumpkin patch is something I associate much more with as an adult. Fall is my favorite season, and there is nothing better than seeing the first signs in the form of a bright pumpkin.
When I was invited to participate in a special project with Frei Brothers Reserve to celebrate a place that I feel is worth preserving, the opportunity hooked me in right away. It was a tough decision. There are so many. But what is the one place that stands out most for me?
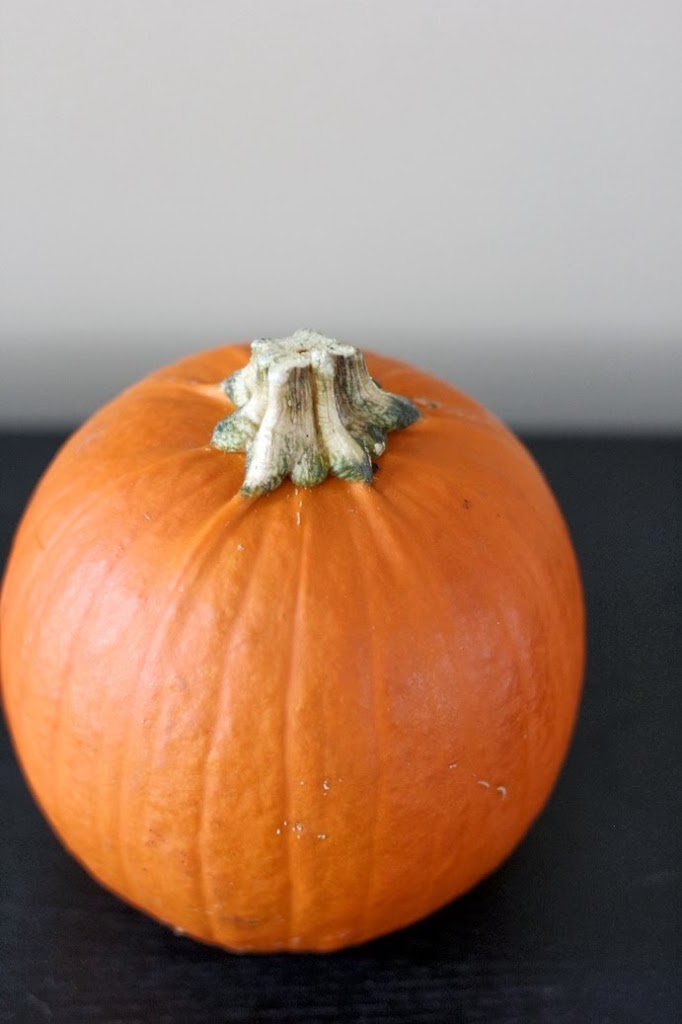
The local pumpkin farm.
It’s not a place that is reserved for a lucky few that live in a specific region. It’s not tucked in the wooded hills of the East or along the rugged coastline of the Northwest. From Kentucky to California, and just about every state beyond and in between, when October arrives you can hear the laughter, smell the spiced cider and see the orange specs among the dry brush. It’s pumpkin season, and for me, this feeling and this special place is worth preserving.
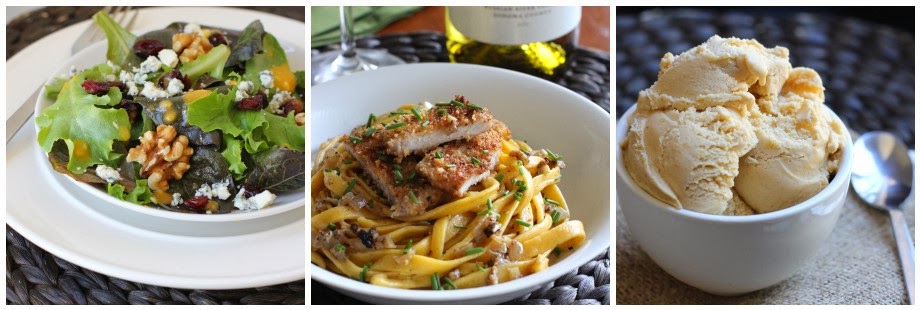
As part of my participation in the Frei Brothers Reserve project, I was asked to create a meal around my place to preserve. So I roasted my first winter squash of the season, blended up the beautiful, sweet orange puree and prepared three courses in celebration of pumpkin with the help of Frei Brothers Reserve Chardonnay.
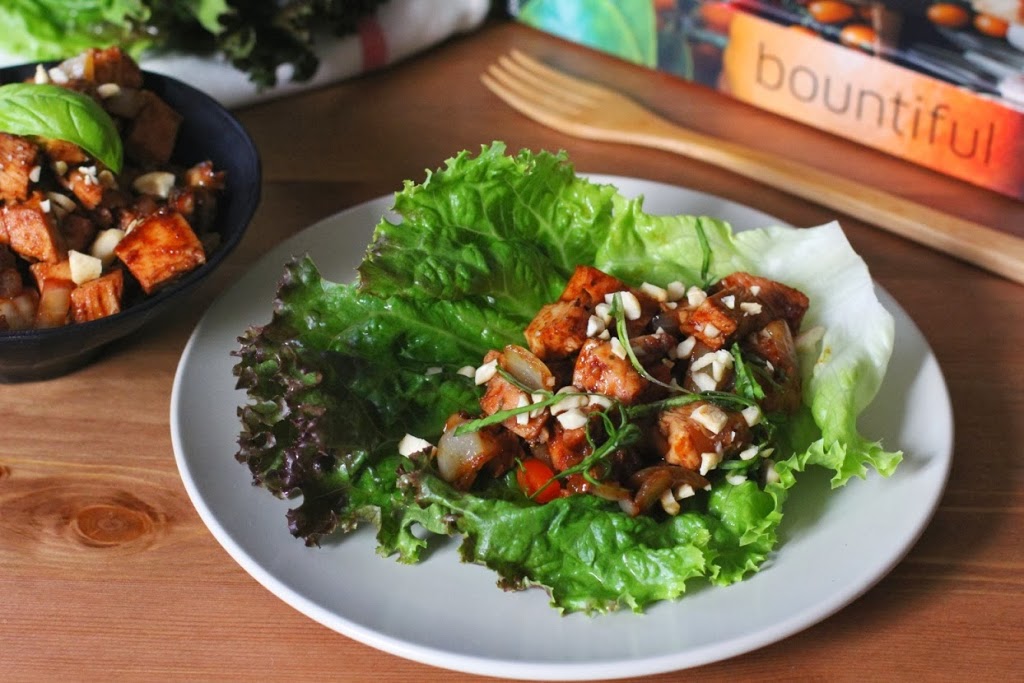
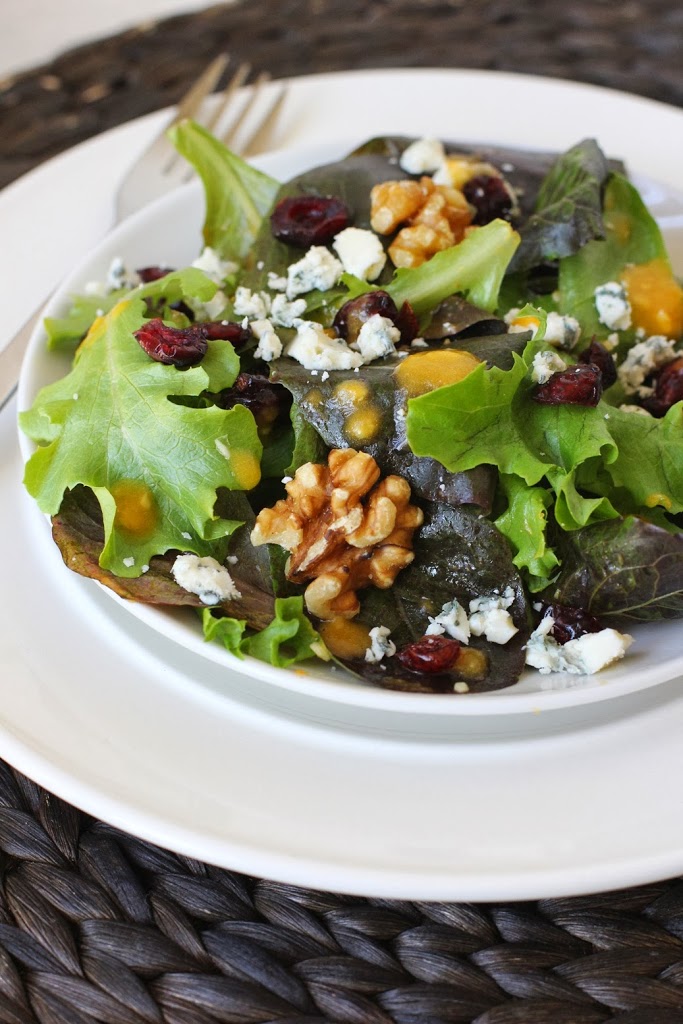
Autumn Salad with Pumpkin-Orange Dressing
Serves: 4
6 cups mixed greens
4 ounces blue cheese, crumbled
1/3 cup walnut halves
¼ cup dried cranberries
3 tbsp extra virgin olive oil
2 tbsp fresh orange juice
1 tbsp rice wine vinegar
1 tbsp fresh pumpkin puree
2 cloves garlic, peeled
¼ tsp salt
Pinch ground black pepper
Place the lettuce, cheese, walnuts and cranberries in a large bowl.
Combine the olive oil, orange juice, vinegar, pumpkin and garlic in a small food processor. Pulse until smooth. Stir in the salt and pepper.
Pour the dressing over salad and toss to coat.
Divide into 4 portions and serve.
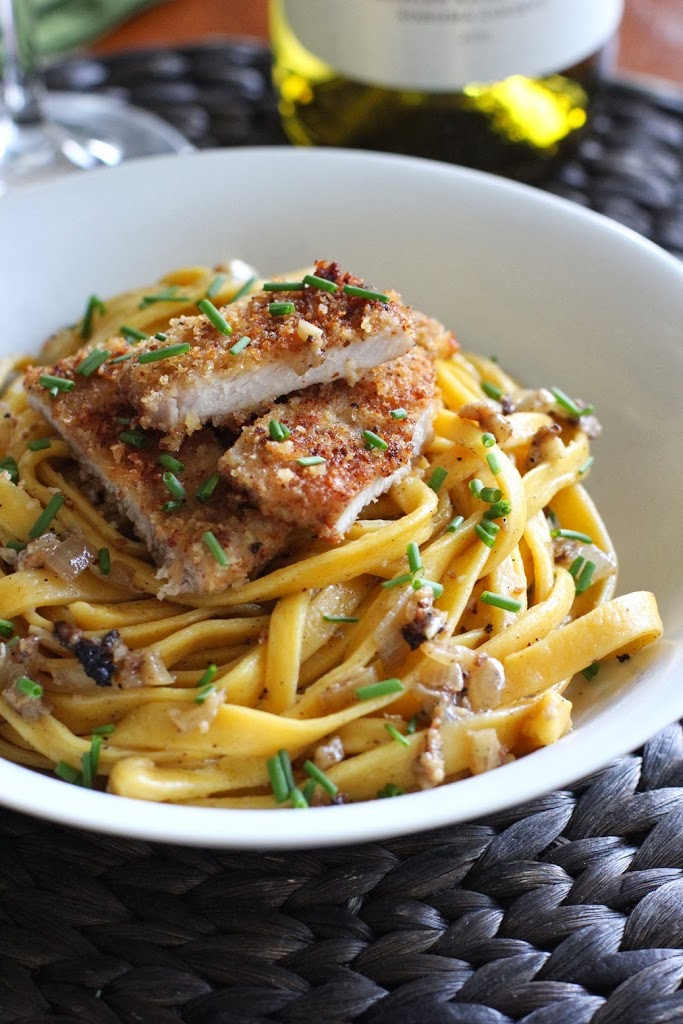
Pork Scaloppini in White Wine Sauce over Handmade Pumpkin Pasta
Pairing tip: pair with Frei Brothers Reserve Chardonnay
Serves: 4
Pasta
2 cups unbleached all-purpose flour
2 eggs
3 ½ tbsp fresh pumpkin puree
Scaloppini
1/3 cup panko bread crumbs
1/3 cup almond meal
1 tsp sea salt
¼ tsp ground nutmeg
¼ tsp ground cayenne pepper
¼ tsp ground black pepper
1 egg
1/3 cup milk
2 tbsp olive oil
1 tbsp unsalted butter
1 pound pork scaloppini (about 8 thin slices)
¼ cup chopped onion
2 cloves garlic, minced
¾ cup Frei Brothers Reserve Chardonnay
1 tbsp unsalted butter
Salt and pepper to taste
2 tbsp chopped fresh chives
Pasta
Combine the flour, 2 eggs and 3 ½ tablespoons of pumpkin puree in a food processor. Pulse until the dough comes together.
Turn the dough out onto a floured surface, and kneaded just until the dough comes together into a smooth ball.
Let rest under a damp paper towel for 15 minutes. Follow your pasta maker instructions for rolling and cutting the pasta, or you can follow my guide for Beginner Homemade Pasta Making.
To cook the pasta, boil for 3 to 4 minutes in salted water, drain and set aside.
Pork
In a shallow dish, combine the bread crumbs, almond meal, salt, nutmeg, cayenne and black pepper. In a separate shallow dish whisk together the milk and the 1 egg.
Heat the olive oil and butter in a large cast iron skillet or a similar skillet over medium-high heat. Dip each piece of pork in the egg and milk, and then into the bread crumbs, turning to coat it evenly.
Working in batches so you don’t overcrowd the pan, add the pork to the hot skillet and cook 2 to 3 minutes on each side, until browned and cooked through.
Transfer to a paper towel to drain.
Once all the pork is cooked, add the onion and garlic to the skillet and carefully pour in the wine to deglaze the pan. Scrape the bottom of the pan well as the wine boils and reduces for about 30 seconds.
Reduce the heat to medium. Add the butter and continue to scrape the pan until the butter melts. Salt and pepper the sauce to your taste.
Add the cooked pasta to the skillet and toss to coat in the sauce.
To serve, add ¼ of the pasta to each serving plate. Top with 1 to 2 pieces of the scaloppini and garnish with ½ tablespoon of the chopped chives.
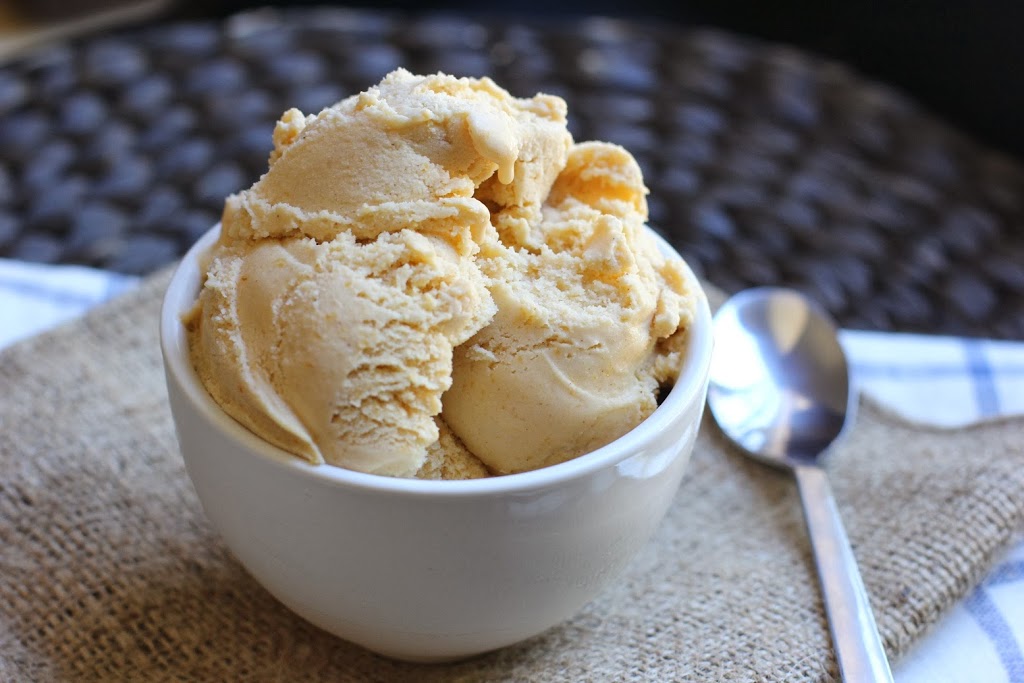
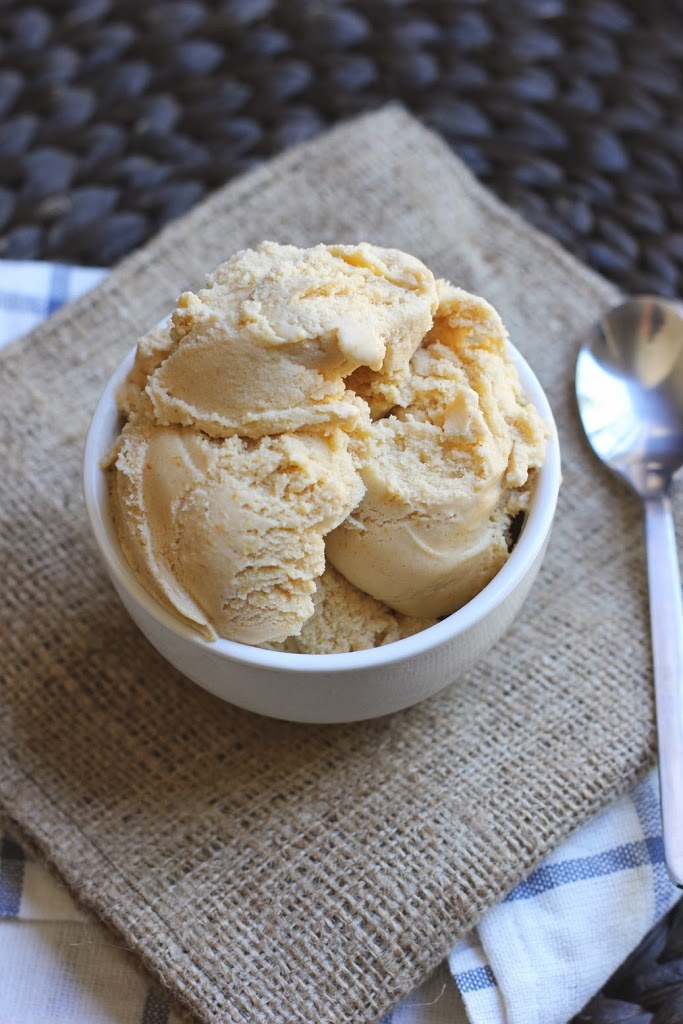
Homemade Pumpkin Ice Cream
Serves: 4 to 6
2 cups 2% milk
1 cup heavy cream
¾ cup raw sugar
5 tbsp fresh pumpkin puree
2 egg yolks
1 tsp pure vanilla extract
¼ tsp ground cinnamon
Pinch of salt
Combine the milk, cream, sugar and 3 tablespoons of pumpkin puree in a heavy sauce pan. Turn the heat to medium and gently scald the milk, stirring often. The milk should begin to foam on the top, but it should not come to a full boil. Remove from the heat.
In a small bowl, whisk together the remaining pumpkin puree, egg yolks, vanilla, cinnamon and salt. Temper the mixture by slowing pouring in ½ cup of the warm milk, while whisking vigorously.
Transfer the tempered egg mixture back to the pan of warm milk by pouring slowly and whisking constantly.
Return the pan to medium-low heat. Cook stirring often for about 5 minutes, until the milk begins to foam again, but do not allow it to come to a boil.
Pour the mixture through a fine mesh strainer into a heat and freezer safe bowl (such as Pyrex). Place the bowl over a larger bowl filled with ice and stir the mixture until cool.
Refrigerate until cold, at least 1 hour. (I sometimes put it in the freezer to speed up the process.)
Freeze in a counter-top ice cream maker per the manufacturer’s instructions.
What is your Place Worth Preserving? Frei Brothers Reserve is currently hosting a photo competition on Facebook for Places Worth Preserving in association with National Geographic Traveler. Every month between now and November, they are giving away prizes for photo entries including a grand prize trip to visit their winery at Frei Ranch in Sonoma County plus a stay in Yosemite National Park.
You can also check out a round-up of all the delicious Places Worth Preserving and wine inspired recipes at Kitchen PLAY.
Discloser: I was invited to participate in the Frei Brothers Reserve Places Worth Preserving project by Kitchen PLAY. This is a sponsored post. I received monetary compensation for this post and a bottle of wine to pair with my meal.