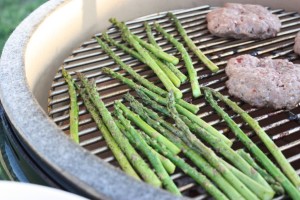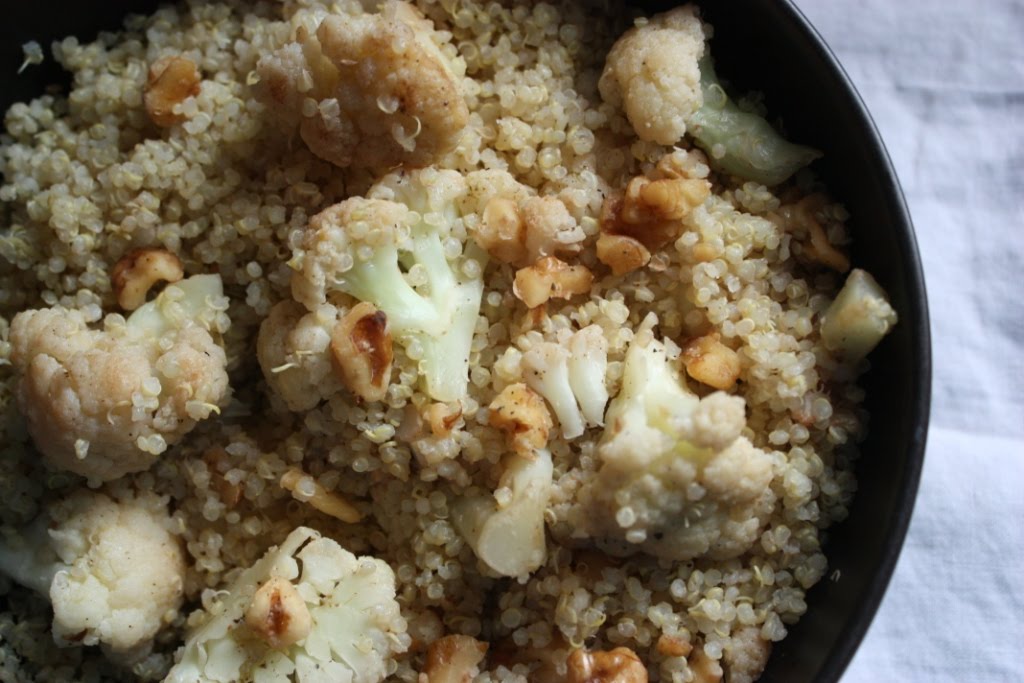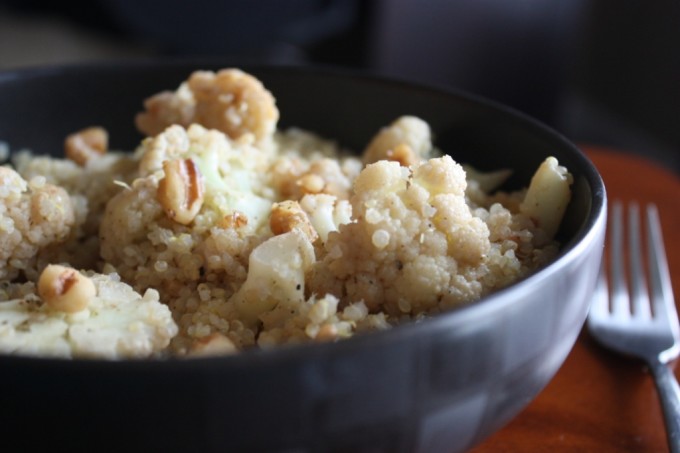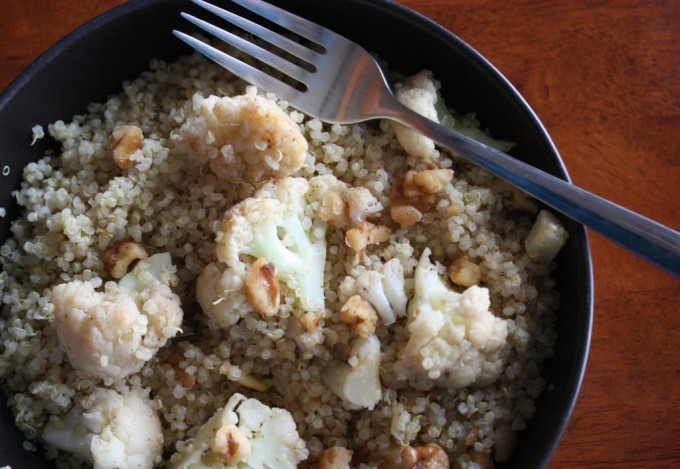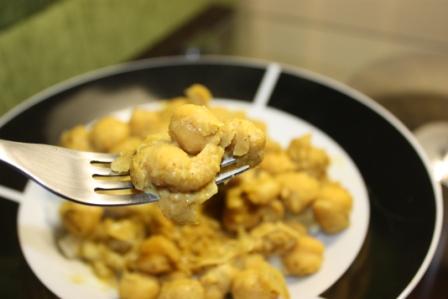
I’ve been on a mission to find quick side dishes lately. I haven’t tired of cooking, but with longer days and more time spent outside in the evenings I haven’t wanted to spend a lot of time cooking at night.
On a related note, I think I also lose my spark of excitement for evening cooking because I know after the sun goes down the pictures won’t be blog worthy. Why bother, right? This little fact that my blog and photo quality determine what time of day I’m motivated to cook may be indication of an issue that needs attention, but we’ll save that for another day.
So back to the quick sides.
Lately, I’ve found myself tossing broccoli in to steam, sautéing mushrooms and onions to toss in with couscous. You know; nothing exciting, but still relatively tasty and healthy.
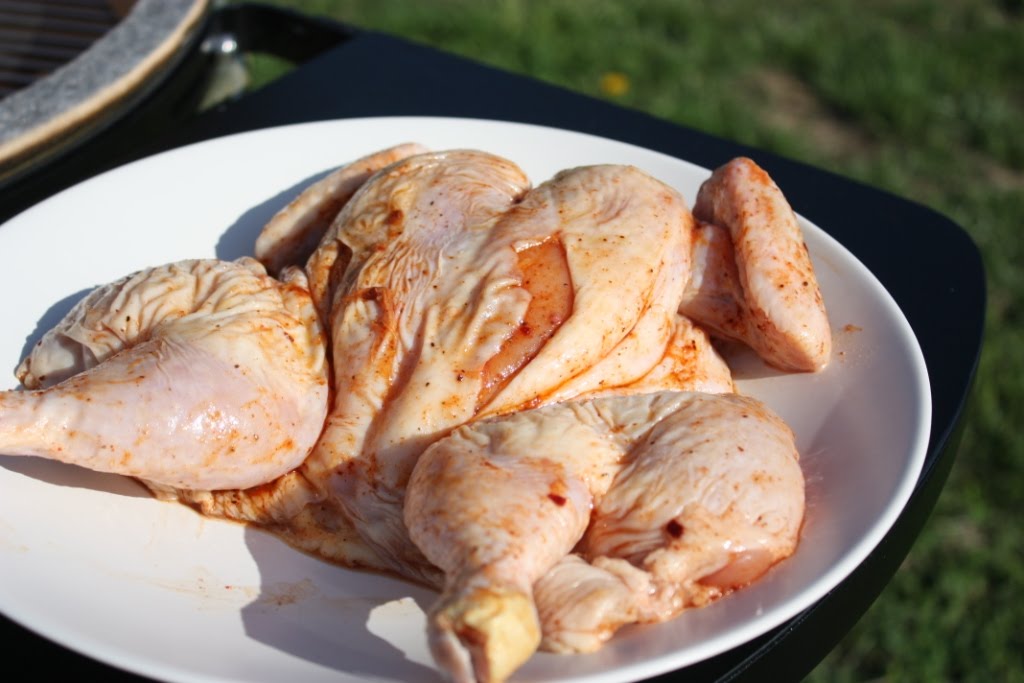
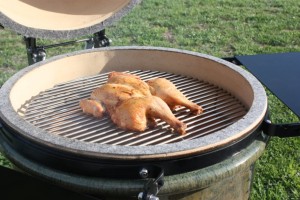
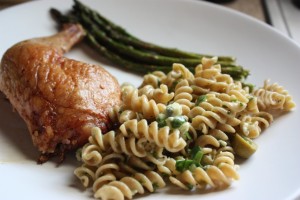
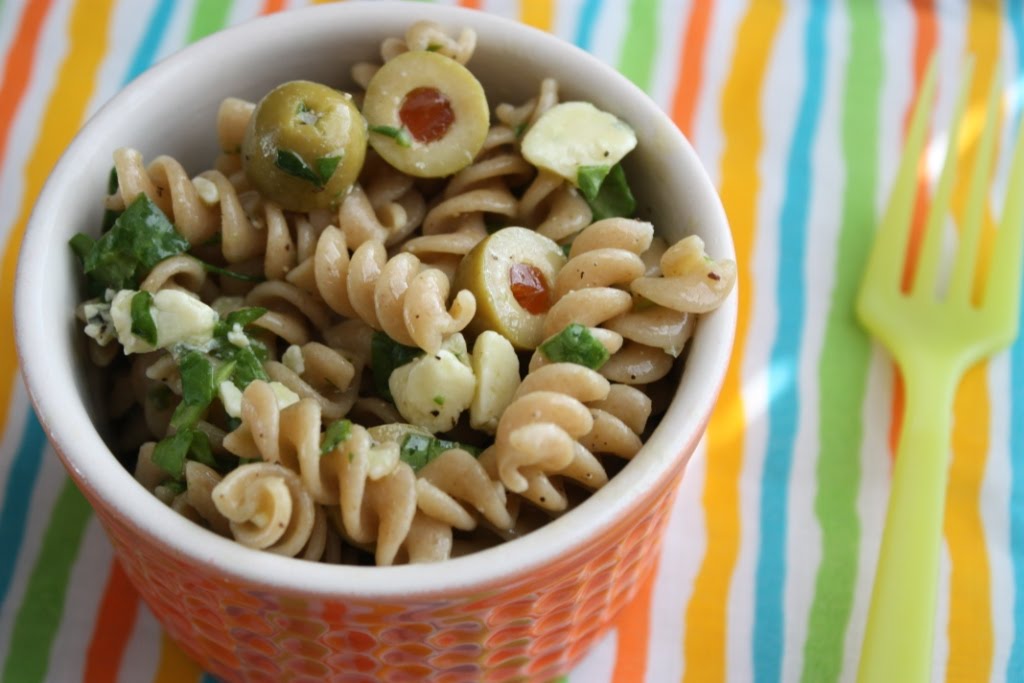
Last night when we needed something to go with our grilled chicken I decided to make some pasta salad; something I haven’t made in a really long time. I had a few more exciting ingredients to use in the dish, so this one I thought I would share.
I don’t make pasta salads much anymore mainly because I lack ideas for non-bottled dressings. However, with using the cheese and olives in this, it only needed a drizzle of olive oil and a shake of black ground pepper to be complete.
Gorgonzola, Olive & Spinach Pasta Salad
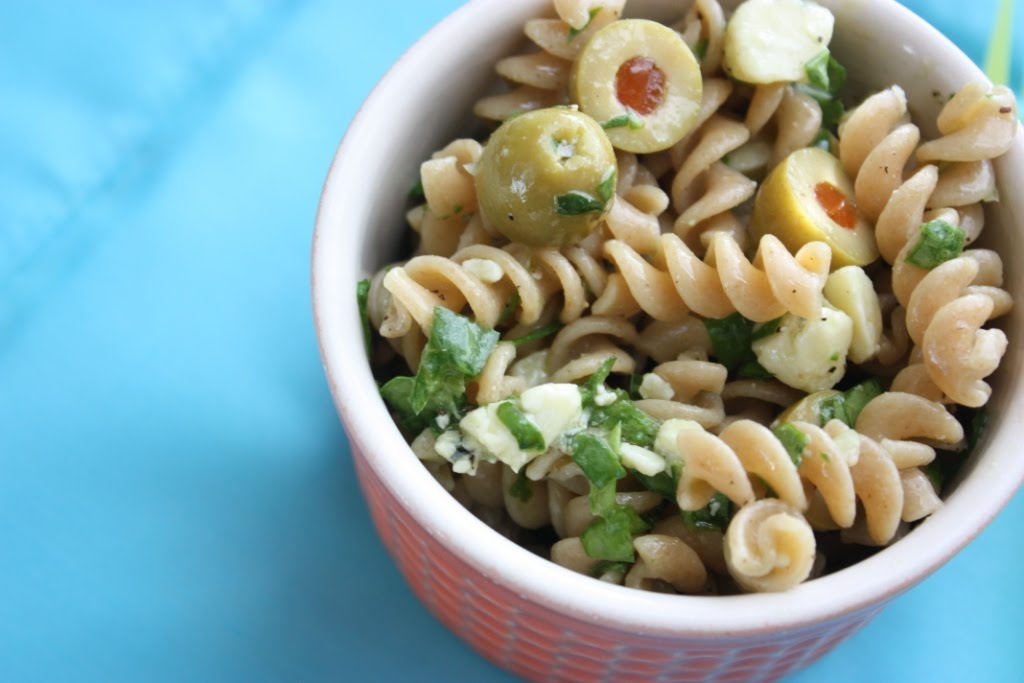
½ cup fresh spinach, finely chopped, firmly packed
15 pimento stuffed green olives, halved
1 – 2 oz Gorgonzola cheese, crumbled
2 tbsp olive oil
3 cups dry, whole wheat pasta, cooked and rinsed to cool
Black pepper to taste
In a medium-sized bowl combine the spinach, olives, cheese and olive oil. Stir to break up the cheese so it is evenly distributed.
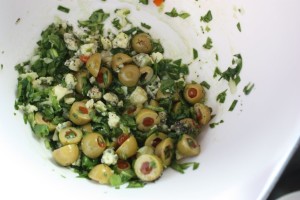
Add the drained pasta to bowl and toss to coat. Sprinkle with black pepper. You can add salt too if you wish, but I found the olives and cheese added enough salty flavor for my tastes. Serves 4.
*******************
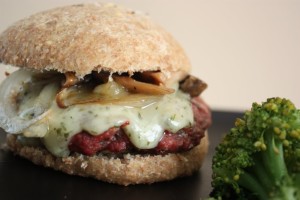
I also said yesterday that I would tell you a little more about the burgers we grilled on Sunday. If you are at all familiar with Argentinean cuisine, then you know about chimichurri. It is a sauce made of herbs, oil and vinegar that is served with meat or it is sometimes used as a marinade.
Before we left Brazil, my husband took a work trip to Argentina and his colleagues gave him some chimichurri. It is in the dry form and you simply add the oil to make the sauce. I’m sure similar products can be found at Latin markets around the States, or you could make a version of your own like this one from Simply Recipes.
Seeing it in the cabinet the other night I decided to season the burgers with it. The result was fantastic! They were full of flavor and had a slight spiciness that went wonderfully with the grass-fed beef I used.
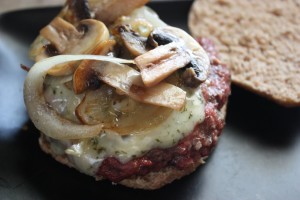
I finished off the burger-making process by using the Soft Whole Wheat Sandwich Bread from Healthy Bread in Five Minutes a Day to make buns. I was worried they would be too heavy and sweet for the burgers, but they ended up pairing nicely.
Chimichurri Beer Burgers
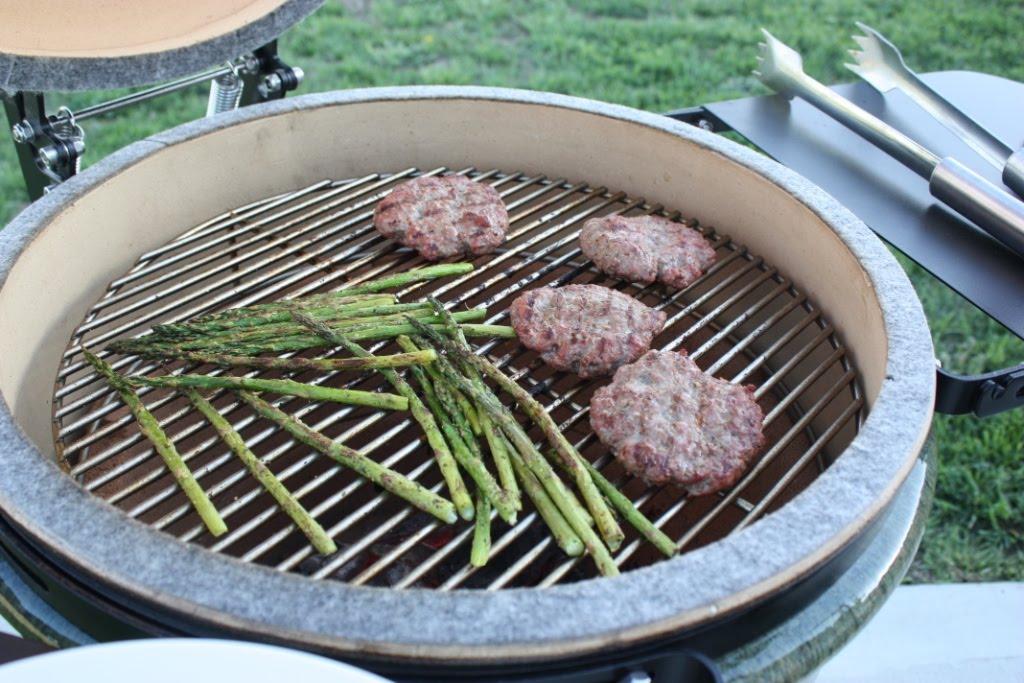
1 lb grass-fed beef
¼ cup beer (I used a light ale)
¼ cup panko bread crumbs
1 tsp chimichurri seasoning mix
½ tsp sea salt
¼ tsp black pepper
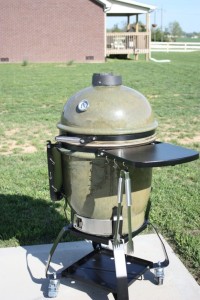
Combine all ingredients in a bowl and mix well to incorporate the spices. Form into 4 equal patties. Grill or pan fry based on your preferences. It took about 8 minutes on our new grill to cook them through.
I topped mine with some Chive and Onion Jack Cheese, and sautéed onions and mushrooms!
I’m submitting the pasta salad to the April Side Dish Showdown at Cinnamon Spice & Everything Nice.