Welcome to the first cocktail week on Fake Food Free. This week I’m recapping some of the excellent cocktail mixers I discovered at the Fancy Food Show in San Francisco in January. This is post three of three. Check out post one and two for more great drink ideas!
I think I’ve mentioned before that I’m attracted to cool packaging, especially bottles. This usually leads me to all kinds of good stuff for the kitchen – olive oils, sea salts, and this time, cocktail mixers!
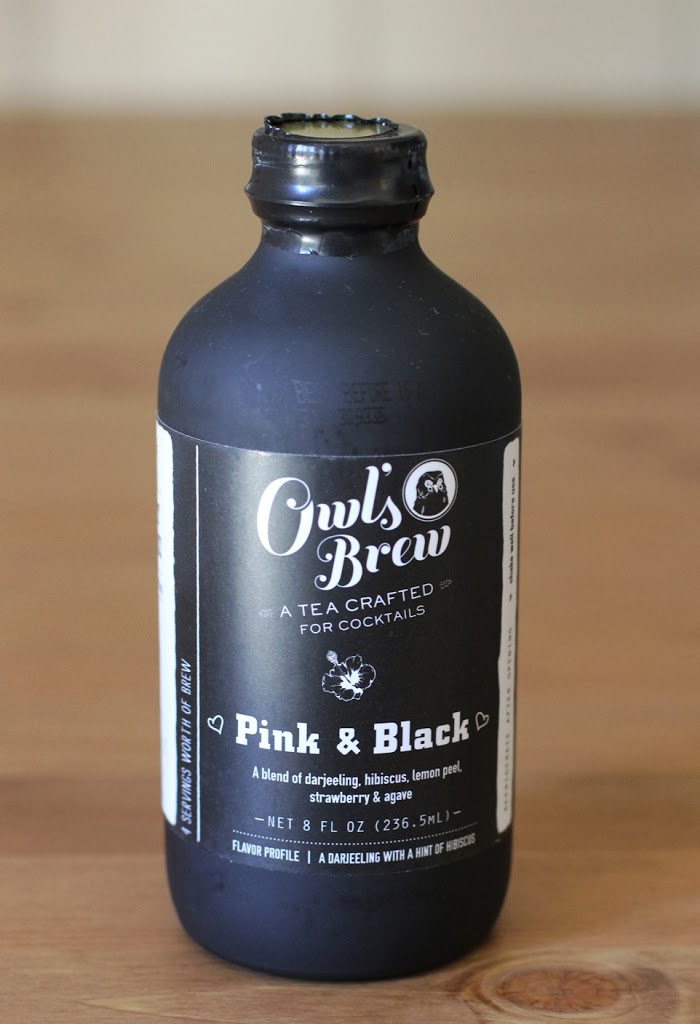
I heard about Owl’s Brew before I attended the food show in January so I was on the lookout. What is different about Owl’s Brew is that it’s all about tea. There are three different blends, two made with black tea and one with English breakfast tea. The teas are brewed with whole spices, fruit peels, fruits and herbs, and slightly sweetened with agave. The idea is to use two parts of Owl’s Brew to one part of your favorite spirits and plenty of suggestions are provided on the bottle.
Cocktails using tea are something new to me and Owl’s Brew served as the perfect introduction. I’ve steered away from mixers in the past, but with less sugar and all the natural ingredients in this, I can see keeping a bottle around for good. You can also get all three flavors in a sampler pack. Gift giving for cocktail and tea lovers is totally taken care of!
So how about those flavors. I mentioned there are three:
Coco-Lada – Black tea with chai spices, pineapple and coconut
Pink & Black – Black tea with strawberries, lemon peel and hibiscus
The Classic – English breakfast tea with lemon peel
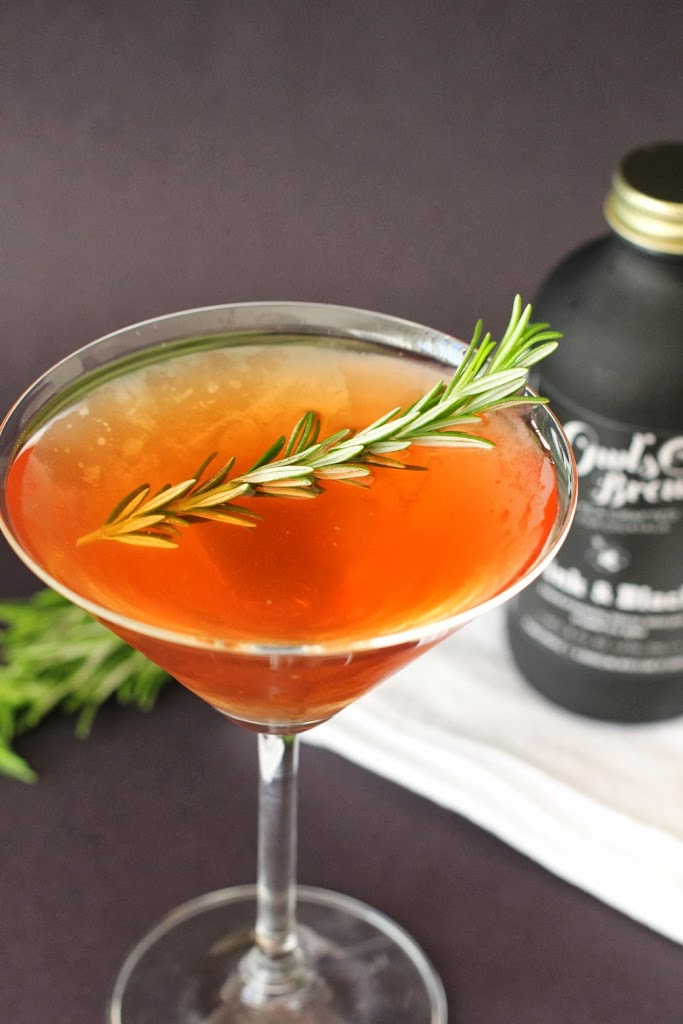
I had a sample of Pink & Black to work with. I tried it with a lager at the show and it was delicious as a beer cocktail. This time around I wanted to concentrate on the strawberry flavor that comes through in the brew. I love rosemary and strawberry so a vodka martini seemed like a good idea.
And a good idea, it was. This drink is nice and simple with both the rosemary and the flavor of the Pink & Black tea mixer coming through. It’s also a beautiful deep pink color. Perfect for spring!
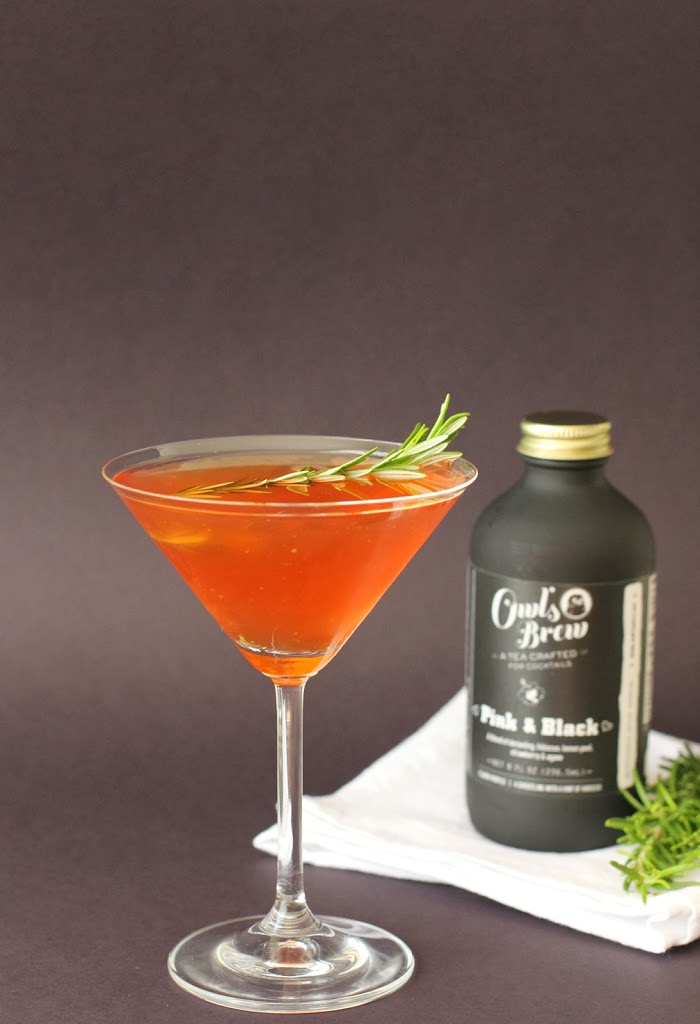
Pink & Black Rosemary Vodka Martini with Owl’s Brew
Makes: 1 drink
2.5 oz. vodka
1.5 oz. Pink & Black Owl’s Brew
2 small sprigs of fresh rosemary
Ice
Place the vodka in a cocktail shaker and add the leaves of one of the sprigs of rosemary. Mull the leaves with the vodka to extract the oils.
Pour in the Owl’s Brew. Add ice. Cover and shake until cold.
Strain the martini into a glass. Garnish with a rosemary sprig and serve.
Disclosure: This product was provided for review purposes. I was not required to post about it and received no compensation for doing so.