Browsing Category

Gardening

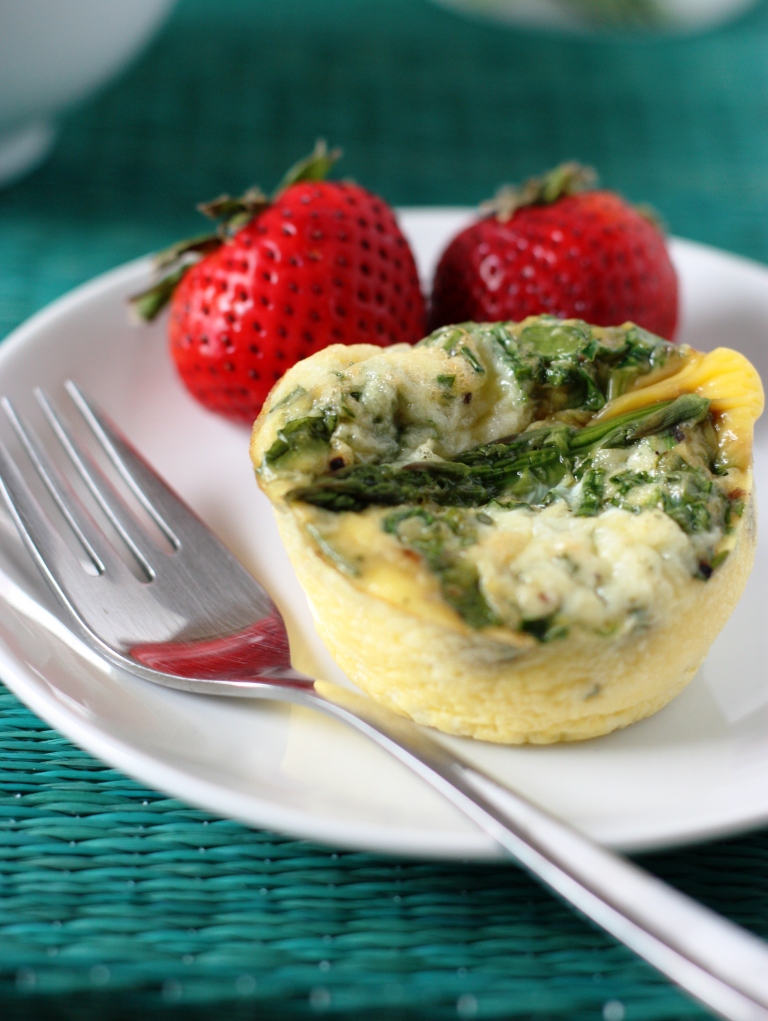
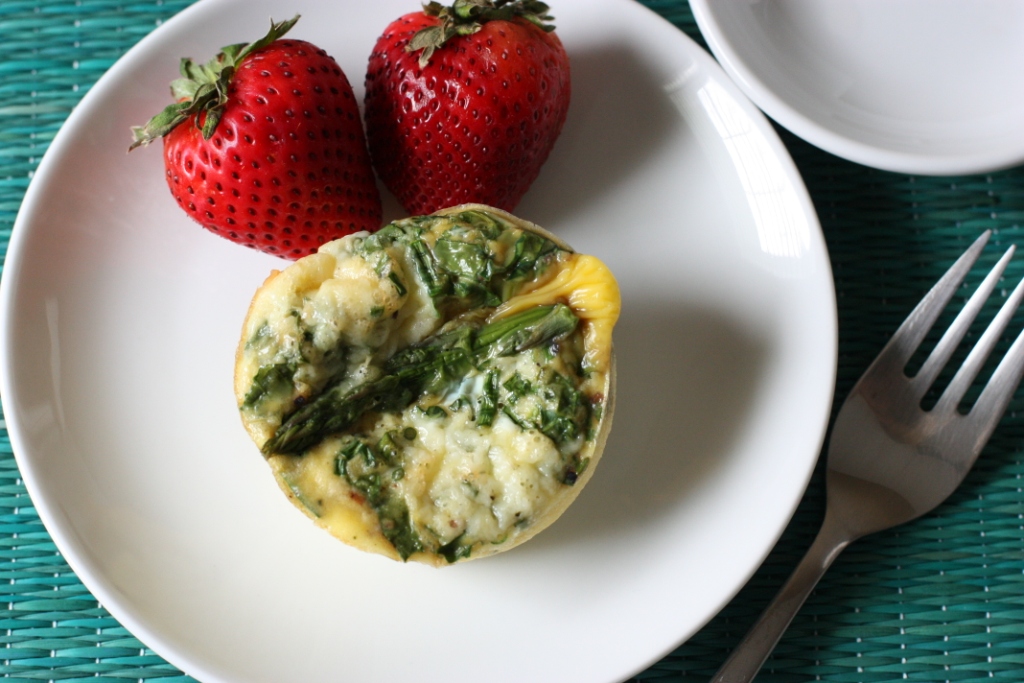
Baked Egg Cups with Asparagus and Kale

April 12, 2011

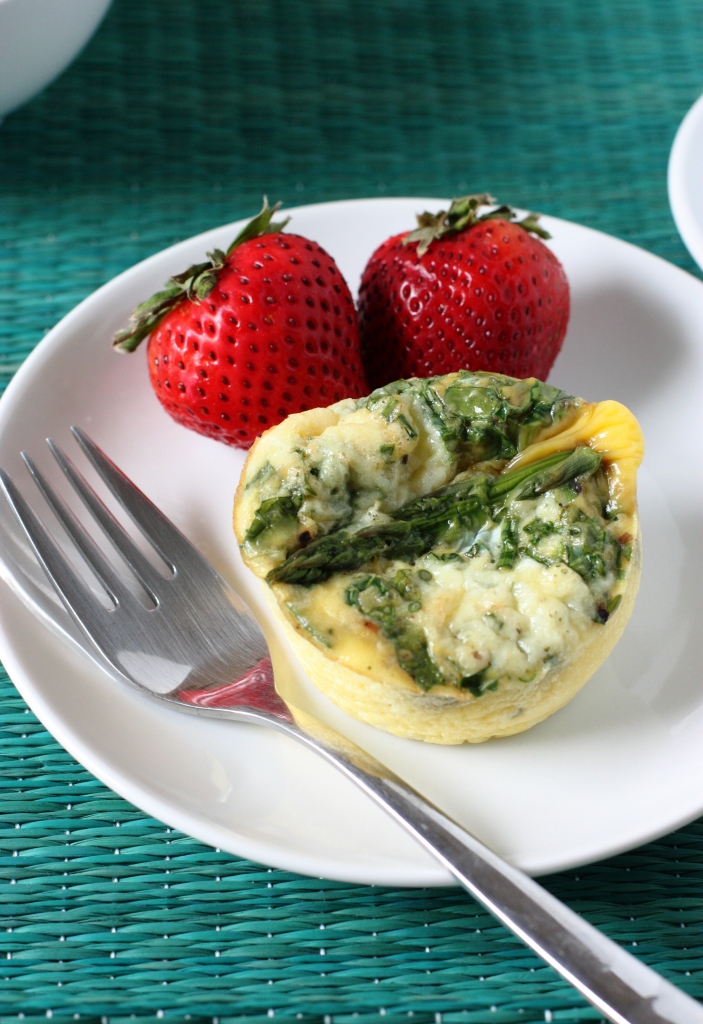
These easy baked egg cups are a perfect way to use up produce from the garden for a protein-packed breakfast!

Baked Egg Cups with Asparagus and Kale Recipe | Fake Food Free

A few weeks ago, when the temperatures were still well into the freezing range, I was checking out the garden and thinking about my plan for planting this summer. I hadn’t paid much attention the raised bed of greens we planted last fall. It had been so hot that nothing grew so I just let it be.

That day I just happen to look down and see a bit of green. I thought – wow, that kind of looks like new growth. Turns out, it was. The kale from last fall came back this spring and it has loved the cooler temps!

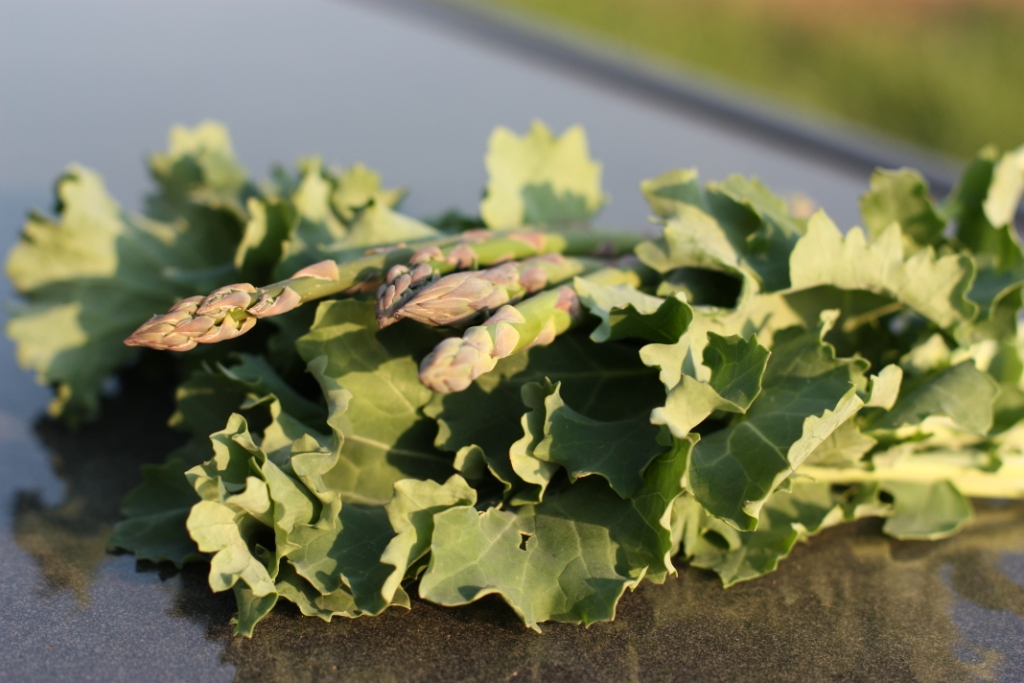
Asparagus and kale from the garden 
 

Soon after the kale, came our first round of asparagus. The plants are two years old now so this year we’ve been able to harvest some for the dinner table. Three bunches so far.

I am loving this sign of new life. Lately, I’ve been a bit uninspired in the kitchen. I can’t seem to come up with any new ideas and at times I’ve felt a bit like not cooking at all.

That was until the green goodness starting showing up. Soon behind these are all the blooming strawberry and blackberry plants.

Armed with asparagus, kale and so far from the herb garden, thyme and chives, I decided to try and use up some of the eggs I got from a local homesteader and friend. Baked eggs seem to be popular this spring so I did my own twist on this tasty breakfast or brunch dish.

Baked Egg Cups with Asparagus and Kale Recipe

It turns out these are great for snacks and dinner too. They are full of greens and the herbs are definitely the shining star, or at least as much as they can be next to those bright orange, farm fresh egg yolks. It was only after making them that I realized everything I had added was either from our garden or a local producer except for the milk, salt and the butter I used to grease the muffin pan.

Baked Egg Cups with Asparagus and Kale
Makes 8
Write a review
Print
Ingredients
  1. 1 ½ cups finely chopped kale leaves
  2. 2/3 cup finely shredded cheese (I used St. Jerome)
  3. 6 large eggs
  4. 1/3 cup milk
  5. 2 tablespoons fresh chives, chopped
  6. 2 teaspoons fresh thyme, chopped
  7. 1 teaspoons fine sea salt
  8. Eight 1-inch pieces asparagus
Instructions
  1. Preheat the oven to 350 degrees F. Grease a muffin pan with butter or the oil of your choice. Divide the kale and cheese evenly between the 8 muffin cups.
  2. In a bowl, whisk together the eggs and milk. Add the chives, thyme, and salt. Pour the egg mixture into the muffin cups, dividing it evenly. Place a piece of asparagus on top of each cup.
  3. Bake for 15 to 20 minutes or until the eggs are set in the center and slightly browned on the edges. Cool for 2 to 3 minutes, remove from the pan and serve.
Fake Food Free https://www.fakefoodfree.com/
Baked Egg Cups with Asparagus and Kale Recipe

The Complete Kitchen Garden: Asparagus Soup with Coconut Lemon Crème

February 22, 2011

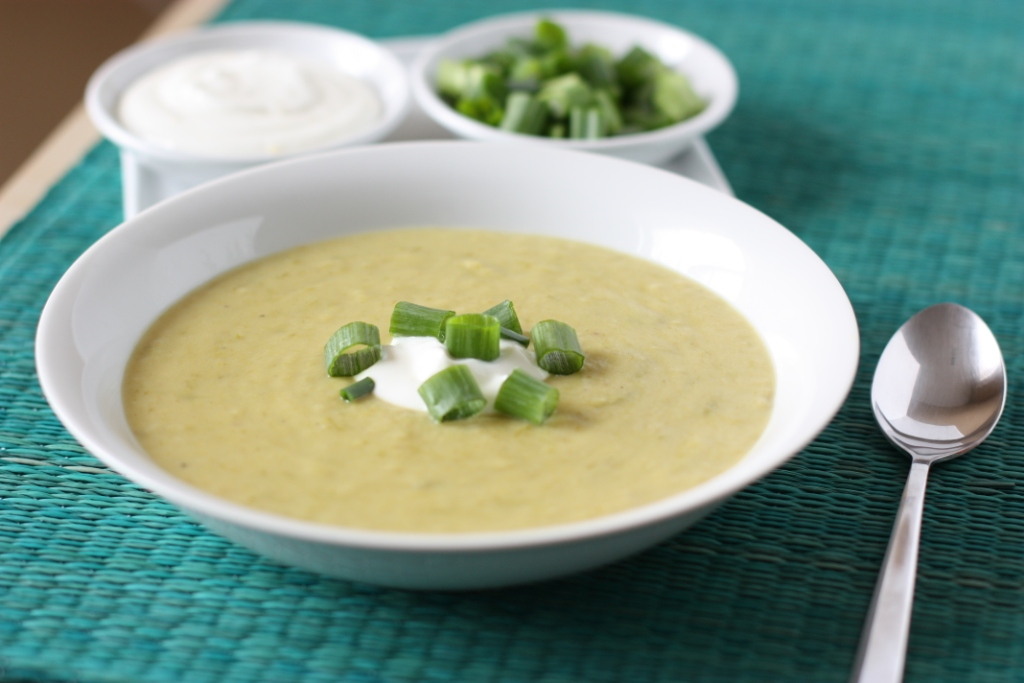
I reviewed the book, The Complete Kitchen Garden, a few years back and this asparagus soup recipe has become a favorite for spring!

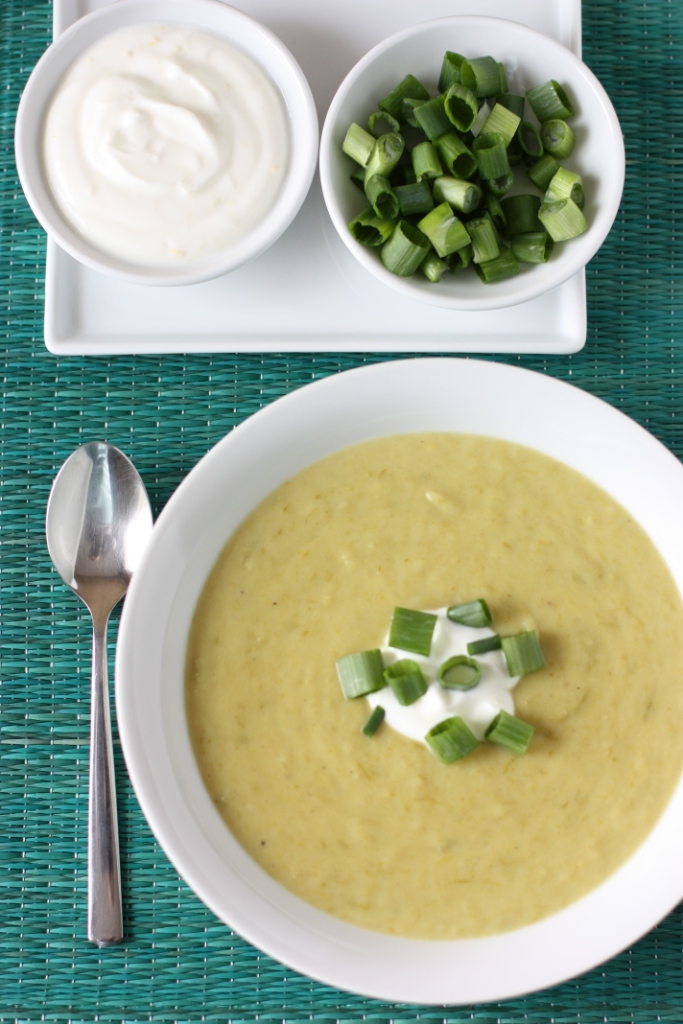
Asparagus Soup with Coconut Lemon Crème from The Complete Kitchen Garden | Recipe and Review at FakeFoodFree.com

Every now and then you come across a cookbook and you know by the end of the year the pages will be lovingly spotted with random ingredients due to an extended time of it being open in the kitchen.

I’ve found that cookbook, and the only exception is that the pages of this one will likely be filled with smudges from dirty thumbs as well; dirty thumbs that have been hard at work in the garden.


 The Complete Kitchen Garden Cookbook 

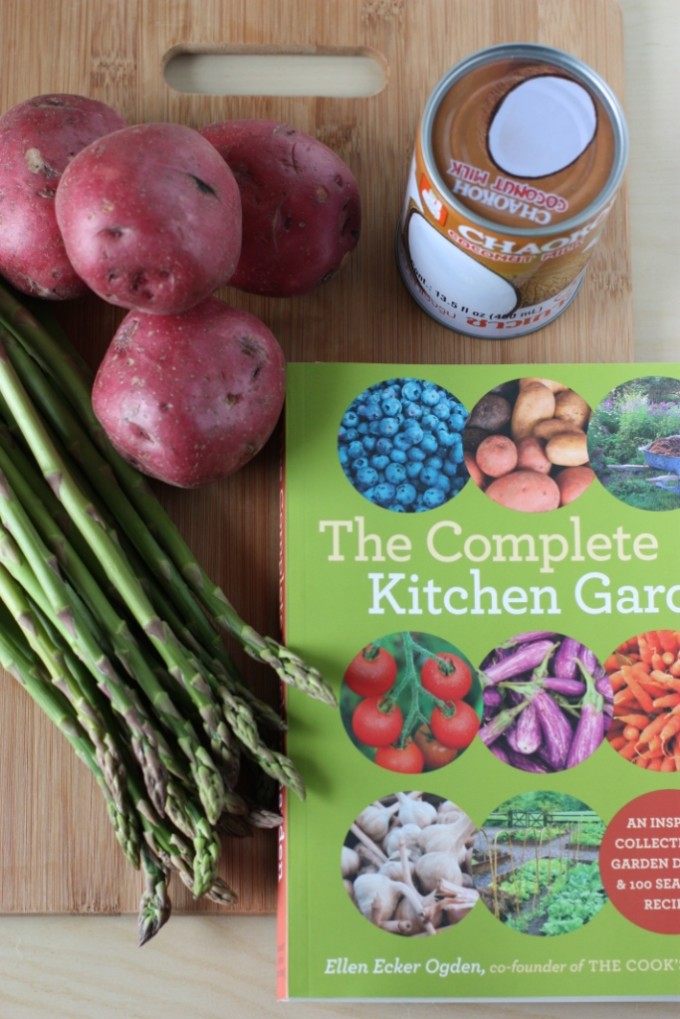
I received a copy of The Complete Kitchen Garden by Ellen Ecker Ogden on Friday. Saturday I sat down and read it from cover to cover, all 250 pages. I can’t remember the last time I’ve done that with a book. This cookbook-slash-garden-guide is a beautiful balance of helpful gardening tips and fabulous recipes utilizing fresh, seasonal foods.

In it are plans and tips for 14 distinct gardens from The Salad Lover’s Garden to The Family Garden. What I like about this book is its simplicity. The tips are straightforward which prevent the reader from having to do a lot of searching for information that can be applied.

Last year was our first year of having a large garden, and despite the fact that we had decent success (with much help from my dad), I still find myself confused regarding what I did right and what I could improve on.

 Asparagus Soup with Coconut Lemon Crème Recipe

After reading this book, I have a much better grasp of what foods I should plant from seed and which I should start from plants. I also have all kinds of ideas of how to lay out our garden this year to make it more accessible and productive. The pictures and sketched garden plans in this book make everything come to life.

Now, about those recipes. It is impossible to pick a favorite. I cannot wait for garden and farmer’s market season so that I can make them all! Well, okay, except for the ones with beets, but that is just because I don’t like beets.

Rainbow Chard Enchiladas, Lemon Ricotta Fritters with Lavender Honey, Braised Winter Greens with Coconut and Curry, and Arugula and Mint Thai Soup are just a few of the 100 seasonal recipes the book features. And oh, the salad dressings! All kinds of delicious dressings to complement fresh greens can be found. There’s a good chance I’ll be making all of the dressings this summer.

So after reading all this I know you can’t wait to see which recipe I got to try out. How about Asparagus Soup with Coconut Lemon Crème? 

The author describes this soup as:

The first tender spears of asparagus are best enjoyed fresh and whole from the garden, but as the season progresses, the stalks get larger, and the crop more abundant, this is an excellent soup to prepare. Its light, lemony flavors blended with a hint of curry are delicious served warm or chilled, and topped with crème fraiche.

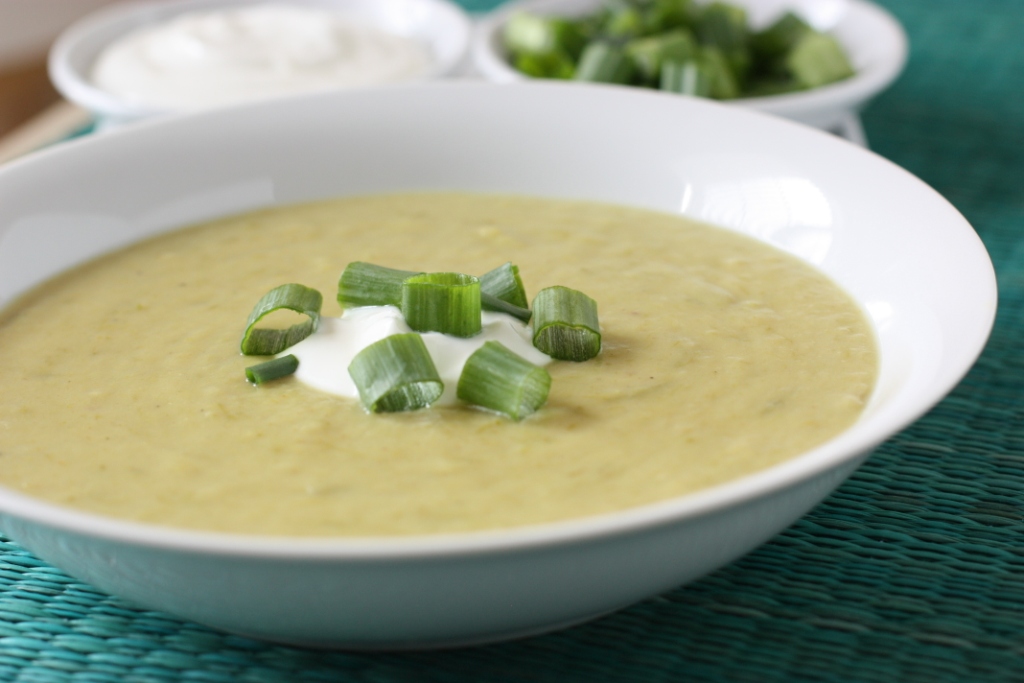
I didn’t have any crème fraiche nor the ingredients to make my own, so I substituted plain Greek yogurt. It too went wonderfully with the soup. As simple as the ingredients are, I found the soup to have such complex flavors between the asparagus, potatoes, coconut milk, curry, and lemon. It is warming and perfect for a cool spring day while also being refreshing.

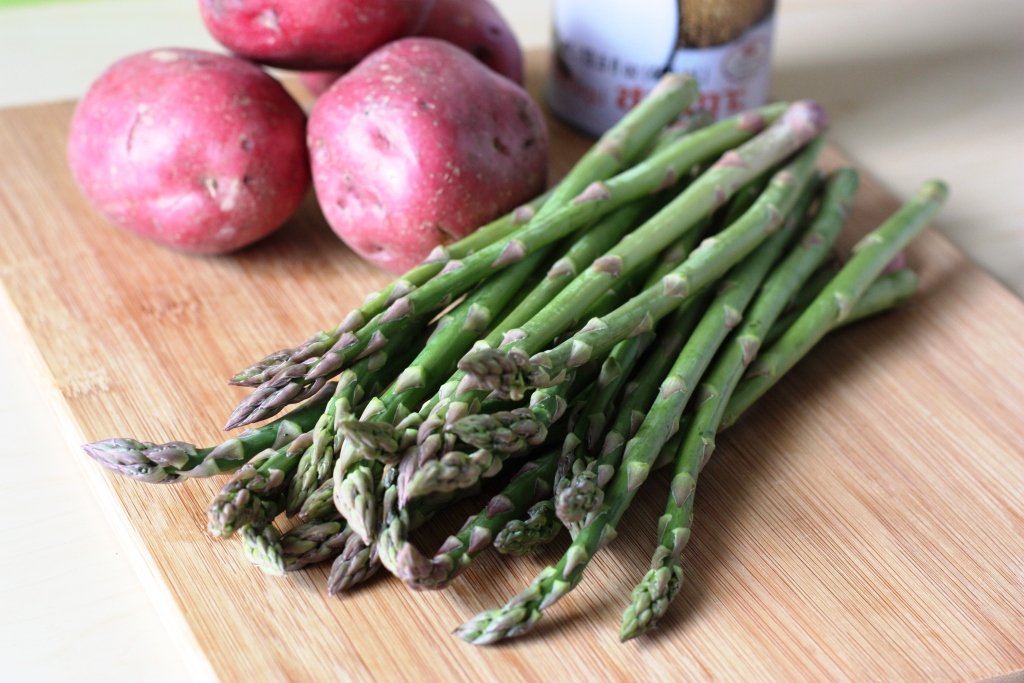
Ingredients for Asparagus Soup with Coconut Lemon Crème

Be generous with the lemon. I found it really brought out the flavors of both the coconut milk and the asparagus.

Recipe for Asparagus Soup with Coconut Lemon Crème


Asparagus Soup with Coconut Lemon Crème
Serves 4 to 6
Write a review
Print
Ingredients
  1. 2 tablespoons unsalted butter
  2. 2 tablespoons olive oil
  3. 1 medium onion, finely chopped
  4. 12 to 18 asparagus spears, trimmed and cut into 1/2-inch lengths (2 cups)
  5. 4 medium red-skinned potatoes, peeled and cut into 1/2-inch dice (2 cups)
  6. 3 cups vegetable or chicken broth
  7. 1 cup (8-ounce can) coconut milk
  8. Dash salt
  9. ½ teaspoon curry powder
  10. ¼ teaspoon ground ginger
  11. Zest and juice of 1 lemon
  12. Garnish
  13. 1 cup crème fraiche
  14. Scallions or chives, finely chopped, to taste
  15. Salt and freshly ground pepper, to taste
Instructions
  1. In a large pot over medium heat, melt the butter and oil. Add the onion and salt and sauté stirring often, until the onion is golden, about 5 minutes.
  2. Stir in the curry powder, ginger, and half of the lemon zest and juice. Then add the potatoes and simmer, stirring occasionally, to blend the flavors, about 5 minutes.
  3. Slowly add the broth, coconut milk, and asparagus and bring to a simmer over medium heat. Cover partially and continue to cook until the potatoes are tender, about 20 minutes.
  4. With an immersion blender, or in a food processor, puree the mixture until smooth. In a small bowl, blend the crème fraiche, remaining lemon zest and juice, scallions or chives, and salt and pepper.
  5. Serve the soup warm, garnished with a swirl of the seasoned crème fraiche.
Fake Food Free https://www.fakefoodfree.com/


Disclaimer: A review copy of this book was sent to me by Abram Books. I was under no obligation to write about it and received no compensation for doing so.

New Growth in 2011

January 1, 2011

One really wouldn’t be able to tell how excited and motivated I feel about 2011 by looking at me today. With holiday time off from work it has been permanent jammie mode around here. But that doesn’t mean I’ve been unproductive. Jammies just happen to be the preferred clothing for productivity, or so it seems.

We’ve cleaned out our back bedroom which has been sitting full of boxes since we moved into our house last February. It is now a place where I can take pictures, and should we have more than two guests, he or she can actually sleep in there without fear that a giant spider may climb out of a box and swallow them alive. Kentucky spiders are huge, by the way.

We took advantage of the warm weather and took down all of the Christmas decorations, organizing our storage tubs and storage space in the process. I even went through my piles of magazine recipes, categorized them and created a binder.

I know. We’re really on top of our game around here.

So even though I look like a lazy bum today, I’m feeling rather organized and inspired to start off this new year. Of course we can set goals any time, but there is just something about the beginning of a new calendar year that makes things seem fresh, new and motivating. And I have to admit that starting it on the day 1.11.11 makes it that much more interesting.

2010 was a good year even though there were times I felt as though I was simply sitting and watching it pass me by. That has a lot to do with readjusting to the US. This was our first full year back in the States and the adjustment was much more exhausting and emotional than I thought it would be.

Despite that, we got our house. I ran my first half marathon and authored my first book which will publish this March. I gardened, learned how to can and began a new job in September. In December, we topped off our year by rescuing a new pug, Dixie. She and Macy Mae are slowly, but surely becoming best buds.

In 2009, I really rocked my resolutions (or goals, whatever you prefer to call them.). However, in 2010 I barely remember what I set out to do. Life seemed to take over and I went with the flow. In 2011, I’m ready to get back on track so that this time next year I can check off all that I had hoped to accomplish.

It feels like a year of new growth to me, and in honor of it I’m doing a little growing of my own in our back room which is now clean and spacious. This summer I bought two dwarf Meyer Lemon trees that are doing quite well. Now they have their own private space in the sunshine. Hopefully in a couple years, I’ll have some lemons to show for my efforts.

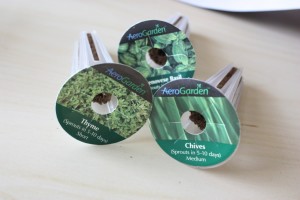
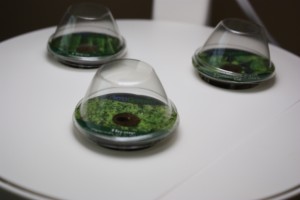
My brother gave us a small AeroGarden as a house warming gift this past spring. Since it was just about garden time when we got it, I decided not to take advantage of it until winter. Now I’ve got basil, chives and thyme that I hope will sprout any day now.

With all the growing going on in our back room, I think I need to plan for a little growing myself this year. My main priority when it comes to blogging this year will be less stress. I got really concerned, and honestly, stressed out when I started my job back in September. I had less time to cook exciting food and when I did, I had no light to take photographs. When our weekends were busy with races or travel, I couldn’t even catch up with posts then. I had trouble keeping up with my own blog, and those I once loved to read on a daily basis.

This year I’m not going to let it get to me so much. If I have a busy week, there may not be a post, but some other weeks there may be 4 or 5. I’m finding that I need to relax the pressures I put on myself so that I can continue to enjoy my favorite hobby.

In addition to that, here are a few other things I plan to do in 2011. How about you? Care to share your goals for the New Year?

If 2010 was the year of running, 2011 will be the year of yoga. I plan to do yoga at least once per week, preferably more, and deepen my knowledge.

But I won’t be giving up running. In 2011, my goal is to run at least two half marathons.

Weight lifting is one thing that has fallen to the wayside when it comes to my fitness program. I will be incorporating a lot more of that this year as well.

I will focus more on ethnic cooking. I’ve tried to do this in the past, but seem to constantly fall back on the standards. I really want to challenge myself with Indian, German and Thai cooking from finding the ingredients to perfecting my results.

In addition, I will focus on utilizing all the great cookbooks I have. In 2010, I tried to make a lot of recipes from other food bloggers. This year I really need to explore all the great resources I have in print.

I want to learn to knit in 2011. Please still act surprised when you get your scarf for Christmas next year.

I want to begin to learn German. This is something I plan to focus more on in the summer and fall.

I will submit to one writing and one photography contest this year. I have no plans of winning, but I think identifying some contests and submitting will help me challenge myself to keep learning when it comes to my writing and photography.

I will recommit to my Flickr 365 projects for food and everyday living. I sizzled out about July/August in 2010, but I really enjoyed doing it and looking back so we are going to give it another go.

Finally, I’ll revisit my goals in April and October to see how this year is stacking up.

Happy 2011!

Spiced Sweet Potato Cupcakes with Cream Cheese Frosting

October 22, 2010

Sadly, all the late heat and dry conditions we had this year left no winter squash to be found in our garden. While my dreams of homegrown pumpkins, butternut squash and spaghetti squash were left shattered, not all was lost in the area of orange autumn veggies.

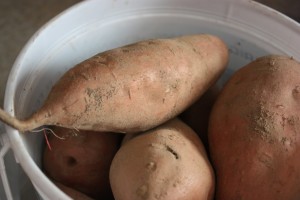
When my parents came to visit to celebrate my birthday and attend the World Equestrian Games, they brought with them a huge bucket of sweet potatoes! My Dad’s green thumb prevailed despite the conditions and some beautiful taters resulted.

I’m noticing a lot of bloggers keeping with a theme this time of year – pumpkin, apples, acorn squash – so I thought I’d go a different route and create my own little ode to the sweet potato. My next few posts will highlight these root veggies with their versatile ability to be eaten savory or sweet.

First up, cupcakes!

I have a favorite banana cake recipe that I’ve tweaked throughout the years. It is quick, easy to substitute whole grain flours and minimally refined sugars, and has been a no-fail go-to when we need dessert or to use up bananas.

I decided to change the recipe even further this time by adding sweet potato, ground ginger and cinnamon. I was worried I might end up with more of a muffin than a cupcake, but these goodies are cake all the way.

They seemed to be calling for cream cheese frosting, so I answered with a nice dollop on top. I didn’t list the recipe for the frosting because it is nothing too extraordinary. I used my recipe from the Joy of Cooking, but any cream cheese frosting will do.

Spiced Sweet Potato Cupcakes

1 cup demerara sugar
½ cup unsalted butter, softened
½ cup pureed sweet potato
2 eggs
1 tsp vanilla
1 cup white whole wheat flour
1 tsp baking soda
½ tsp salt
¼ tsp ground ginger
½ tsp ground cinnamon

Preheat the oven to 375 degrees F and prep a cupcake/muffin tin with 12 paper liners.

In a mixing bowl, using the paddle attachment beat the butter and sugar until mixed and fluffy, about 3 minutes. Add in the sweet potato and continue to mix until combined. Add the eggs and the vanilla. Mix until all ingredients are combined.

In a separate bowl combine the flour, baking soda, salt, ginger and cinnamon. Gradually add the dry ingredients to the mixing bowl. Mix just until combined.

Divide the batter among the 12 muffin cups. Bake for 15 to 17 minutes, until the cupcakes are browned and a toothpick inserted into the center comes out clean. Be careful not to over bake.

Remove the cupcakes from the pan and place on a cooling rack. Allow the cupcakes to cool completely before topping with your favorite frosting.

P.S. Thanks so much for all the well wishes. I’m starting to feel much better. I was away for a training this week for work and came back craving time in my kitchen. Being ready to bake again is a sure sign that I’m on the road to recovery!

Stuffed Poblano Peppers with Tomato Chile Sauce

August 25, 2010
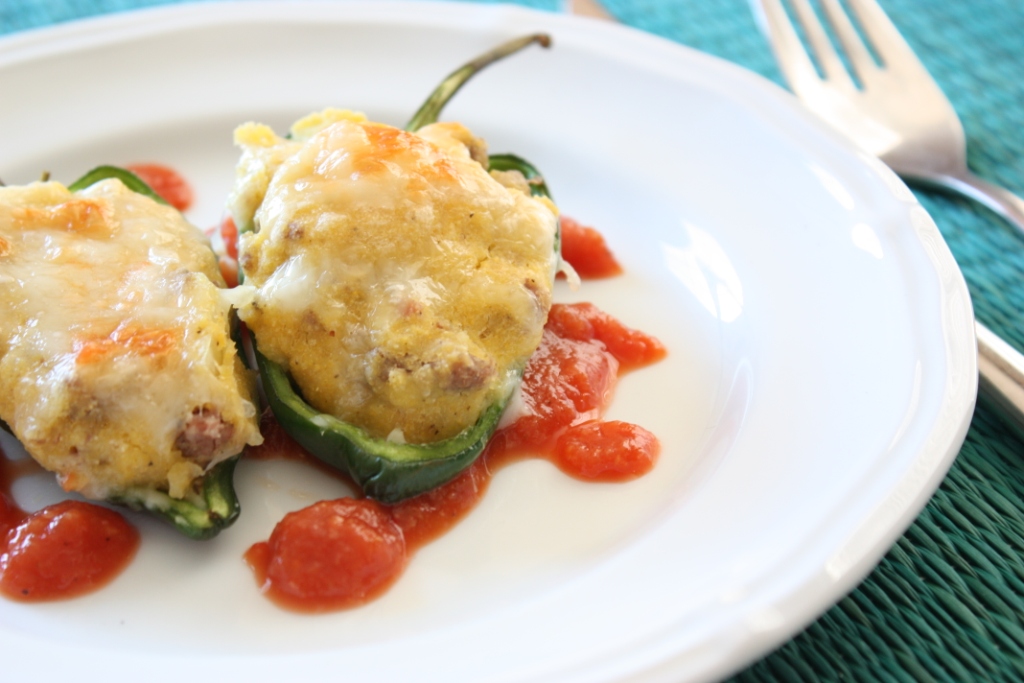
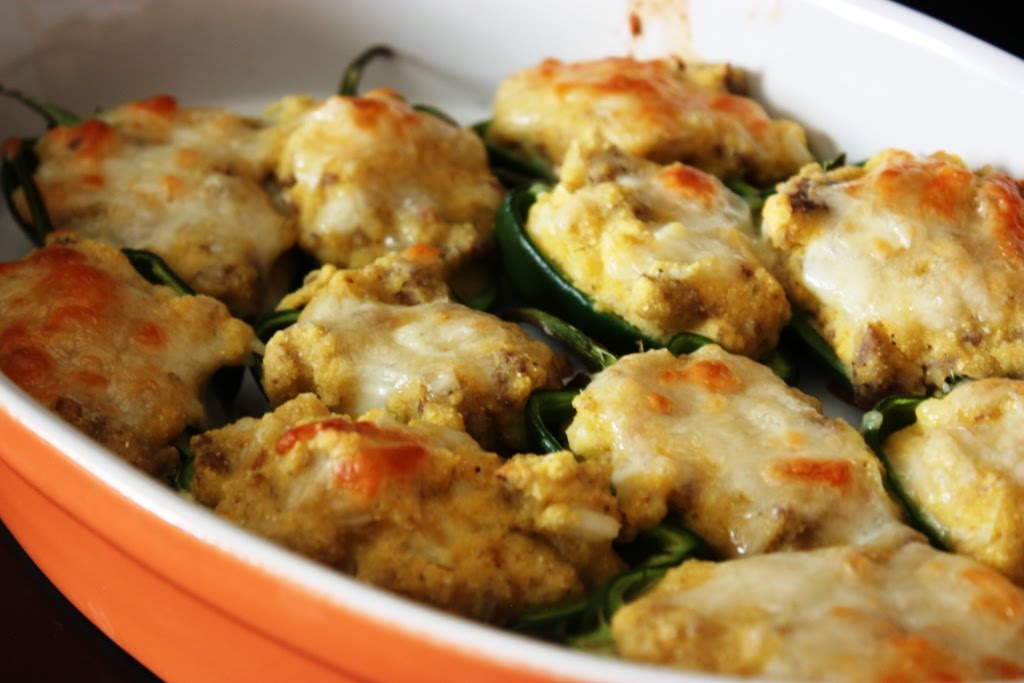
Stuffed Poblano Peppers with Tomato Chile Sauce Recipe | FakeFoodFree.com

Peppers are plentiful all over the Farmer’s Markets in central Kentucky right now. The varieties don’t get especially exotic, but I have been impressed by the diversity of the selection. In addition to colorful banana peppers and poblanos, I have seen some Hungarian wax peppers and habaneros. That’s in addition to the Anaheims, jalapenos, bell and cayenne peppers we have in our garden.

Mixed peppers at the Lexington, Kentucky farmers market 

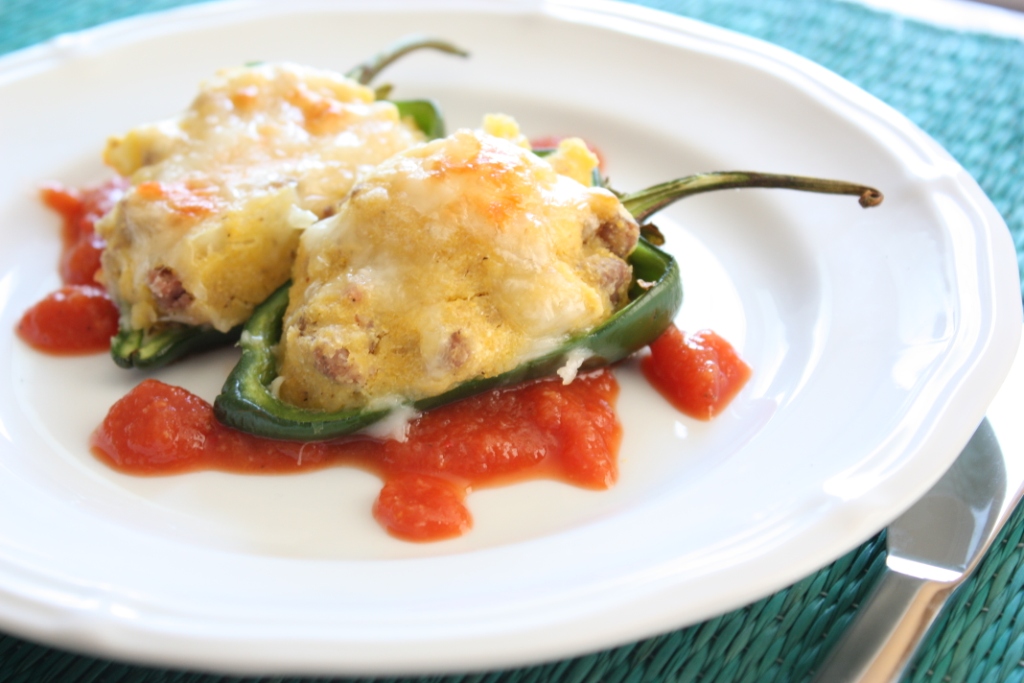
I made it to the Lexington Farmer’s Market this past weekend and I bought some small poblanos which put me in the mood for some pepper stuffin’. I finally decided to go with some pastured Heritage breed pork sausage I had left over for the stuffing and mixed it with a cornbread-like filling.If you haven’t used poblano peppers they are mild, especially once you remove the seeds and veins to stuff them. I did detect a little bit of heat in a couple bites, but it was not overwhelming at all.

Next, I needed a sauce. I decided to wing it a bit and cook down some tomatoes and onions for a puree. I haven’t cooked with our cayenne peppers at all so I added a half of one to the mix.

I was thrilled with the sauce. It ended up much sweeter than I had anticipated, but it went well with the mild heat from the cayenne. Once it got on the stuffed poblanos, it was even better!

Stuffed Poblano Peppers Recipe


The only thing I might change about this recipe in the future is to add just a touch more milk to the cornbread filling. I thought I had plenty and worried it wouldn’t bake well, but it actually ended up drying out more than I would have liked. Otherwise, this is going in the make-again folder.

Stuffed Poblano Peppers with Tomato Chile Sauce


Sauce:
1 large tomato, peeled and diced (about 1 ½ cups)
2 small Anaheim peppers, sliced
¼ cup onion, diced
1 clove garlic, sliced
½ large cayenne pepper, sliced
1 tsp salt

Peppers:
6 small poblano peppers, halved, seeds and veins removed
¾ cup cornmeal
1 tbsp white whole wheat flour
2 tbsp onion, minced or grated
1 tsp salt
¼ tsp black pepper
½ tsp cumin
¾ cup milk
½ cup cooked sausage, crumbled
¼ cup shredded cheese (I used Farmer’s cheese)

Stuffed Poblano Peppers Recipe

In a medium sauce pan, bring all the ingredients to a boil on medium-high heat. Reduce slightly to a simmer, cover partially with a lid and allow to cook down for about 15 minutes, stirring occasionally.

Once all the vegetables are very tender, transfer to a blender. Puree until a smooth sauce results. Transfer back to a sauce pan and add the salt. You can set it aside and heat it back up later, or keep it at a low simmer while you make the peppers.

Preheat the oven to 400 degrees F. Coat a baking dish will olive oil and line the peppers, cut side up in the dish.

In a medium mixing bowl, stir together the cornmeal, flour and onion. Add the salt, black pepper and cumin. Slowly add the milk a little at a time. You want the batter about the same consistency as it would be for cornbread or brownies. Stir in the sausage.

Spoon the cornmeal mixture into the peppers and divide evenly. Sprinkle each pepper with cheese. Bake for 18 to 20 minutes, or until the cheese begins to bubble and brown. Serve with the warm sauce. Makes 3 to 4 servings.


Thanks for reading! All images and content are the property of Fake Food Free unless otherwise stated. Please do not republish full recipes and images without written permission. What is okay? Feel free to Pin images, share links to my posts or share the photo in a round up post with the title of this recipe and a link back to the post. Confused about copyright and food blogs? Here is some helpful information on Recipe Attribution. If you want to use a photo or full recipe, just ask. I’m sure we can work something out.  


Canning for a New Generation: A Cookbook Review

August 18, 2010
Call me easy to please, but there are few things more exciting than receiving an unexpected package in the mail. When that unexpected package turns out to be not only a cookbook, but a cookbook covering a topic and technique you are currently trying to master; well, the excitement goes beyond words.
I know you think I’m exaggerating, but I have no doubt that my neighbors heard me shout, “Awesome!” when I opened an envelope at the mailbox a couple weeks ago to discover a copy of Canning for a New Generation: Bold Fresh Flavors for the Modern Pantry by Liana Krissoff.

This summer is the first that I’ve finally been able to overcome the fear instilled in me by my food safety nutrition courses in college. I’m not kidding. The reason I have never canned is because of how strong the warnings were in those classes about botulism and all sorts of unpleasant things.

This year, however, things changed. One, we have our own garden, and two, I’ve been witnessing this canning craze going on in the food world accompanied by wonderful recipes and cookbooks.

My first sign that I’d love this particular cookbook came in the introduction as I read through helpful info that was down to earth and completely…well, me. For example, in an attempt to explain the basis for the book and how it relates to the reader, Krissoff writes:

“How an early-morning spoonful of perfect blueberry marmalade, made by a good friend you might know only via email and your perspective blogs, can help you make it through a busy day of office work.”

See? Perfect for me. Perfect for us. I’ve lost count of these types of relationships I’ve stumbled upon in the past couple years.

Before I go on and on with detailed stories about why I am a huge fan of this book (because I certainly could), let me break down the pros and cons.

Things I love about it:

  • There is a detailed, yet easy-to-read intro on the basics of canning including the purpose of different ingredients and equipment.  
  • The recipes are divided by season and fruit or vegetable.
  • There are freezing tips throughout the book for some of the same ingredients used in the canning recipes.  
  • The diversity in recipes is astounding, 200 total. There is everything from traditional U.S. jams, jellies and pickles to Indonesian and Indian vegetables and relishes.  
  • In addition to weight measurements for the ingredients in some recipes, numbers are listed too which is helpful and the ones I followed were spot on.  
  • While the author tells she uses white sugar, she does recommend a resource for using alternative sweeteners and aims to reduce the use of commercial ingredients. For example, she uses green apples for pectin in her canning. 
  • All the recipes are for water-bath method which is the only method I’m interested in at the moment. A pressure cooker is a whole other canning animal for me. 
  • After you can your fruits and veggies, there are plenty of recipes provided for using up your stock of homemade canned goods. Enchiladas Verdes and Toffee Topped Vanilla Peaches, to name a couple.

Things I’m not so crazy about: 
  • Some of the instructions are in long paragraphs so you really have to sit down and read carefully before getting started. This makes it really easy to lose your place when you are going back and forth between the recipe and your pot.
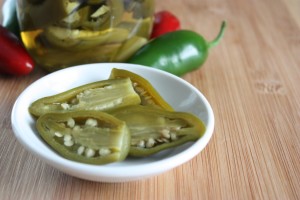
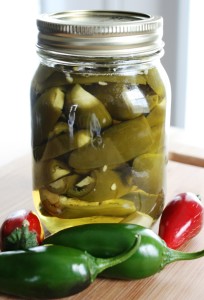
My first success using the book came with the Whole Jalapeños with Honey and Allspice which is the recipe I have to share with you. First of all, I like the fact that there is so little chopping with this recipe. The author explains that these are barely hot, but I left the ribs and seeds intact so there is no mistaking the heat in mine.

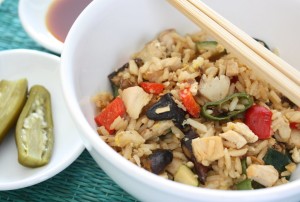
Next time I may remove those parts, but otherwise this recipe is a keeper for me. The spiced honey adds an element that is surprisingly tasty with the hot of the jalapeño. It is like sweet pickle meets chile pepper. I served them up with the Vegetable Fried Rice I made recently and they were delicious!

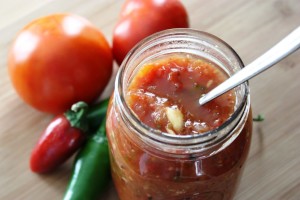
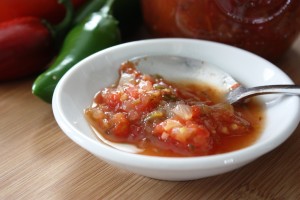
My next success was the Charred Tomato and Chile Salsa. At first I wasn’t sure how I would like the charred flavor of the veggies, but I opened a jar today and it is fantastic! There is a slight sweetness that hits you first and then the spicy jalapenos come in with a punch. This salsa is gift worthy for sure.

I have so much left to try in this book that I’ll be using it for seasons to come. My next project includes the Spiced Apple Butter, Hot Chile Jelly and the Minted Cranberry Relish with Walnuts!

Whole Jalapeños with Honey and Allspice
Reprinted with permission from Abrams Books

Makes about 5 pint jars

2 ½ pounds jalapeño chiles
6 cups cider vinegar (5% acidity)
2 tablespoons pure kosher salt
2 tablespoons honey
5 cloves garlic
5 small bay leaves
1 teaspoon whole allspice
½ teaspoon black peppercorns

Slit the chiles almost in half lengthwise from the bottom and set aside. (I did go ahead and remove the stems on mine and cut them fully in half.)

Prepare for water-bath canning: Wash the jars and keep them hot in the canning pot, and put the flat lids in a heatproof bowl.

In a non-reactive saucepan, combine the vinegar, 2 cups water, the salt, and honey. Bring just to a boil, stirring to dissolve the salt and honey.

Ladle the boiling water from the canning pot into the bowl with the lids. Using a jar lifter, remove the hot jars from the canning pot, carefully pouring the water from each one back into the pot, and place them upright on a folded towel. Drain the water off the jar lids.

Working quickly, pack the chiles as tightly as possible into the hot jars (flattening them first with your palm if necessary), along with the garlic, bay leaves, and spices, leaving 1 inch head space at the top. Ladle the hot vinegar mixture into the jars, leaving ½ inch headspace. Use a chopstick to remove air bubbles around the inside of each jar. Use a damp paper towel to wipe the rims of the jars, then put a flat lid and ring on each jar, adjusting the ring so that it’s just finger-tight. Return the jars to the water in the canning pot, making sure the water covers the jars by at least 1 inch. Bring to a boil, and boil for 10 minutes to process. Remove the jars to a folded towel and do not disturb for 12 hours. After 1 hour, check that the lids have sealed by pressing down on the center of each; if it can be pushed down, it hasn’t sealed, and the jar should be refrigerated immediately. Label the sealed jars and store.

Disclaimer: This cookbook was sent to me free of charge. I was under no obligation to review it and received no compensation for doing so.

Vegetable Fried Rice

August 6, 2010

Is anyone else experiencing a cooking low right now? I’m feeling uninspired and I blame it on the current season. Just weeks ago I was still giddy over garden goodness and content with fresh salads, light vinaigrettes combined with the occasional grilling.

The grilling is still interesting, and for that matter I could bake and bake, but I am stumped for main courses to cook. Nothing sounds good at all.

While part of me is saying – it’s still summer, enjoy fresh and light meals, another tiny voice which grows by the day is saying – fall is right around the corner. I think about pumpkin, casseroles, stews and dumplings, and then I realize it is still much too hot for all that heavy food. As a result, I got nothing.

How will I combat this problem? Well, I’ve decided that I will devote much of the month of August to making other people’s recipes. I’ve been pulling out the cookbooks and revisiting all the great food blogger recipes I have bookmarked.

Otherwise I’m going to try to combine the two seasons – light and summery with filling and comforting. That is how I decided on Vegetable Fried Rice.

My mom made the best fried rice when I was growing up. I’ve made it myself before, but after enjoying it last week I have no idea why I don’t make it more often.

I used a variety of vegetables from our garden and tossed in some shiitake mushrooms. (Those came from Indiana.) The eggs are from friend nearby who has her own chickens and runs a small sustainable homestead at Wonder of Life Farm.

The rice is white. Why? Well, because I love white rice. I eat plenty of whole grains on a regular basis so I have no issues with including white rice from time to time. Brown rice has its place, and feel free to substitute it here, but when traveling all around Southeast Asia I rarely saw it eaten. White rice is more traditional to me so that is what I stick with.

This dish didn’t pull me out of my cooking blahs completely, but I think it was a good start. Now I’m off to check out some more cookbooks, two of which I hope to review for you next week.

Vegetable Fried Rice

1 tbsp olive oil
2 cloves garlic, minced
1 small candy onion, diced
½ cup shiitake mushrooms, chopped
1 small zucchini, diced
1 red bell pepper, chopped
½ orange bell pepper, chopped
2 Anaheim peppers, sliced
3 cups cold, day old rice
2 eggs
3 tbsp tamari

In a large, deep skillet heat the oil and add the garlic and onion. Cook for 1 to 2 minutes. Add the mushrooms and zucchini and cook about 2 minutes more. Finally add the peppers and continue to cook until all vegetables are tender.

Add the rice and stir to incorporate, heating the it through. Push all of the ingredients to one side of the pan and add the two eggs to the empty side of the skillet.

Break the yolks with your spatula and allow the eggs to cook for 30 to 60 seconds. Once they are almost cooked through, stir them into the rest of the rice, distributing the egg evenly.

Stir in the tamari and you are ready to serve. Add salt and pepper to taste if you desire. I find the tamari is enough for me. Serves about 4.

Sweet and Simple Tomato Pepper Salad

July 30, 2010
 A simple summer salad recipe with garden tomatoes and peppers. 

Living in Brazil taught me a lot about food and cooking. First I had to overcome the mini-stove and let go of my perceptions of must-have ingredients. Then the learning and appreciation began.

The lesson I’m remembering this summer is that the simpler a food, the more delicious it can be. A single, fresh ingredient, whether meat or plant, matched with one spice, an herb or an oil can bring out more natural flavor than a recipe that includes 25 exotic ingredients.

I felt like I understood the concept of simple food before our move, but being exposed to local Brazilian cuisine made me realize I had a lot left to learn.

The main place that this lesson was reiterated to me was the churrascaria, those famous Brazilian barbecues (or churrasco if you are describing the cooking style or going to one at a home). I feel incredibly fortunate that I was able to experience this type of dining and food from the source, and not at an overpriced Estados Unidos version, as authentic as they might be.

It starts with the meat. The meat is seasoned with salt. A lot of salt (as in bags of the stuff), but still, just salt. Now this may not be the case everywhere, but it was at the barbecues we attended at the houses of friends.

These barbecues whether at a restaurant or a residence also included what would translate in the States as a salad bar buffet. However, not the layer-your-ingredients type of salad bar, but plates of vegetables in simple oil-based marinades, vinegar and herbs. Pastas were also included at restaurants and my favorite was always the spaghetti ao alho e óleo– spaghetti with garlic and olive oil. Again, pretty simple.

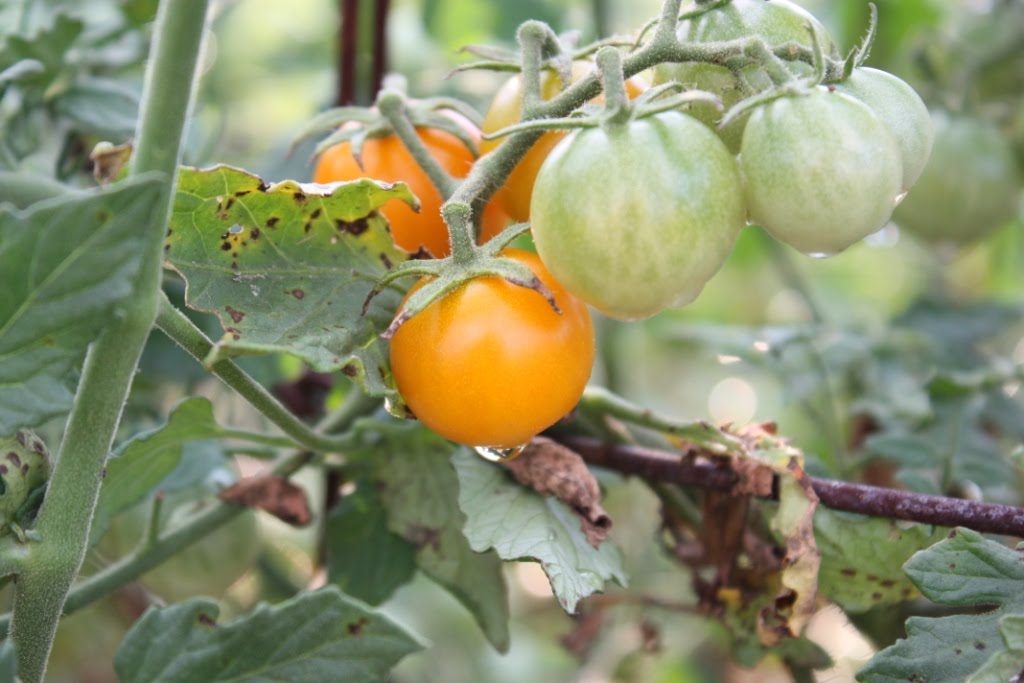
Cherry tomatoes from our Kentucky garden

Now that we are being invaded by loads of cherry tomatoes I remember a lot about how we enjoyed tomatoes in Brazil. I’ve never especially disliked tomatoes, but I was never the type of person who could sit down and eat just a tomato with salt and pepper either.

Then, in Brazil, I came across tomatoes quartered, drizzled in olive oil and fresh lime juice, topped with either parsley or cilantro and seasoned with salt and pepper. Wow, there was something about that citrus juice and those herbs that made a tomato so much better!

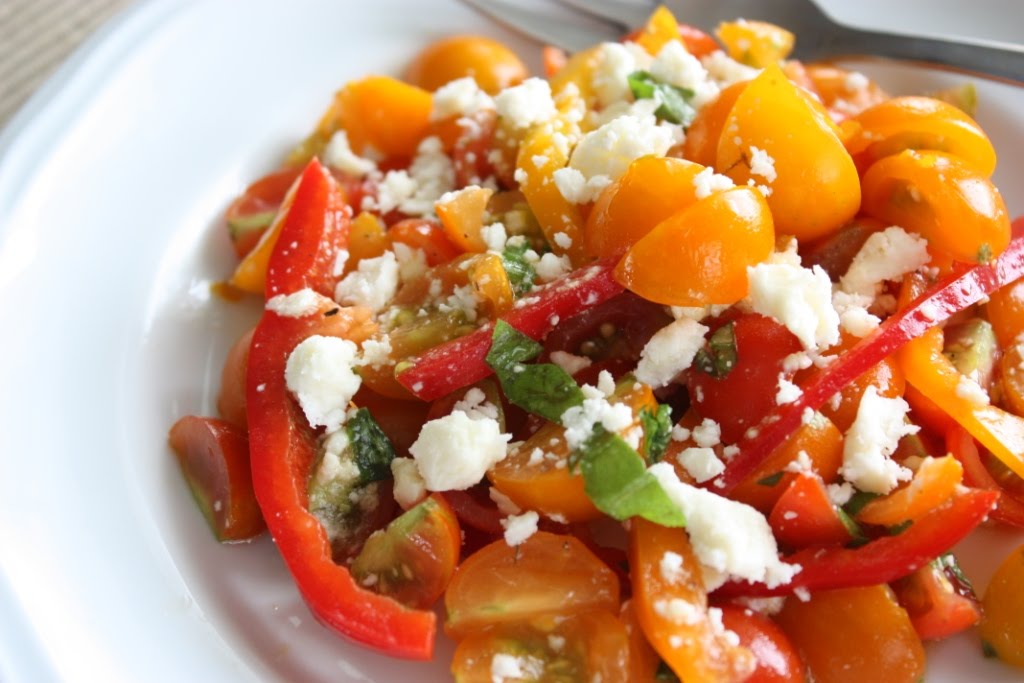
I am crazy about the little orange cherry tomatoes we have in our garden this year. They are so sweet you think you just popped a sugar cube in your mouth. In an effort to avoid taking away from their already delicious flavor, I’ve been including them in simple salads that mimic the flavors we had in Brazil.

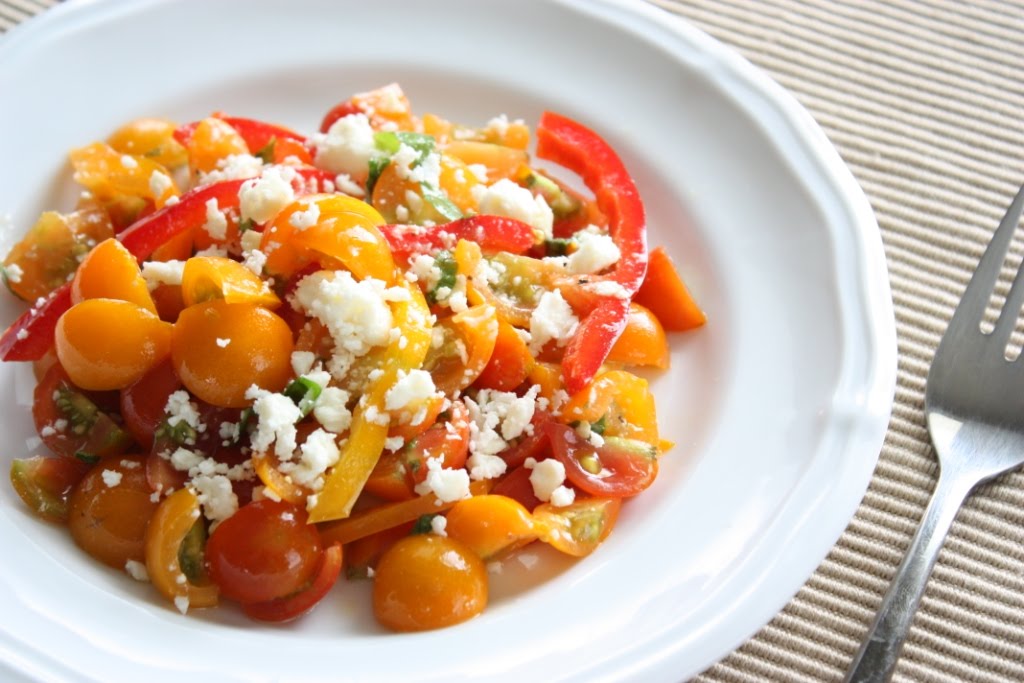
Tomato Pepper Salad Recipe | Fake Food Free


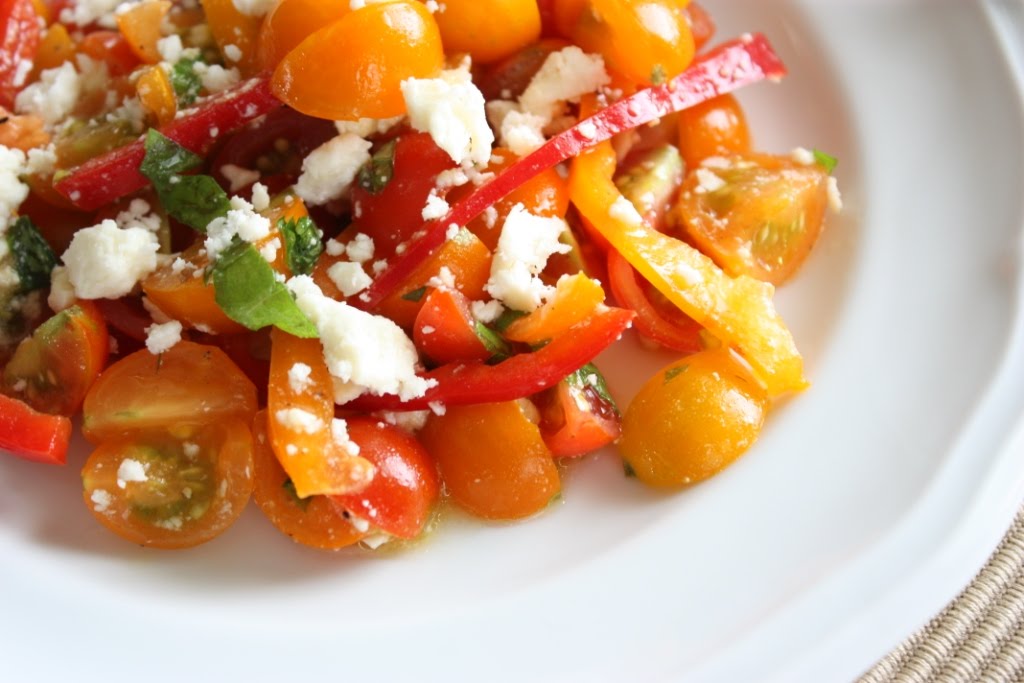
This specific salad isn’t exactly the same, but I wanted to use all the ingredients from our garden with lots of color. I decided to switch out the lime juice for lemon this time, and parsley for fresh basil. Any variety of peppers will do, but I used a combination of orange, red and yellow because I am thrilled that we have a few from the garden.

If you want to go all out, I highly suggest using aged goat cheese. That is my absolute favorite, but unfortunately I just ran out of it last week, so here I’ve used feta which is good in a pinch.

Enjoy the simple flavors of summer!

Sweet and Simple Tomato Pepper Salad 

4 cups cherry tomatoes, quartered
½ candy onion, thinly sliced
1 cup thinly sliced bell peppers (I used a combo of orange, red, and yellow)
5 to 7 fresh basil leaves, chopped
3 tablespoons fresh lemon juice
3 tablespoons olive oil
1/3 cup crumbled feta or aged goat cheese
Salt and pepper to taste

The preparation is easy on this one. Simply combine all the ingredients in a bowl, stirring gently. Cover and refrigerate for at least 30 minutes before serving. Sprinkle on more basil or cheese just before serving if desired. Makes 6 to 8 servings.


Sweet and Simple Tomato Pepper Salad Recipe | FakeFoodFree.com


Thanks for reading! All images and content are the property of Fake Food Free unless otherwise stated. Please do not republish full recipes and images without written permission. What is okay? Feel free to Pin images, share links to my posts or share the photo in a round up post with the title of this recipe and a link back to the post. Confused about copyright and food blogs? Here is some helpful information on Recipe Attribution. If you want to use a photo or full recipe, just ask. I’m sure we can work something out.  

Gardening 2010: Lessons Learned

July 28, 2010

As the beginning of August approaches, we are still knee deep in gardening goodness. I’ve learned a lot this season. There were many mornings I thought it would be easier to forget it and buy from the Farmer’s Market. However, I have to admit that the feeling you get when you prepare or eat something you grew yourself is incredibly rewarding.

We still have quite a bit of the season to go because we are planning some fall crops. We are hoping the melon, pumpkins and spaghetti squash begin producing soon, too.

Even though there is more to come, I’ve done a little reflecting on what this first year with a large garden has taught me. Whether it’s just for a laugh or it proves helpful, here are my gardening lessons learned.

Grass is a powerful, powerful plant. It grows incredibly well everywhere except where you would like it to.

The garden which we would prefer to be grass-free is like a fertile home for the green stuff. It threatened to take over the strawberries several times, succeeded in doing so with the potatoes and nearly took over the corn. The more we pull the more it grows. Yet, we have some completely bear spots in our new yard. Though we transfer sod and plant new seed, it seems the grass would rather be in the garden among friends.

Not only do you need the time to plant and pick it, but you need the time to cook and eat it too.

We’ve been pretty good at managing our gardening time. Between some early mornings and working late in the evenings, the weeding and picking has been under control all season. Then, I realized that what was being picked needed to be eaten. Believe it or not, that is when things got crazy.

If we head to a cookout for one evening or I meet a friend for lunch one afternoon, the produce piles up like crazy and I get behind. Now, this isn’t exactly a bad problem to have but one can only eat so many cherry tomatoes.

Garden gifts aren’t as easy as I thought they would be.

We moved to a house with a big yard for a big garden. The problem? All our neighbors have gardens, all my friends who don’t are about 40 minutes away, and I work from home. I envisioned gifting all our extra produce. I had no idea it would be such a difficult task.

My garden plans are as exotic as my tastes for food.

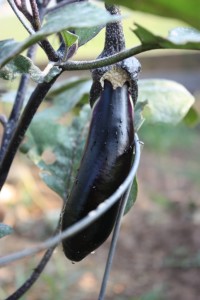
This year we planted a lot of basics – tomatoes, squash, corn, bell peppers, hot peppers, potatoes. Then we got a few out of the ordinary plants (for around here) too – celery, artichoke and asparagus (which won’t produce for a while) and a Japanese eggplant.

As I’ve read gardening stories online and witnessed things at the area farmer’s markets I have my sights set incredibly high for next year. I’m thinking lots of heirloom tomatoes, more varieties of eggplant, Thai chiles, bok choy, and tomatillos to name a few things.

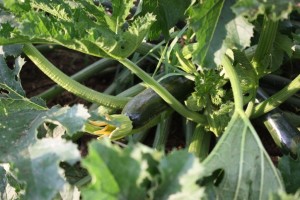
Cucumbers and zucchinis are enormous plants.

They seem to just keep growing and growing. The one cucumber plant that actually lived has taken over all of the space we had planned for three of them.

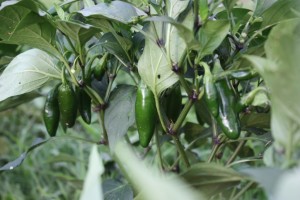
If you put nine jalapeno plants in your garden, beware.

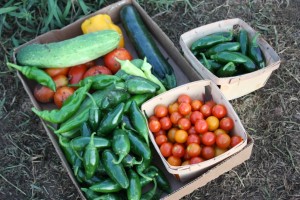
Why would you only buy one small jalapeno plant when they come in packs of 9 for a mere $3? Seems crazy, right? That is, until you begin to drown in a sea of hot peppers.

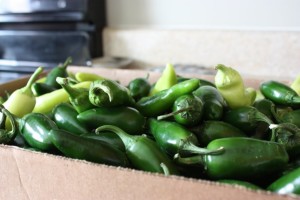
I wish I could put into words my glorious visions of all the perfect jalapenos I would preserve and salsa I would make. I was so excited when the first few began to ripen. And then more began to ripen, and more, and more. I have never seen so many jalapenos in my life. Box after box has been entering our kitchen and new blooms show that they are not stopping anytime soon.

I’ll talk about my canning experiences more later, but my first batch failed miserably. Although, future batches got better, I can’t help but look at the boxes sitting in the kitchen and dread slicing them. The bright side is that I’ve found a few new recipes for canning beyond the standard pickled jalapeno so hopefully some creativity will inspire me. One thing I do know is we will be having one spicy winter around here!

In addition to jalapenos there are a few other specific items we are drowning in; namely, cherry tomatoes and zucchini. I’ve been trying to make all that I can with them so the next few posts will be devoted to those recipes.

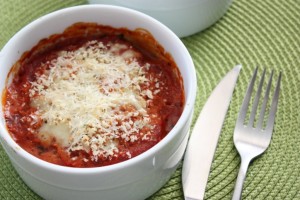
First up – Baked Zucchini and Japanese Eggplant. I really like making individual servings of casserole-type dishes so that is what I did here. This dish is great with or without a side of pasta.

Baked Zucchini and Japanese Eggplant

1 cup Panko bread crumbs
1 tsp dried basil
¼ cup + 2 tbsp Romano cheese, grated
½ tsp sea salt
¼ tsp black pepper
Olive oil
2 medium zucchini, sliced
2 Japanese eggplant, sliced
2 cups marinara (any type, preferably homemade, will do)
1 ½ cups whole milk mozzarella

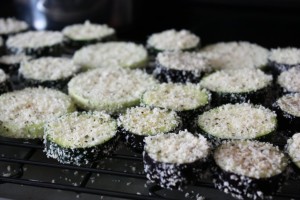
Preheat the oven 400 degrees F. Place a cooling rack on top of a baking sheet. On a plate, combine the bread crumbs, basil, 2 tbsp of Romano cheese, salt and pepper. Drizzle the slices of zucchini and eggplant with olive oil, and spread to coat each piece.

Place each slice in the bread crumb mixture and press to cover evenly, arrange on the cooling rack. Bake for 12 to 15 minutes or until the vegetables are slightly tender. Remove from the oven and set aside.

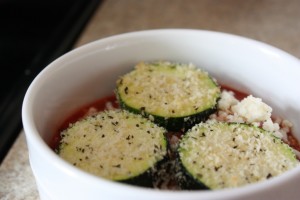
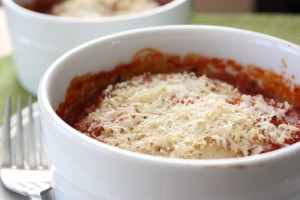
On a separate baking sheet arrange four, 4 to 5 inch wide ramekins. Spread 2 tbsp of sauce in each one. The order I used was zucchini, sauce, mozzarella, eggplant, sauce, mozzarella and Romano so you can divide up each of the ingredients per layer and ramekin. Sprinkle the top with any remaining bread crumbs.

Bake for 12 to 15 minutes or until the cheese melts and begins to brown, and the sauce is bubbly. Allow to cool for 5 minutes and serve in the individual ramekins.
Mustard and Chive Potato Salad with Greek Yogurt

July 22, 2010

“I can show you how I make my potatoes,” my mom said during a visit a few weeks ago.

Why yes, I thought that was a great idea considering that I’ve had my mom’s potato salad all my life, yet I don’t know that I’ve ever actually watched her make it.

At least, not with a pen and notebook in hand which is often the case when it comes to witnessing the creation of family recipes these days.
I have to admit that there was a part of me that was slightly amazed at what unfolded next. She washed some potatoes, put them in a pot, and covered them with water. She turned the heat to high and put on the lid and then watched. The potatoes came to a boil within a few minutes. They boiled for a minute or two, she removed them from the heat and kept the lid on.
Then the potatoes were left to sit there in the water for about an hour or so, until they were cool enough to touch. After draining, the skins peeled off easily and they were chopped for potato salad. Soft, but still firm enough to hold their shape in the dressing. Perfect.

This is the first time I’ve encountered such a no-fail method. An added bonus is that research has shown chopping potatoes before cooking can reduce the mineral content by up to 75%. Cooking them whole helps prevent this.

Since the potato preparation discovery I have been trying out different combinations of potato salad. I find I really like the flavor of spicy brown mustard and it allows you to use a lot less mayonnaise. This time around I added Greek yogurt, cut the mayo even more, and I’m pretty sure I’ve discovered my favorite one!

Mustard and Chive Potato Salad with Greek Yogurt

5 to 6 red potatoes (cooked and cubed using method above)

2 tbsp red bell pepper, diced
2 tbsp orange bell pepper, diced
2 tbsp mayonnaise
3 tbsp plain Greek yogurt
1 tbsp spicy brown mustard
3 tbsp fresh chives, chopped
Salt and pepper to taste

Combine the potatoes and peppers in a bowl and add the mayo, yogurt and mustard. Stir until all ingredients are mixed and the potatoes are evenly coated.

Mix in 2 tbsp of the chives, reserving the rest for garnish. Salt and pepper to your taste. I usually end up adding about ½ tsp of sea salt and ½ tsp of black pepper. Refrigerate for at least 1 hour, garnish with the remaining chives and serve. Makes about 3 to 4 servings.

PS. How exciting is it that every fresh ingredient in this dish came out of our garden?!

This post has been added to the July Side Dish Showdown at Cinnamon Spice and Everything Nice, and submitted to Souper Sundays at Kahakai Kitchen.

Want to create beautiful food and product photos that you can't wait to share?!
Discover your style, control the light, and shoot using the tool you know how to use (yes, your phone included). Learn about free resources, Live Q&As with Lori, and online courses you can take from anywhere in the world!
We respect your privacy. Unsubscribe at any time.