Browsing Category

Desserts Sweets

Sweet Potato Date Bars

October 27, 2011

I’m always up for a challenge in the kitchen. This time it was sugar, or rather the challenge of not using it.

Sweet potatoes and dates, that’s what I had to work with. I’m not quite sure why those were the two ingredients I wanted to use, but I had them on hand so I went with it. Knowing dates are perfect for sweetening up desserts, I wanted to use as little sugar as possible.

It turns out I didn’t need to use any.

Now this doesn’t mean they are sweetener free. I did add a little bit of pure maple syrup, which by make-up is a form of sugar. Kentucky Maple Syrup actually which I never knew existed until this year. Turns out it’s excellent.

I decided to go sans butter as well and the coconut oil was perfect. I used it at a softened, cold butter like consistency for the crust and melted for the filling. You can make your own oat flour by simply pulsing old fashioned rolled oats in a food processor a few times.

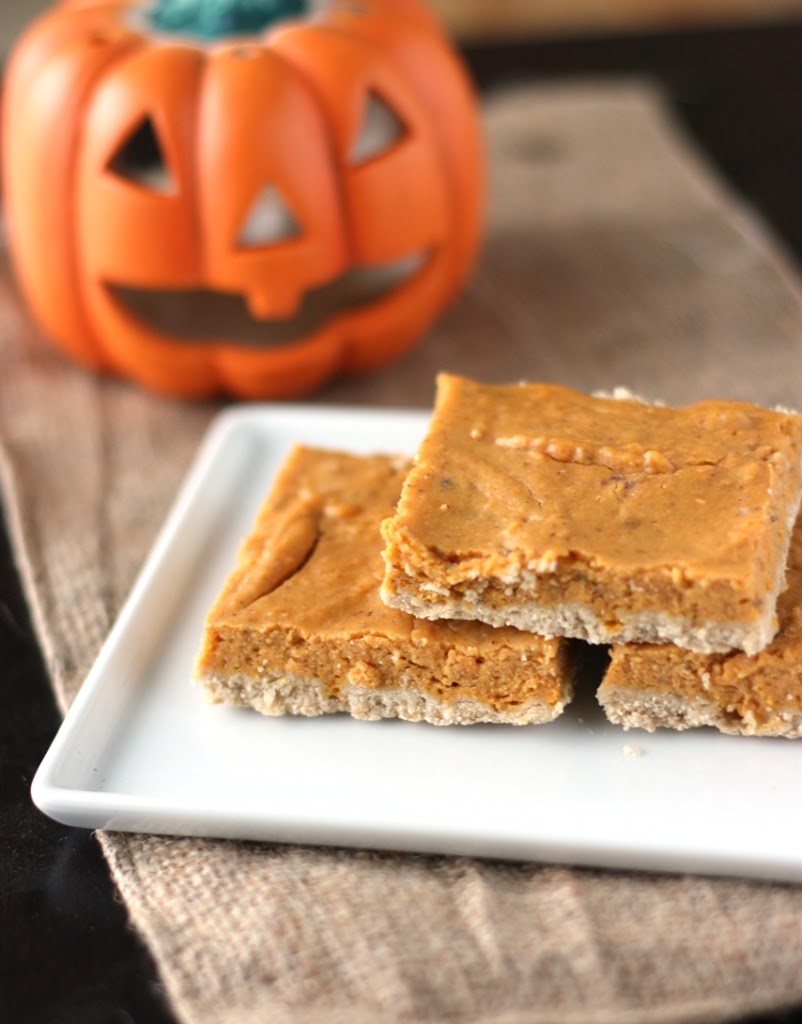
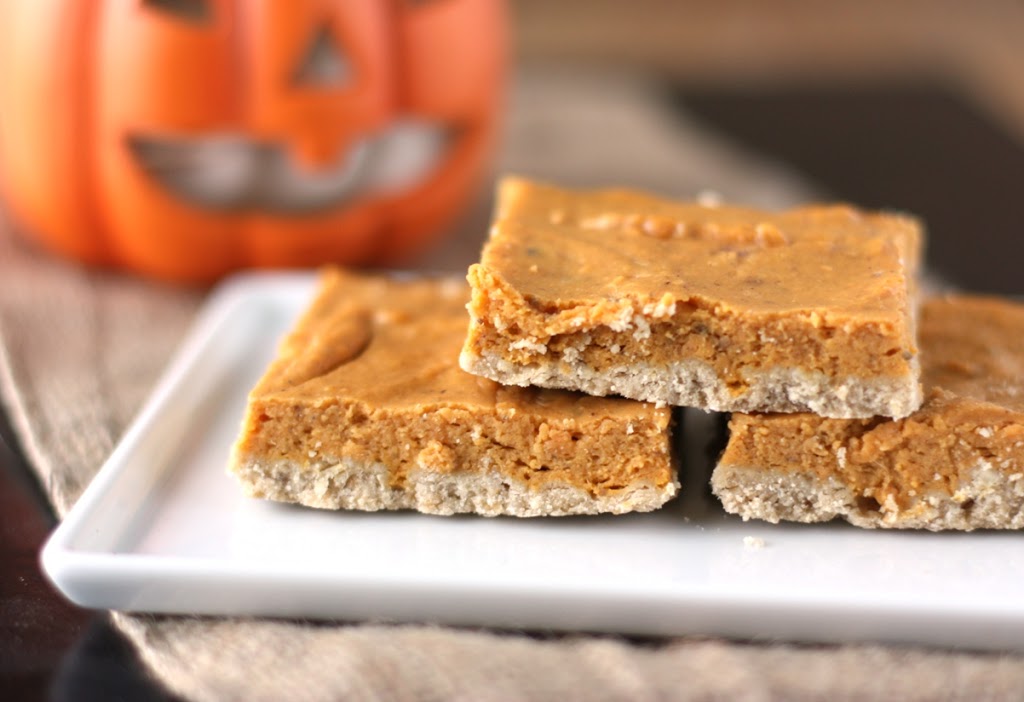
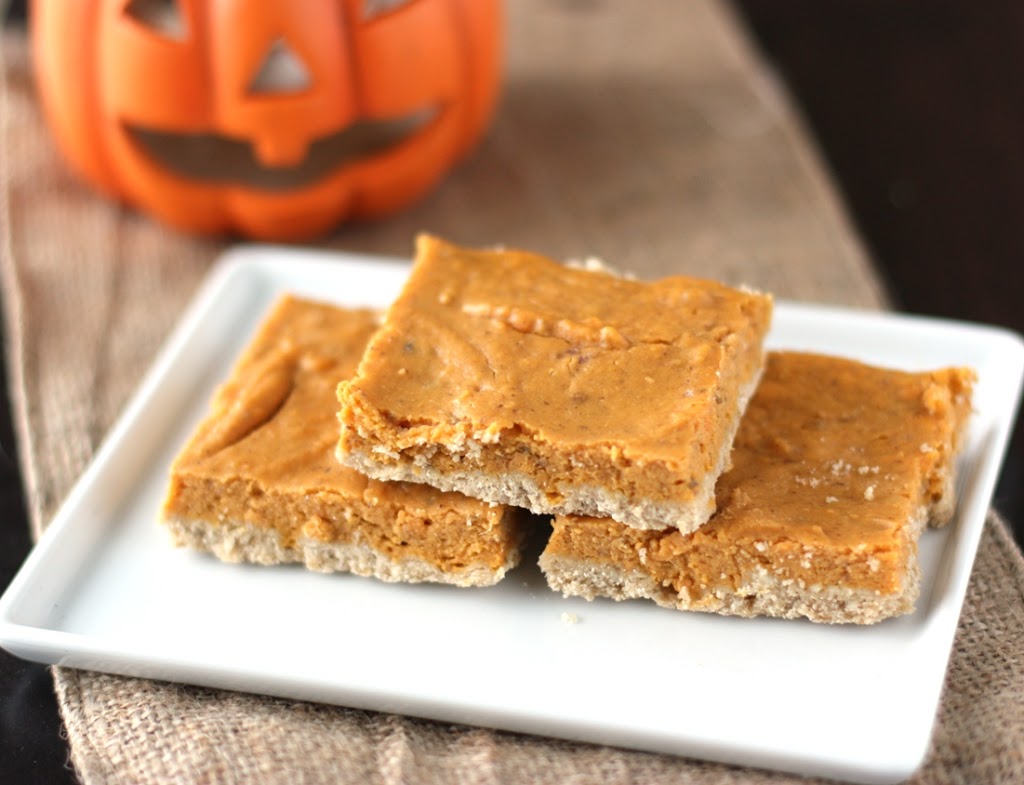
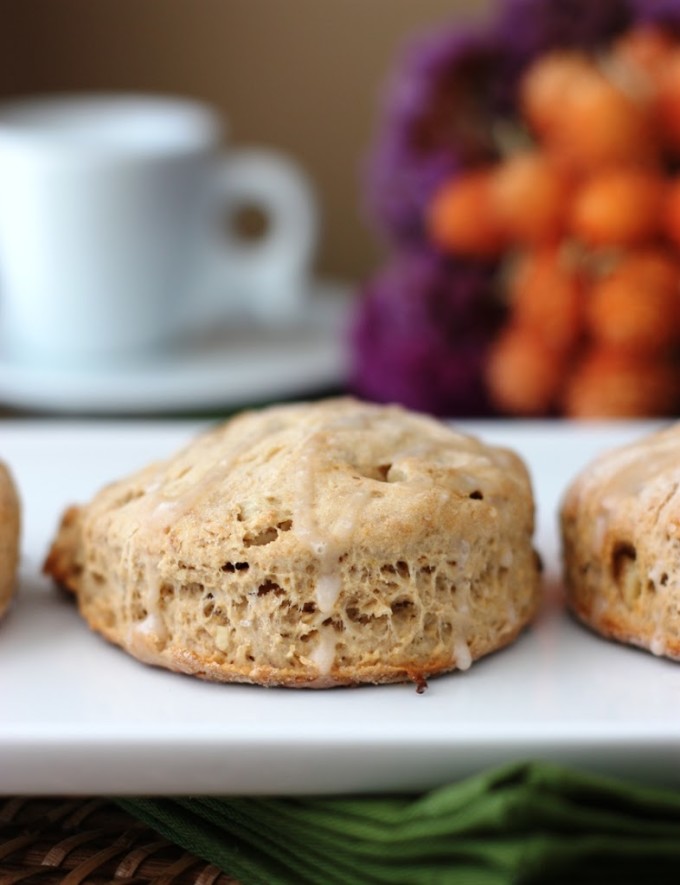
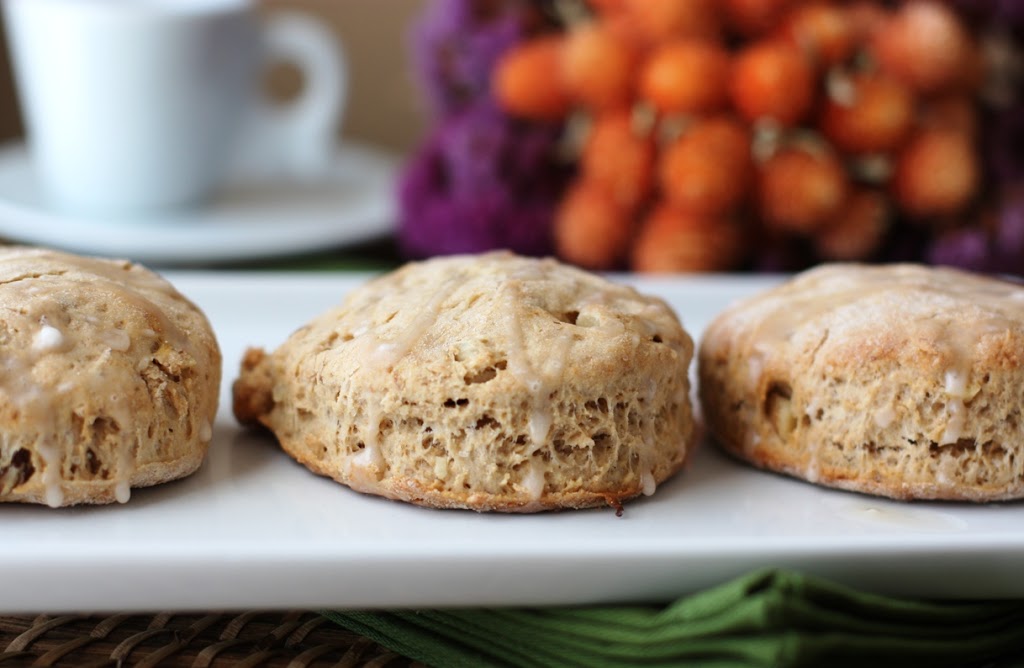
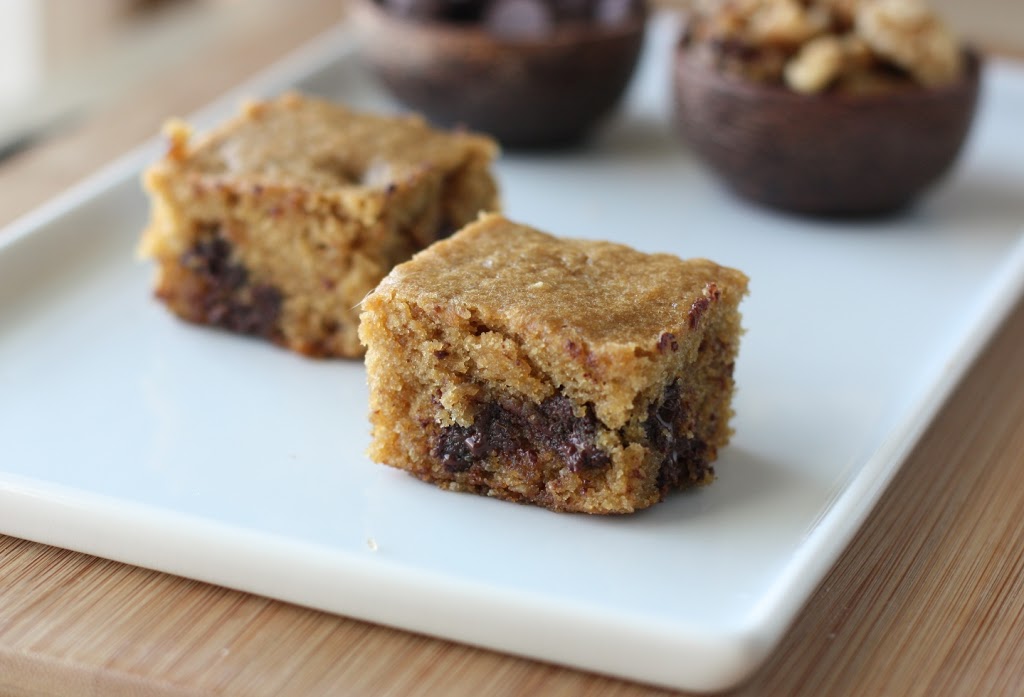
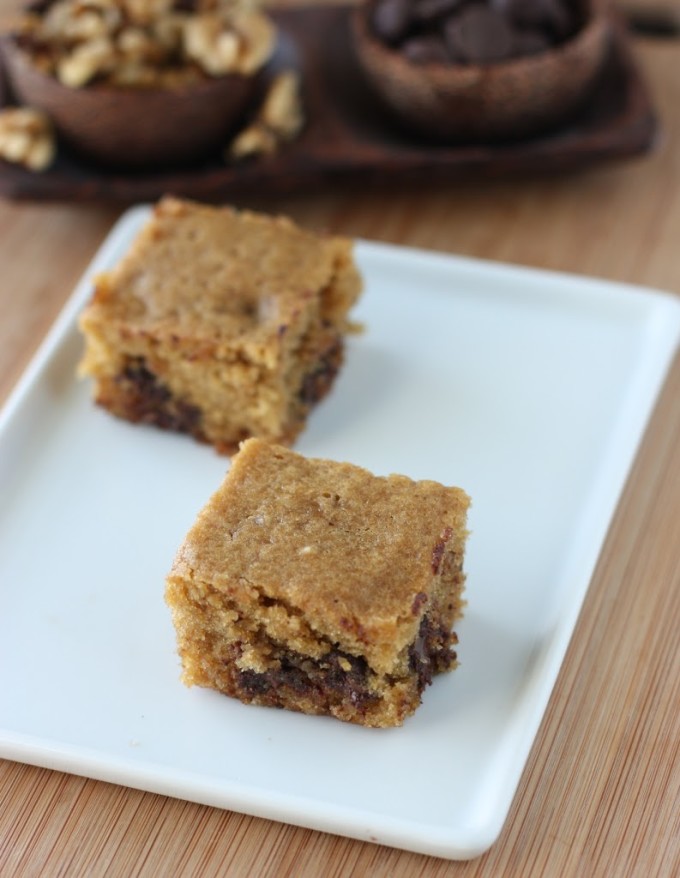
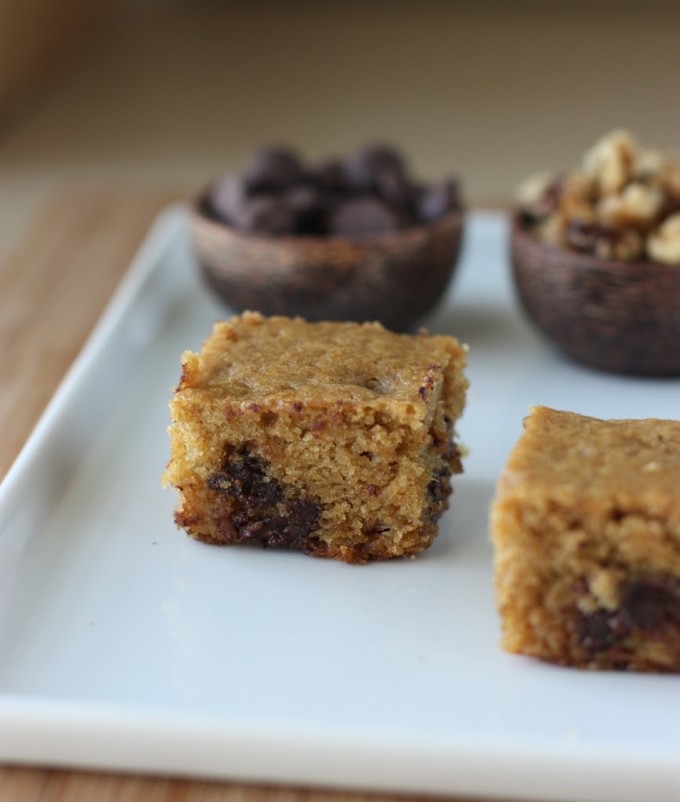
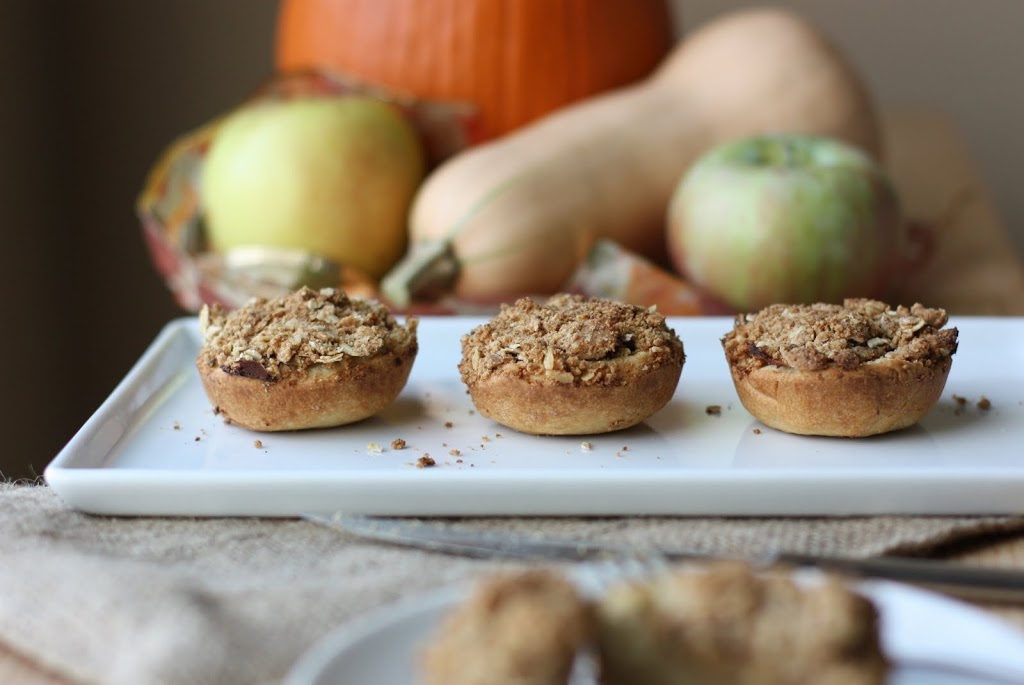
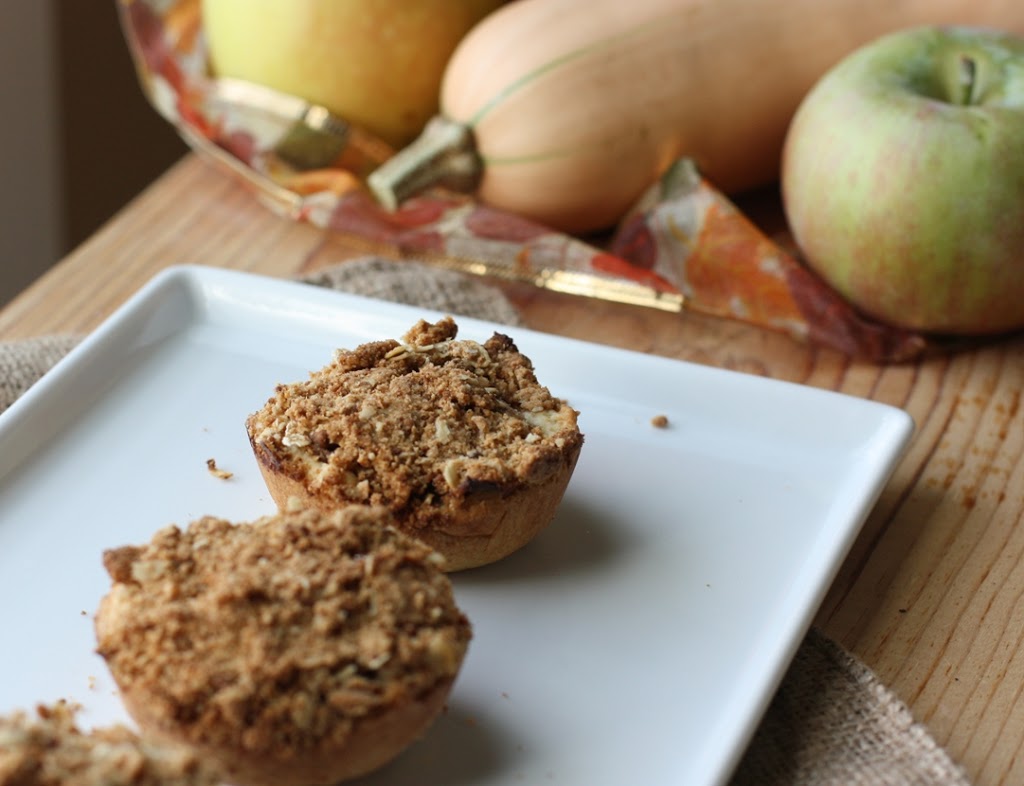
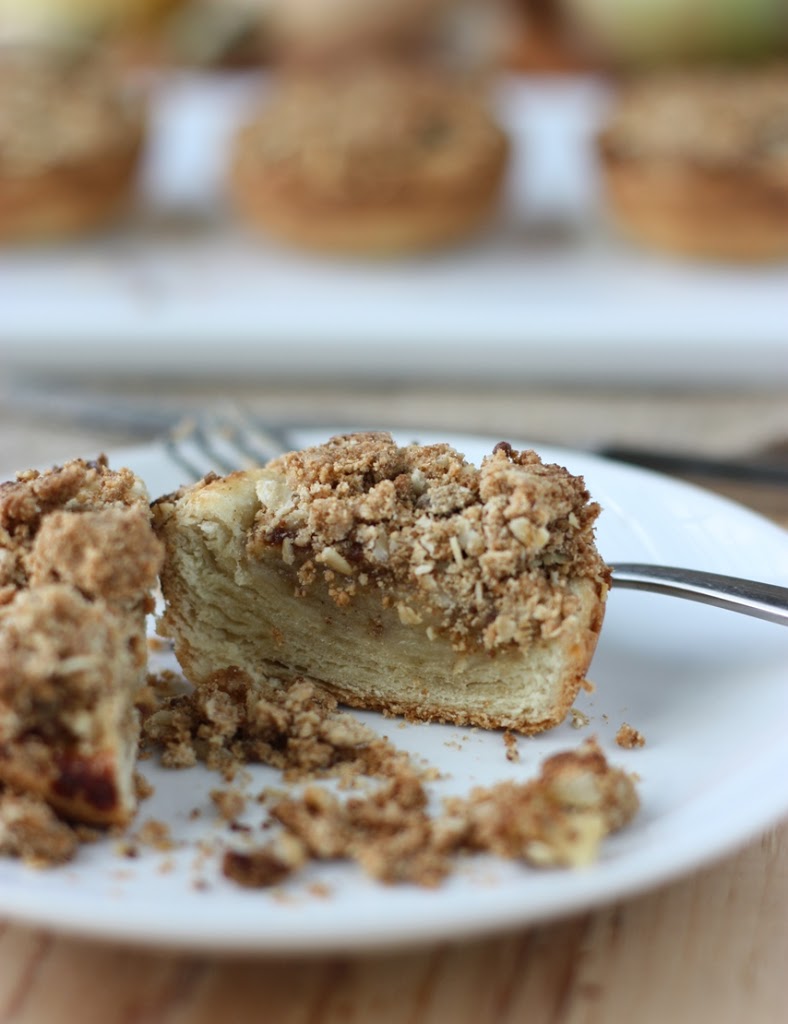
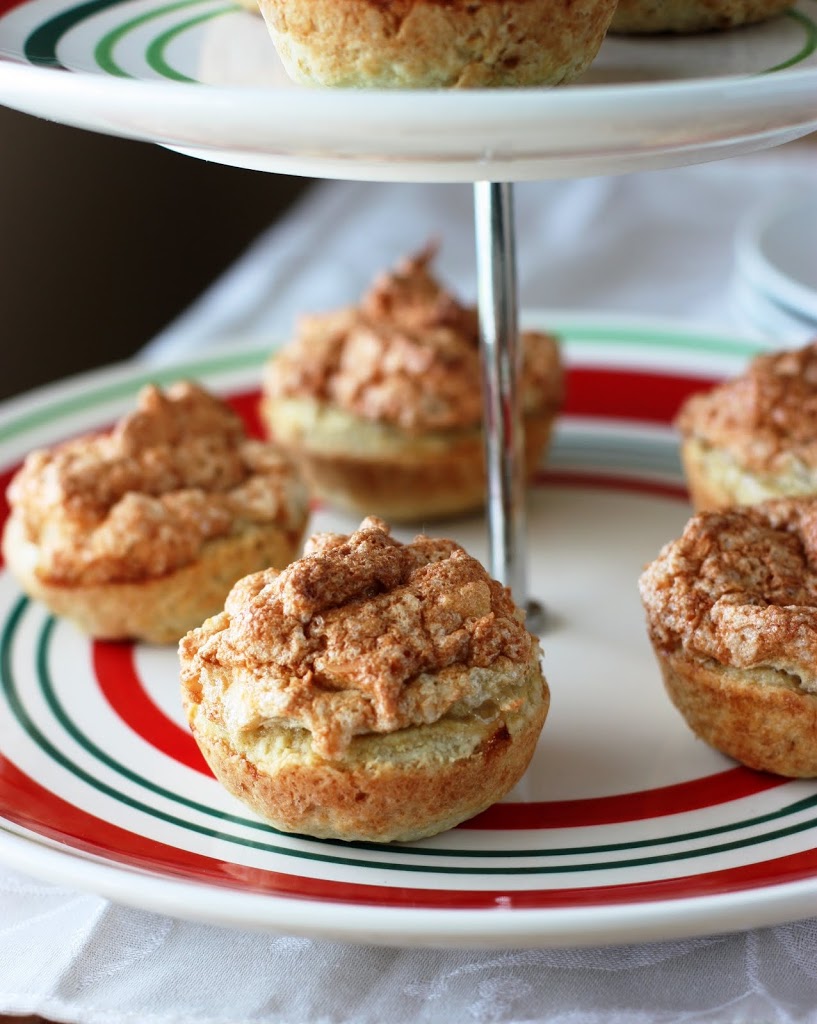
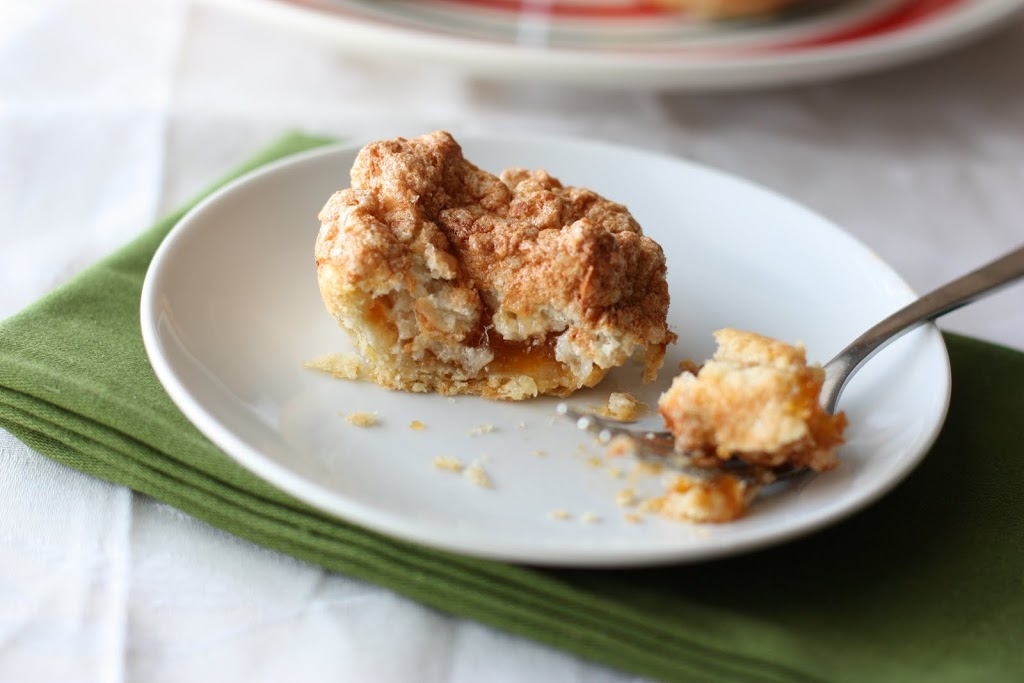
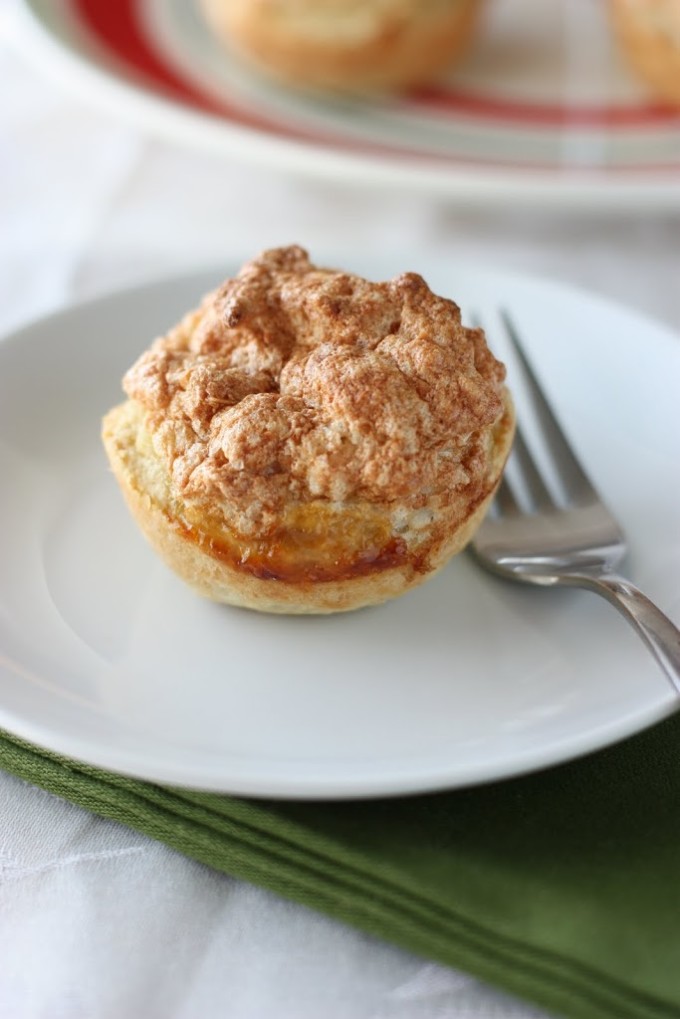
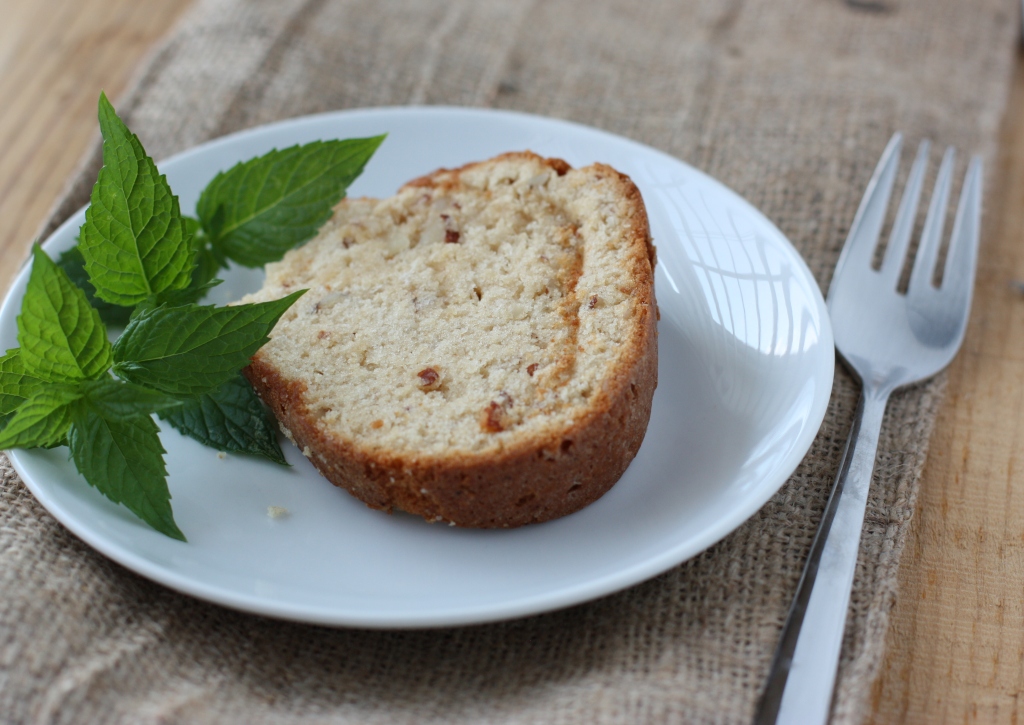
Like a sweet potato pie, these bars have a soft, spiced filling and a crisp crust. The potatoes, dates, maple syrup and coconut oil (not to mention a wee bit of bourbon) come together to provide just the right amount of sweetness. I promise you won’t miss the sugar at all.

Sweet Potato Date Bars

Crust

¼ cup oat flour
¾ cup white whole wheat flour
1/3 cup virgin coconut oil, at a soft butter-like consistency
1 tbsp pure maple syrup
1 tbsp water

Filling

1 cup cooked sweet potato, peeled and mashed
4 whole, pitted dates, chopped
1 tbsp bourbon
6 tbsp milk
1 tbsp pure maple syrup
¼ cup virgin coconut oil, melted
1 egg
½ tsp baking powder
½ tsp pumpkin pie spice
½ tsp salt

Preheat the oven to 350 degrees F. Grease an 8 x 8 inch baking pan with coconut oil.

In a small bowl, combine the oat flour and wheat flour. Add the coconut oil and with a pastry blender break it up into small pieces as you incorporate it into the dough. You should end up with pea size coconut oil pieces throughout the flour.

Add the syrup and the water. The dough should be somewhat crumbly, but hold together when pressed. Transfer to the baking dish and press evenly into the bottom of the pan. Bake about 5 minutes. Remove from the oven and set aside.

In a small food processor add the sweet potato, dates, bourbon and 2 tablespoons of milk. Pulse until smooth and the dates are blended in and almost visibly unnoticeable. Add a little more milk if it is too thick to blend.

Transfer sweet potato mixture to a medium size bowl. Stir in the remaining milk and maple syrup. Add the melted coconut oil and stir well. Make sure the batter isn’t too warm if you used warm coconut oil. Allow to cool before adding the egg if it is. Add the egg and mix until combined. Finally stir in the baking powder, pumpkin pie spice and salt.

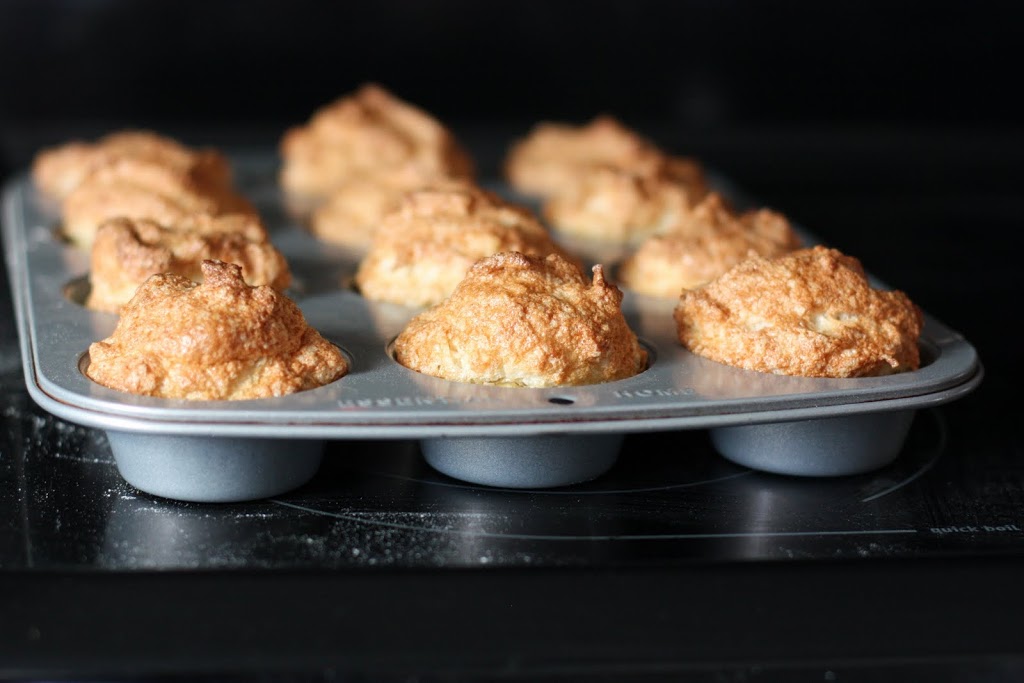
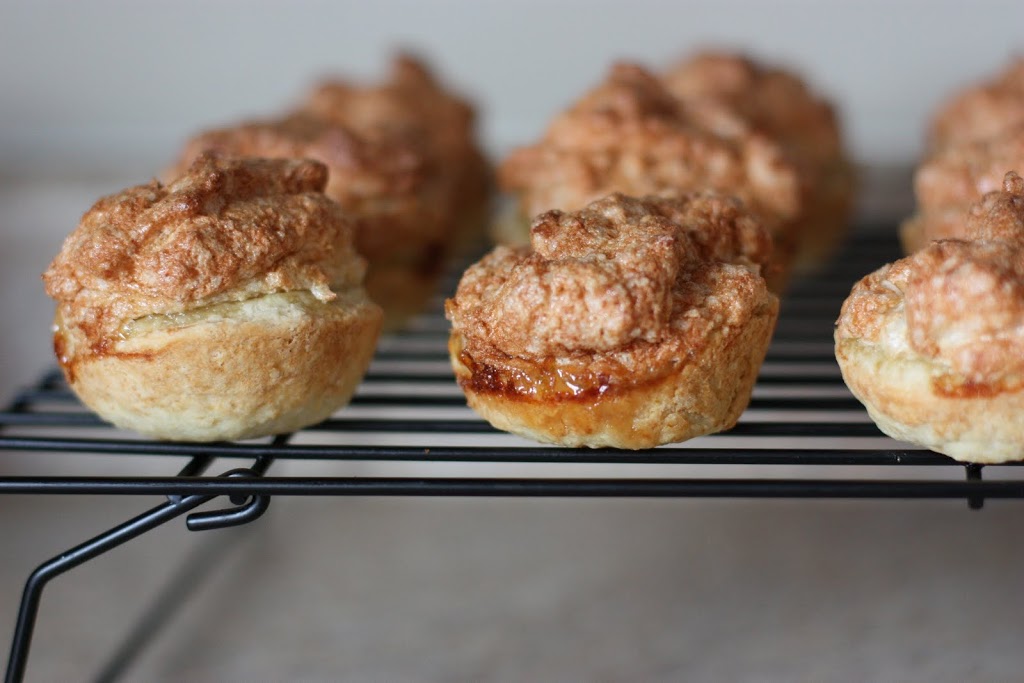
Pour the mixture over the crust, spread evenly. Return to the oven and bake 25 – 30 minutes, until the center is firm and an inserted knife comes out clean. Makes 9-12 bars depending on how large you’d like to cut them.

Banana Bourbon Scones with Walnuts

October 17, 2011

I seem to be big on adding spirits to my breakfast pastries. I justify this by considering them brunch-friendly. I mean, you break out the champagne or vodka at breakfast and people will look at you like you are a weirdo. Name your breakfast brunch and they’ll have a glass with you.

I experimented with bourbon in my scones back in April for Derby with Mint Julep Scones. I was happy with the result, so when those oh-so-common brown bananas were staring at me from the counter, scones came to mind, followed by bourbon.

Banana Bourbon Scones with Walnuts | Fake Food Free

With these scones, I cooked the banana down with butter and bourbon, caramelizing it just a bit. That went into the white whole wheat flour and I added a little crunch with walnuts. These scones are pretty sweet on their own, but for a little seasonal flavor I did a very light drizzle of a maple glaze.

Once again, don’t be afraid to have a little bourbon for breakfast.

Banana Bourbon Scones with Walnuts | Fake Food Free

Banana Bourbon Scones with Walnuts

Makes: 6 to 8 scones

Ingredients


1 overripe banana
1 tbsp unsalted butter
2 tbsp Kentucky bourbon
2 cups white whole wheat flour
2 tsp baking powder
2 tbsp Demerara sugar
½ tsp salt
¼ cup unsalted butter, cold and cubed
¼ cup walnuts, chopped
1-2 tbsp milk or cream

Glaze (optional):
3 tbsp confectioner’s sugar
1 tbsp maple syrup
Milk

Prep

Preheat the oven to 400 degrees F. In a skillet over medium-high heat, melt the butter. Add the banana and mash with the butter. Pour in the bourbon and cook, stirring often, for about 3 minutes. Set aside

In a mixing bowl, combine the flour, baking powder, sugar and salt. Add the butter and blend with a pastry blender or fork until the butter is in pea-size pieces throughout the flour.

Pour in the banana mixture and stir until incorporated. Add the walnuts. Slowly add the milk or cream a tablespoon at a time until a dough forms. It should be firm enough to roll out for cutting the scones.

Place the dough on a floured surface and use your hands (or a rolling pin) to press it out to about ¾ inch thickness. Use a biscuit cutter or drinking glass to cut out the scones. Place on an ungreased baking sheet.

Bake for about 15 minutes, until the scone begins to brown and is firm in the center. Remove from the oven and place on a cooling rack. 

To glaze, mix the confectioner’s sugar with the maple syrup in a small dish. Slowly add milk, one teaspoon at a time, until a thin, drizzling consistency is reached. Drizzle over cooled scones and let set before serving.

Banana Bourbon Scones with Walnuts | Fake Food Free
 
Thanks for reading! All images and content are the property of Fake Food Free unless otherwise stated. Please do not republish full recipes and images without written permission. What is okay? Feel free to Pin images, share links to my posts or share the photo in a round up post with the title of this recipe and a link back to the post. Confused about copyright and food blogs? Here is some helpful information on Recipe Attribution. If you want to use a photo or full recipe, just ask. I’m sure we can work something out.  

Pumpkin Spice Sugar Cookies

September 30, 2011

These pumpkin sugar cookies are made with white whole wheat flour and raw sugar. They make great cut-outs for Halloween or any holiday of the season!

   Pumpkin Spice Sugar Cookies | Fake Food Free

I am embarrassed to say that I’ve had my pumpkin-shaped cookie cutter for years. Years! As you might expect, I bought it with the intention of making some cute little cut-outs to celebrate fall. Every year I come up with some excuse as to why I’m too busy to make them.

This weekend it all changed. I grabbed it out of the cabinet (along with some others I bought on clearance last fall) shook of the dust and put them to use!

These soft sugar cookies are made with Demerara sugar and are slightly spiced. I kept mine simple this time around, but you could certainly sweeten them up with a good dose of frosting, or make them pretty with some decorating. 


Pumpkin Spice Sugar Cookies | Fake Food Free


Pumpkin Spice Sugar Cookies

Makes: 24 – 36 cookies (depending on your cookie cutters)

Ingredients

¾ cup Demerara or raw sugar
½ cup unsalted butter, softened
1 tsp vanilla
2 eggs
3 tbsp pureed pumpkin
2 ½ cups white whole wheat flour
2 tsp baking powder
½ tsp salt
1 ½ tsp pumpkin pie spice
Extra raw sugar to sprinkle

Prep

Cream together the butter and sugar until light and fluffy, scraping the sides of the bowl as needed. Mix in the eggs and pumpkin. Gradually mix in the flour, baking powder, salt and pumpkin pie spice.

Form the dough into a ball and wrap with plastic wrap. Refrigerate for at least one hour. You want the dough to be firm enough to roll and cut.

Preheat the oven to 375 degrees F. On a floured surface, roll out the dough to about ¼ inch thickness. Cut into desired shapes and place on a cookie sheet. Sprinkle each cookie with sugar, if desired. Bake for about 10 minutes, until the edges are browned. Cool on a wire rack. Makes about 24 – 36 cookies depending on the size of your shapes.

Recipe adapted from Roll Cookies from Joy of Baking


Pumpkin Spice Sugar Cookies | Fake Food Free 
 
Thanks for reading! All images and content are the property of Fake Food Free unless otherwise stated. Please do not republish full recipes and images without written permission. What is okay? Feel free to Pin images, share links to my posts or share the photo in a round up post with the title of this recipe and a link back to the post. Confused about copyright and food blogs? Here is some helpful information on Recipe Attribution. If you want to use a photo or full recipe, just ask. I’m sure we can work something out.

Pumpkin Blondies

September 28, 2011

These pumpkin blondies make a great dessert alternative to classic pumpkin pie! This recipe takes an old favorite and makes it wholesome and seasonal with whole grain flour, raw sugars, pumpkin puree, dark chocolate and walnuts. 

  Pumpkin Blondies | Fake Food Free

I’m not quite sure when my pumpkin obsession started. Growing up my grandmother’s pumpkin pie recipe was always my favorite and I loved the pumpkin muffins my mom made. However, that is where my pumpkin experiences ended.

As far as the cheery winter squash goes, that was the extent of my using it. Not only that, but it was also restricted to a specific time of year, October through November.

Pumpkin Blondies | Fake Food Free


My pumpkin like turned to pumpkin love when we moved to Brazil. I honestly had no idea that other cultures were so good at using pumpkin until I began seeing all the different varieties at the farmer’s markets and the creative dishes on menus and buffets.

The pumpkins there were nothing like our standard Jack O’ Lantern and pie pumpkins in Kentucky. Some were dark green with deep ridges; others were bright orange, flat and round. There was candied pumpkin, pumpkin in pastas and roasted pumpkin topped with Gorgonzola as a side dish.

Fortunately, this year I’m starting to see some variation in pumpkin varieties in our area and I love it. To add to that, pumpkin is popping up in unexpected places, especially in my kitchen.

Now, I’m not breaking any pumpkin records with this recipe. It’s a sweet dessert made in autumn, yes. Pretty standard; but worth posting if you need an idea for something besides a quick bread or muffin.

I wish these had turned out a little chewier like traditional blondies, but I have yet to make a pumpkin baked good that doesn’t turn out a bit cakey. So call them, cake, bars or blondies, but whatever the name, call them good.

Pumpkin Blondies


Ingredients

1 cup white whole wheat flour
1/8 tsp baking soda
1/8 tsp salt
½ cup unsalted butter
2/3 cup mascavo or muscovado sugar
¼ cup Demerara or raw sugar
½ cup pumpkin puree
1 egg
1 tsp vanilla
2/3 cup dark chocolate chips
1/3 cup walnuts, chopped

Prep

Preheat the oven to 350 degrees F. Grease an 8-inch square baking pan.

In a small bowl, combine the flour, baking powder, baking soda and salt. Set aside.

In a medium sauce pan, melt the butter then allow it to boil, stirring constantly, until it is light golden brown. About 4 minutes. Stir in both sugars. Stir well to combine. Set aside and let cool until barely warm.

Stir the egg into the sugar and butter. Mix well. Stir in the vanilla. Add the pumpkin puree. Slowly add in the flour mixture, stir just until combined. Add the chocolate chips and walnuts and stir to incorporate.

Pour the batter into the pan and spread evenly. Bake for 25 to 30 minutes, or until a toothpick inserted in the center comes out clean. Allow to cool and cut into bars. Makes 16 small bars.

Recipe adapted from Butterscotch Brownies or Blondies from Joy of Cooking

Pumpkin Blondies | Fake Food Free
 
Thanks for reading! All images and content are the property of Fake Food Free unless otherwise stated. Please do not republish full recipes and images without written permission. What is okay? Feel free to Pin images, share links to my posts or share the photo in a round up post with the title of this recipe and a link back to the post. Confused about copyright and food blogs? Here is some helpful information on Recipe Attribution. If you want to use a photo or full recipe, just ask. I’m sure we can work something out.

Mini Peanut Butter Apple Pies

September 15, 2011

Since I made the Hertzoggies a little while back, I’ve had mini-pies on my mind. Maybe it’s because pies are considered the trendy dessert right now. Maybe it’s because autumn makes me hungry for pies. Or maybe it’s just because I had some pie crust dough leftover in the freezer.

Regardless, on the drive home from work tonight, I was thinking of mini-pies. I also had some apples from a local orchard in the fridge threatening to go soft on me with every passing day.

Apples with peanut butter is one of my favorite snacks. Healthy snacks, that is. Given the opportunity, I’d take caramel, but one needs a little protein from time to time so let’s go with peanut butter.

It took me a while to figure out how to incorporate that into a pie that wasn’t also made with cream cheese and whipped cream, then I thought of the crumb topping. So I replaced the butter in the topping with natural peanut butter. Cold natural peanut butter, though, already opened and from the fridge which gives it a little more solid texture than taking it straight from a newly opened jar.

You can use any pie crust that is about 9-10 inches. I had leftover pie crust from the Hertzoggies because I only made a half batch. But the crust from Spiced Whole Grain Apple Pie would work well too.

Mini Peanut Butter Apple Pies

1, 9-inch pie crust
1 large apple, peeled and very thinly sliced
1 tsp white whole wheat flour
1 tsp mascavo sugar
¼ tsp cinnamon

Topping

2 tbsp old-fashioned rolled oats
2 tbsp white whole wheat flour
3 tbsp mascavo sugar
3 tbsp natural peanut butter

Preheat the oven to 375 degrees F. Grease a standard muffin pan. With a biscuit cutter or glass, cut the crust into individual circles about 7 cm in diameter. Place the crusts in the muffin tin.

In a small bowl, combine the apple slices, flour, sugar and cinnamon. Toss to coat. Layer the apples in each of the crusts, filling just until the top edge of the crust.

In a mini-food processor, pulse the topping ingredients until they are combined and crumbly. Evenly divide the topping over each pie and press gently into the layer of apples.

Bake for 20 minutes. Let cool in the muffin tin for 5 to 10 minutes. Use a fork to gently remove the pies. Makes 8 mini-pies.

South African Hertzoggies

August 30, 2011

When I think about all the countries in this world, I realize that I have made foods from very few. Take South African cuisine, for example. I’ve seen it in blog posts, there is even a restaurant in town, but it is one food that I have yet to explore.

Lucky for me, we have a friend here who is from South Africa. She hooked me up with a cookbook so I could explore a few options. It’s taken me months to get down to business and get baking, but I think you may find these worth the wait.
   South African Hertzoggies | Fake Food Free | A pastry with apricot filling and a coconut topping.
 
 
Hertzoggies are a pastry also sometimes referred to as coconut tarts. Despite their association with coconut, I have to say what gets my attention, after now having taken several bites, is the apricot filling.

South African Hertzoggies | Fake Food Free | A pastry with apricot filling and a coconut topping.

These cute pastries are surprisingly easy to make. I adapted the recipe to include mascavo and Demerara sugars. I also had only unbleached, all-purpose flour on hand and used that instead of the recommended cake flour. Not wanting so much sugar and coconut in the meringue I reduced that a bit too.

The filling is super simple, just an apricot jam. According to the original recipe I adapted, the key to a good Hertzoggie is in the jam. Young apricot jam is ideal because it provides a bit of tartness. I wasn’t able to be picky with my jam, though. I went for my favorite variety (when it’s not homemade), Smucker’s Simply Fruit. I like it because there  is no added sugar or artificial sweeteners.
My Hertzoggies browned up a bit more than photos I’ve seen, but I expect that is because of the sugars I used.  I also struggle a bit with meringues. Nonetheless, these little treats are delicious. Not only in their original form, but the whole idea has me visualizing the potential for other flavors!
South African Hertzoggies | Fake Food Free | A pastry with apricot filling and a coconut topping.


South African Hertzoggies
Modified from Hertzoggies, Cook with 7 de Laan

Makes: 16 to 18

Ingredients

Dough
2 cups unbleached, all-purpose flour
2 tsp baking powder
Pinch of salt
½ cup butter
5 tsp mascavo sugar
3 egg yolks
1-2 tbsp milk

Filling and Topping

½ cup apricot jam
3 egg whites
¾  cup Demerara sugar
½ cup unsweetened, shredded coconut
Prep
Preheat oven to 350 degrees F and grease a muffin tin.
Sift the flour, baking powder and salt together. Cut in the cold butter. Blend with a pastry blender until the butter is in pea-size pieces. Stir in the sugar and then the egg yolks. Add the milk a little at a time until the dough comes together and is firm, but not dry.
On a floured surface roll out the dough to about a ¼ inch thickness. Using a 7 cm cookie or biscuit cutter, cut out the individual pie crusts. Gently press them into the muffin tins.
South African Hertzoggies | Fake Food Free | A pastry with apricot filling and a coconut topping.
Spoon a heaping teaspoon of jam into each of the crusts. Beat the egg whites until stiff. Gently fold in the Demerara and coconut. Using a heaping tablespoon, top each crust with the egg whites to cover the jam.
South African Hertzoggies | Fake Food Free | A pastry with apricot filling and a coconut topping.
Bake for 20-25 min or until the Hertzoggies are nicely browned and the egg whites are firm. Remove from the oven. Using a knife, gently lift the small pies out of the muffin tin and set on a wire rack to cool. Makes 16-18.
South African Hertzoggies | Fake Food Free | A pastry with apricot filling and a coconut topping.
 
 
Pin It

Grilled Peaches and Pound Cake

August 23, 2011

I was watching Cash Cab the other night and one of the very first questions in the episode was – what dessert is named due to its ingredient list with 16 oz of butter, 16 oz of sugar, 16 oz…etc?

Do you know?

I did, but only because I recently had a discussion with a friend just a few months ago about a traditional recipe.

This led me to yelling, “Pound cake. POUND Cake. POUND CAKE!” at the couple on TV who couldn’t seem to come up with the answer.

So ever since then I’ve had pound cake on my mind. Not the original recipe that makes a load of cake, but perhaps a modified version that we could handle in our house.

This weekend when we decided to grill some more peaches I decided it was my opportunity to slip in a little pound cake.

If you’ve never grilled peaches before, it is super simple. Just half and remove the pit. If you want to you can sprinkle them with sugar on the cut side, or you can do this with sugar or honey after they grill, or you can leave the sugar out all together. That’s what we did this time, just straight peaches.

Place them on a hot grill, cut side down for 3 to 5 minutes and you have warm, juicy peaches perfect for dessert.

I modified a standard recipe for the pound cake using Demerara sugar and white whole wheat flour. It baked up wonderfully. We served it with the peaches and drizzled the whole thing with some coconut milk.

Grilled Peaches and Pound Cake

½ to 1 peach per person, grilled using instructions above
½ cup butter, softened
1 ¼ cups raw cane sugar
1 tsp almond extract
2 eggs
1 ½ cups white whole wheat flour
½ tsp baking powder
1/8 tsp salt
½ cup milk
Coconut milk for drizzling

Preheat oven to 350 degrees F and grease an 8 ½ x 4 ½ inch loaf pan.

In a mixing bowl combine the butter and sugar, cream until light and fluffy. Add the eggs and almond extract and mix well. Beat for 3 to 5 minutes.

In a separate bowl, combine the flour, baking powder and salt. Gradually alternate between mixing in the dry ingredients and the milk. Mix just until smooth.

Pour batter into your prepared loaf pan and bake for 50 to 55 minutes, until a toothpick inserted in the center comes out clean. Allow to cool in the pan on a wire rack about 10 minutes, remove from pan and serve warm or allow to cool completely. Makes 10-12 slices.

Plate one slice of the cake with one or two peach halves and drizzle with coconut milk to serve.

Baking with Coconut Oil: Gooseberry Pie

July 12, 2011

Gooseberries are one of those fruits that we always had growing in our backyard, but that no one else outside our family seemed to know anything about it. To me it seemed that gooseberries to others were like currants to me. They knew of them, but had never had the opportunity to experience them.

It didn’t really hit me how unpopular gooseberries were in our area until I came across them in Brazil. Not the fruit, though, the flavor. We started seeing groselha flavored popsicles and juices. There was even a groselha beer, also a bit of a girlie beer, where they put a shot of groselha syrup in the mug.

Thanks to my trusty translating book I quickly learned that groselha was gooseberry and it was something I’d known most of my life.

My parent’s gooseberry bushes are the red variety and when I was visiting recently I brought a small container back with me. A gooseberry is difficult to describe. Its flavor isn’t very distinct to me, just sweet. The skin and flesh are like that of a commercial grape, but the seeds inside are more like a blueberry. They are very difficult to pick due to the large thorns, but with gloves we managed to get a container full. Taking my mom’s advice we mixed both the purple/red and the ones that were still a little green.

Having the gooseberries to use up gave me an opportunity to try out a new pie crust. I’d wanted to try to make one with only virgin coconut oil for a while. Given the season and that my oil is in the fridge right now to prevent it from being a liquid, using it for the pie was quite the task.

I set the jar in warm water until it softened just a bit and then I had to do some serious digging to get it out and at the right texture. I wanted it to be firm enough to cut, but somewhat soft like butter. After a lot of work, I finely got it the way I wanted it and got working on my pie.

I had planned to make the pie all gooseberry, but I had just a few blackberries and raspberries that were threatening to go bad so I threw those in as well. I knew the berries would be good so the real test was the pie crust.

I’m going to go ahead and claim success. We really liked it. It was nice and flakey with that mild sweetness you get from coconut oil. Any combination of flours would work. I just happened to have white whole wheat and buckwheat around so I gave them a try. This crust is a nice break from an all butter version. It makes for a hearty, whole grain pie.

Gooseberry Pie with a Coconut Oil Crust

Crust: (enough for a 9-inch, two-crust pie)

2 cups white whole wheat flour
½ cup buckwheat flour
1 tsp salt
1 cup virgin coconut oil, cubed (about the texture of cold butter)
½ cup cold water

Filling:

3 ½ cups gooseberries (or any mixture of berries)
¼ cup raw sugar
1 ½ tbsp white whole wheat flour
1 tsp vanilla

In a bowl, mix the flours and salt. Add the semi-solid coconut oil and blend with a pastry blender until the oil is incorporated with pea-sized pieces.

Slowly add the water a little at a time and mix by hand until a dough is formed. Divide into two equal parts, wrap in plastic wrap and refrigerate for about 30 minutes. Remove from the fridge and roll out between two pieces of plastic wrap to the appropriate size for your pie pan.

Preheat the oven to 400 degrees F. In a bowl, combine the berries and toss with the flour and sugar until all the fruit is well coated. Stir in the vanilla.

Place the bottom crust in your pie pan and prick gently with a fork. Add the berry mixture. Cover with the top crust and cut slits in the top for baking. Sprinkle the top with about a teaspoon of raw sugar if desired.

Bake for 35 to 45 minutes. The crust should begin to brown and be firm and the berries should be bubbly. Remove, let sit for about 10 minutes and serve or allow to cool to room temperature. Serves 8.

*************************************************************

This post is a bit of a two-part because I have another fun recipe to share with you. My friend Jada, who is going on 10, developed a newfound interest in all things Abraham Lincoln this past school year. So this summer, Jada did a great presentation all about his life and included Abe Lincoln’s favorite cake. She consulted me, the food blogger, to find out if I thought the recipe was as good as she did. Oh, yes it is.

Jada made the cake with her family this week and her mom brought me some to work. I promised to photograph it and share this beautiful, and mighty tasty, cake with you. So here you go, and if you are interested in the recipe, quite a few bloggers have featured it. Obama Foodorama and Frugal Housekeeping are two of them. Thanks, Jada!

Blueberry Almond Cake

June 23, 2011
Blueberry Almond Cake Recipe | Fake Food Free
 
I’ve been combing the cookbooks lately. Not just any cookbooks, but the many I have on my own shelves. I won’t say too many, because I really don’t think I could ever have too many cookbooks.

I find that when I get one, as good as it may be, I make one or two recipes and on the shelf it goes. I have no idea why because they are all filled with a lot more than two fabulous recipes. It’s like the new updated gadget comes out, the old one gets shelved even though it’s still in perfect working condition.

So I’ve been combing through them page by page on my lunch hour at work and at home in the evenings. First, for recipes to spotlight these blueberries, and second, to look at photographs.

When I took the online CreativeLIVE Food Photography Course with Penny De Los Santos a few weeks ago, she repeatedly advised that aspiring and experienced food photographers should always be looking for inspiration. In books, in magazines, anywhere there is a food photograph, study it and use it to inspire your own ideas. That tip really stuck with me so I’ve been trying to incorporate picture study-time on a regular basis.

In the process I found an almond cake I wanted to try last year, but never got around to it. It comes from Canning for a New Generation by Liana Krissoff which I reviewed last year. It remains one of my favorite books because while it focuses on canning it is filled with recipes for entrees and desserts as well.

So I took the cake as a guide, used my favorite sugars and flours, added a little, took a little away and ended up with this Blueberry Almond Cake.

I was incredibly happy with the result. The cake is sweet and slightly nutty and the berries add just a little tartness. It’s a bit of a cross between a dessert cake and a coffee cake. I only view that as a bonus because once again, cake for breakfast!

Blueberry Almond Cake Recipe | Fake Food Free
Blueberry Almond Cake
Makes: 8 to 10 servings
Write a review
Print
Ingredients
  1. 1 cup raw, unsalted almonds
  2. ¾ cup evaporated cane or raw sugar plus 1 tbsp and some for sprinkling (I use Demerara)
  3. 1 ½ cups white whole wheat flour
  4. 2 teaspoons baking powder
  5. 1 teaspoons fine ground sea salt
  6. 4 large eggs
  7. ½ teaspoon almond extract
  8. ¾ cup unsalted butter, melted
  9. ½ cup fresh blueberries
Instructions
  1. Preheat the oven to 325 degrees F. Butter and flour a 9-inch spring-form pan.
  2. In a food processor, process the almonds and 1 tablespoon of the sugar until they are finely ground, somewhat close in consistency to a coarse flour.
  3. In a medium bowl, combine the ground almonds, flour, baking powder and salt. Stir to combine and set aside.
  4. To the bowl of an electric mixer, add the eggs and ¾ cup of sugar. Using the whisk attachment, beat for about 3 minutes until it is light and fluffy. Mix in the almond extract.
  5. Slowly alternate adding the butter and flour mixture, blending after each addition just until combined. The batter will be thick.
  6. Pour the batter into the prepared pan. Evenly distribute the blueberries on top of the cake, gently pressing each into the batter. Sprinkle on 1 to 2 teaspoons of raw sugar.
  7. Bake for 35 to 40 minutes or until a toothpick inserted into the center comes out clean and the sides pull away from the pan. Place on a cooling rack and cool in the pan for 10 minutes. Remove the spring-form pan and cool to room temperature.
Adapted from Adapted from Rustic Almond Cake from Canning for a New Generation
Fake Food Free https://www.fakefoodfree.com/
Blueberry Almond Cake Recipe | Fake Food Free

Thanks for reading! All images and content are the property of Fake Food Free unless otherwise stated. Please do not republish full recipes and images without written permission. What is okay? Feel free to Pin images, share links to my posts or share the photo in a round up post with the title of this recipe and a link back to the post. Confused about copyright and food blogs? Here is some helpful information on Recipe Attribution. If you want to use a photo or full recipe, just ask. I’m sure we can work something out.

Grilled Pizza – Six Ways

June 4, 2011

You say grilling season, I say…pizza!

Yes, I know that other things like pork chops, hamburgers and veggie skewers may come to mind, but I have officially decided that my absolute favorite thing to grill is pizza.
We have a ceramic grill and those mesquite wood chips infuse the crust and toppings with a flavor that words can’t describe. From savory to sweet, there isn’t any kind of pizza that I don’t like grilled.
On Memorial Day, I was determined to kick off the grilling season with this favorite. Knowing that I’d be traveling this week for work I made up two batches of dough and lots of flavor combos so that my husband would have some leftovers during the week.
I have a favorite pizza dough that I make every time from Food Embrace (formerly Off Her Cork). I’ve mentioned it before and you can find the recipe there. I often switch the flour combos up and this time I used (for a double batch) 2 cups of unbleached white flour and 6 cups of white whole wheat flour. This dough rises every time without fail and it grills up so well.
I had the garden in mind for these combinations. Arugula is just beginning to grow, but I couldn’t wait any longer so I picked a few pieces early for one of my favorite pizzas. The loads of kale we have came in handy, too. Herbs were perfect for the cheese pizza and the strawberries came into play for the dessert pizzas.

I had picked up some local, grassfed brisket that had been smoked a few days prior and it was a bit too fatty for us. Not knowing what else to do with it besides sandwiches, I was so glad my husband came up with the great idea of dicing up the lean portions and using it for the pizzas.

Below are all the combos from this round of grilling. No measuring necessary. I eyeballed it all and used the amount I wanted based on my preferences. I divided the dough into 7 portions and we had 6 different topping combinations. All were different in size which is the fun of pizza making!
Although you might want to ignore the guava and cheese pizza. We had a bit of a mishap with the dough and it is more of an H than a circle or oval.
I love taking a few photos when my husband isn’t paying attention and this one depicts the necessary beverage for pizza grilling. We had picked up some imports earlier in the day.
Using plenty of olive oil and cornmeal to coat the dough, the grill was heated to about 350 degrees F and my husband grilled one side of the dough for about 3 minutes. The pizza dough is then flipped onto a tray and comes inside for toppings. So we are putting the toppings on the partially cooked side. Then it goes back on the grill for another 3-5 minutes with the uncooked side down. This way, the rest of the dough bakes as the toppings melt.
You’ll notice that all the photos are grill-side shots. Time is of the essence when grilling pizza because it will cool quickly. I was so hungry for pizza that no time could be wasted for photos once it was slid off the grill!

Kale and Mushroom
Red sauce (any of your favorites will do)
Sauteed kale and mushrooms (toss in a skillet with olive oil until kale is wilted)
Mozzarella

Arugula and Sundried Tomato
Mozzarella
Sundried tomatoes, thinly sliced
Arugula, chopped if leaves are large

Cheese and Herbs
Red Sauce
Mozzarella
Cheddar
Fresh oregano leaves
Fresh thyme leaves

Brisket and Blue Cheese

Red Sauce
Cheddar
Mozzarella
Blue cheese
Smoked brisket, finely diced

Peach and Strawberry

Peach preserves (I used what I had canned last year)
Strawberries, sliced
Mozzarella
Romeu e Julieta (Guava and Cheese)
Goiabada (guava paste, chopped, or guava jam)
Mozzarella
Want to create beautiful food and product photos that you can't wait to share?!
Discover your style, control the light, and shoot using the tool you know how to use (yes, your phone included). Learn about free resources, Live Q&As with Lori, and online courses you can take from anywhere in the world!
We respect your privacy. Unsubscribe at any time.