You say grilling season, I say…pizza!
Yes, I know that other things like pork chops, hamburgers and veggie skewers may come to mind, but I have officially decided that my absolute favorite thing to grill is pizza.
We have a ceramic grill and those mesquite wood chips infuse the crust and toppings with a flavor that words can’t describe. From savory to sweet, there isn’t any kind of pizza that I don’t like grilled.
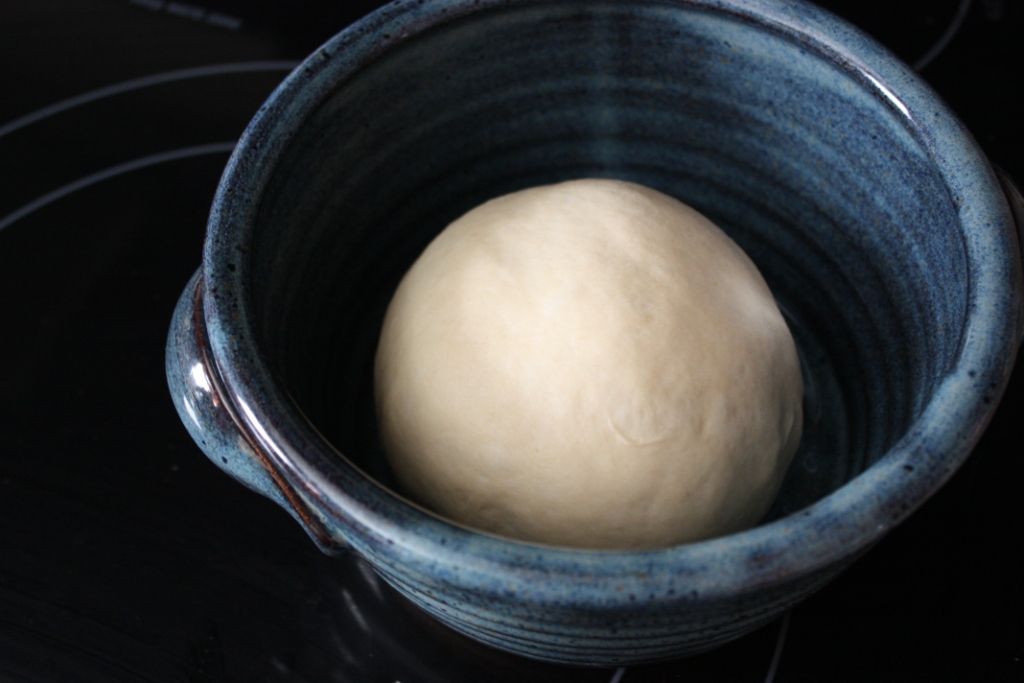
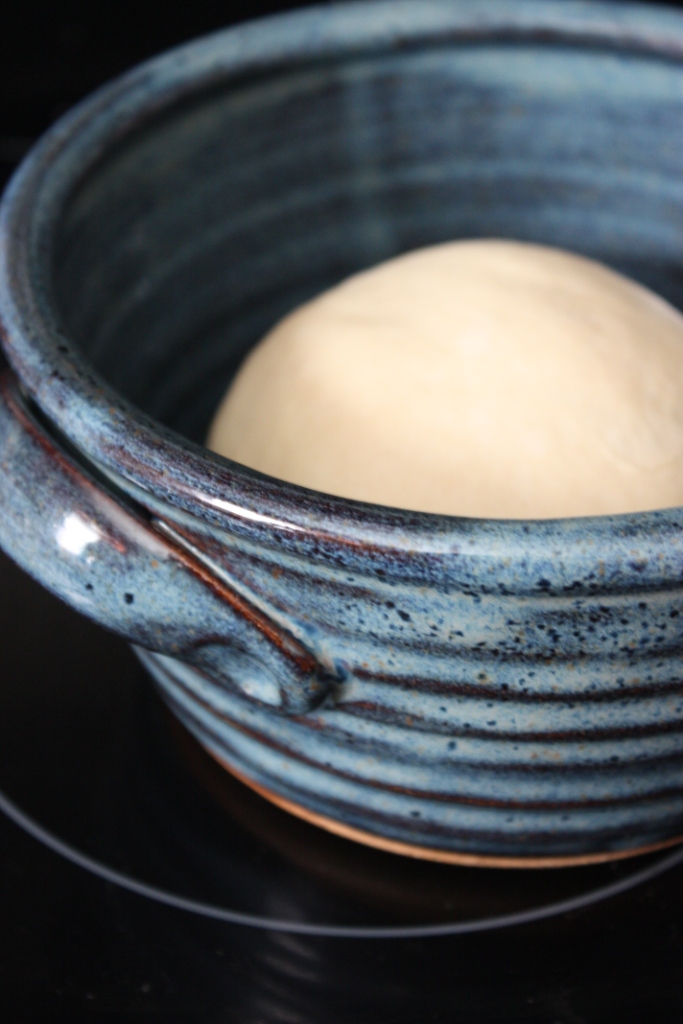
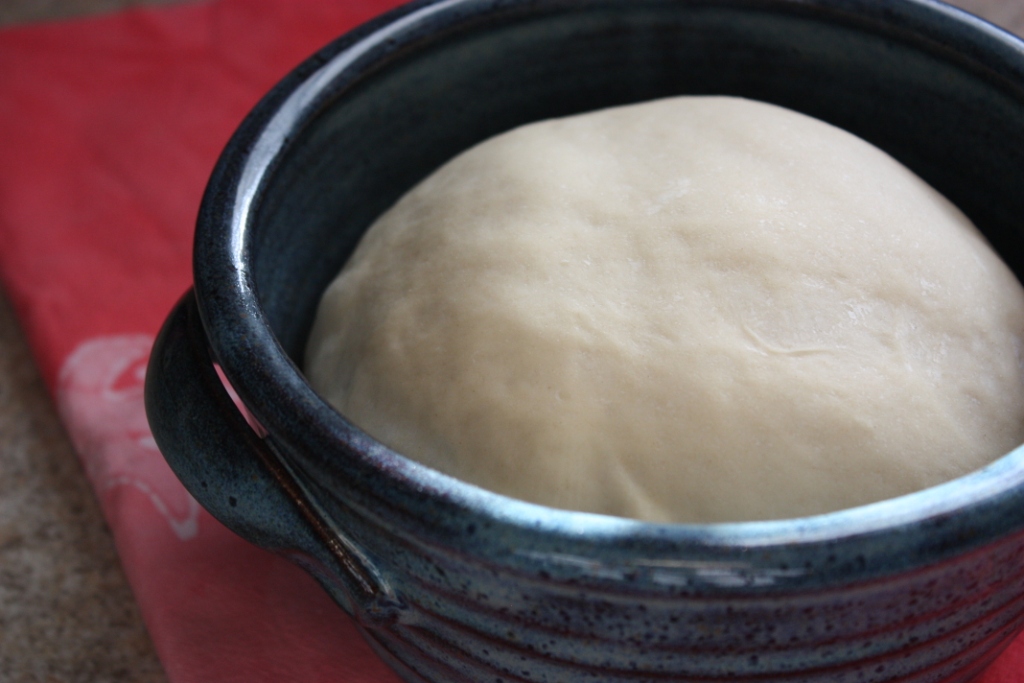
On Memorial Day, I was determined to kick off the grilling season with this favorite. Knowing that I’d be traveling this week for work I made up two batches of dough and lots of flavor combos so that my husband would have some leftovers during the week.
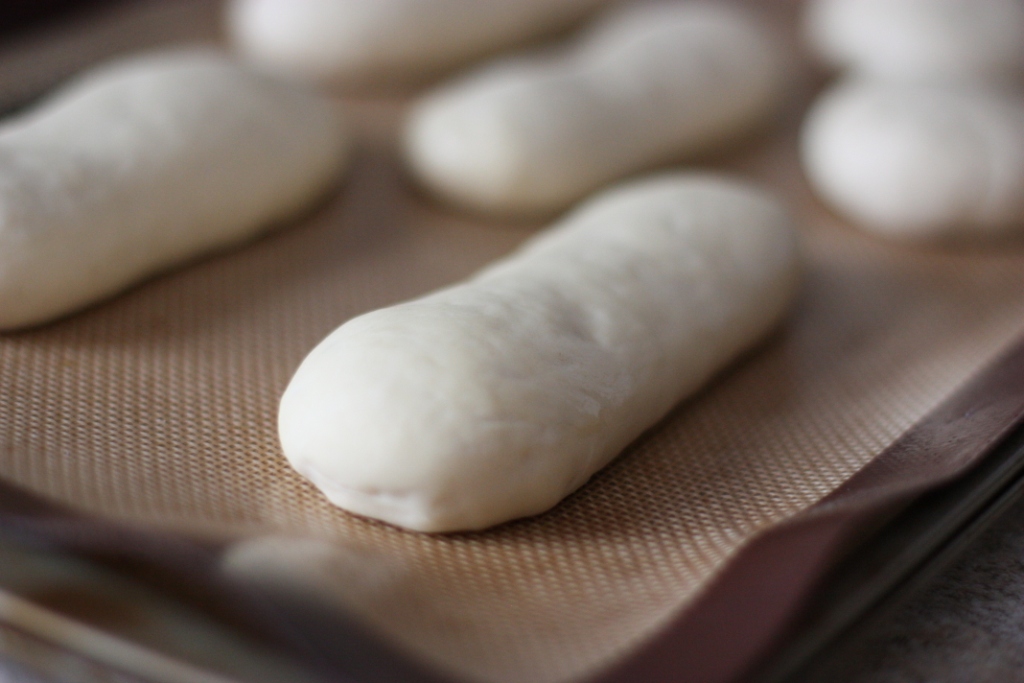
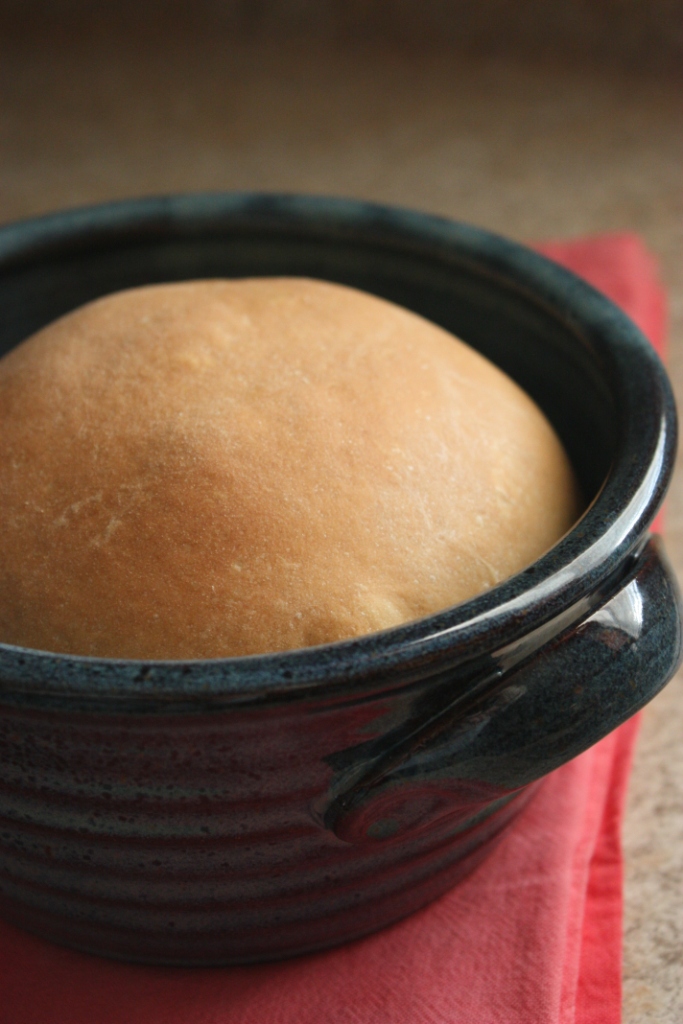
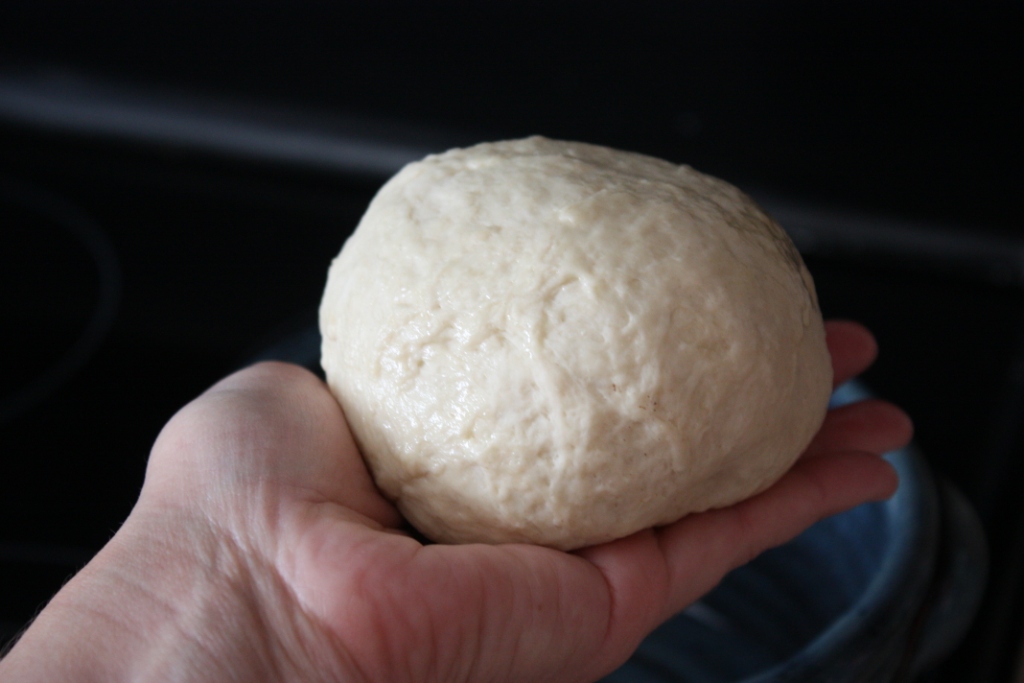
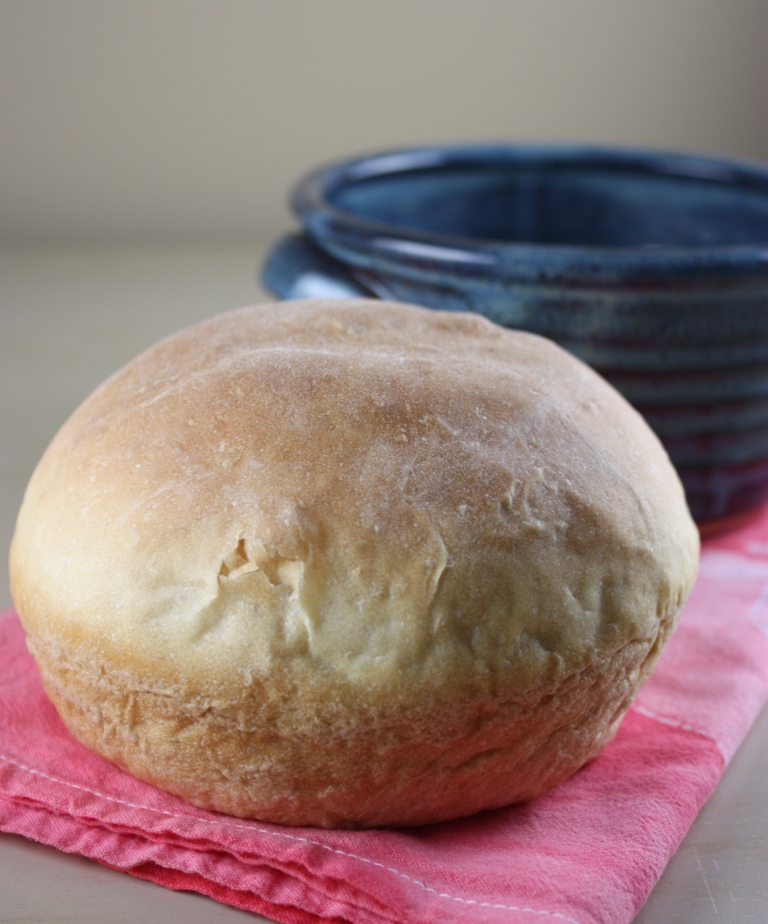
I have a favorite pizza dough that I make every time from Food Embrace (formerly Off Her Cork). I’ve mentioned it before and you can find the recipe there. I often switch the flour combos up and this time I used (for a double batch) 2 cups of unbleached white flour and 6 cups of white whole wheat flour. This dough rises every time without fail and it grills up so well.
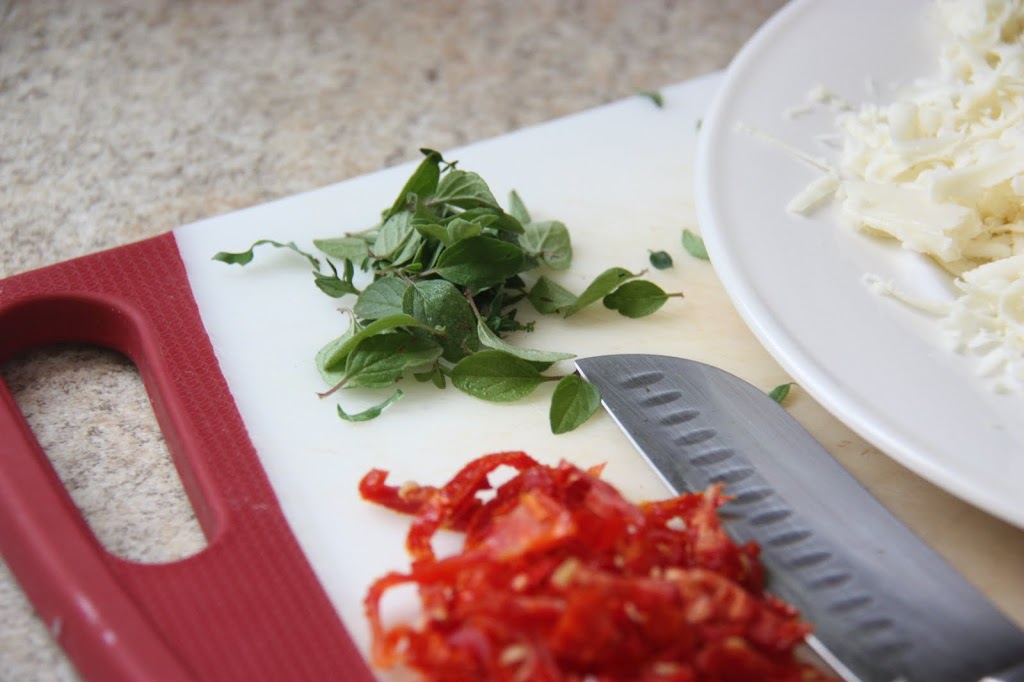
I had the garden in mind for these combinations. Arugula is just beginning to grow, but I couldn’t wait any longer so I picked a few pieces early for one of my favorite pizzas. The loads of kale we have came in handy, too. Herbs were perfect for the cheese pizza and the strawberries came into play for the dessert pizzas.
I had picked up some local, grassfed brisket that had been smoked a few days prior and it was a bit too fatty for us. Not knowing what else to do with it besides sandwiches, I was so glad my husband came up with the great idea of dicing up the lean portions and using it for the pizzas.
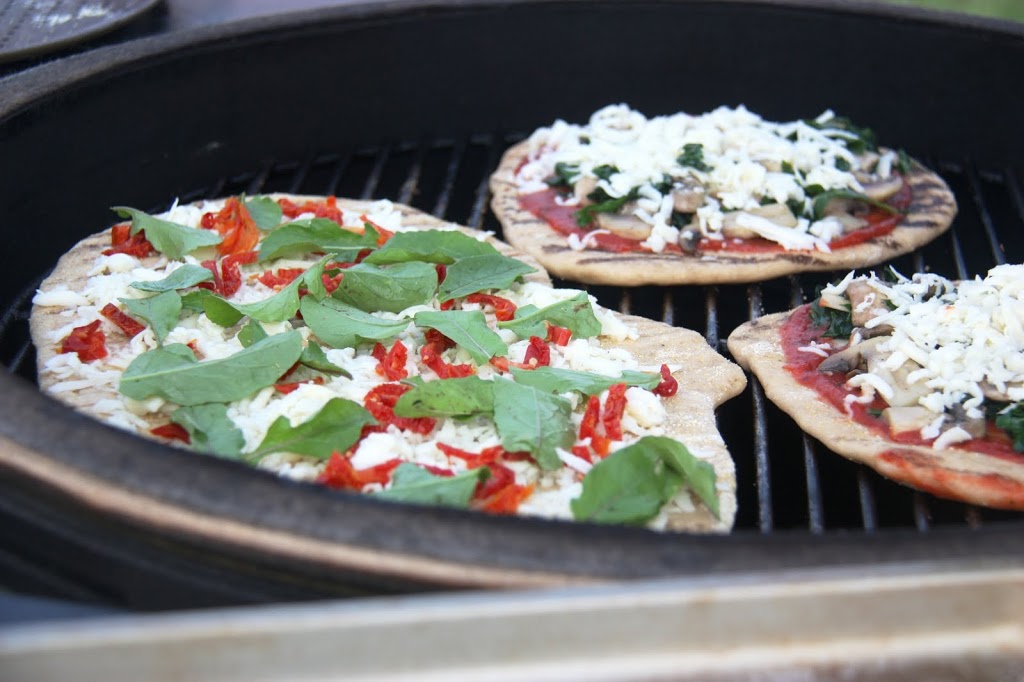
Below are all the combos from this round of grilling. No measuring necessary. I eyeballed it all and used the amount I wanted based on my preferences. I divided the dough into 7 portions and we had 6 different topping combinations. All were different in size which is the fun of pizza making!
Although you might want to ignore the guava and cheese pizza. We had a bit of a mishap with the dough and it is more of an H than a circle or oval.
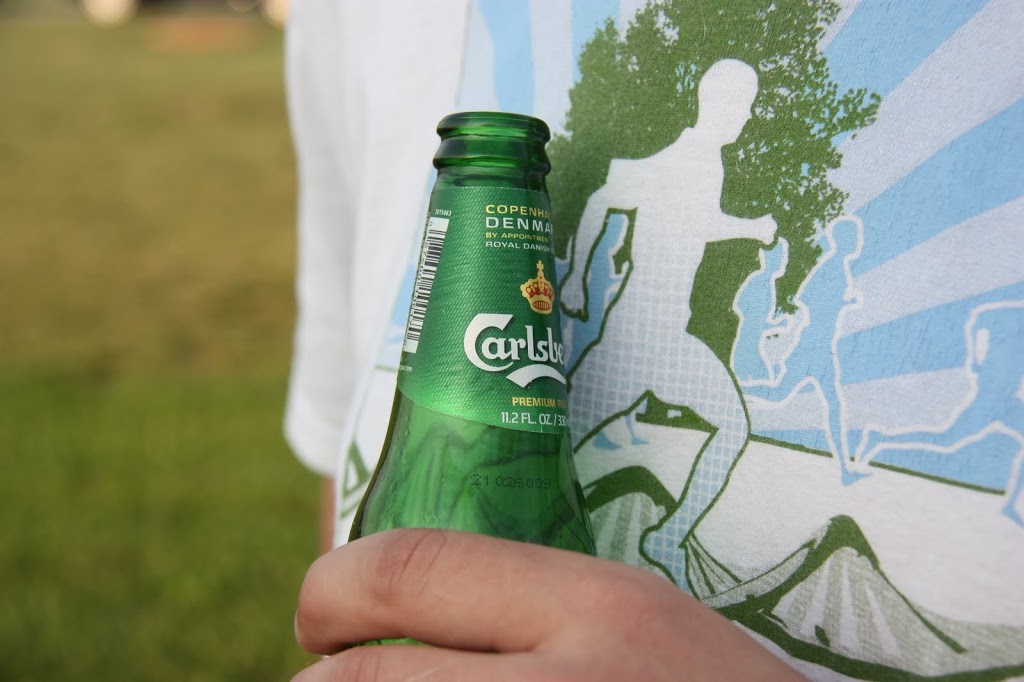
I love taking a few photos when my husband isn’t paying attention and this one depicts the necessary beverage for pizza grilling. We had picked up some imports earlier in the day.
Using plenty of olive oil and cornmeal to coat the dough, the grill was heated to about 350 degrees F and my husband grilled one side of the dough for about 3 minutes. The pizza dough is then flipped onto a tray and comes inside for toppings. So we are putting the toppings on the partially cooked side. Then it goes back on the grill for another 3-5 minutes with the uncooked side down. This way, the rest of the dough bakes as the toppings melt.
You’ll notice that all the photos are grill-side shots. Time is of the essence when grilling pizza because it will cool quickly. I was so hungry for pizza that no time could be wasted for photos once it was slid off the grill!
Kale and Mushroom
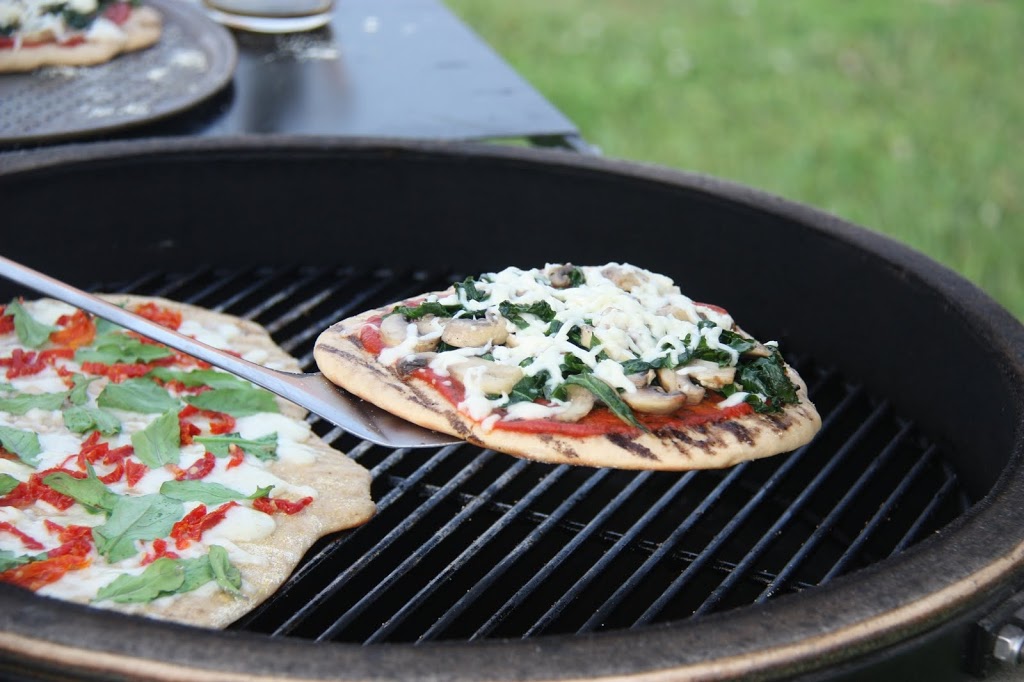
Red sauce (any of your favorites will do)
Sauteed kale and mushrooms (toss in a skillet with olive oil until kale is wilted)
Mozzarella
Arugula and Sundried Tomato
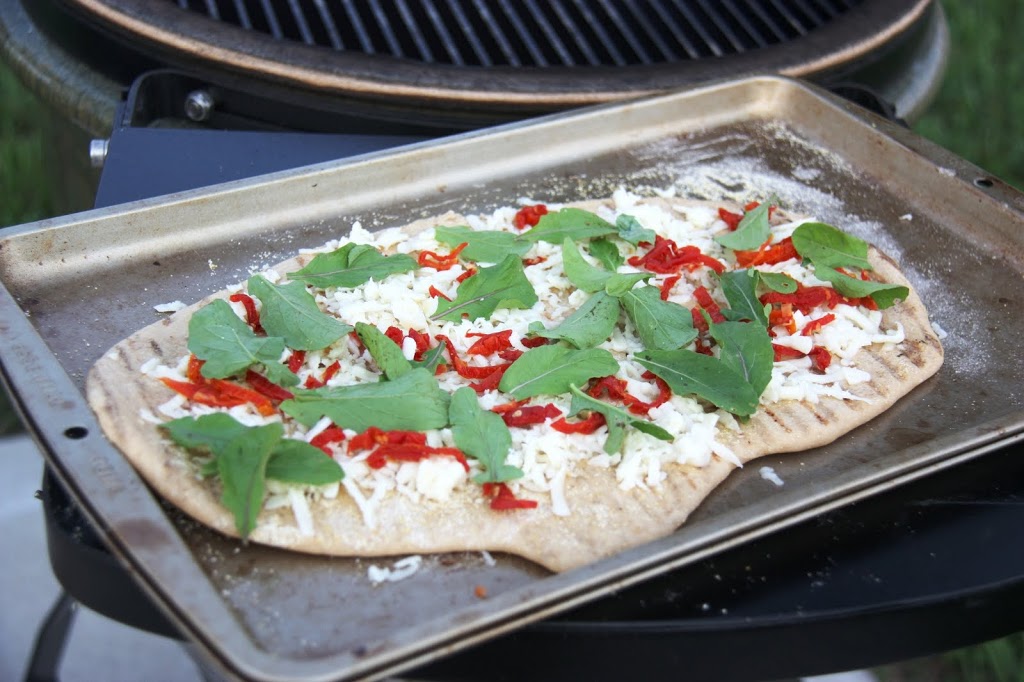
Mozzarella
Sundried tomatoes, thinly sliced
Arugula, chopped if leaves are large
Cheese and Herbs
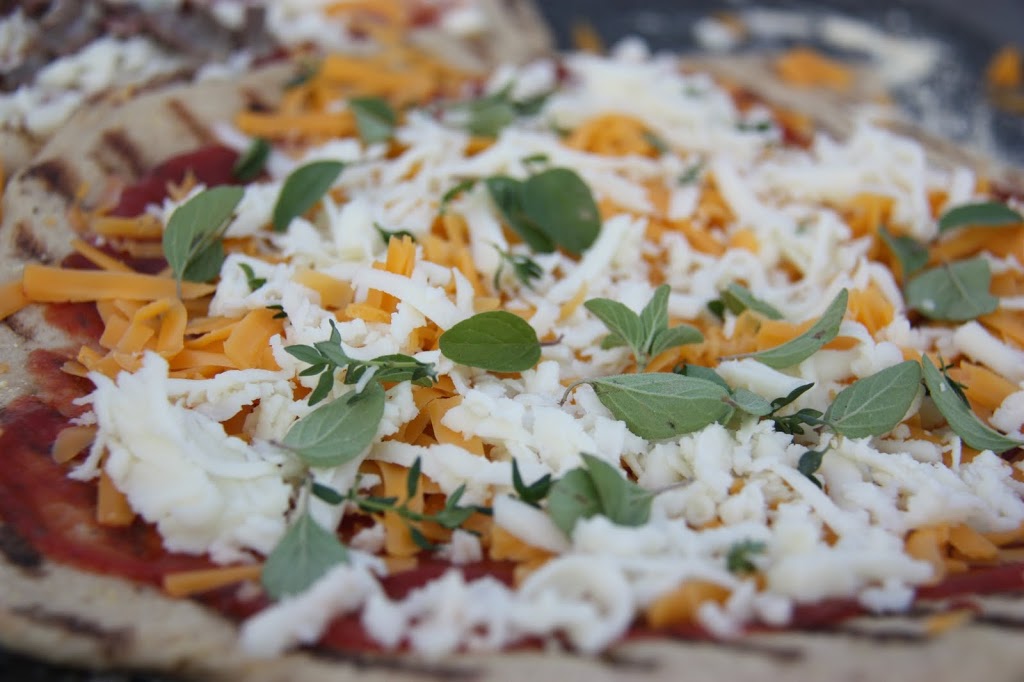
Red Sauce
Mozzarella
Cheddar
Fresh oregano leaves
Fresh thyme leaves
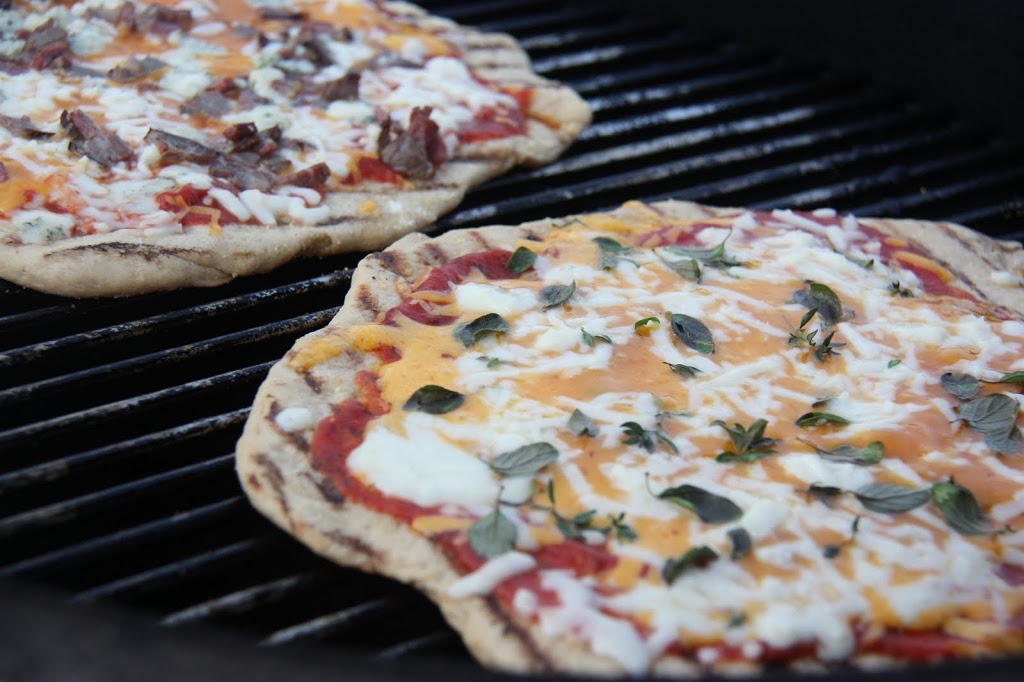
Brisket and Blue Cheese
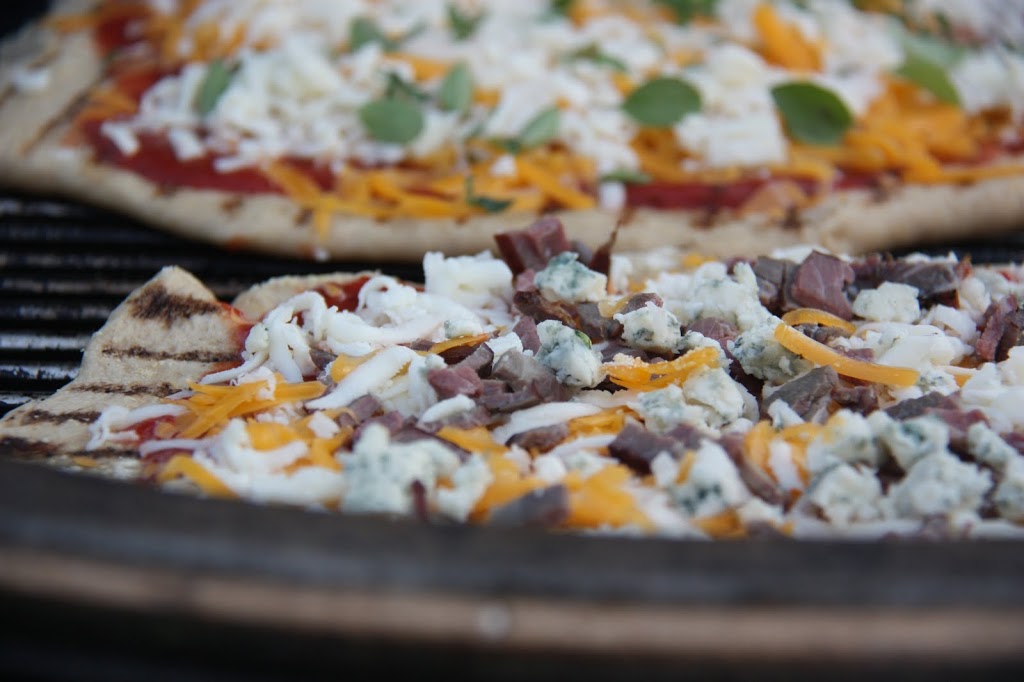
Red Sauce
Cheddar
Mozzarella
Blue cheese
Smoked brisket, finely diced
Peach and Strawberry
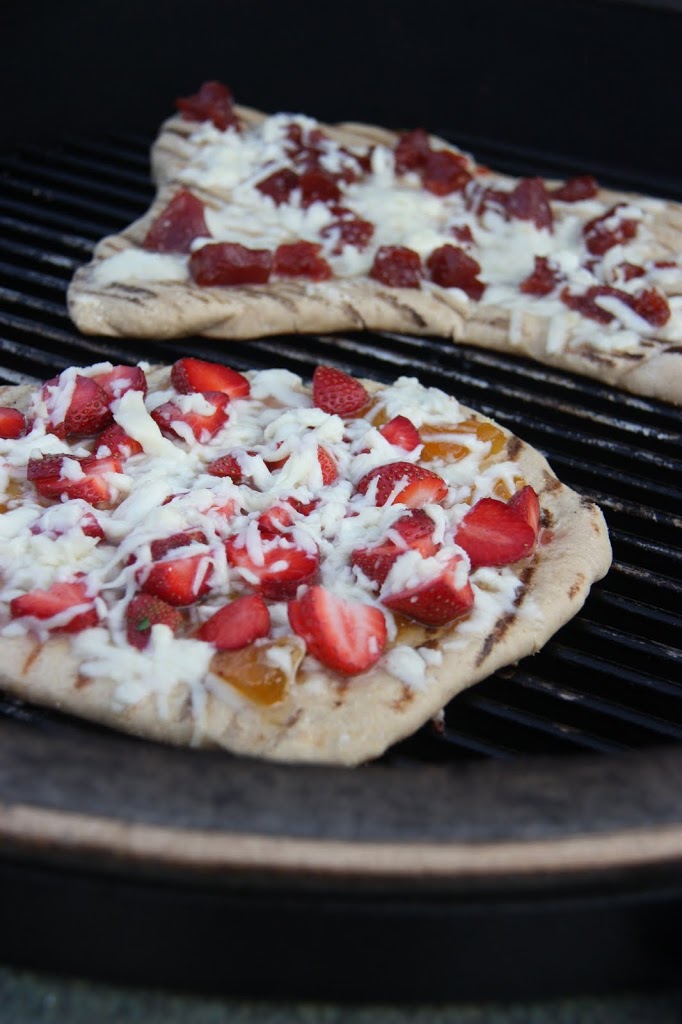
Peach preserves (I used what I had canned last year)
Strawberries, sliced
Mozzarella
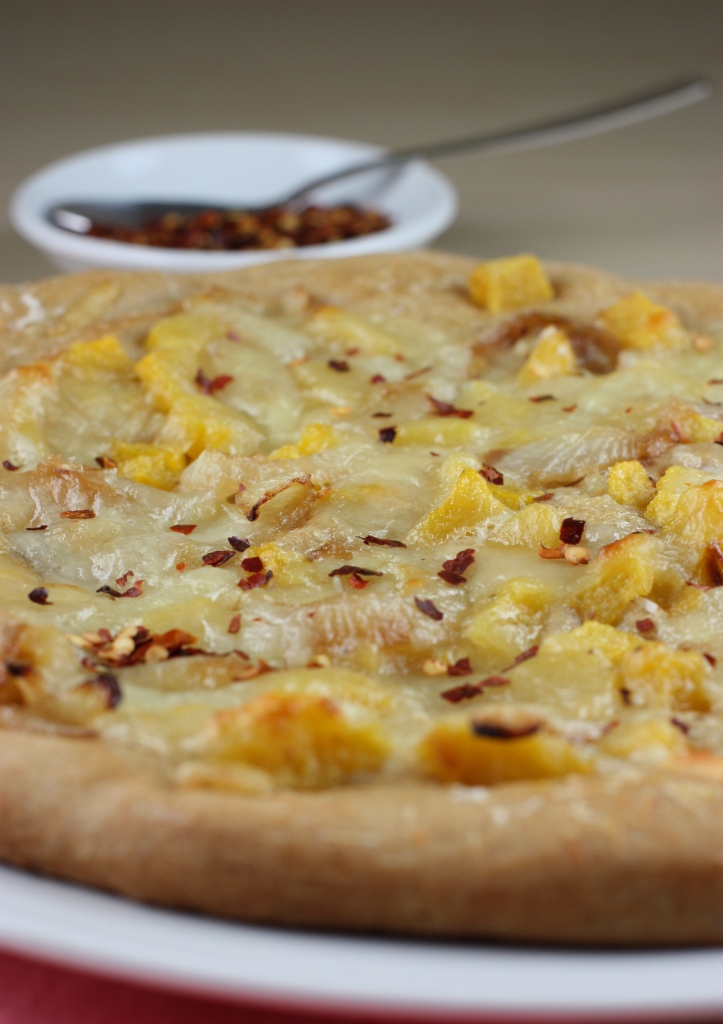
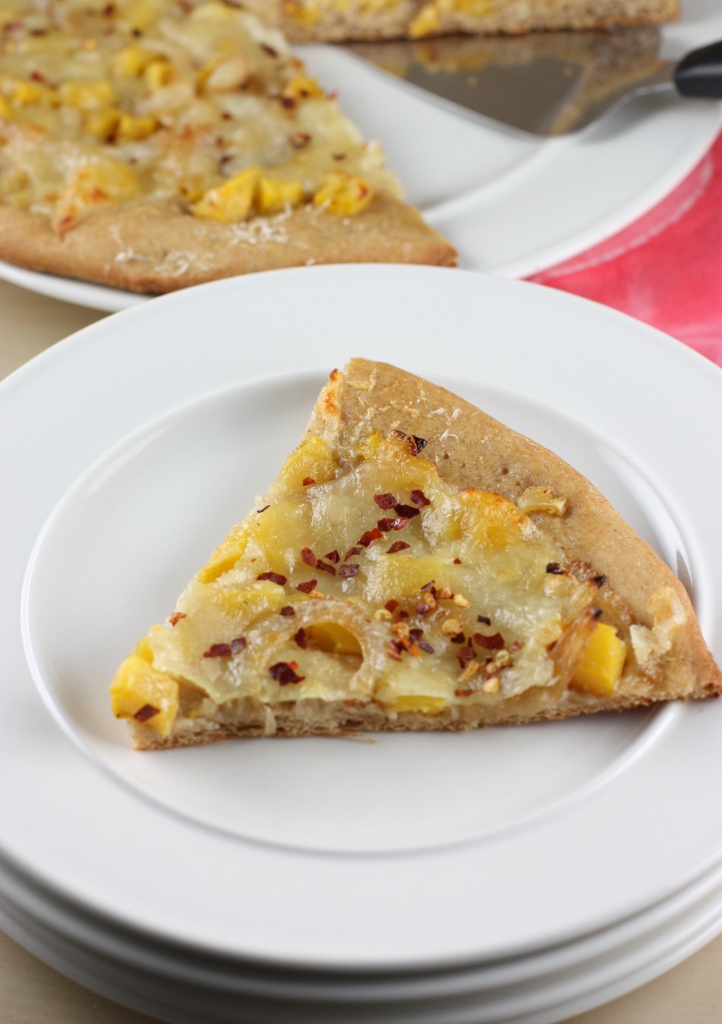
Romeu e Julieta (Guava and Cheese)
Goiabada (guava paste, chopped, or guava jam)
Mozzarella