
Makes: 4 to 6 servings
Ingredients
1 Whole Wheat Cornmeal Crust, rolled to about 16 inches, or divide into 2 to 4 smaller pizzas (recipe below)
1 tablespoon extra virgin olive oil
1 small onion, sliced
2 cloves garlic, minced
4 cups fresh kale leaves, chopped
¼ cup beer (ale works well)
½ teaspoon salt
¼ teaspoon ground black pepper
Pinch of smoked sweet paprika
¾ to 1 cup barbecue sauce (I use a local sauce, Kentucky Smokin’ Grill)
4 oz. sharp cheddar cheese, shredded
4 oz. whole milk mozzarella, thinly sliced
Crushed red pepper
Preheat the oven to 425 degrees F.
Heat the oil in a large skillet over medium-high. Add the onion and garlic. Cook, stirring often, for about 3 minutes. Add the kale and turn to coat in the oil. Carefully add the beer. Simmer the kale 3 to 5 minutes, until it begins to wilt. Add the salt, pepper and smoked paprika.
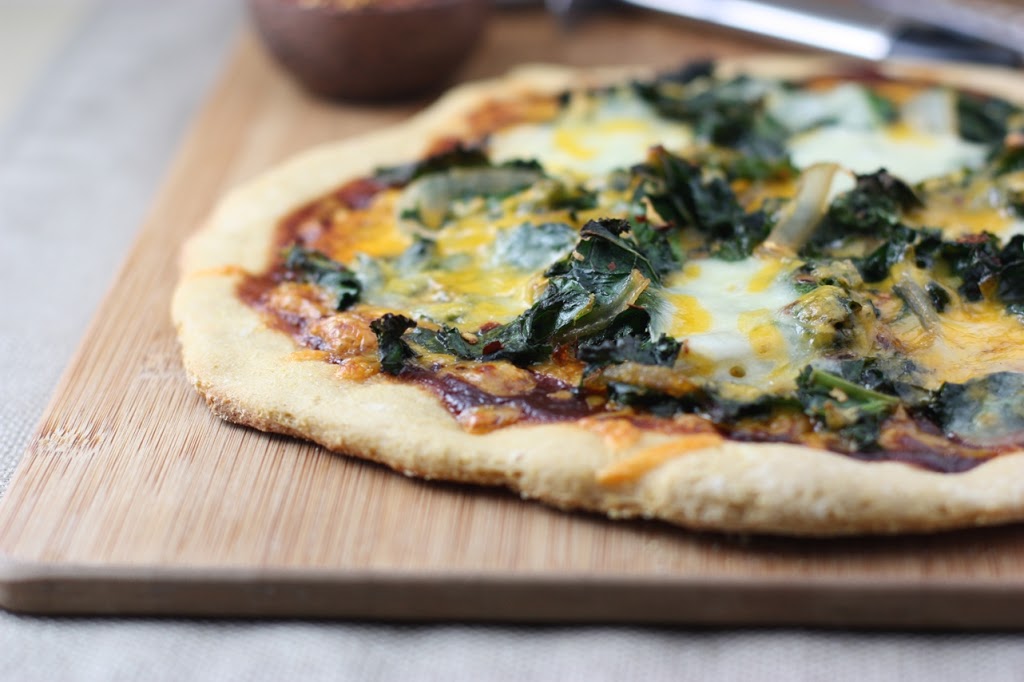
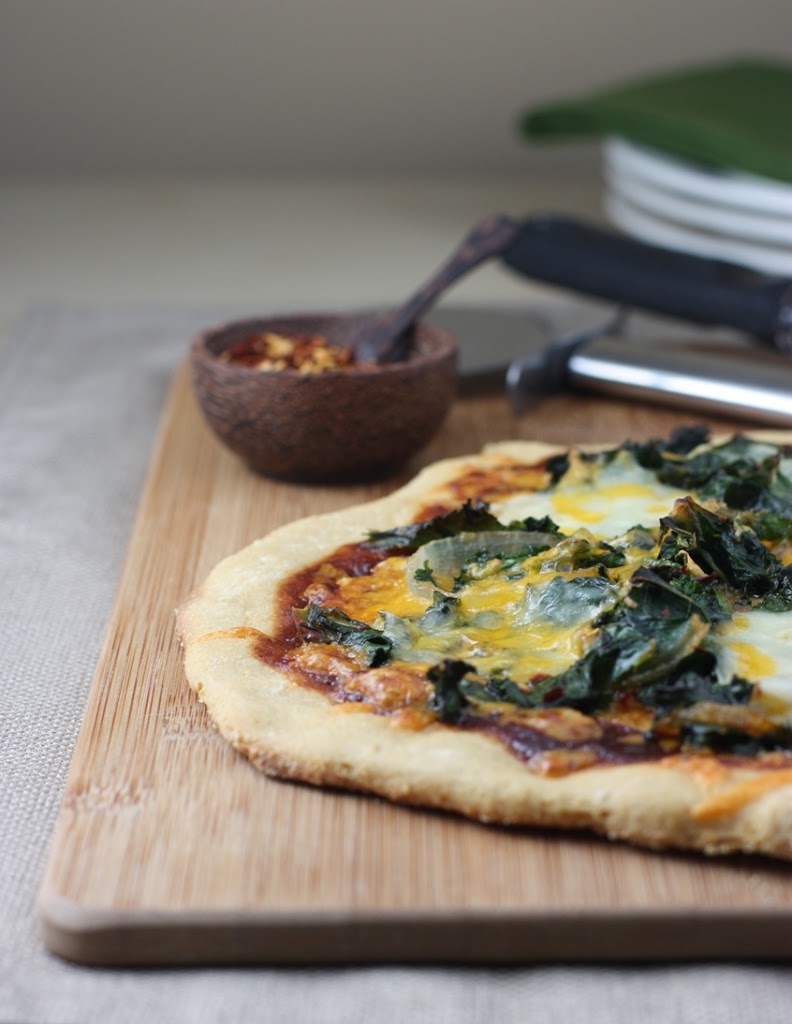
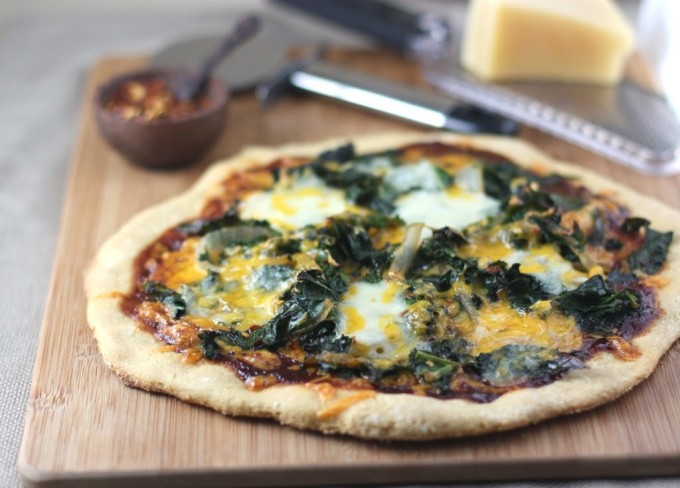
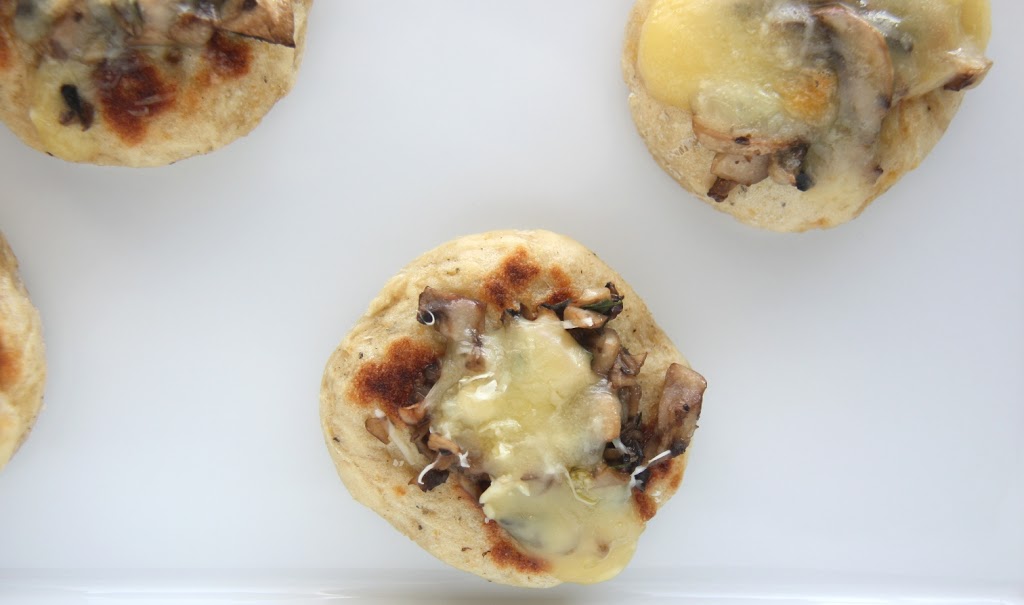
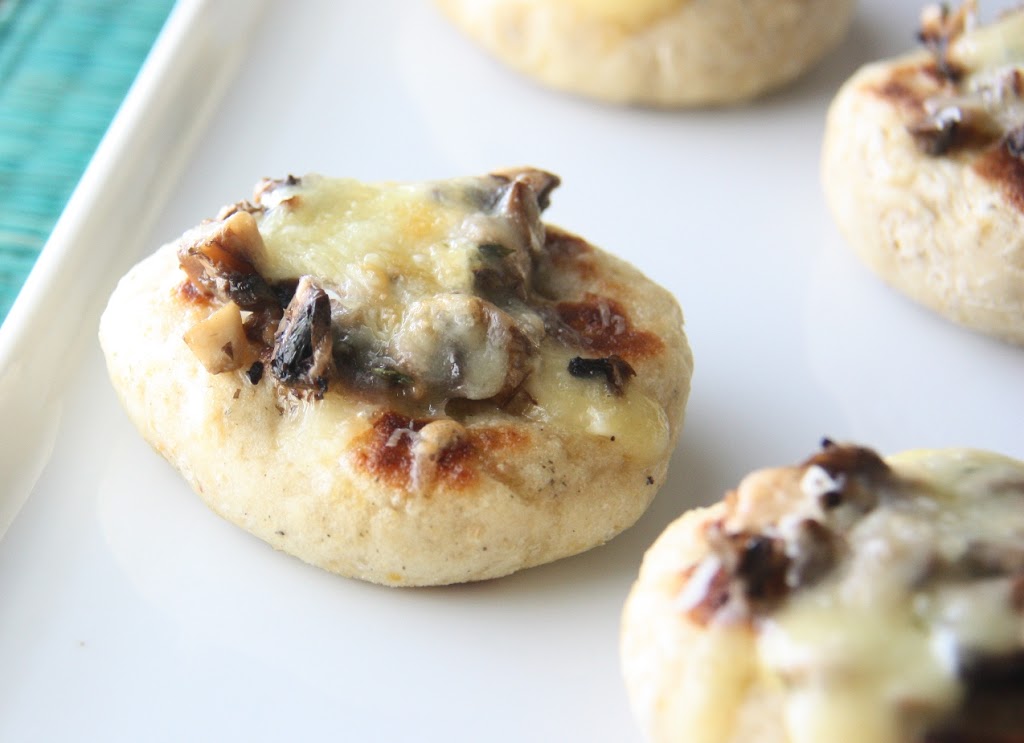
Place the crust on a baking sheet or pizza pan that has been greased with olive oil and sprinkled with cornmeal. Spread the barbecue sauce over the crust. Sprinkle ½ of the cheddar cheese over the sauce. Divide the kale evenly over the crust. Place the mozzarella cheese over the kale and top with the rest of the cheddar cheese. Sprinkle with crushed red pepper, if desired.
Bake for 15 to 20 minutes, or until the cheese begins to bubble and brown. Remove from the oven and allow to cool 2-3 minutes before slicing. Serves about 4-6.
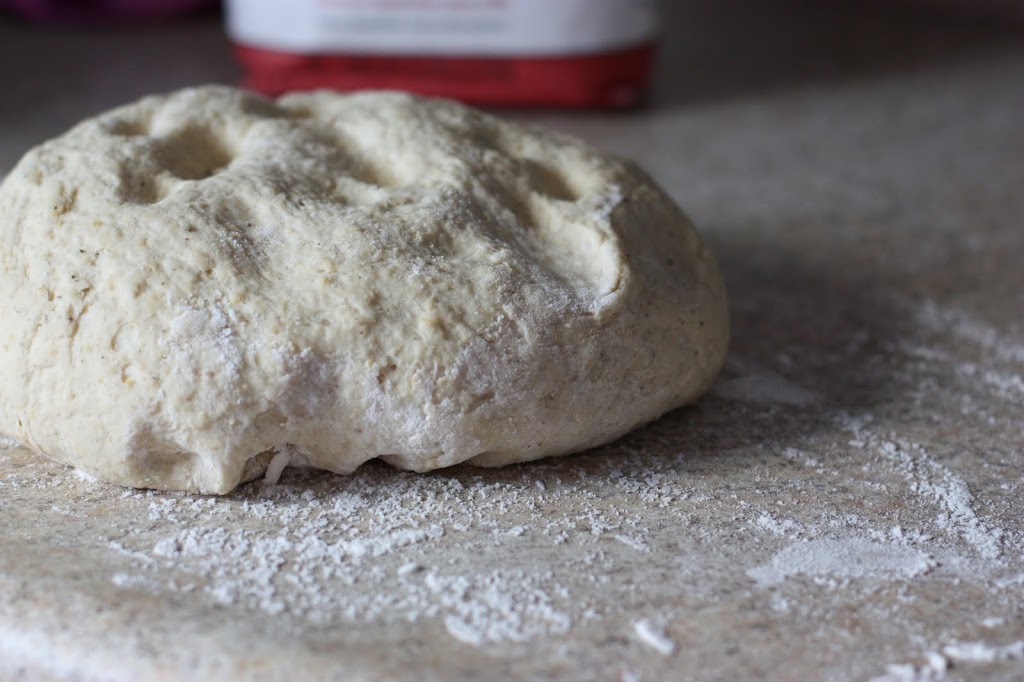
Whole Wheat Cornmeal Crust
Ingredients
Prep
Dissolve the yeast in the warm water and stir in the sugar. Set aside and allow the yeast to bloom, about 5 minutes.
Thanks for reading! All images and content are the property of Fake Food Free unless otherwise stated. Please do not republish full recipes and images without written permission. What is okay? Feel free to Pin images, share links to my posts or share the photo in a round up post with the title of this recipe and a link back to the post. Confused about copyright and food blogs? Here is some helpful information on Recipe Attribution. If you want to use a photo or full recipe, just ask. I’m sure we can work something out.


