Browsing Tag

dessert

Bourbon Chocolate Marshmallows

December 16, 2014

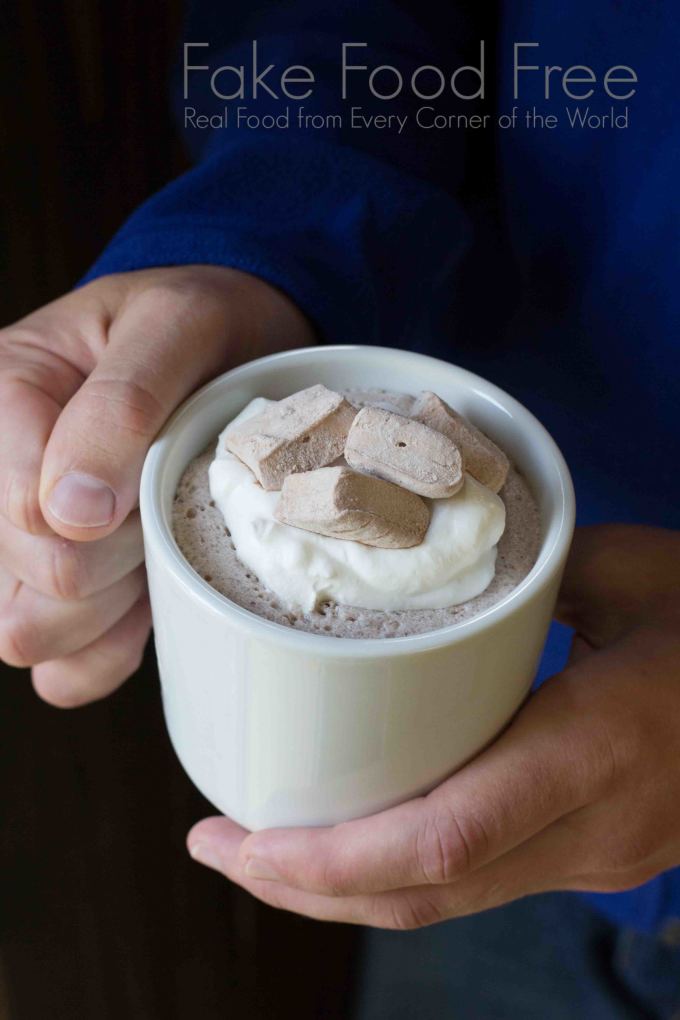
Grab your mug of hot cocoa! These Bourbon Chocolate Marshmallows are the perfect topper for any of your favorite warm holiday drinks!

  Bourbon Chocolate Marshmallows | Fake Food Free

Growing up, marshmallows were the underdog in a box of mixed chocolates. They ranked just one level above that strange fruity nougat. Marshmallows covered in chocolate weren’t so disappointing to cause one to return a half eaten selection to the box, but they evoked a sigh and thoughts of something more glamorous like a caramel or toffee.

Things changed when homemade marshmallows gained popularity. That’s probably because they are ten times better than any marshmallow I’ve had from a chocolate box or a bag from the store. They are every bit as glamorous as caramel and toffee.

Continue Reading…

Bourbon Poached Persimmon with Vanilla Custard

November 24, 2014

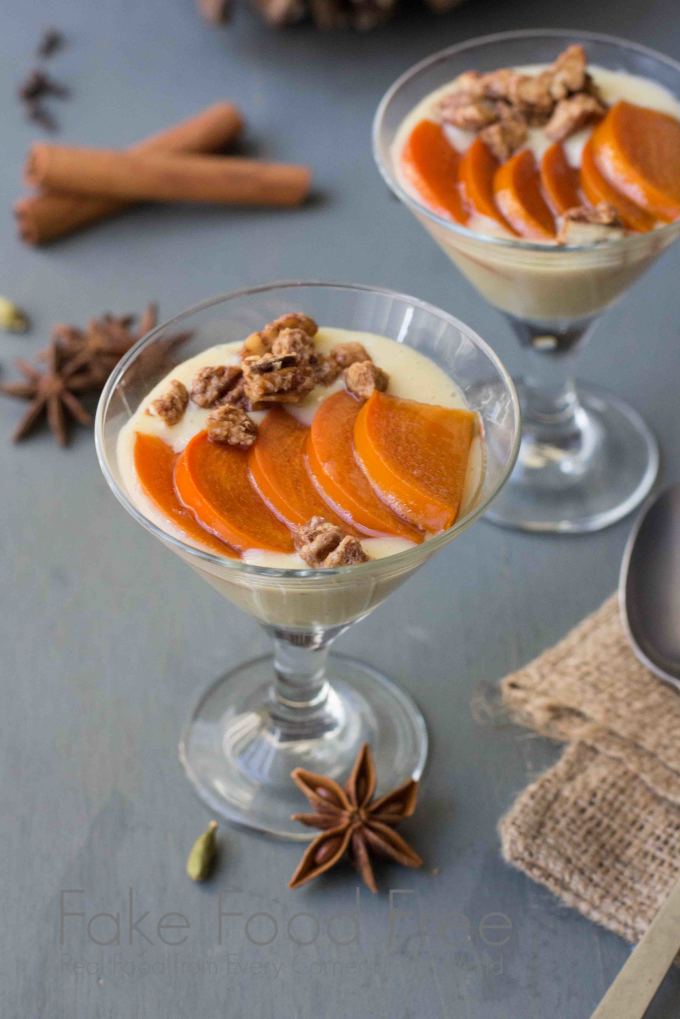
If you are looking to try a new dessert this holiday season, you can’t go wrong with bourbon poached persimmon. The seasonal fruit is spiced with cinnamon, cardamom, anise and clove, then served with warm vanilla custard sauce. 

 Bourbon Poached Persimmon with Vanilla Custard | Fake Food Free 

My heart belongs to pumpkin pie, but I’m  not at all opposed to trying a new dessert for Thanksgiving. Since I hold pumpkin pie in such high regard, though (my grandmother’s version, specifically), it’s always so hard to choose what to try. 

Since no other pie can compare for me this time of year, and I save cookies for Christmas, I decided to do something completely out of the ordinary for me — poached fruit. 

Continue Reading…

Frozen White Russian Cocktails

September 12, 2014

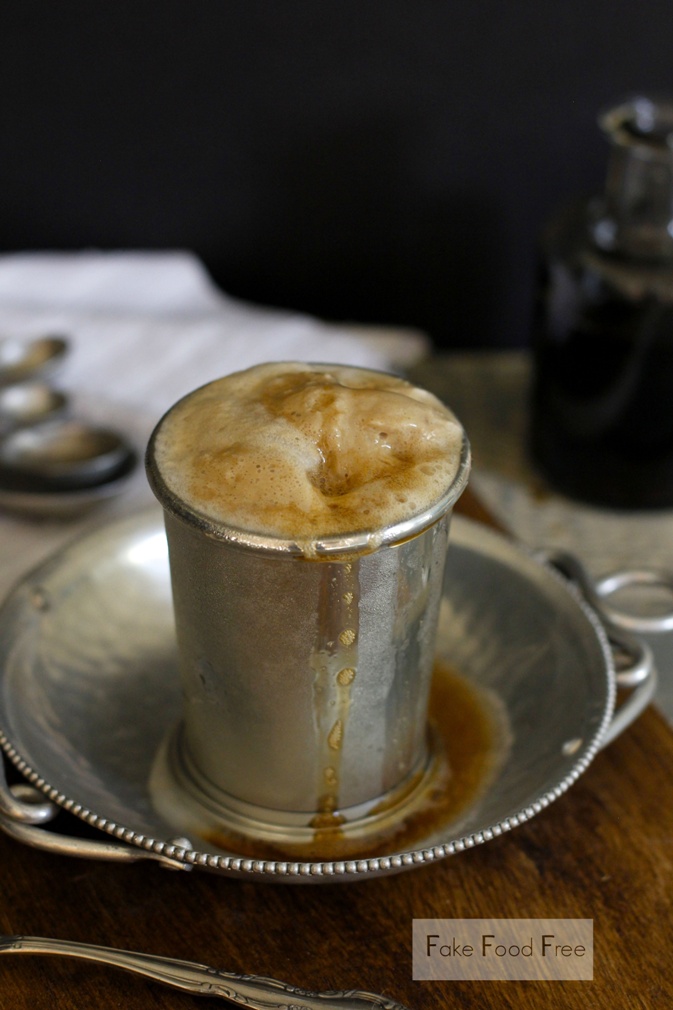
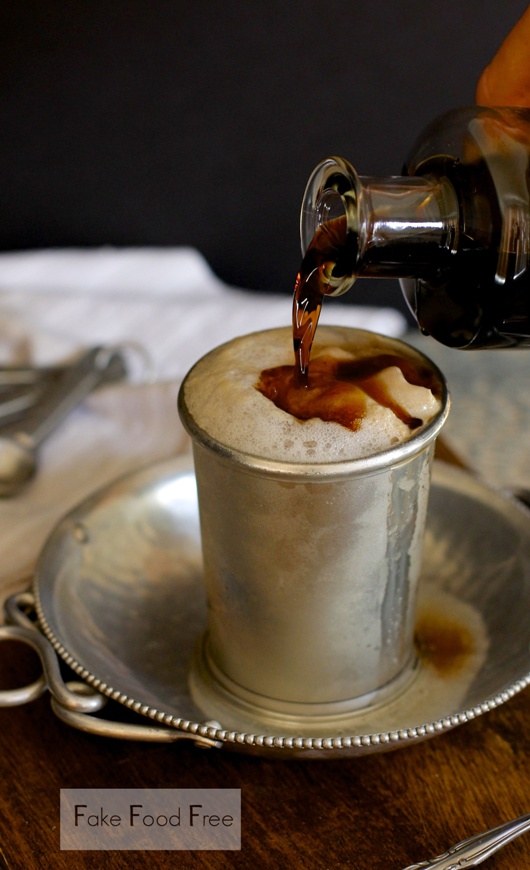
Turn your White Russian cocktail into a spiked frozen treat with this recipe!

Frozen White Russian Cocktail | Fake Food Free

I like to keep my desserts and my cocktails separate. I’m rarely tempted by the spiked dessert shakes or fancy frozen drinks that show up on restaurant menus.

But that is when I’m dining out. This? This is when I’m at home. No way am I passing up a frosty combination of spirits and ice cream at home. It’s a lot more fun to be creative with frozen cocktails in your own kitchen than to pay someone else to do it for you. At least that is how I feel about it.

I love both Black and White Russians, which is no surprise considering that I am a huge coffee fan. So with some coffee ice cream in the freezer and a few warm days lingering from summer, I thought a frozen cocktail would be a welcome addition to a rather long week.

Frozen White Russian Cocktail | Fake Food Free Continue Reading…

Chocolate Peanut Truffles with Coconut

February 13, 2014

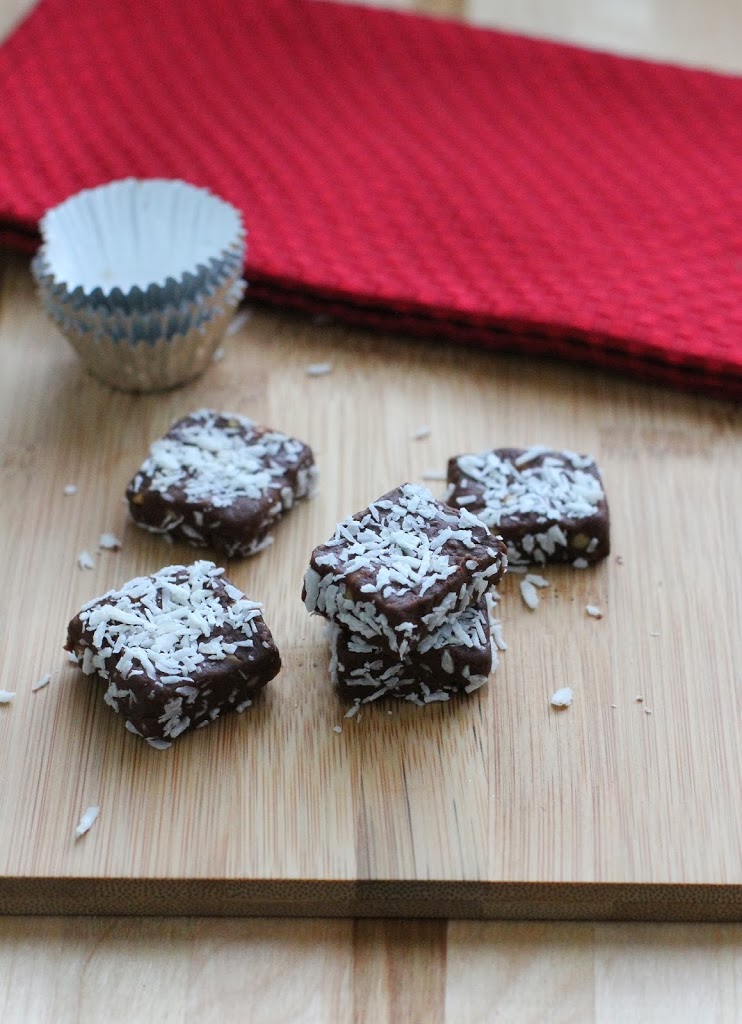
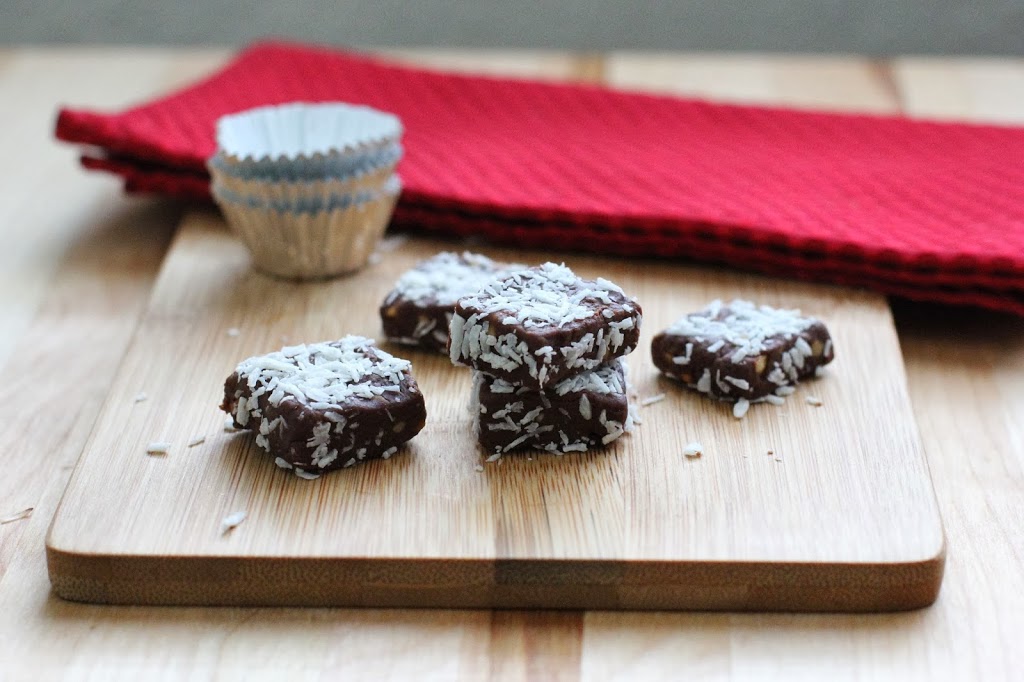
You can find me over at Fit Bottomed Eats today! I’m sharing about my love for peanut flour and these Chocolate Peanut Truffles with Coconut. No sugar or dairy added, and they are so easy to make. The perfect quick and  natural treat for Valentine’s Day. Head over and grab the recipe there!


Ginger Molasses Cookie Bars Recipe

December 13, 2013

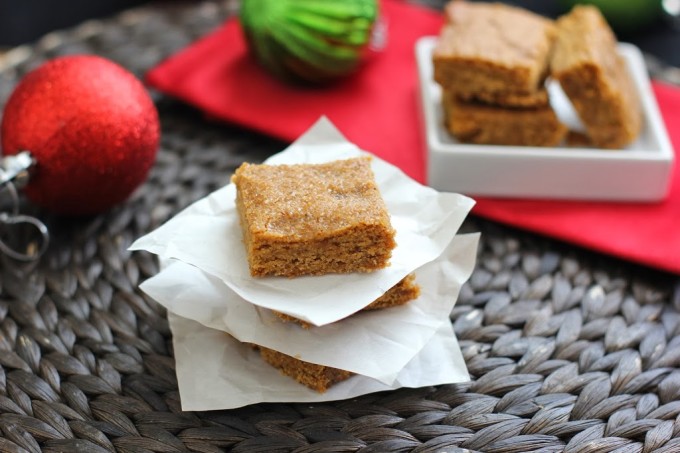
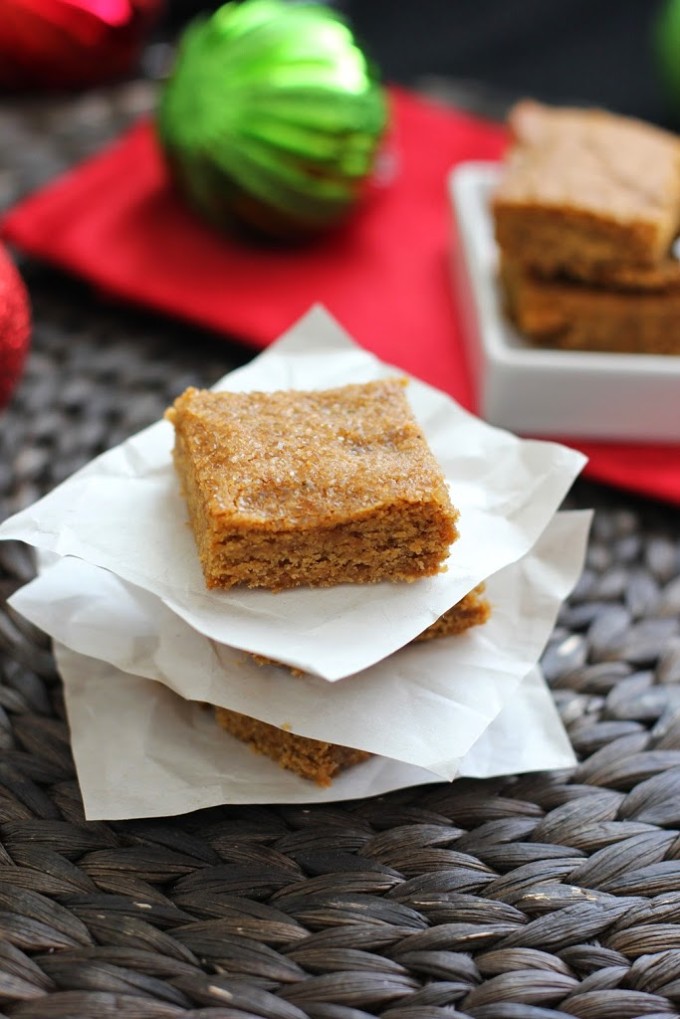
I can’t get enough of ginger flavored treats during the holiday season. These cookie bars are a recreation of one of my favorite cookies made with fresh ginger and molasses!

 Ginger Molasses Cookie Bars | Fake Food Free

This past summer, I discovered my favorite cookie. It’s sold at Blue Bottle Coffee in Oakland. I’ve always been a fan of gingerbread-like desserts, but this cookie takes it to a new level. It’s made with fresh ginger and ground black pepper. It’s slightly crunchy on the inside, but soft and chewy on the inside. Darn near perfect when it comes to cookies.

When I tried it, the idea of both fresh ginger and black pepper in a cookie were new to me. I’ve wanted to try making something similar ever since. I think creating the right cookie texture is going to take me much more practice than I am able to commit to this holiday season, so I went the easy route and incorporated the flavors into a bar.

It’s certainly not an exact replica, but for someone who can’t get enough gingerbread this time of year, these chewy, spicy cookie bars hit the spot.

Ginger Molasses Cookie Bars

Makes: 16 bars

Ingredients

1 cup unsalted butter, softened
1/3 cup coconut sugar
1/3 cup + 1 tbsp turbinado sugar
2 tbsp molasses
1 large egg
½ tbsp grated fresh ginger
1 cup white whole wheat flour
½ tsp baking powder
¼ tsp salt
¼ tsp ground black pepper
1/8 tsp ground cinnamon
1/8 tsp ground nutmeg
1/8 tsp ground clove

Prep

Preheat the oven to 350 degrees F. Grease an 8 x 8 inch baking pan lightly with unsalted butter.

In the bowl of a mixer fitted with the paddle attachment, add the butter, coconut sugar and 1/3 cup of the turbinado sugar. Cream together on medium to medium-high speed, about 2 minutes. Add the molasses and mix for about 30 more seconds, scraping the sides of the bowl as needed.

Add the egg and mix 30 more seconds. Mix in the fresh ginger.

In a small bowl, stir together the flour, baking powder, salt, pepper, cinnamon, nutmeg and clove. With the mixer on low, gradually add the dry ingredients. Increase the speed to medium and mix just until all ingredients are combined.

Transfer the cookie dough to the prepared pan and spread evenly with a spatula. Sprinkle the top with the remaining 1 tablespoon of turbinado sugar.

Bake for 18 to 20 minutes, until the edges begin to brown and a toothpick inserted in the center comes out clean. Let cool completely and cut into 16 bars.

Ginger Molasses Cookie Bars | Fake Food Free


Thanks for reading! All images and content are the property of Fake Food Free unless otherwise stated. Please do not republish full recipes and images without written permission. What is okay? Feel free to Pin images, share links to my posts or share the photo in a round up post with the title of this recipe and a link back to the post. Confused about copyright and food blogs? Here is some helpful information on Recipe Attribution. If you want to use a photo or full recipe, just ask. I’m sure we can work something out.


Peanut Pie from Pie by Ken Haedrich

July 18, 2013


I love food discoveries. Those times when you learn about a food which you never knew existed. A unique food or recipe that hails from a specific area or a local restaurant. It reminds me why I love food culture. It is also the reason why I branch out of the whole grain, raw sugar, fresh vegetable pattern to feature a little tradition and food history.

I had one of these food discoveries a few weeks ago. It was one that also just happened to align with my renewed love for peanuts.

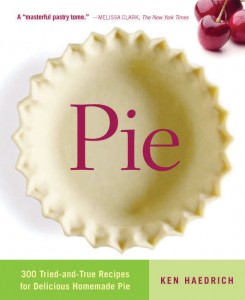
I was flipping through a review copy of the cookbook Pie: 300 Tried-and-True Recipes for Delicious Homemade Pie by Ken Haedrich when I stumbled upon, Like Virginia Diner’s Peanut Pie. Peanut pie? I’d never heard of such a thing.

This cookbook is full of new-to-me recipes. Page after page of everything pie. And I’m no pie novice. I’m not an expert at making them, but my mom is. As a result, I’ve had my fair share of slices. Growing up we were a pie family — from-scratch chocolate pie and butterscotch pie, the most amazing pumpkin pie in the world (my grandmother’s), grape pie, raisin pie (although I wasn’t a fan of this one), gooseberry, strawberry-rhubarb, cherry, apple, pecan, coconut cream. You get the idea.

So finding new pies that impress me isn’t an easy task, but this cookbook accomplished it. There are combinations that I could never dream up like Coffee-Hazelnut Custard Pie, Orange Pie with Pistachio Crumb Crust and Pear and Jalapeno Jelly Pie. Many have an interesting story attached, a region that made them popular or a unique ingredient. Cream, silk, crumble,  flaky, lattice — whatever the pie style, there is a recipe for it in here.

Now this isn’t a picture cookbook, although there are a few pretty photos gathered in the center as examples. It is a pie resource book. The one you turn to when you are curious about a traditional pie or you want something new to wow your guests.

Such as Peanut Pie.

If you are like me, your first thought when you hear peanut pie is peanut butter. Peanut as a dessert always equals peanut butter, right? I have since learned the answer to that is no.

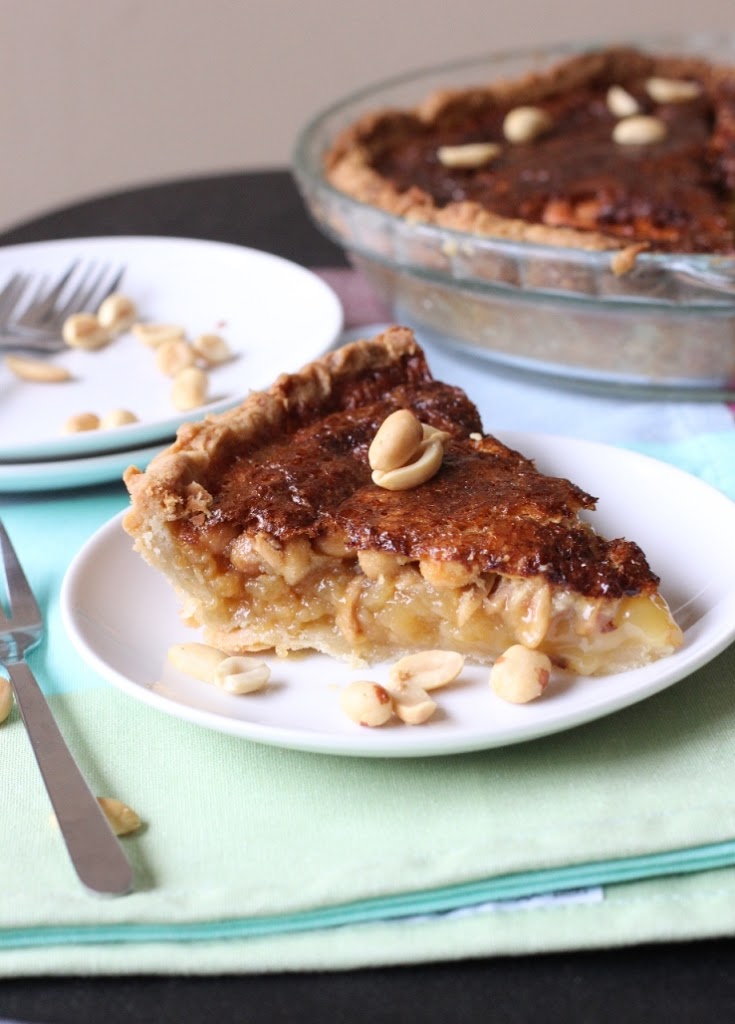
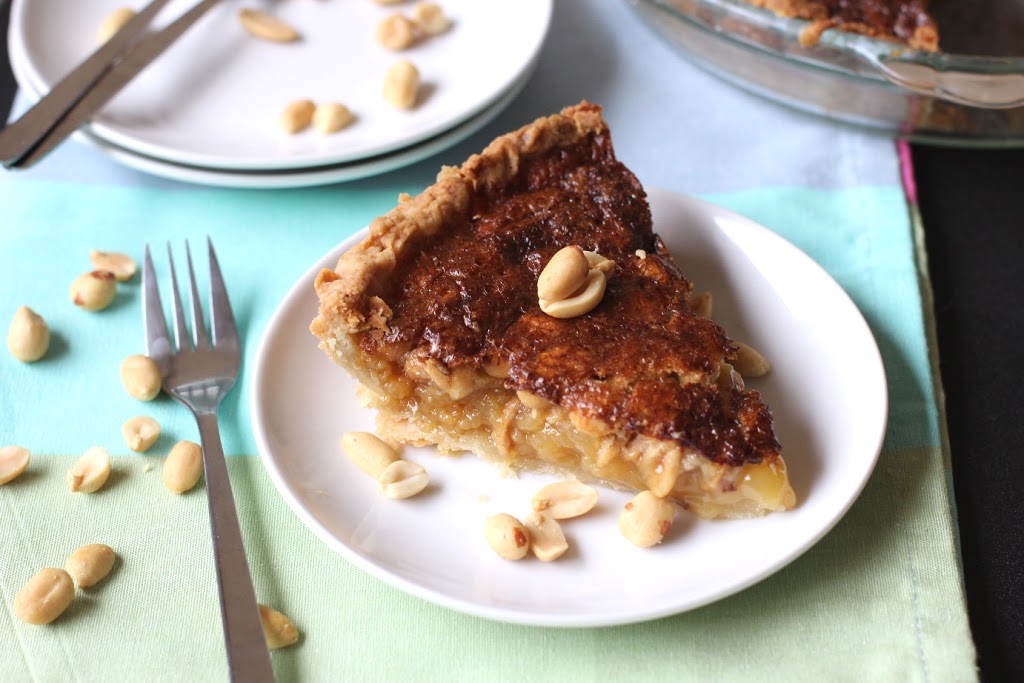
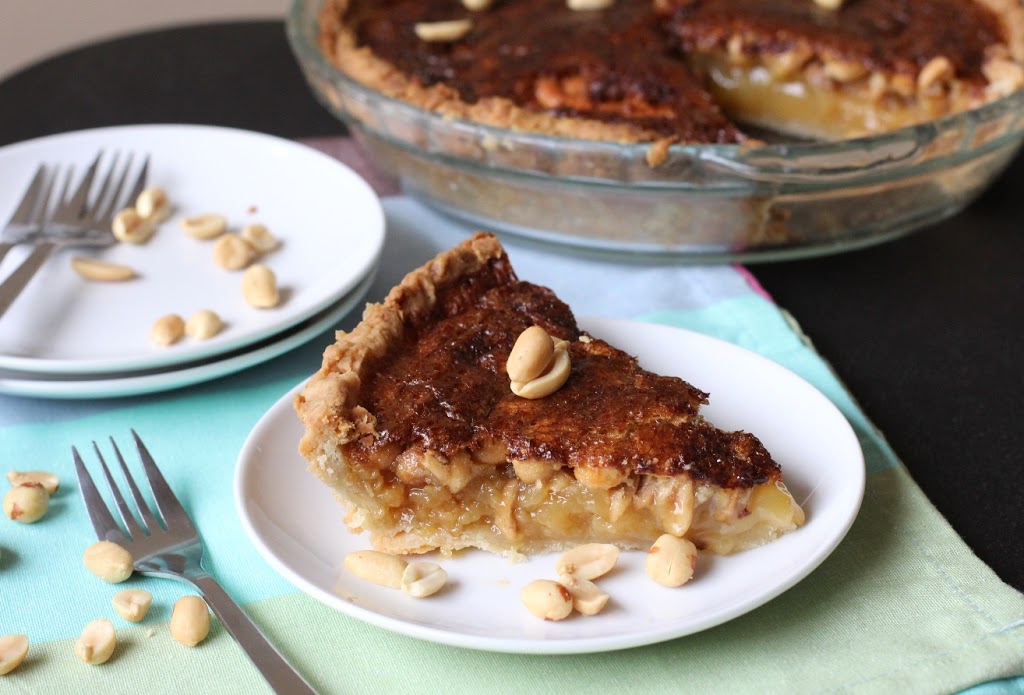
This pie resembles pecan, but it’s different. I couldn’t put my finger on what was different until I was polishing off the last bite of crust. Good thing, or I might have needed a second slice.

Pecans are naturally sweet, making pecan pie a super sweet dessert. I do like it, but it’s the kind of sweet you only want around the holidays, and for me, one slice is enough. In peanut pie, the peanuts provide a more savory flavor that balances the sweetness. The peanuts stay crunchy, the crust flaky — it’s pretty much everything I ever wanted in a pie. To the point that I’ve vowed to make it instead of pecan for the holidays.

I could hear your shrieks of horror from here. Trust me, though. This pie is pretty special.

And if your cookbook shelf is aching for a pie resource. Look no further.

Like Virginia Diner’s Peanut Pie

Recipe © 2013 by Ken Haedrich and used by permission of The Harvard Common Press

From the book:
I had been hearing that a restaurant called the Virginia Diner, in Wakefield, Virginia, made the best peanut pie around, so I contacted one of the owners, who was quick to point out that the diner’s peanut pie is indeed deliciously world famous. She described it as “like a pecan pie, only better,” and, of course, she said, it is always made with great homegrown Virginia peanuts.

Having learned that there’s an inverse relationship between the level of self-hoopla and one’s chances of securing a recipe, I held my breath when I finally got around to asking her whether she would be willing to share the recipe with me and my readers. Alas, she would not, but she was kind enough to direct me to a Web site, www.aboutpeanuts.com, which has a recipe for peanut pie that is “pretty similar.” Would she care to enumerate the differences? “Sorry.” Turns out the recipe at that Web site, reprinted here with permission, is so good that I’ve forgiven the Virginia Diner for not sharing theirs. This pie is superlative: a golden layer of roasted peanuts on top of a soft and yummy filling. I always serve it with a scoop of vanilla ice cream and Warm Mocha Sauce (see cookbook).

Makes 8 to 10 servings

Ingredients
1 recipe Basic Flaky Pie Pastry, Single Crust (see below), refrigerated
FILLING:
3 large eggs
1/2 cup sugar
1 1/2 cups dark corn syrup
1/4 cup (1/2 stick) unsalted butter, melted
1/4 teaspoon salt
1/2 teaspoon vanilla extract
1 1/2 cups chopped salted dry-roasted peanuts

Instructions

  1. If you haven’t already, prepare the pastry and refrigerate until firm enough to roll, about 1 hour.
  2. On a sheet of lightly floured waxed paper, roll the pastry into a 13-inch circle with a floured rolling pin. Invert the pastry over a 91/2-inch deep-dish pie pan, center, and peel off the paper. Tuck the pastry into the pan, without stretching it, and sculpt the edge so it is even with the rim. Place in the freezer for 15 minutes, then partially prebake and let cool. Reduce the oven temperature to 350°F.
  3. In a large bowl, whisk the eggs and sugar together just until frothy. Whisk in the corn syrup, butter, salt, and vanilla until well blended. Stir in the peanuts. Slowly pour the filling into the cooled pie shell. Using a fork, gently rake the peanuts to distribute them evenly.
  4. Place the pie on the center oven rack and bake for 30 minutes, then rotate the pie 180 degrees, so that the part that faced the back of the oven now faces forward. Continue to bake until the filling is set and does not move in waves, about 20 minutes. To check, give the pie a quick nudge.
  5. Transfer the pie to a wire rack and let cool thoroughly. Serve at room temperature, or cover with loosely tented aluminum foil and refrigerate for 1 to 2 hours before serving.
Recipe for Success
Be sure not to use unroasted peanuts here. The roasting really brings out the nut flavor. By the same token, do not use honey-roasted or other sweetened nuts or the pie may be too sweet.

Basic Flaky Pie Pastry

This pie pastry is used frequently throughout this collection because it yields such excellent results. I sometimes call it a half-and-half pastry, referring to the equal amounts of vegetable shortening and butter—the former for flakiness, the latter for flavor. It can be made in a food processor if you have a large-capacity machine. But I’ll repeat my usual advice, which is to make it by hand or with an electric mixer if you don’t. Both methods are quite easy. If you could have only one pastry to work with, this would probably be it.

Makes a single or double crust for a 9-inch standard pie or 9 ½-inch deep-dish pie

Ingredients
For a single crust:
1 1/2 cups all-purpose flour
1 1/2 teaspoons sugar
1/2 teaspoon salt
1/4 cup (1/2 stick) cold unsalted butter, cut into 1/4-inch pieces
1/4 cup cold vegetable shortening, cut into pieces*
1/4 cup cold water

For a double crust:
3 cups all-purpose flour
1 tablespoon sugar
1 teaspoon salt
1/2 cup (1 stick) cold unsalted butter, cut into 1/4-inch pieces
1/2 cup cold vegetable shortening, cut into pieces
1/2 cup cold water

Instructions

To make in a food processor: Put the flour, sugar, and salt in the food processor. Pulse several times to mix. Scatter the butter over the dry ingredients and pulse the machine 5 or 6 times to cut it in. Fluff the mixture with a fork, lifting it up from the bottom of the bowl. Scatter the shortening over the flour and pulse 5 or 6 times. Fluff the mixture again. Drizzle half of the water over the flour mixture and pulse 5 or 6 times. Fluff the mixture and sprinkle on the remaining water. Pulse 5 or 6 times more, until the dough starts to form clumps. Overall, it will look like coarse crumbs. Dump the contents of the processor bowl into a large bowl. Test the pastry by squeezing some of it between your fingers. If it seems a little dry and not quite packable, drizzle a teaspoon or so of cold water over the pastry and work it in with your fingertips.

To make by hand: Combine the flour, sugar, and salt in a large bowl. Toss well, by hand, to mix. Scatter the butter over the dry ingredients and toss to mix. Using a pastry blender, 2 knives, or your fingertips, cut or rub the butter into the flour until it is broken into pieces the size of small peas. Add the shortening and continue to cut until all of the fat is cut into small pieces. Sprinkle half of the water over the mixture. Toss well with a fork to dampen the mixture. Add the remaining water, 11/2 to 2 tablespoons at a time, and continue to toss and mix, pulling the mixture up from the bottom of the bowl on the upstroke and gently pressing down on the downstroke. Dough made by hand often needs a bit more water. If necessary, add water 1 or 2 teaspoons at a time until the pastry can be packed.

To make with an electric mixer: Combine the flour, sugar, and salt in a large bowl. Add the butter, tossing it with the flour. With the mixer on low speed, blend the butter into the flour until you have what looks like coarse, damp meal, with both large and small clumps. Add the shortening and repeat. Turning the mixer on and off, add half of the water. Mix briefly on low speed. Add the remaining water, mixing slowly until the dough starts to form large clumps. If you’re using a stand mixer, stop periodically to stir the mixture up from the bottom of the bowl. Do not overmix.

Using your hands, pack the pastry into a ball (or 2 balls if you are making a double crust) as you would pack a snowball. If you’re making a double crust, make one ball slightly larger than the other; this will be your bottom crust. Knead each ball once or twice, then flatten the balls into 3/4-inch-thick disks on a floured work surface. Wrap the disks in plastic and refrigerate for at least an hour or overnight before rolling.

*Just a note. I don’t use vegetable shortening in my baking so I used all butter in this crust and it turned out great.

*************************

If you are interested in perfecting your pie making skills, I just recently learned about Ken’s The Pie Academy. It is such a great resource with tools, tutorials and recipes focused on pie making. Be sure to check it out!

Disclosure: I received this cookbook for review purposes from the Harvard Common Press. I was not required to write about it and received no compensation for doing so.

Cookie Monster Ice Cream Sandwiches from I Scream Sandwich by Jennie Schacht

May 22, 2013
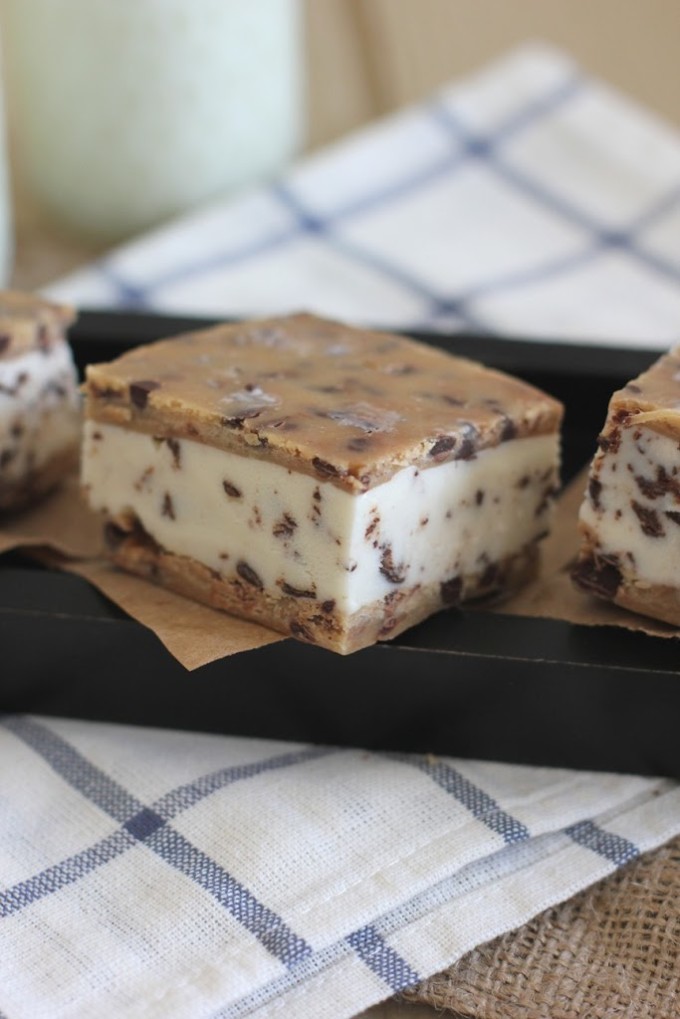
Cookie Monster Ice Cream Sandwiches from I Scream Sandwich by Jennie Schacht on fakefoodfree.com

There is a local ice cream shop in my hometown that has the best ice cream sandwiches. Chocolate chip cookies with chocolate chip ice cream. The cookies are thick and they turn chewy once frozen. They also have just enough of a salty flavor to offset the sweetness of the ice cream, making the whole treat incredibly tasty.

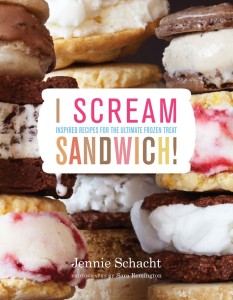
I’ve not made many ice cream sandwiches myself so it’s never occurred to me to try and recreate that version I loved growing up. Then I received a copy of I Scream Sandwich by Jennie Schacht. Those ice cream sandwiches from back home came to mind, but I wanted to try something that sounded different. Maybe the Vietnamese Breakfast with coffee flavored ice cream or the Got Your Goat with goat’s milk ice cream.

This book is full of ice cream sandwiches that will spark your curiosity. You’ll be pulling out the ice cream maker and calling dibs on bringing dessert to all your summer picnics. Creamy ice creams, rich gelatos and fruity sorbets are surrounded by more than just cookies.  Croissants, cakes, bars and buns are just a few of the creative exteriors to the sweet sandwiches in this book.

After my husband voiced his craving for something more classic, I decided to make the Cookie Monster. Let’s just say that after reading the recipe I realized that this sandwich was classic only in flavor. I wanted something a little different and, wow, did I get it.

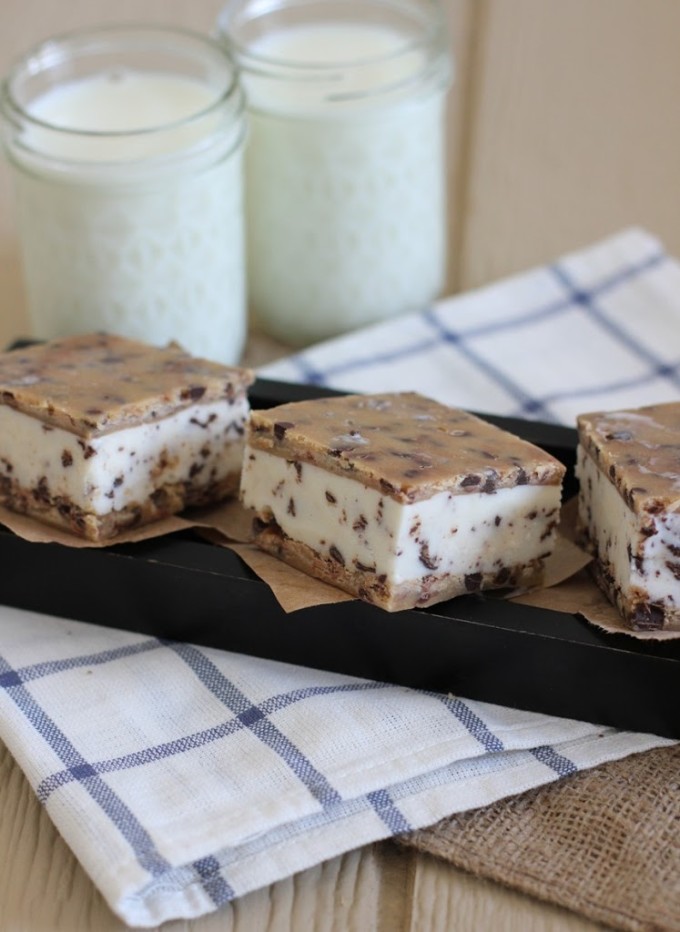
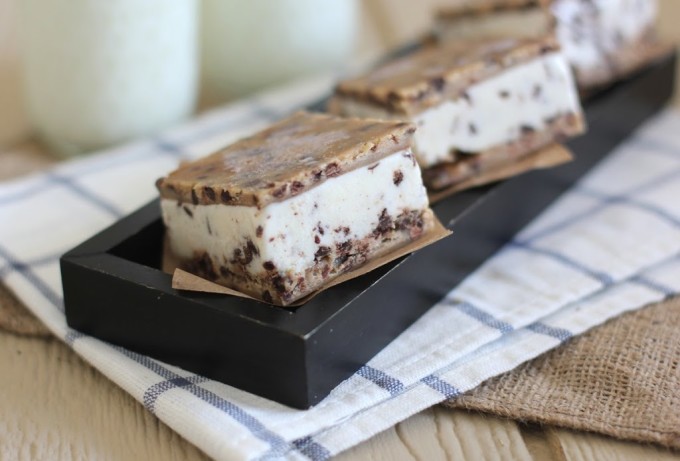
Why? Well, this sandwich isn’t surrounded by a cookie, but by cookie dough! Frozen (yet soft) cookie dough around homemade chocolate chip ice cream. It’s a brilliant idea.

And you know what is even better? Despite the fact that it’s cookie dough and not a baked cookie, it tastes almost exactly like that ice cream sandwich I grew up with!

Just a few tips if you are not a regular ice cream sandwich maker (like I wasn’t). Plan, plan, plan ahead. You will need to plan for freezing time, greased parchment paper and cold bowls. Read through the recipe and read it again. It’s really not that much work when all is said and done, but you’ll want to know what to expect before you get into it. Also, some of the methods for assembly are explained in the first few pages of the book so give them a browse before you start the recipe.

Cookie Monster Ice Cream Sandwiches from I Scream Sandwich by Jennie Schacht on fakefoodfree.com

Finally, don’t expect to have much will power around these things. I thought a batch would last us a while, but these have to be the most vocal desserts I have ever made. I could hear them calling me from the freezer all day long.

Cookie Monster Chocolate Chip Ice Cream on Cookie Dough

Copyright © 2013 Jennie Schacht, reprinted with permission from Abrams Books

Chocolate Chip Ice Cream (GF)

2 cups (480 ml) whole milk
¹⁄3 cup (67 g) granulated sugar
2 tablespoons golden syrup, inverted sugar syrup or light agave nectar
2 tablespoons tapioca starch
¼ teaspoon kosher salt
1 cup (240 ml) heavy cream
½ teaspoon pure vanilla extract
½ cup (100 g) bittersweet (60 to 70 percent) chocolate, chopped or chips
1 tablespoon neutral vegetable oil or coconut oil

Whisk ½ cup (120 ml) of the milk with the sugar, syrup, tapioca, and salt in a medium saucepan until no lumps remain. Stir in the remaining 1½ cups (360 ml) milk and the cream. Heat the mixture over medium-high heat, stirring with a heatproof spatula, until it begins to steam and slightly bubble at the edges. Adjust to a simmer and cook, stirring constantly, until the mixture thickens to the consistency of a cream sauce, about 3 minutes longer; do not fully boil.

Transfer the mixture to a metal bowl set over a larger bowl of ice and water. Stir occasionally until the mixture is cool, taking care not to slosh water into the bowl. Stir in the vanilla, then cover and refrigerate until very cold, at least 2 hours. Transfer the bowl to the freezer for the last half hour before spinning it.

Freeze the mixture in an ice cream maker according to the manufacturer’s directions. While the mixture spins, melt the chocolate and oil in the microwave or in a small saucepan until you can stir it smooth. Let cool to room temperature, keeping it fluid. With the machine running, drizzle in the cooled melted chocolate during the last minute of spinning. (Alternatively, drizzle the chocolate over the ice cream as you transfer it to the container, folding it in with a spatula or ice cream paddle to break it up as you go.) Transfer the ice cream to a chilled container, cover, and freeze until firm but still spreadable, at least 4 hours.

Cookie Dough

½ cup (1 stick / 113 g) unsalted butter
¹⁄3 cup packed (67 g) light brown sugar
¼ cup (50 g) granulated sugar
2 tablespoons milk, whole or 2%
½ teaspoon pure vanilla extract
½ teaspoon kosher salt
1¼ cup (165 g) all-purpose flour
1 cup (200 g) mini chocolate chips
Neutral vegetable oil, for the waxed or parchment paper

Melt the butter with the brown and granulated sugar in a small saucepan, stirring to dissolve the sugar. Transfer to a bowl and stir in the milk, vanilla, and salt until well blended. Stir in the flour until completely smooth. Let cool completely, then stir in the chips. (If the chips begin to melt, stop stirring—the swirls will be pretty.)

Line an 8-inch (20-cm) freezer-safe baking pan with two pieces of lightly oiled waxed paper or parchment paper so the papers extend well beyond the edges of the pan on all four sides as a sling for easy removal. Scatter half of the dough into the pan and use your fingers to pack it into an even layer. Top with lightly oiled waxed or parchment paper, oiled side down.

Place another lightly oiled waxed or parchment paper in the pan, leaving 2 inches (5 cm) of paper extending at each end. Scatter and press the remaining dough into an even layer. Top with lightly oiled waxed paper or parchment, oiled side down. Freeze the dough layers until firm, at least 1 hour.

SANDWICH!

Use the flaps to lift out the top cookie dough layer. Peel the paper from one side and loosely replace it. Flip the layer over and do the same to the other side. Repeat with the second cookie dough layer. Place both layers back in the freezer.

Form sandwiches using Method #4* on page 19, starting with step 3, using the bottom two pieces of parchment extended on all sides to line the pan in place of the plastic wrap. Freeze hard before cutting the sandwiches into 4 strips in each direction to form 16 bars. To make 64 bite-size treats, cut each bar into quarters.

*Place one slab of cookie dough top-side down in the pan and spread softened ice cream over it in an even layer. Top with the second slab, top-side up, pressing firmly to evenly distribute the ice cream. Wrap tightly in plastic wrap and freeze until very firm, at least 6 hours or overnight, for easiest cutting.

Cookie Monster Ice Cream Sandwiches from I Scream Sandwich by Jennie Schacht on fakefoodfree.com

I should probably mention that I happily have many cookbooks to review this summer. Don’t worry, I haven’t stopped creating my own recipes. They will be interspersed regularly. But I have a passion for cookbooks and enjoy the opportunity to support the art by sharing ideas for new books for your library. I hope you enjoy them as much as I do.

Disclosure: I received a copy of this book for review purposes. I was not required to post about it and received no compensation for doing so. Thoughts here are my own.


Thanks for reading! All images and content are the property of Fake Food Free unless otherwise stated. Please do not republish full recipes and images without written permission. What is okay? Feel free to Pin images, share links to my posts or share the photo in a round up post with the title of this recipe and a link back to the post. Confused about copyright and food blogs? Here is some helpful information on Recipe Attribution. If you want to use a photo or full recipe, just ask. I’m sure we can work something out.  

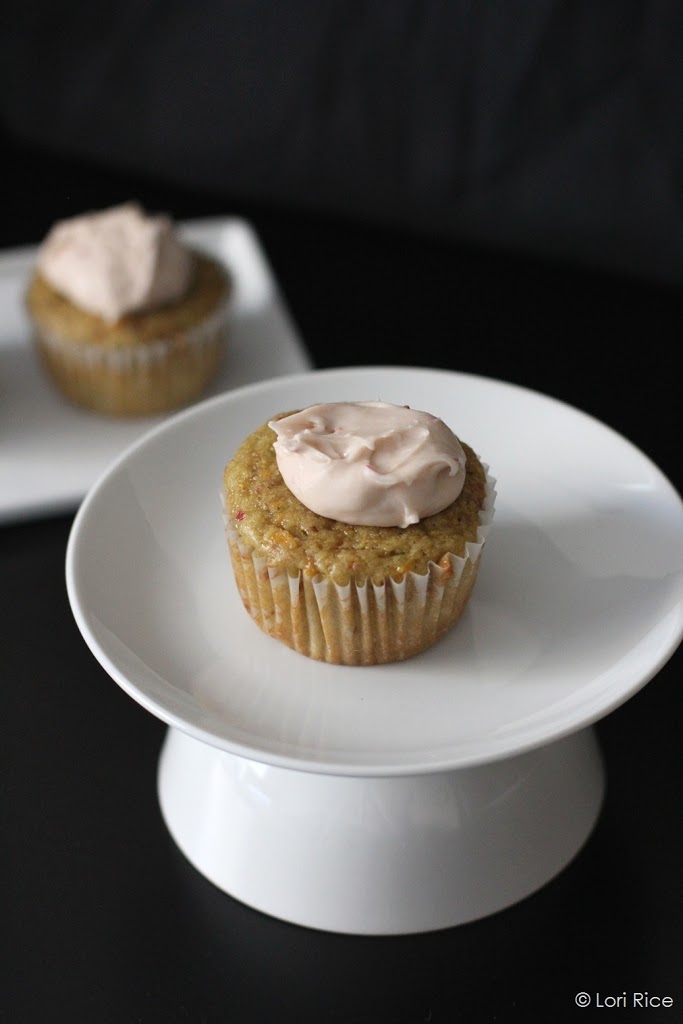
Strawberry, Mango and Avocado Cupcakes with Strawberry Avocado Frosting Recipe

May 3, 2013


I was still caught up in the amazing California citrus season when the strawberries began to arrive at the Farmers Market. It started with one or two vendors offering a few containers. Now, they are everywhere – organic, conventional, big, small, full flats, or small pint baskets – you can get just about anything you want. 
 
I’ll admit they aren’t quite as tasty, or as rewarding, as the buckets we used to pick from our own garden, but they will certainly do. I’ve been buying loads, eating some and freezing others to use in my oatmeal when the season is over. 
 
 
With ataulfo mango season falling at the same time as the strawberries here, and with easy access to avocados, I felt compelled to combine all three.
 
I also can’t seem to get over the desire to play with avocados as a substitute for butter in my baked goods. First it was the Avocado Pound Cake with Blood Orange Glaze, and now cupcakes.
 
 
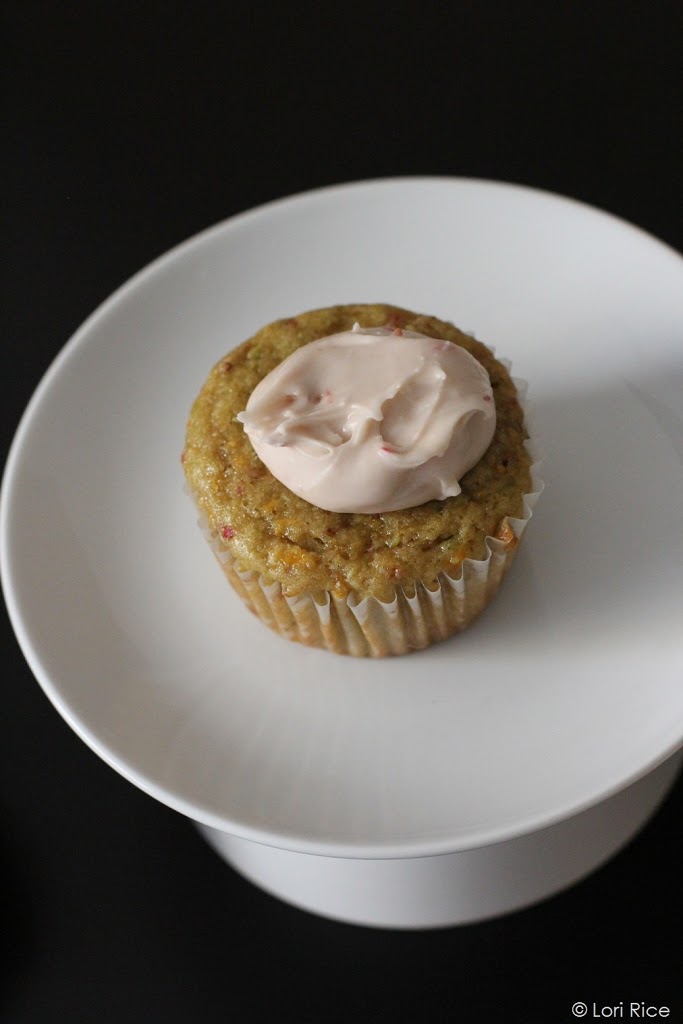
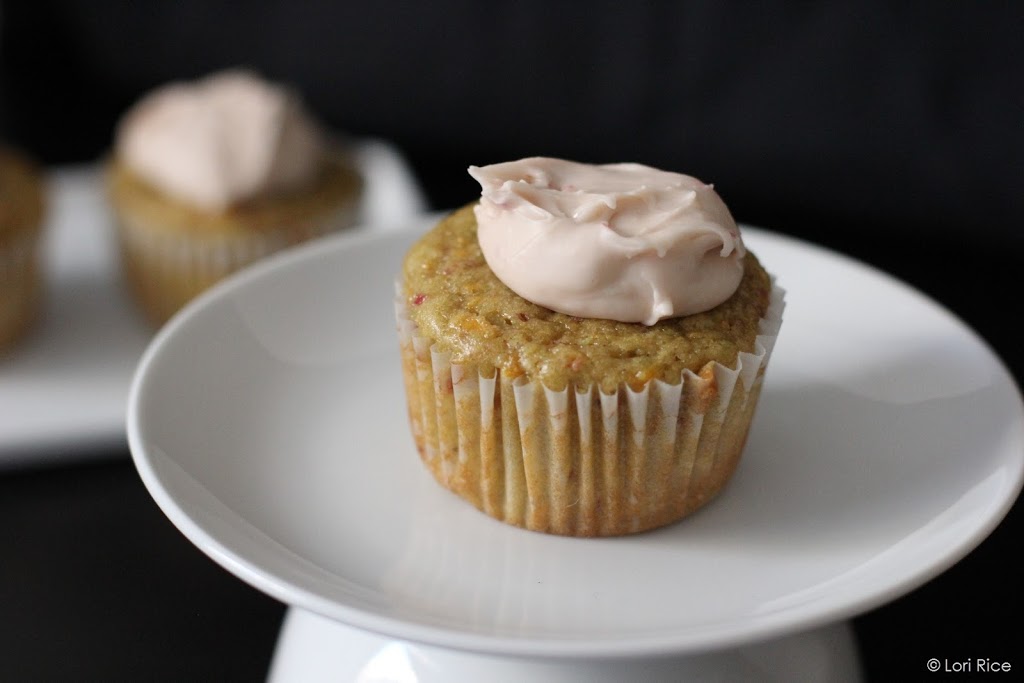
These cupcakes are soft and fruity, and the frosting? I think I may be making my frosting with avocado from here on out. I’ll admit, I tried it with just avocado and it was a little too green-tasting (for lack of a better term). The addition of strawberry puree did the trick. It sweetened it up and balanced the flavor of the avocado.
 
These don’t keep long. I’d suggest baking them just before you will need them, cool, frost and eat soon after. If you don’t plan to finish them off, keep unfrosted cupcakes in the refrigerator for only a day or two. The oils from the avocado tend to surface when they sit for over a day. 
 

Strawberry, Mango and Avocado Cupcakes with Strawberry Avocado Frosting

Makes: 12 cupcakes

Ingredients

½ cup mashed avocado (about 1 Hass avocado)
2 large eggs
1 cup raw sugar
½ cup pureed strawberries
½ cup pureed mango
1 teaspoon pure vanilla extract
1 ¼ cup unbleached, all-purpose flour
3 ½ teaspoon baking powder
1 teaspoon fine ground salt

Frosting
2 tablespoon mashed avocado
5 ¼ cups powdered (confectioner’s) sugar
½ teaspoon pure vanilla extract
1 tablespoon milk (any variety)
½ tablespoon fresh lime juice
2 tablespoon pureed strawberries
Pinch of salt
 
Prep
 
Preheat the oven to 350 degrees F. Place cupcake liners in a 12-cupcake baking pan. Spray the liners with olive oil or non-stick cooking spray. 
 
In the bowl of an electric mixer, beat the avocado, eggs and sugar until blended, 60 to 90 seconds, scraping the bowl as needed. Add the strawberry and mango purees and mix just until all ingredients are combined. Add the vanilla. 
 
In a separate bowl, whisk together the flour, baking powder, and salt. Add the dry ingredients (a little at a time) to the wet ingredients, stirring gently, just until everything is combined.
 
Transfer the batter to the cupcake tins, filling each liner with an equal amount. 
 
Bake 15 to 17 minutes, or until a toothpick inserted in the center of the cupcakes comes out clean. Remove from the oven and let cool.
 
For the frosting, add the avocado and powdered sugar to the bowl of a mixer. Using the whisk attachment, mix on medium-high until the two are combined to create a very thick paste. 
 
With the mixer on low, add the milk, lime juice and strawberry puree. Continue to mix until all ingredients come together to form a spreadable frosting. Mix in the salt. 
 
Use a small cookie dough or ice cream scoop to top each cupcake with about 1 tablespoon of frosting. Serve right away. 
 
 
Thanks for reading! All images and content are the property of Fake Food Free unless otherwise stated. Please do not republish full recipes and images without written permission. What is okay? Feel free to Pin images, share links to my posts or share the photo in a round up post with the title of this recipe and a link back to the post. Confused about copyright and food blogs? Here is some helpful information on Recipe Attribution. If you want to use a photo or full recipe, just ask. I’m sure we can work something out.  

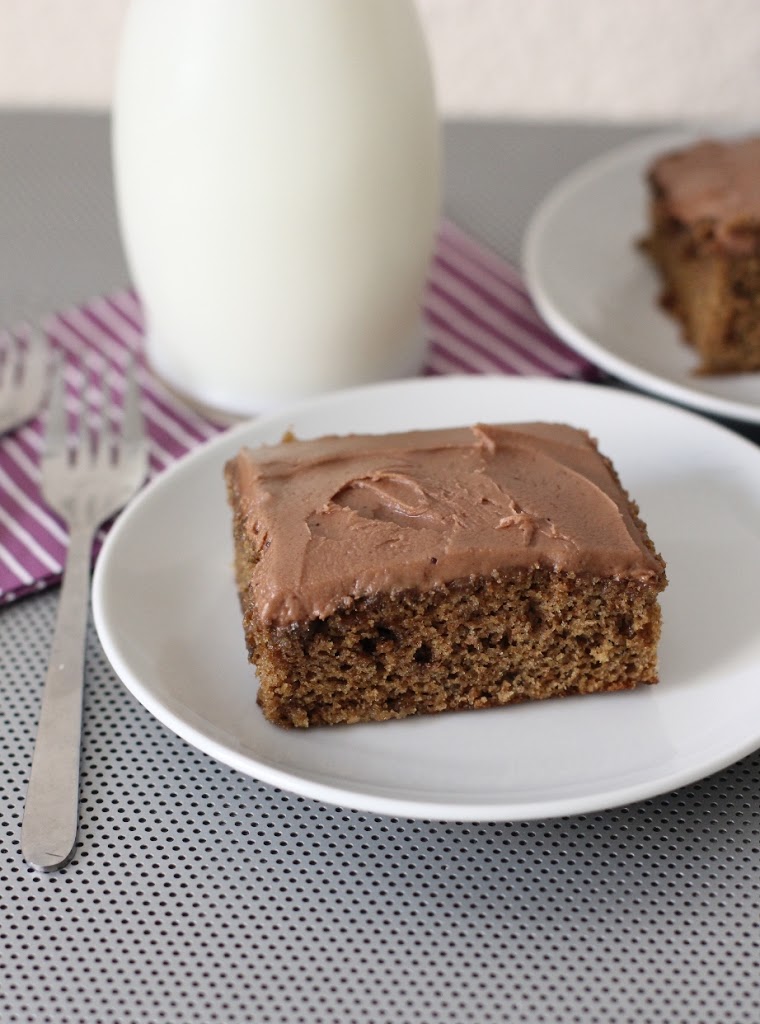
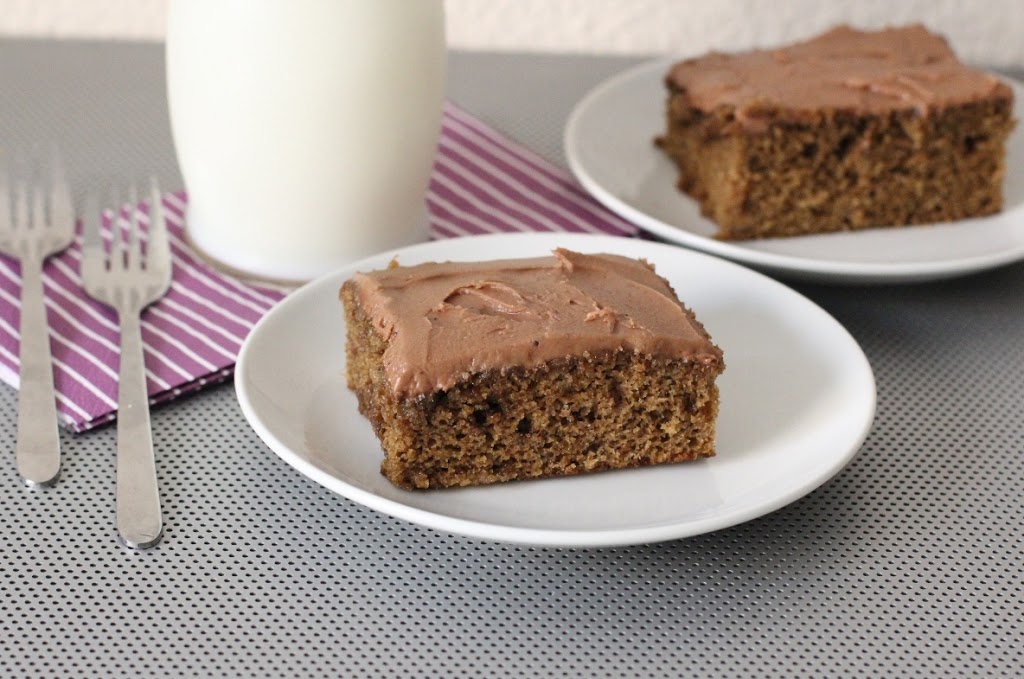
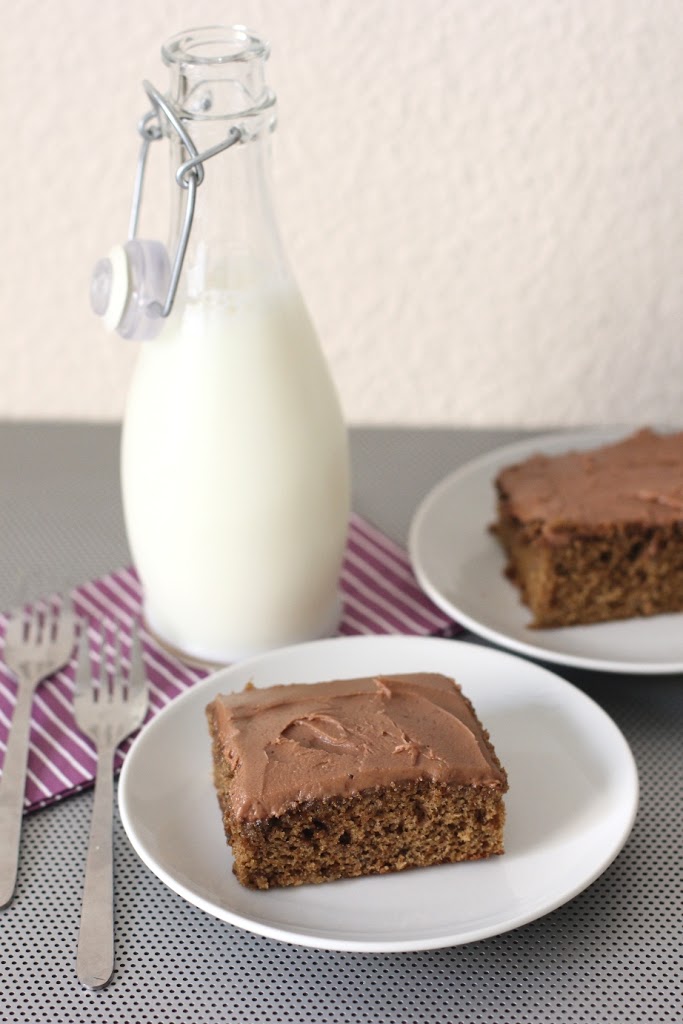
Whole Wheat Banana Snack Cake with Chocolate Guinness Frosting Recipe

April 8, 2013

When presented with an open beer (minus the ¼ cup you used in a recipe), most people would drink it. It’s a logical solution and one I’ve implemented myself numerous times.  But when I made the Guinness Braised Kale with potatoes and poached egg for St. Patrick’s Day, I found myself debating whether to drink half  a beer or make a cake.

I chose cake.
 

This isn’t your super sweet, rich, decadent dessert cake, which is why I decided to add snack cake to the name. It’s filling with the fresh flavor of banana, and the frosting will curb any craving for chocolate. Maybe even a hankering for dark beer. If you don’t mind a splash of booze and hearty whole grains for breakfast or as a snack, then I suggest you forgo finishing off your next pint, too.


Whole Wheat Banana Snack Cake with Chocolate Guinness Frosting

Makes: 9 servings

Ingredients

¾ cup mascavo (muscovado) sugar
¼ cup olive oil*
2 eggs
1 overripe banana, mashed
1 tbsp Guinness beer
1 cup whole wheat flour
½ tsp baking soda
¼ tsp salt
 
Frosting
1 tbsp unsalted butter, softened
1 ½ cups confectioner’s (powdered) sugar
1 tbsp cocoa powder
2 tbsp Guinness beer
 
Prep

Preheat the oven to 350 degrees F and grease an 8×8 inch square pan.

Add the sugar, oil and egg to the bowl of a mixer fitted with the paddle attachment. Mix on medium for about 1 minute. Add in the banana and mix on medium to medium-high 1 minute more. Mix in the 1 tablespoon of Guinness.
 
In a medium bowl, whisk together the flour, baking soda and salt. With the mixer on low, gradually add the dry ingredients. Mix just until combined, scraping the sides of the bowl as needed.
 
Transfer the batter to the prepared pan and bake for 20 to 25 minutes, or until a toothpick inserted in the center comes out clean. Allow the cake to cool.
 
To prepare the frosting, add the butter and powdered sugar to the bowl of the mixer fitted with the whisk or paddle attachment. Beat together the butter and powder sugar on medium and then medium-high until combined, and almost smooth, about 1 minute. Add the cocoa and 1 tablespoon of the Guinness. Mix on medium-high until the frosting is smooth, about 90 seconds. Mix in the additional 1 tablespoon of Guinness, based on your desired consistency for the frosting. The full 2 tablespoons was perfect for me.
 
Frost the cooled cake, cut into 9 pieces and serve. 
 
*Be sure to use regular olive oil with this recipe because it has a more mild flavor. Virgin olive oils may add too much of an olive-like taste. 


Thanks for reading! All images and content are the property of Fake Food Free unless otherwise stated. Please do not republish full recipes and images without written permission. What is okay? Feel free to Pin images, share links to my posts or share the photo in a round up post with the title of this recipe and a link back to the post. Confused about copyright and food blogs? Here is some helpful information on Recipe Attribution. If you want to use a photo or full recipe, just ask. I’m sure we can work something out. 

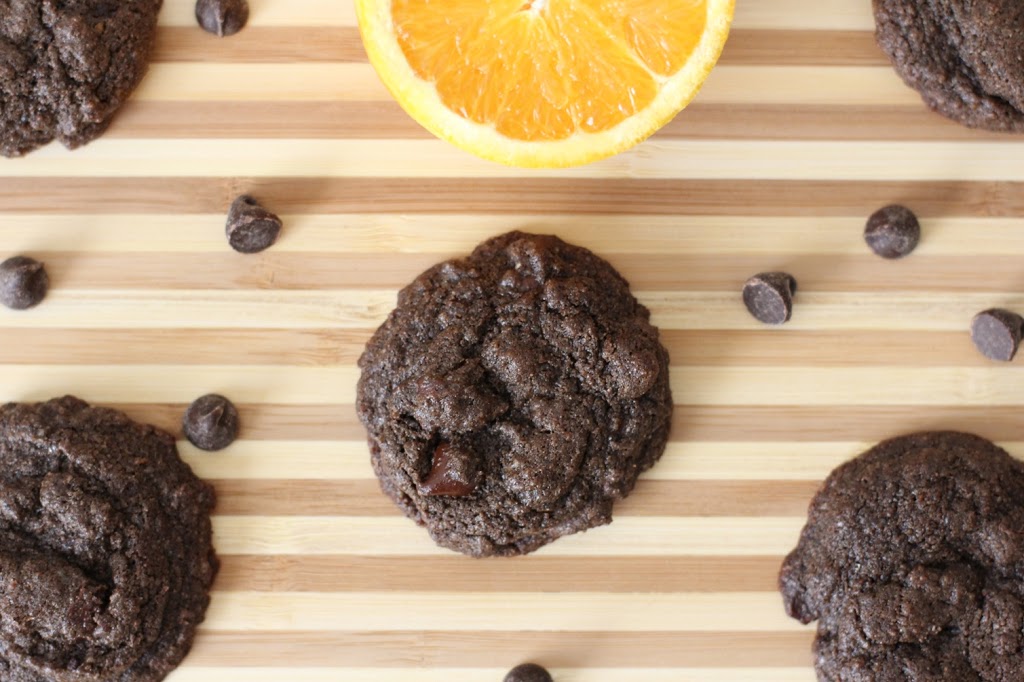
Double Chocolate Orange Cookies Recipe

February 8, 2013

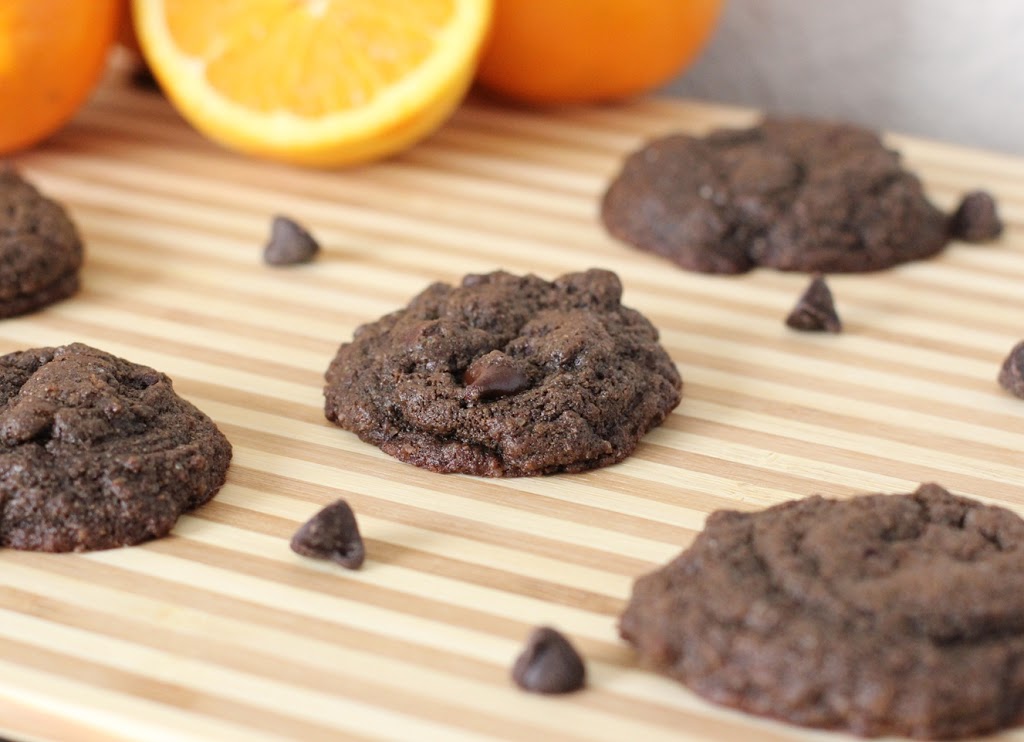
These chocolate orange cookies bring together two of my very favorite ingredients!

Double Chocolate Orange Cookies | Fake Food Free 
Did you ever buy those chocolate oranges? They came in the shiny foil and when you whacked it on the counter top it broke into appropriately imprinted orange slices. 
 
I think they were introduced around Christmas or Easter one year and we went crazy for them. I don’t know if they are still available, but I owe them all the credit for introducing me to the flavor combination of chocolate and orange. 
 
I don’t want to be so bold as to say that it ranks up there with chocolate and peanut butter, but if I had to pick a fruit to go with my chocolate, orange just might be it. 
 
Valentine’s Day is coming up, and while I know it isn’t everyone’s favorite holiday, I am adamant about the fact that one should, at the very least, embrace a holiday that focuses so heavily on chocolate. Forget the love, the pink, the hearts if you must, but my goodness, eat some chocolate!
 
I’m here to help you out with this recipe. A lot of chocolate, a little orange, some whole grains and raw sugar. Nice and simple, but the perfect way to celebrate Valentine’s Day.
 
 
Double Chocolate Orange Cookies | Fake Food Free


Double Chocolate Orange Cookies Recipe

Makes: 18 cookies

Ingredients

½ cup unsalted butter, softened
¾ cup raw sugar
1 large egg
½ tsp vanilla
1 tsp fresh orange juice
Zest of 1 orange
½ tsp baking soda
¼ tsp salt
¼ cup unsweetened cocoa powder
¾ cup whole wheat flour
½ cup dark chocolate chips
 
Prep
 
Preheat the oven to 350 degrees F.
 
In the bowl of a mixer, cream together the butter and sugar, about 1 to 2 minutes. Scrape the sides of the bowl and add the egg. Mix until incorporated. Add the vanilla, orange juice and orange zest, mix about 30 seconds more. 
 
Add the baking soda, salt and cocoa powder. Mix until the cocoa powder is distributed throughout the dough. With the mixer on low, add the flour a ¼ cup at a time. Mix just until it is incorporated. Stir in the chocolate chips.
 
Use a small cookie scoop or tablespoon to transfer the dough to a standard baking sheet. Bake for 8 minutes. Allow to cool on the baking sheet 1 to 2 minutes and transfer to a cooling rack to cool completely. 
 
 
Thanks for reading! All images and content are the property of Fake Food Free unless otherwise stated. Please do not republish full recipes and images without written permission. What is okay? Feel free to Pin images, share links to my posts or share the photo in a round up post with the title of this recipe and a link back to the post. Confused about copyright and food blogs? Here is some helpful information on Recipe Attribution. If you want to use a photo or full recipe, just ask. I’m sure we can work something out.
 
Want to create beautiful food and product photos that you can't wait to share?!
Discover your style, control the light, and shoot using the tool you know how to use (yes, your phone included). Learn about free resources, Live Q&As with Lori, and online courses you can take from anywhere in the world!
We respect your privacy. Unsubscribe at any time.