These naturally dyed eggs with black rice, purple cabbage, and red beets are easy to make and produce beautiful eggs for hunting or decorating!

I’m trying to remember the last time I dyed eggs as an adult.
I can’t.
I don’t have anything against Easter eggs. I think I just got tired of the super bright magenta and yellow colors that started feeling a bit unnatural. Because, well, they were.
Naturally dyeing eggs is nothing new. A little Internet search will give you plenty of results. But it is new to me, so I thought I would share my experiences.
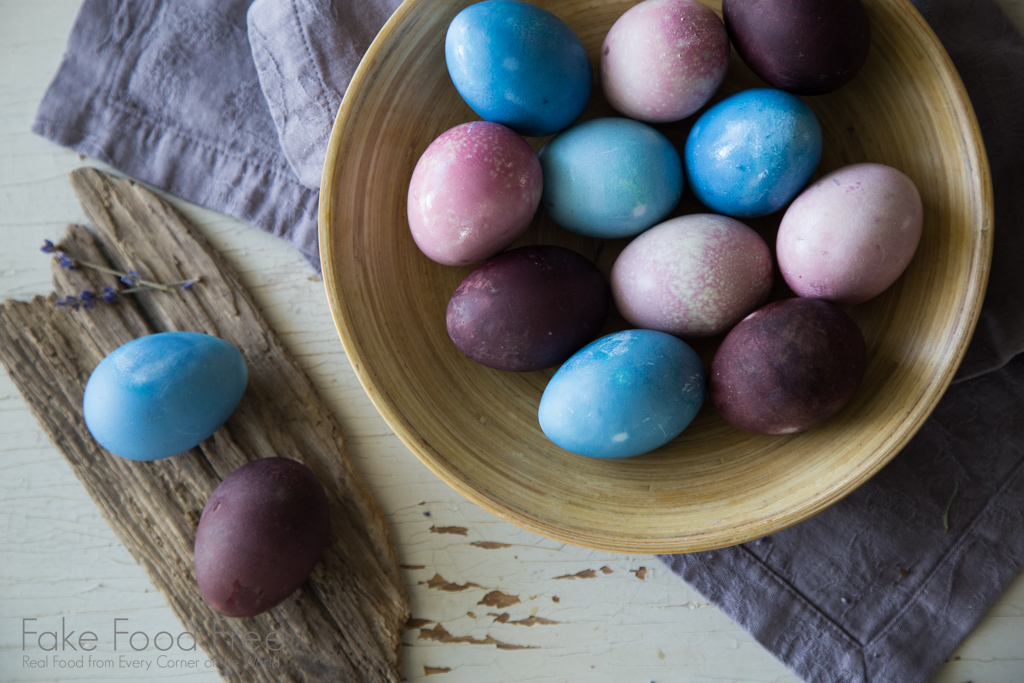
I didn’t set out to get every color under the sun. I wanted to narrow in on pinks to blues to purples. And it turns out I used one ingredient to color the eggs that, thus far, I haven’t seen used in any of the posts I reviewed.
Black rice.
Every time I cook it. I’m amazed at how deeply colored the water becomes. I thought it was at least worth a shot.
The best part is that you aren’t necessarily cooking the rice just to make eggs. The cooking water is a by-product of preparing the rice so you are going to have it either way. This time of year, why not dye a few eggs in it before throwing it out?
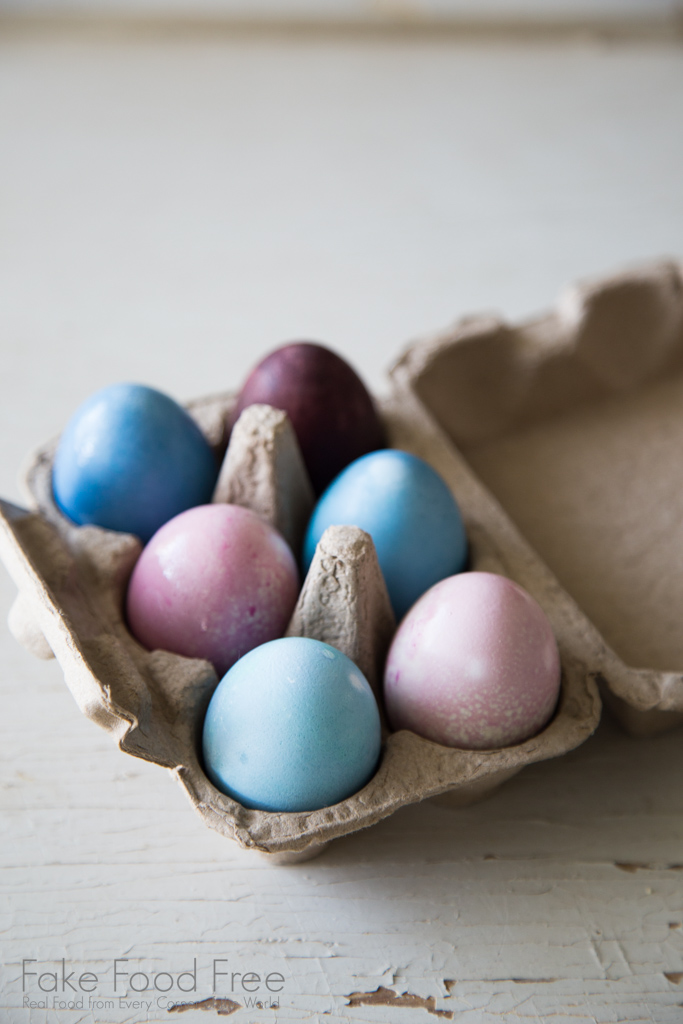
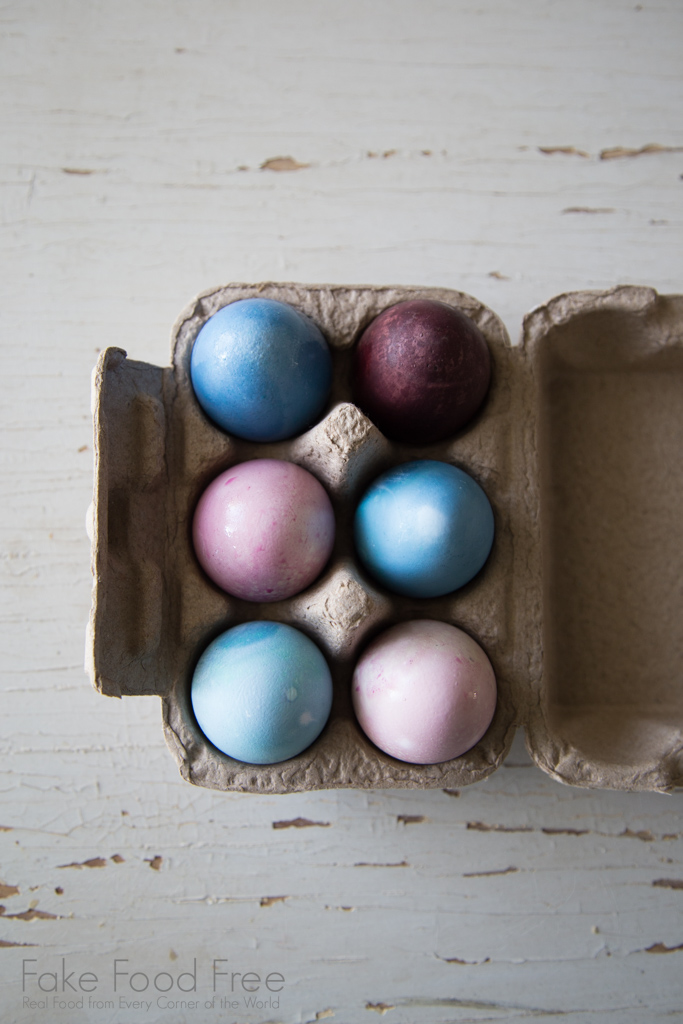
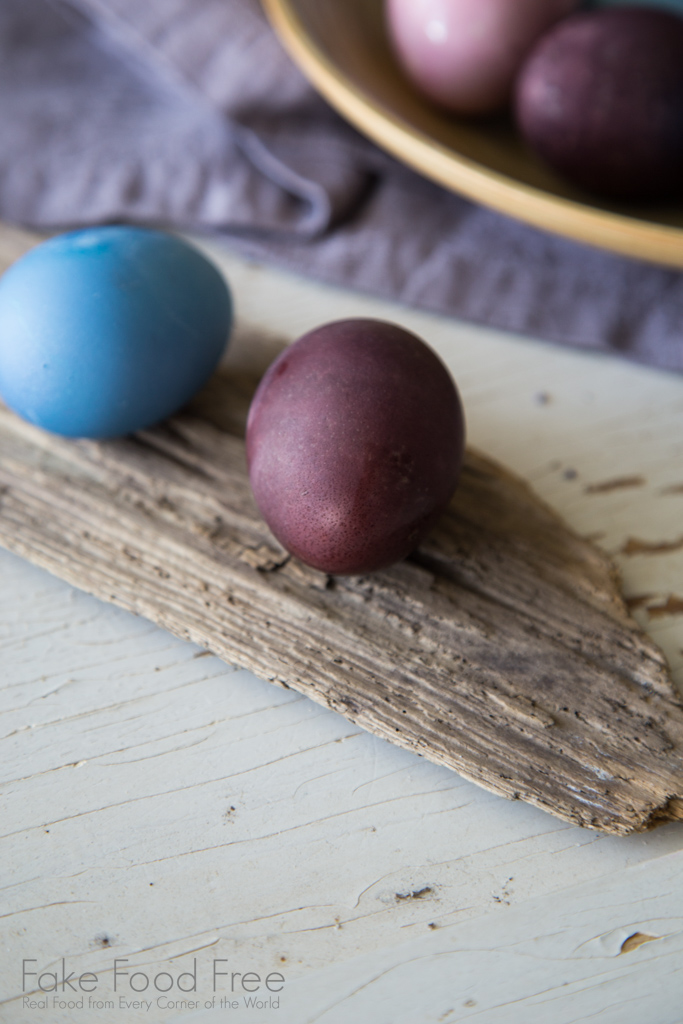
It ended up providing the most deeply colored eggs in the shortest amount of time. It’s the dark, maroon one you see in the images.
The other things I used were purple cabbage and red beets.
The purple cabbage produced a blue that intensified as the eggs sat in the dye. I was hoping for more of a purple tone for my color palette, but it is still pretty.
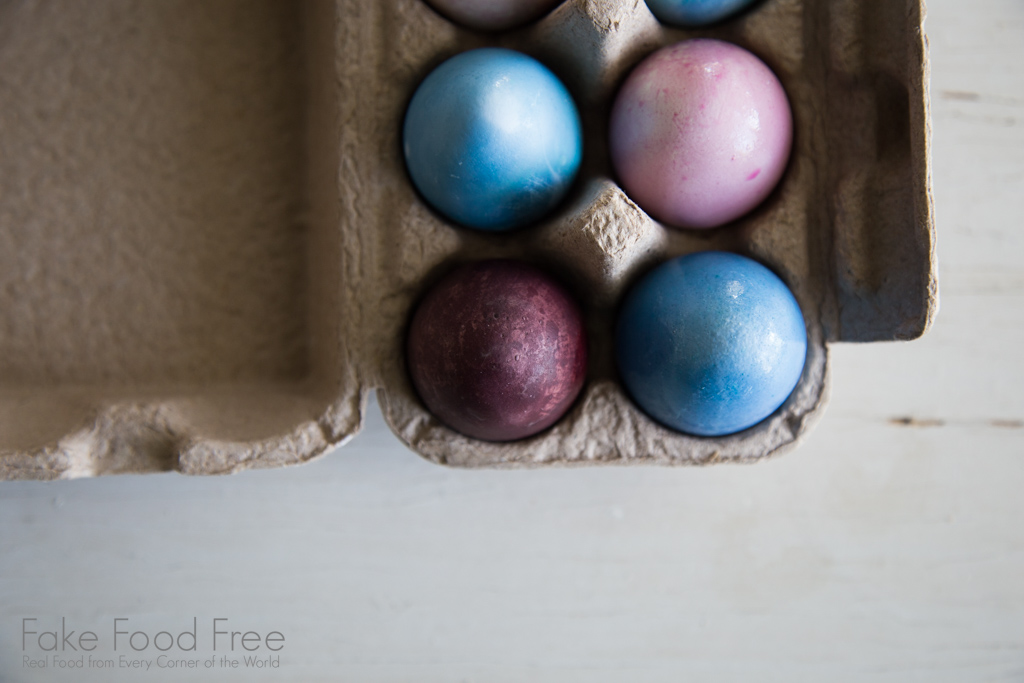
The red beets were my least favorite. I was surprised considering how deep their pigment is when you cook with them. I liked the color, but it was the least adhesive of all of them. It turned into more of a speckled look. It is pretty, though, for that natural, earthy look.
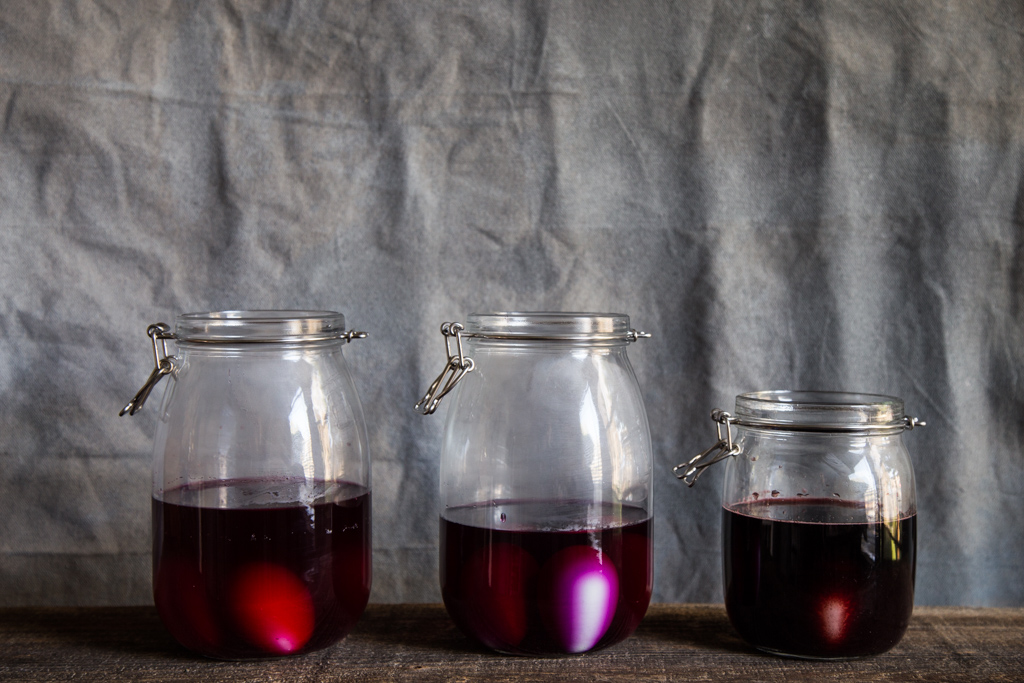
I checked the eggs and removed them from the dye at varying time intervals. Roughly. I wasn’t being a stickler about it, so give or take 15 minutes on the times. I checked at 2 hours, 4 hours, and 6 hours.
I’ve seen examples of going longer, such as 12 and 24 hours, but I was on a mission to photograph these the same day I made them so I had self-imposed time limits.
Below I have a few notes on timing and color for each method. I used white eggs for my project.
Black Rice: Longer dyeing times didn’t seem to change the color. I felt like it reached its peak at 2 to 2.5 hours, my first checking point. If you are using the same amount of liquid across the board to start, you’ll end up with less liquid to dye with the black rice. That’s because some of it is absorbed to cook the rice.
Purple Cabbage: The purple cabbage colors the eggs well and got increasingly darker as it sat in the liquid.
Red Beets: My least favorite. At first, I thought I’d like the pink, but as it set it became more speckled and didn’t hold to the egg well at all. The longer the eggs were in the liquid, the darker they got, but after drying them and leaving them in the fridge, the color continues to kind of disappear. They are still pretty. I just didn’t like these as well as the others.
Next year, I may try a different color palette. I’ve seen that turmeric, onion skins, and coffee make really pretty golden to earthy brown eggs.
Want to make your own? The super simple method I used is below.
- 4 cups water for each color
- 2 tablespoons white distilled vinegar for each color
- 2 red beets, chopped
- 1/2 head purple cabbage chopped
- 1/2 cup black rice
- 12 to 16 white eggs, hard-boiled
- Place 4 cups of water in each of 3 medium to large saucepans. Add the beets to one saucepan, the cabbage to a saucepan, and the rice to a saucepan. Bring each to a boil over medium-high heat. Boil for 20 minutes. Let sit until the water is warm and comfortable to handle.
- Strain the liquid from each pan into its own deep bowl, jar, or pitcher. Stir 2 tablespoons of vinegar into each container.
- Carefully transfer your desired number of eggs into each container. Be sure the eggs are completely submerged. Place the containers in the refrigerator and check at intervals of your choice to get the color you want. I did 2 hours, 4 hours, and 6 hours. Once they reach your desired color, allow them to dry, and store in the refrigerator.