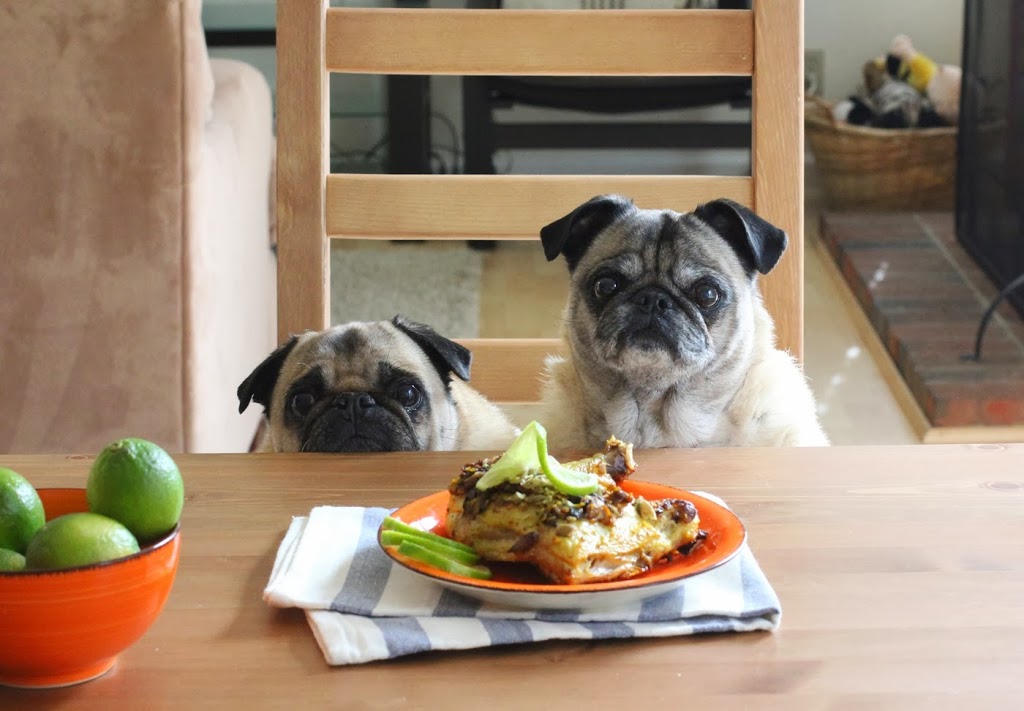
Since the day we brought Dixie to her forever home three years ago, this sassy, sweetheart of a pug has had a favorite food.
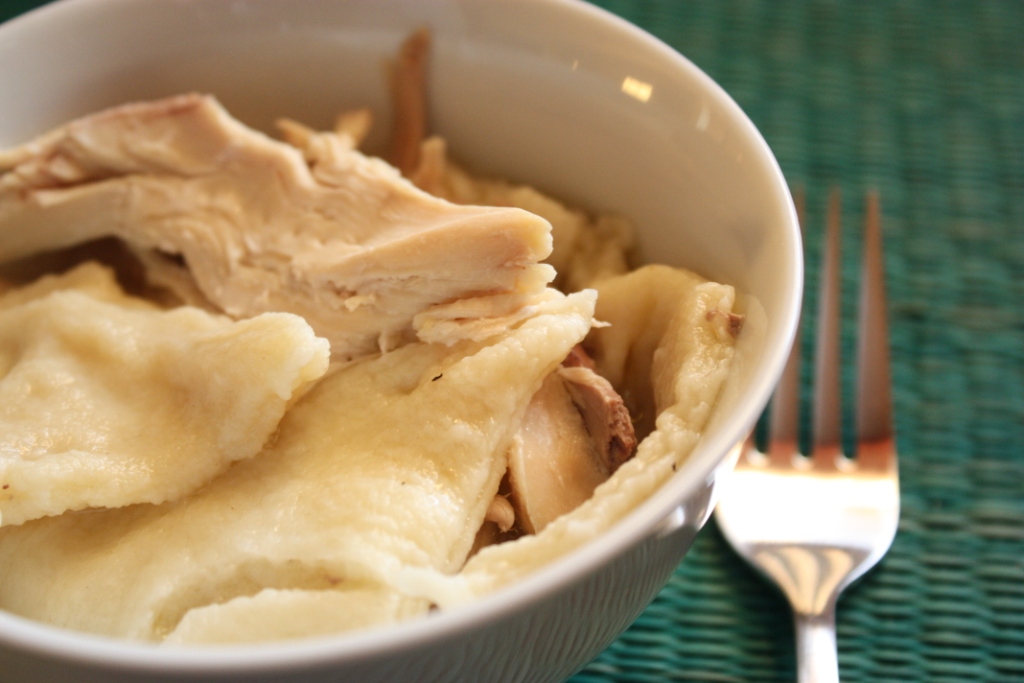
Chicken on the bone.
If we dine on a vegetarian meal, she sleeps in the corner by the fireplace. Ribs or burgers? You can hear her snoring in her kennel. Even boneless chicken breasts don’t interest her.

But sit down with a plate of bone-in chicken and things drastically change.
She raises her nose to sniff the air. She nudges under your arm to get closer to the plate, and the sounds of soft, subtle whining and exasperated sighs can be heard throughout the house.
I’ve never seen anything quite like it. I have no idea what experience in her past made her develop a fondness for such a specific food, but that dog knows when you are having chicken on the bone.
And she wants some.
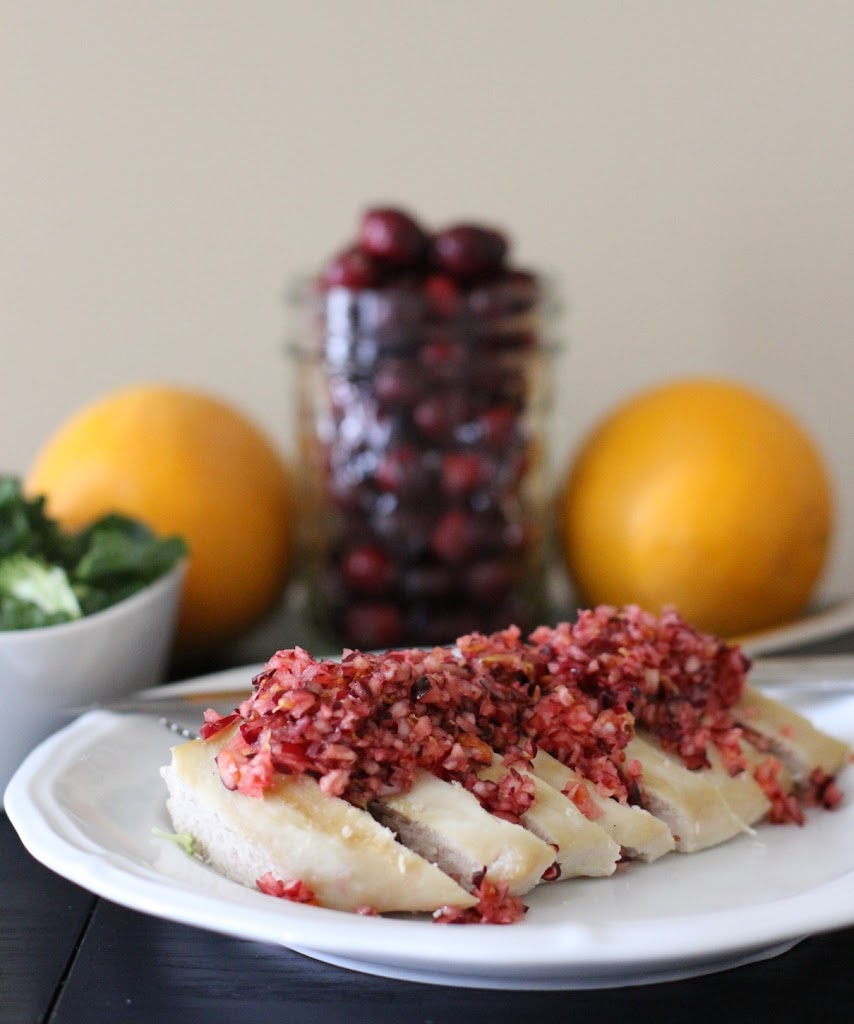
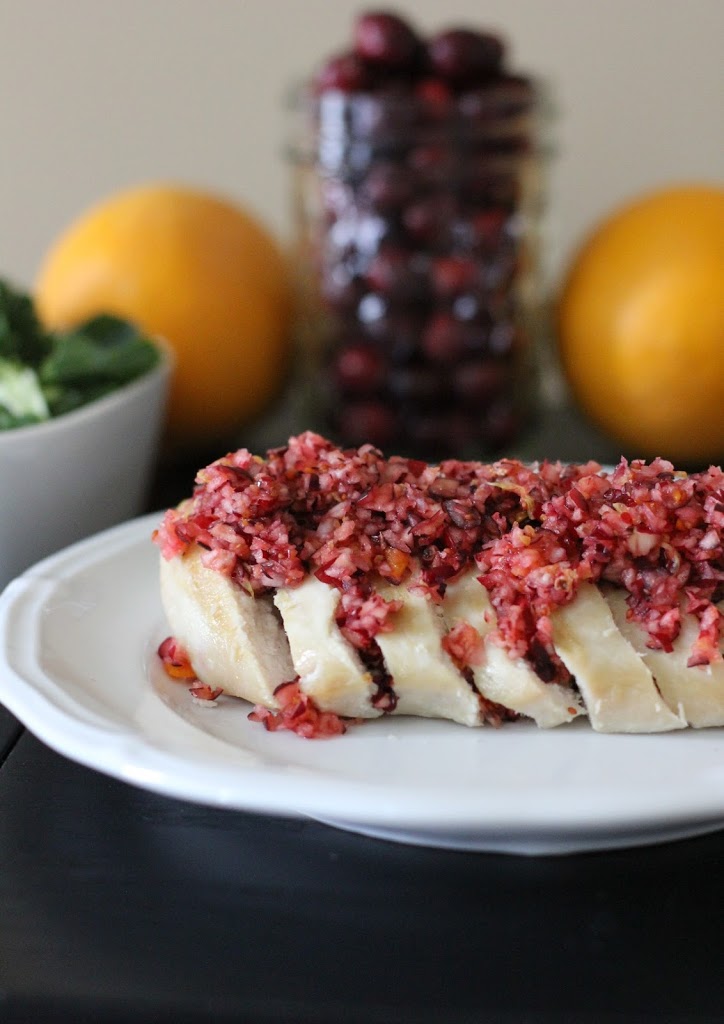
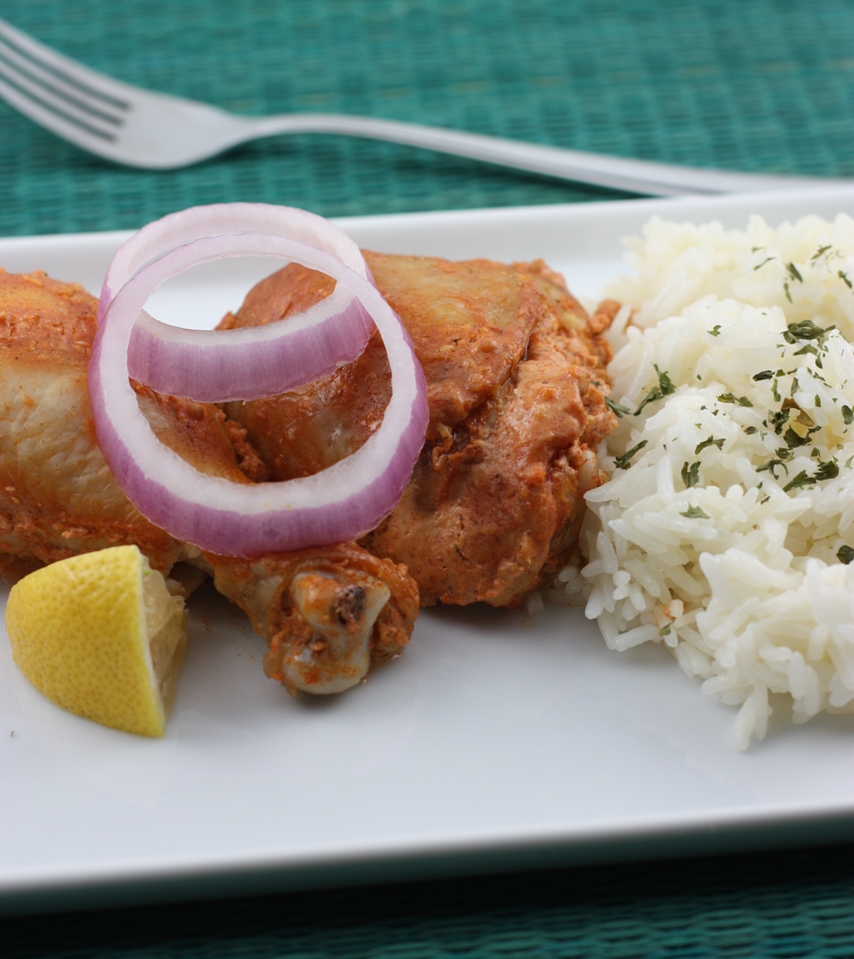
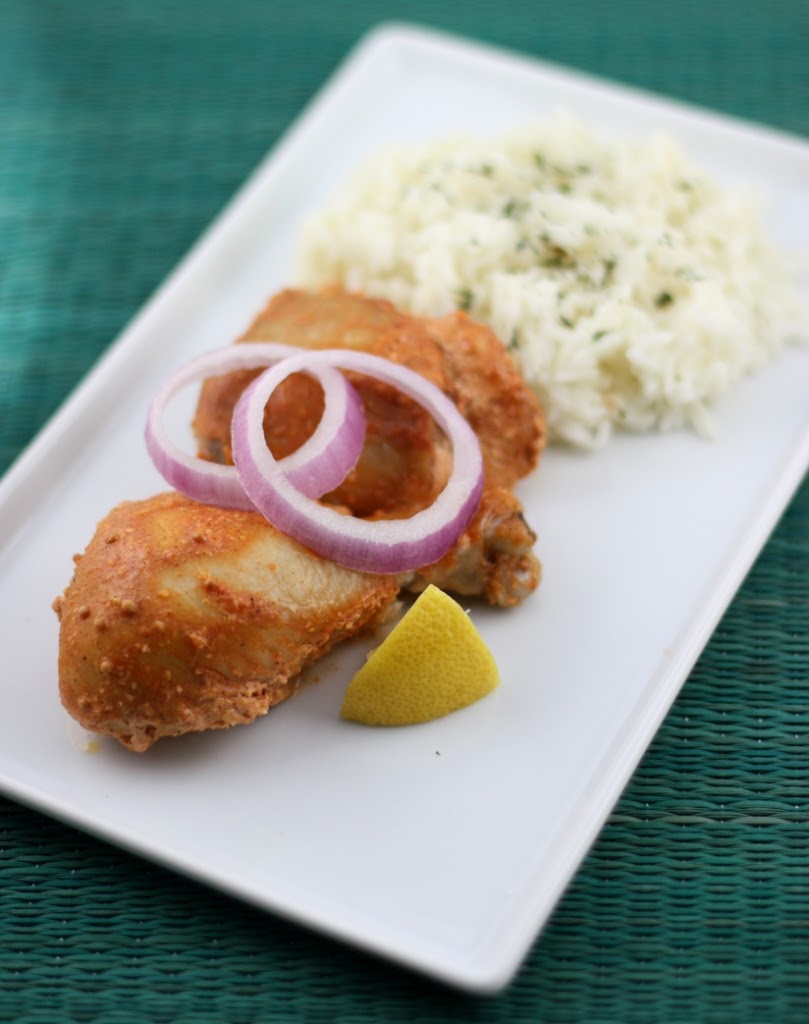
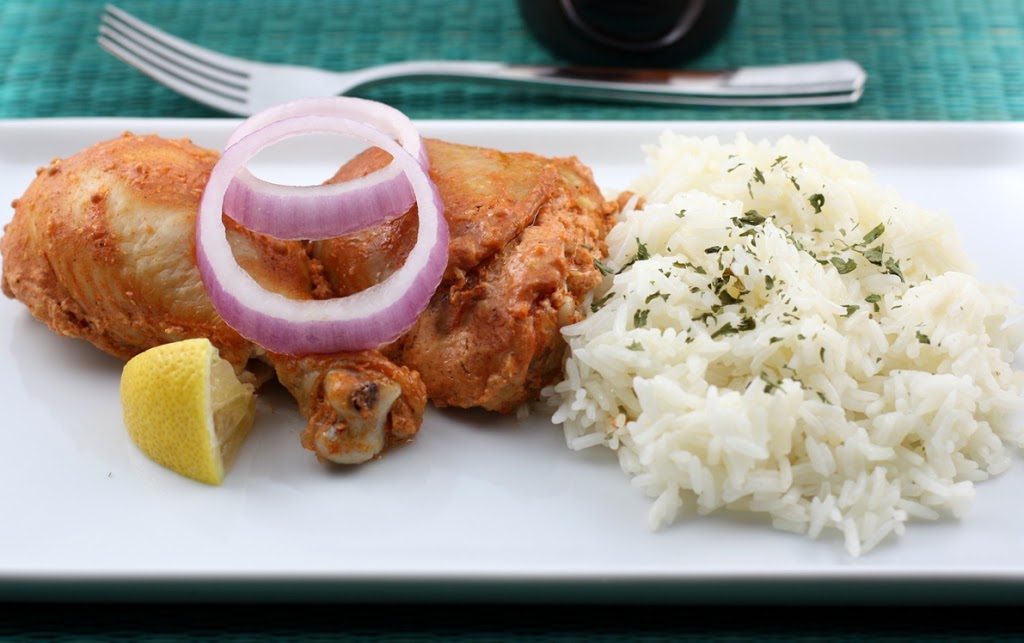
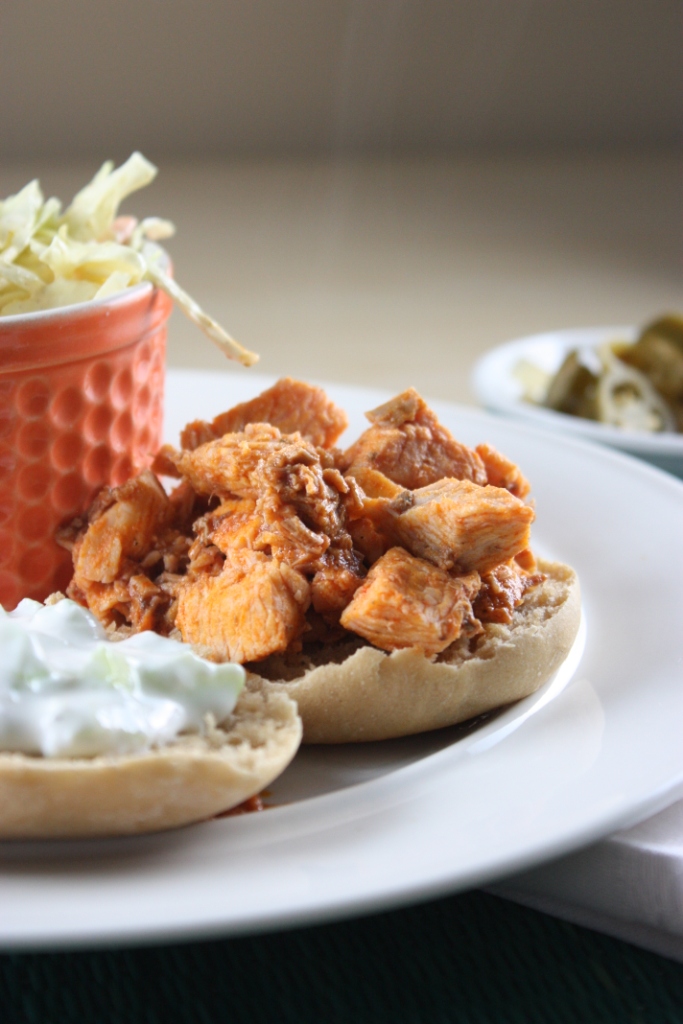
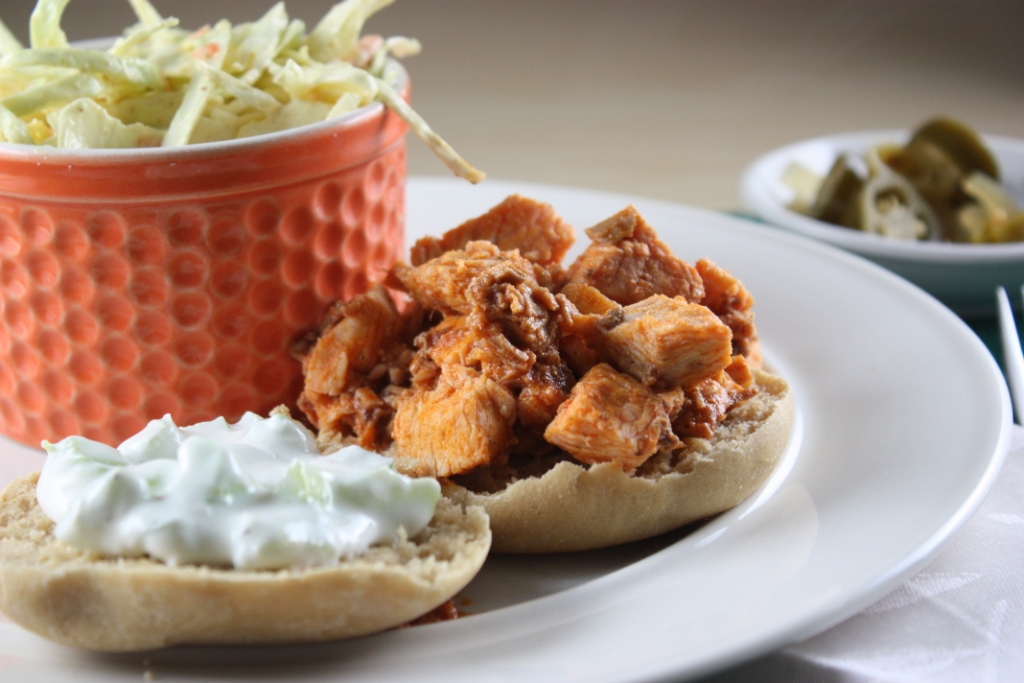
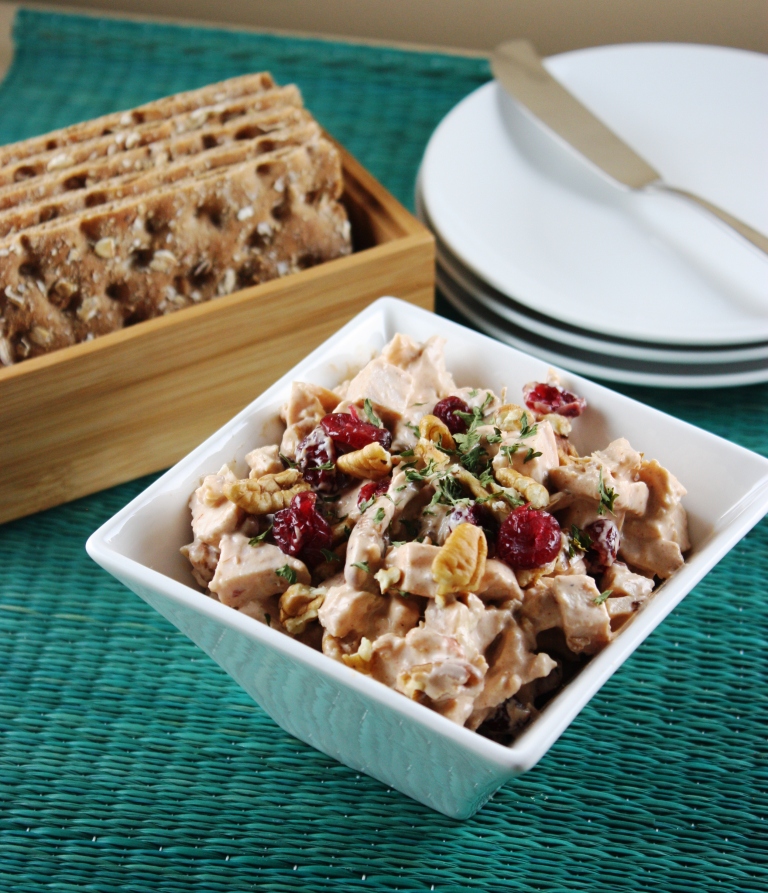
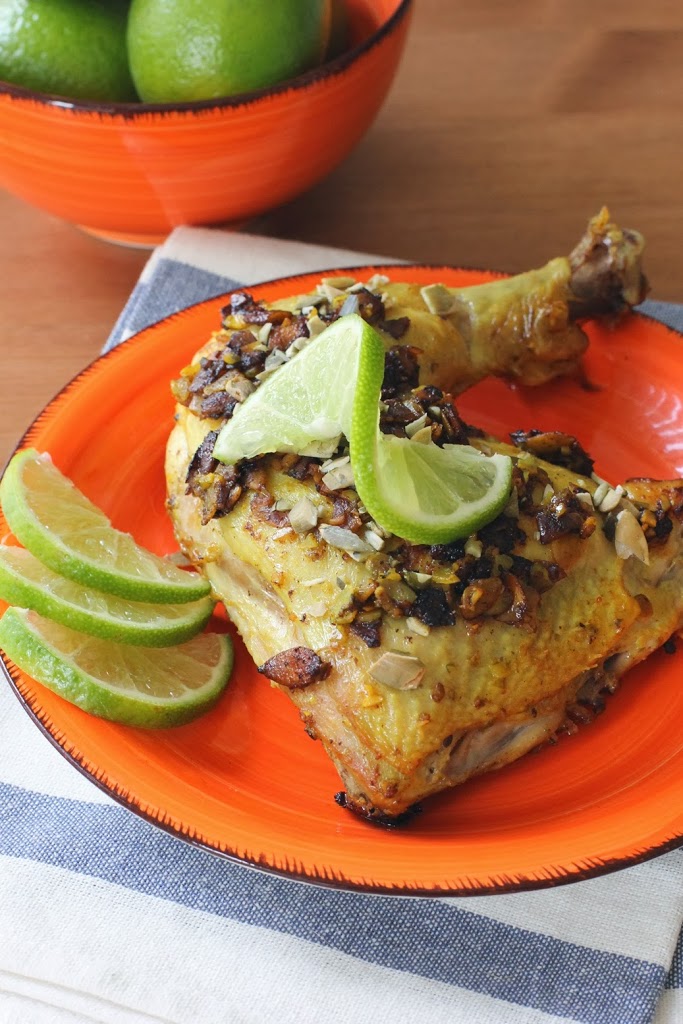
So when I received a copy of the cookbook, Dog-Gone Good Cuisine by Gayle Pruitt, I stopped my browsing when I found Pumpkin Seed and Lime Chicken. I knew I had to make it.
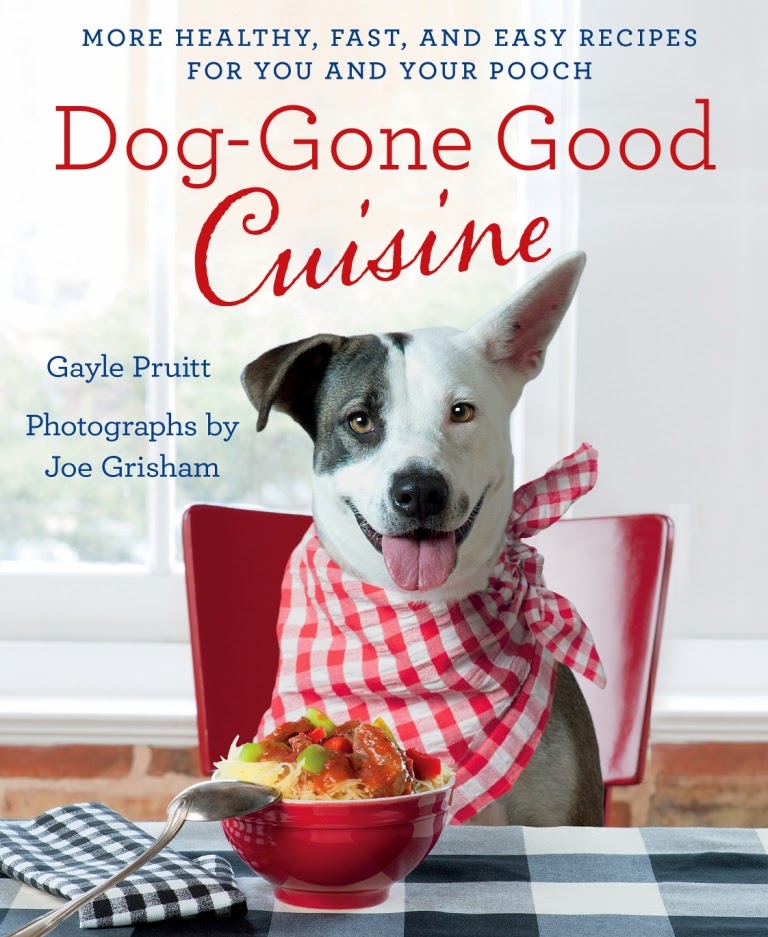
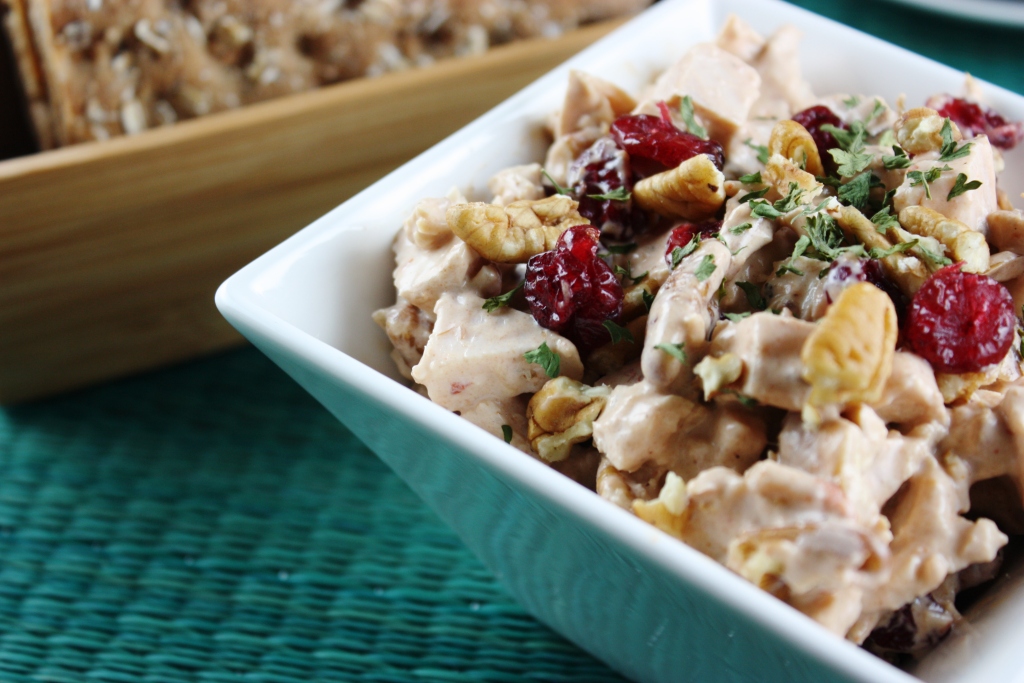
This might go down in history as the cutest cookbook, not to mention the most versatile. If you didn’t gather it from title, the book features recipes that are fit for both human and canine consumption. It includes a wonderful intro about ingredients that are safe for dogs and nutrients that benefit both you and your best friend. You’ll be thoroughly entertained by the tasteful pet photos and beautiful food photography by Joe Grisham. The recipes are simple and straightforward with ideas to please the entire family.
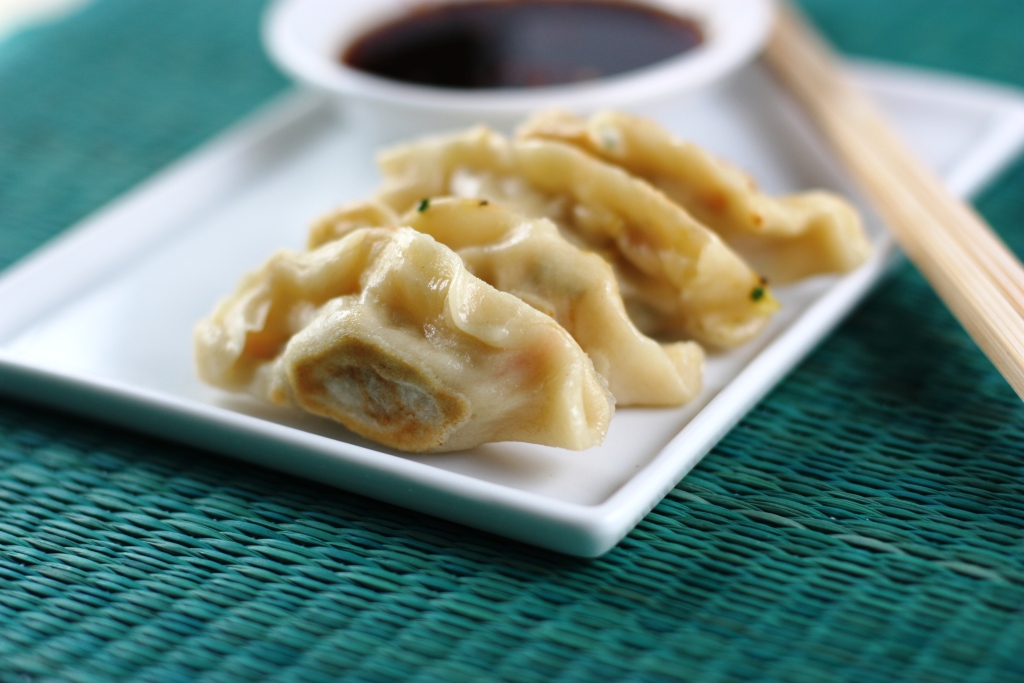
Also, don’t expect it to be all chicken and rice. The creativity here will inspire you. Plain Chia and Flaxseed Pancakes, Tomato-Carrot Soup and Mediterranean Meatballs on a Stick are a few more recipes I can’t wait to share with my furry family.
I also have to mention that my heart melted a little when I read the dedications, which included a mention of the author’s dog, Mister Casper. My childhood dog was named Casper. I knew him for the first 10 years of my life. What an amazing being.
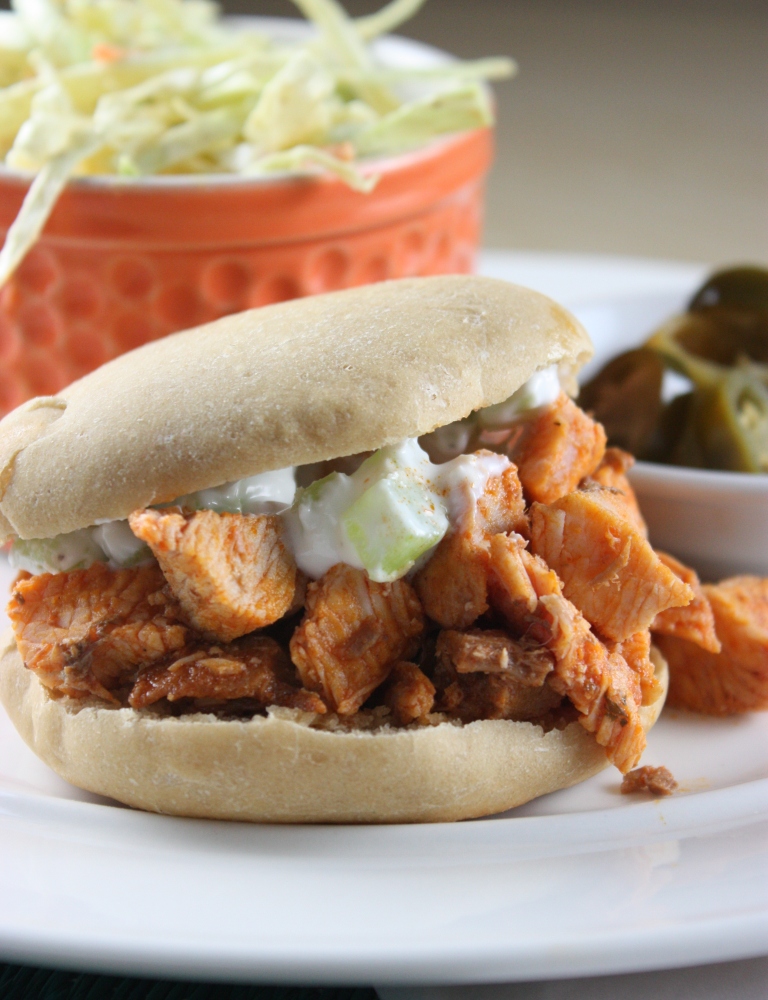
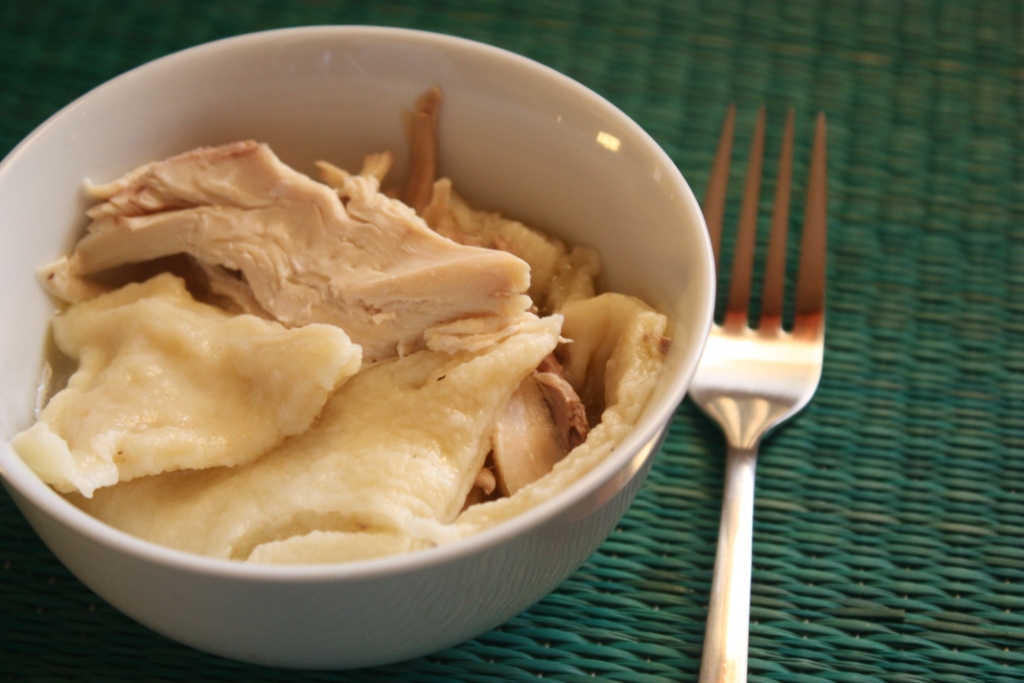
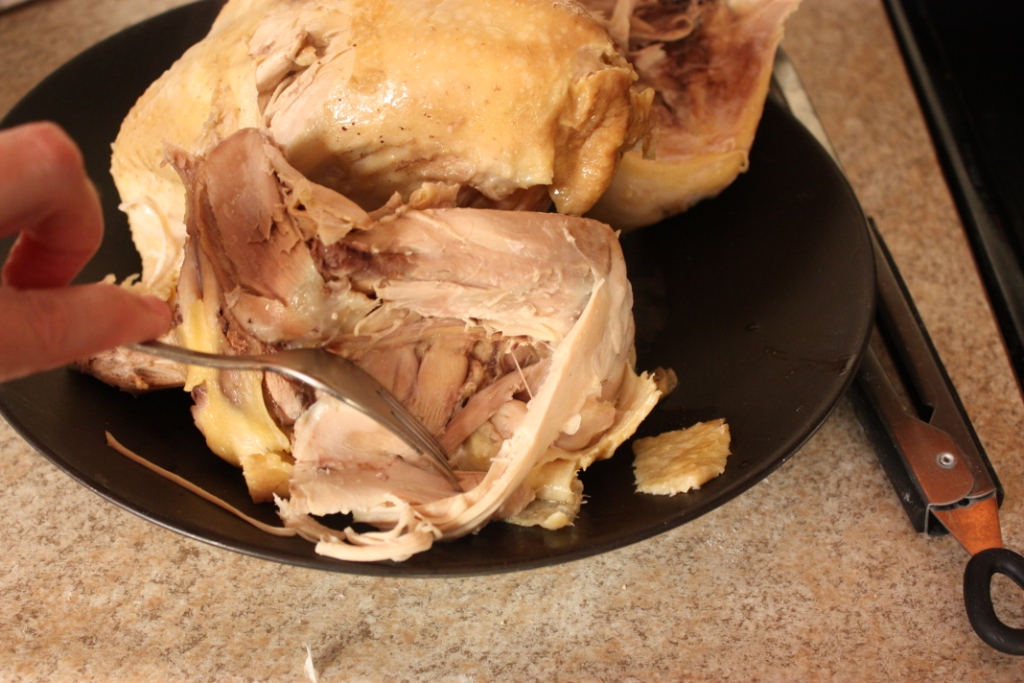
As expected, the chicken was a hit (taken off the bone, of course.) This book is an excellent resource for cooking for your dog, and it would make a wonderful gift for all the dog lovers in your life.
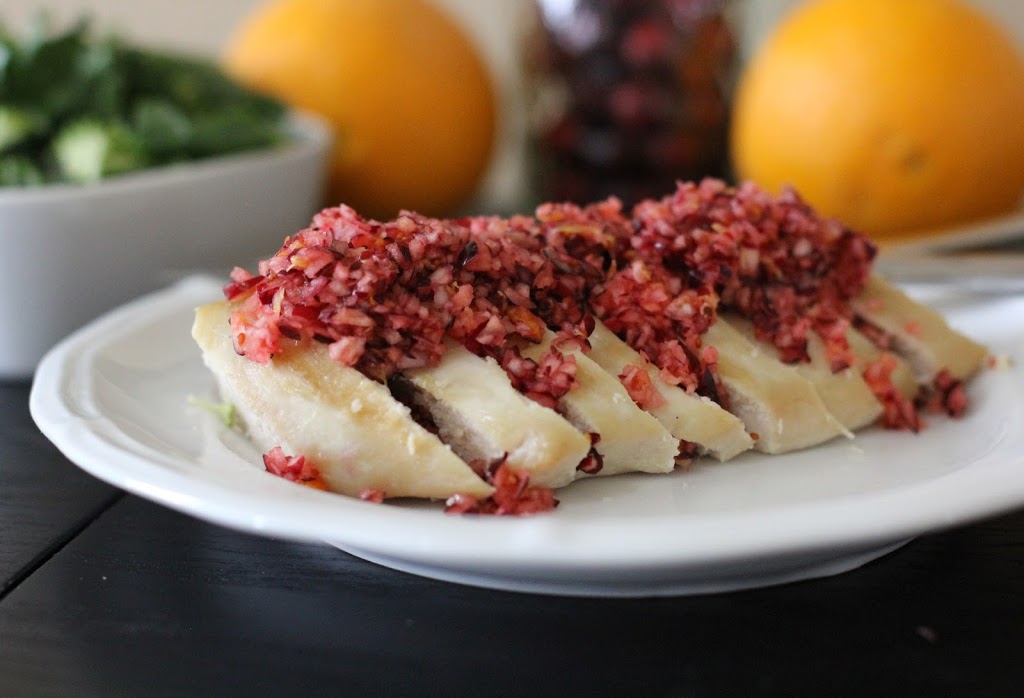
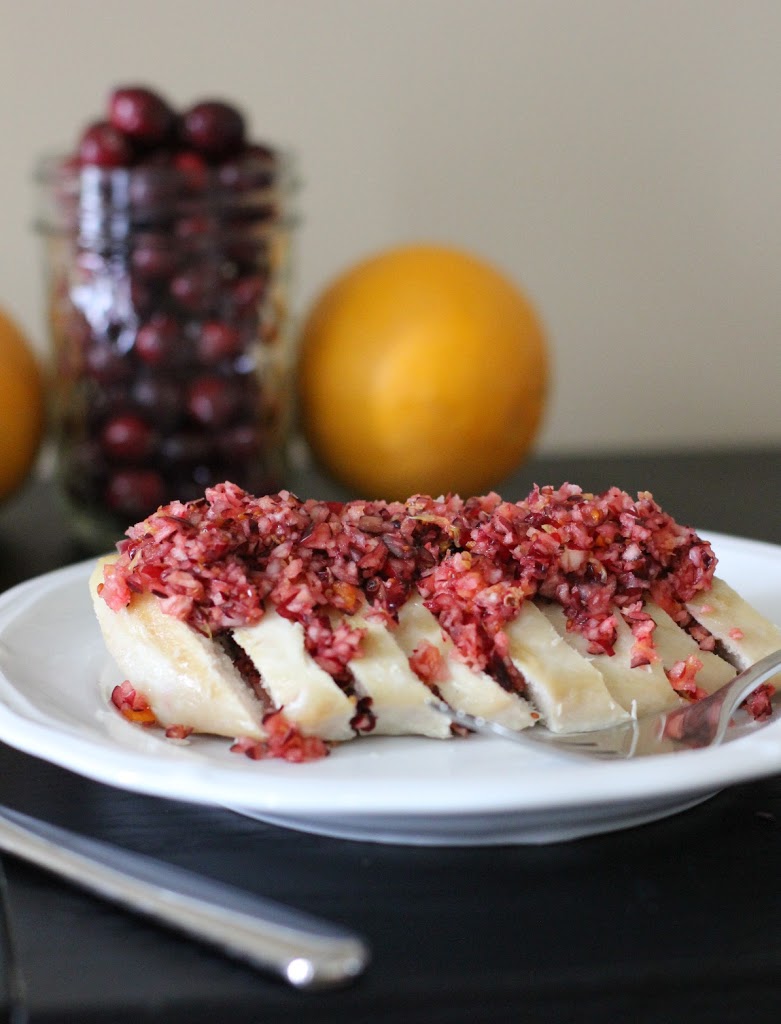
Pumpkin Seed and Lime Chicken
From Dog-Gone Good Cuisine by Gayle Pruitt with photographs by Joe Grisham. Copyright © 2014 by the author and reprinted by permission of St. Martin’s Griffin.
Ingredients
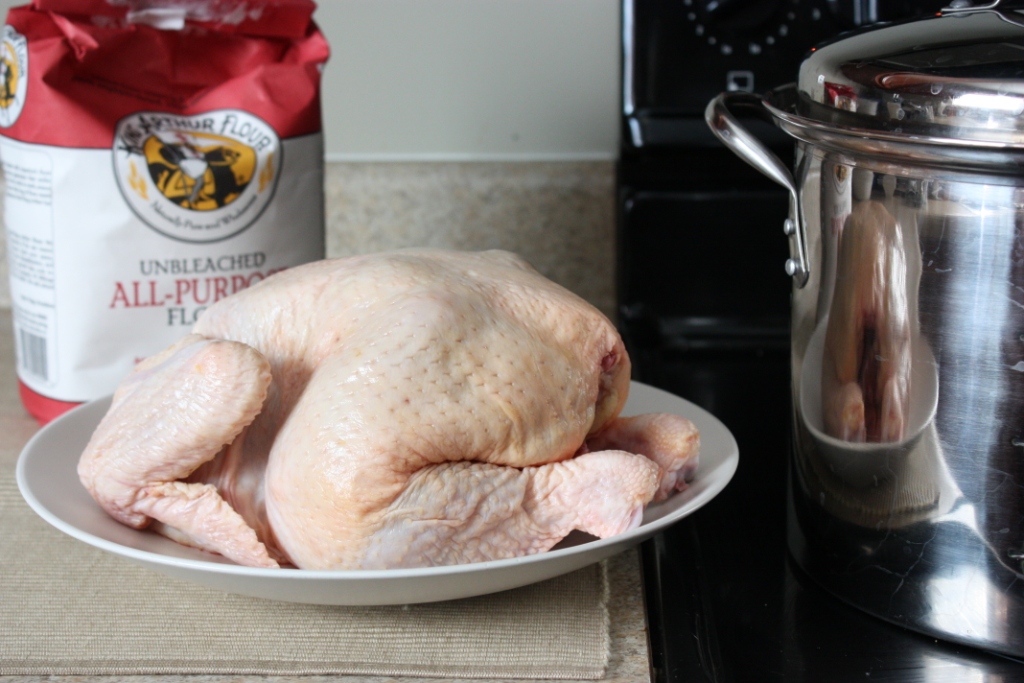
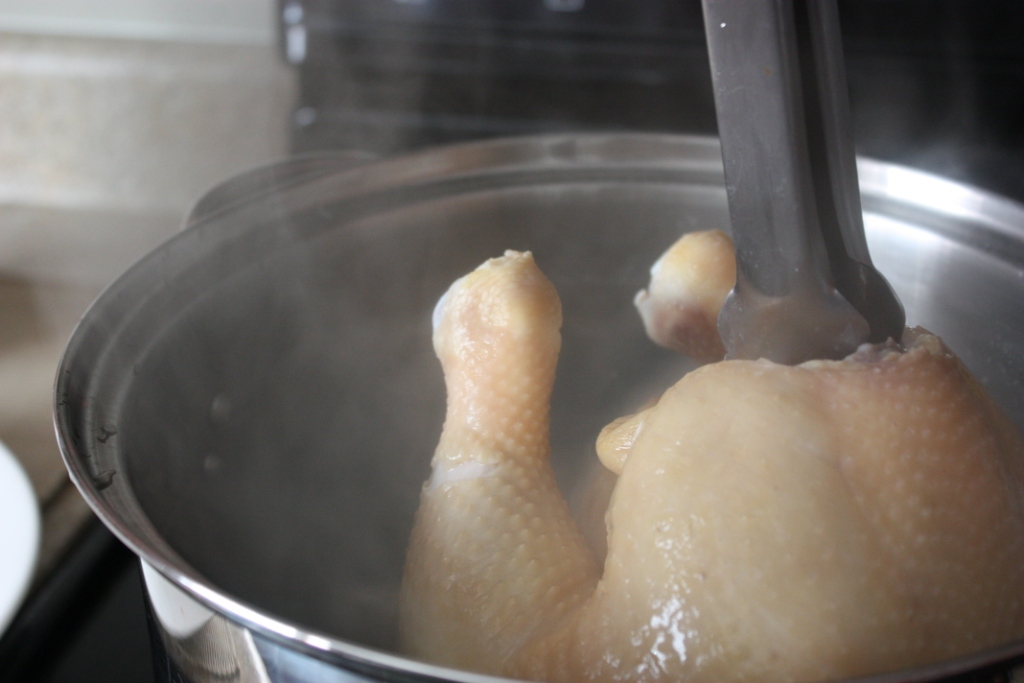
4 chicken quarters, bone in, skin on
2 tablespoons olive oil
2 ounces raw pumpkin seeds
Juice and zest of 2 limes
1 teaspoon ground turmeric
½ teaspoon Celtic sea salt
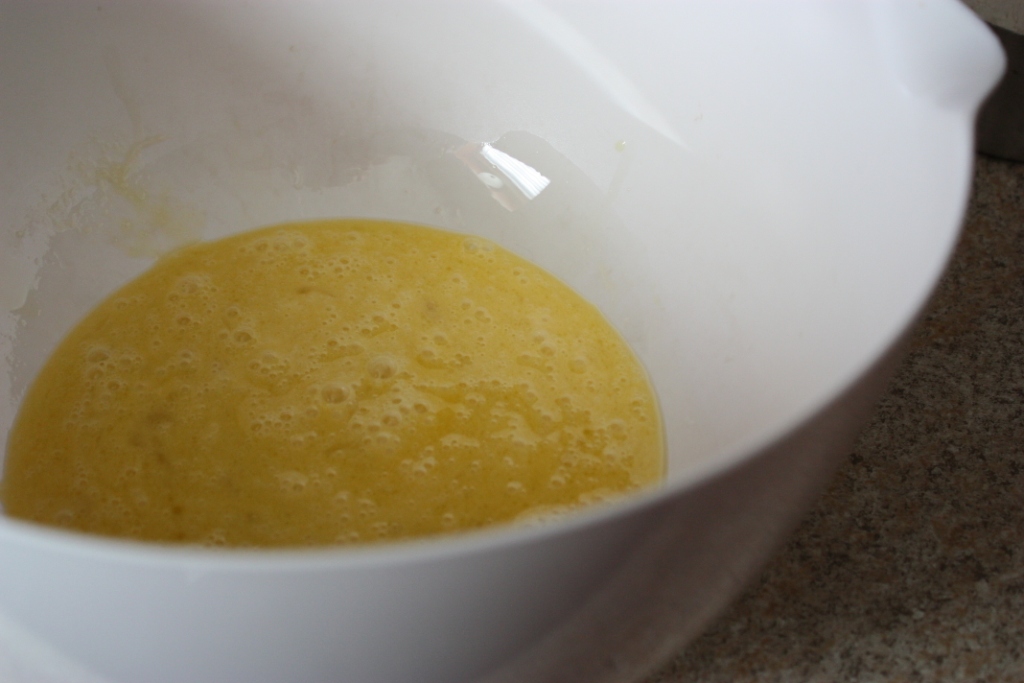
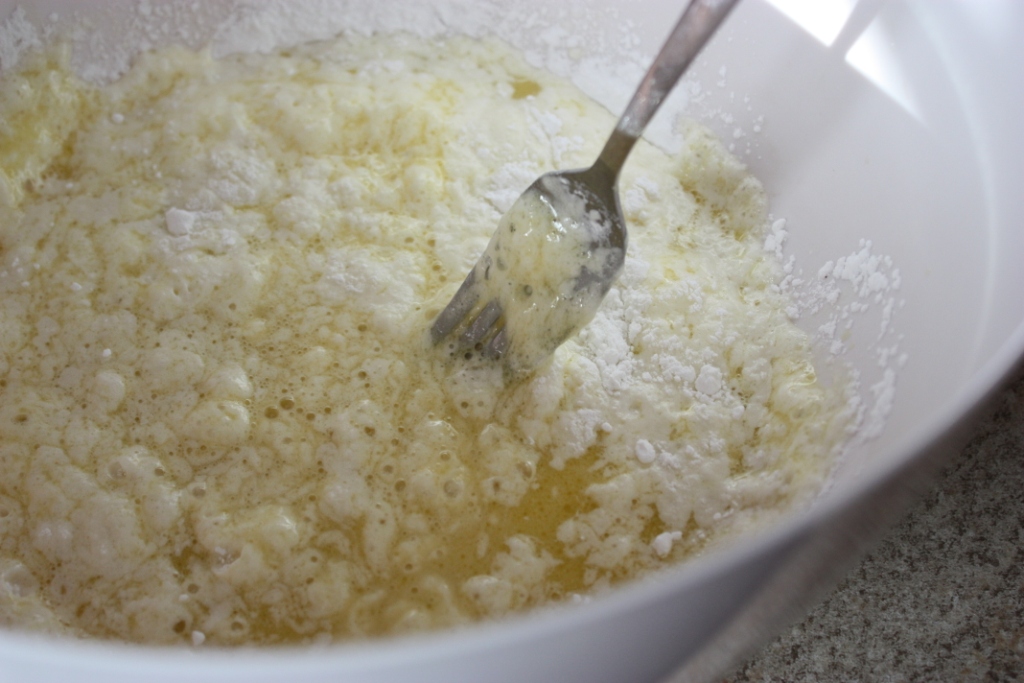
Add all the ingredients except for the chicken to a food processor and pulse until the pumpkin seeds are in small chunks. Put the chicken in a bowl and pour the pumpkin seed mixture over the chicken, making sure to completely cover it. Refrigerate for at least 1 hour.
Place the chicken, skin side down, in a hot skillet or grill pan. Place a cover over the top of the chicken, touching the chicken with the lid, and pressing down on the top of the chicken. Cook for about 10 minutes, then turn the chicken over; the skin should now be a golden brown. Reduce the heat to medium-low, re place the lid over the chicken, and cook for another 30 minutes.
Serves 4 adult humans and 6 to 8 small to medium dogs.
Disclosure: This book was sent to me for review purposes. I was not required to post about it and received no compensation for during so. However, I was paid in full by two very happy pugs in the form of pug kisses.