Browsing Category

Grains Nuts and Seeds

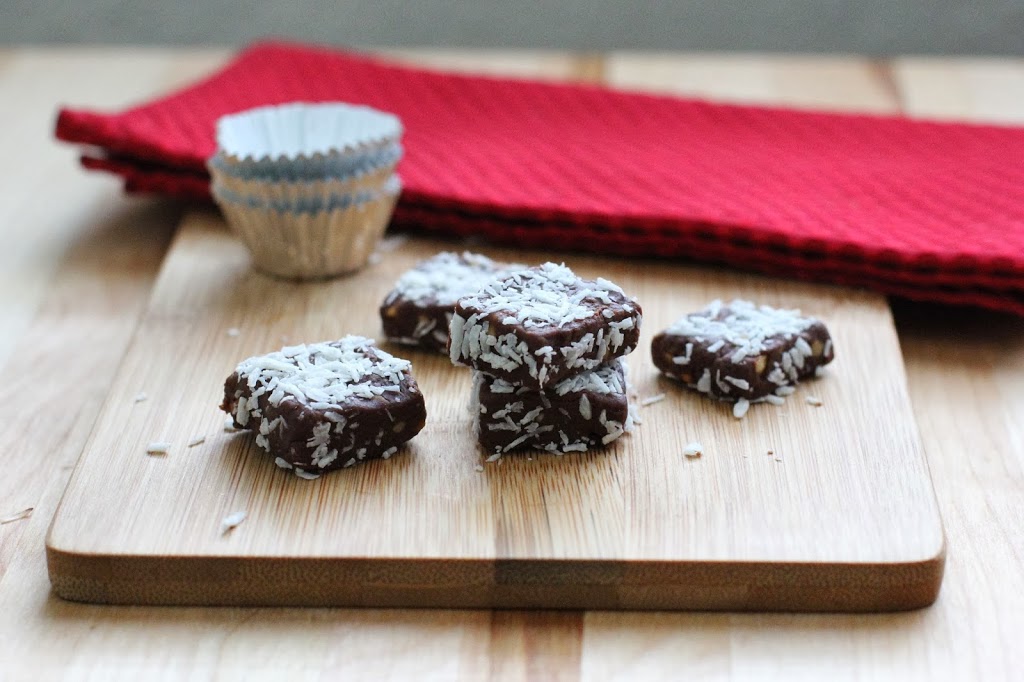
Chocolate Peanut Truffles with Coconut

February 13, 2014

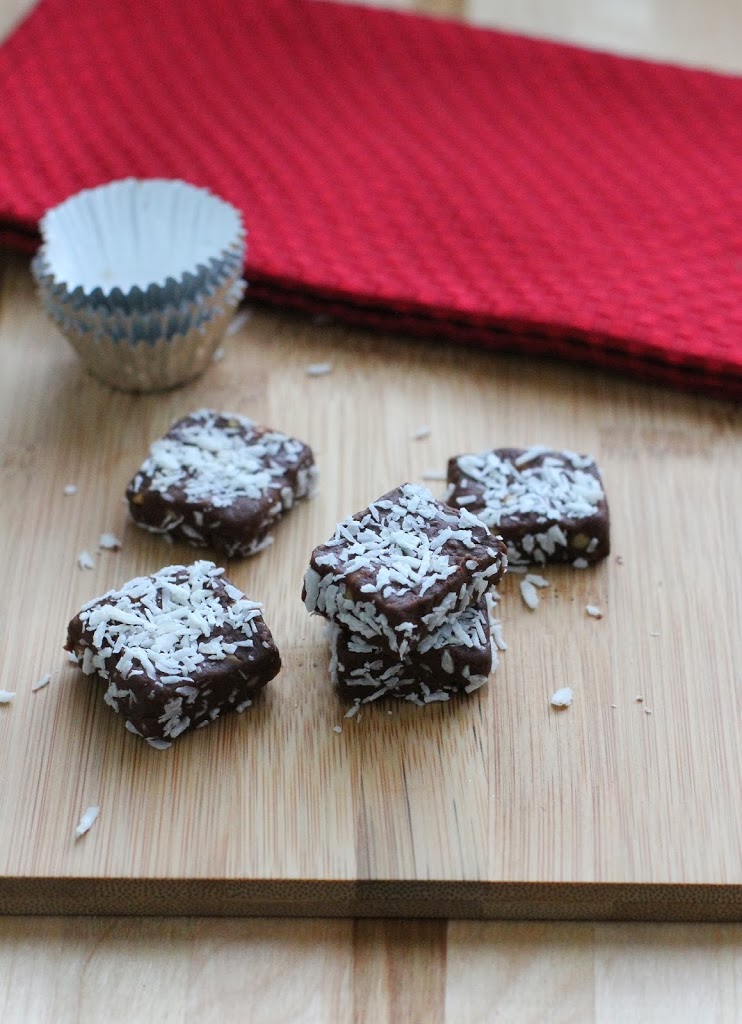
You can find me over at Fit Bottomed Eats today! I’m sharing about my love for peanut flour and these Chocolate Peanut Truffles with Coconut. No sugar or dairy added, and they are so easy to make. The perfect quick and  natural treat for Valentine’s Day. Head over and grab the recipe there!


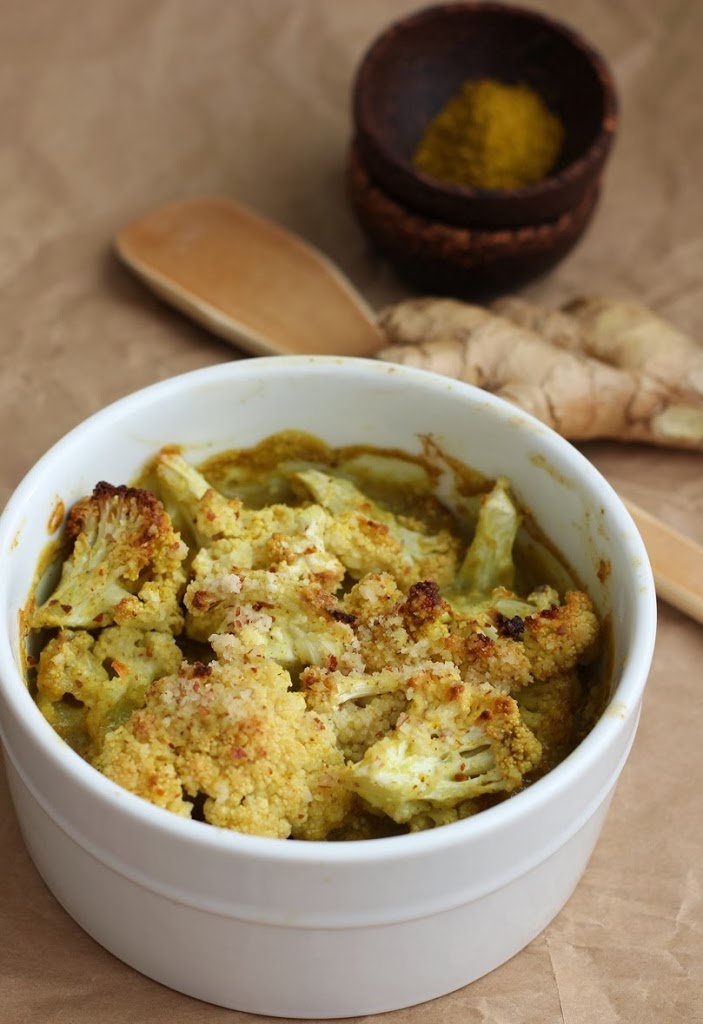
Baked Coconut Curry Cauliflower Recipe

January 22, 2014

I’ve been trying to come up with some side dishes that aren’t grain-based. Don’t get me wrong, I love grains. But when I’m not training for specific events, I find I have to keep an eye on overloading my plate with carbohydrates. I’m usually good with some sautéed kale or spinach, but I have reached my limit on leafy greens at the moment.

Since I am awful at getting stuck in vegetable ruts, variety has been the focus when I’m at the farmers markets. Last week I stumbled on a table that was filled with beautiful white bundles of cauliflower so I couldn’t resist stocking up. Cauliflower is another vegetable that I tend to overdo it on, but I had a short break recently so it was time to work it back into the rotation.

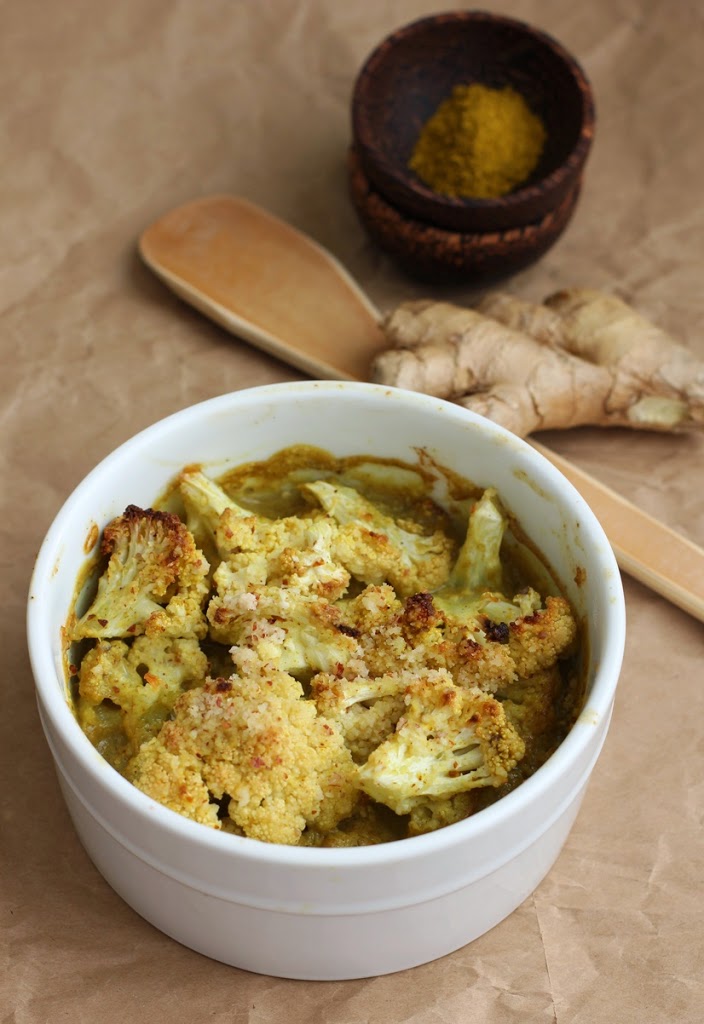
Instead of roasting it with some curry powder like I often do, this time I decided to dress it up a little bit. I used light coconut milk because I thought the regular coconut milk I use would be too thick. Adding the almond meal gave the curry sauce just the right consistency. It came out rich and creamy with a wonderful curry flavor that was slightly sweetened with coconut.

Baked Coconut Curry Cauliflower

Makes: 4 servings

1 medium head of cauliflower, broken into florets
1 (14 oz.) can light coconut milk
¼ cup + 2 tbsp almond meal
1 tbsp curry powder
1 tsp grated fresh ginger
½ tsp salt

Preheat the oven to 425 degrees F.

Place the cauliflower in a large bowl. Pour in the coconut milk, ¼ cup of almond meal, curry powder, ginger and salt. Stir until everything is combined and the cauliflower is coated.

Spray or grease an 8 x 8 inch baking dish, or three 2-cup ramekins. Transfer the cauliflower to the baking dish and pour any remaining liquid over the top. Sprinkle the top with the 2 tablespoons of almond meal.

Bake for 30 minutes, until the tops are browned and the cauliflower is tender. Serve warm.

Thanks for reading! All images and content are the property of Fake Food Free unless otherwise stated. Please do not republish recipes and images without written permission. Feel free to Pin images and share links to my posts, but please do not copy and paste recipes or photos and share them on other sites. Confused about copyright and food blogs? Here is some helpful information on Recipe Attribution.

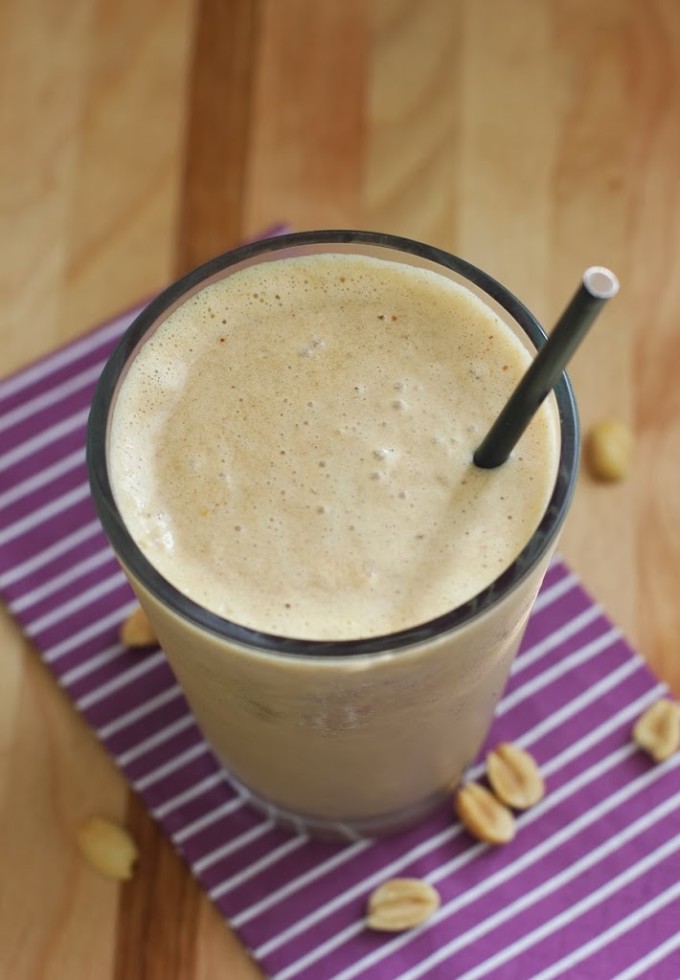
Apple Peanut Butter Protein Shake Recipe

January 14, 2014

This peanut butter protein shake is filling and full of flavor! It uses both peanut butter and peanut flour. 

Apple Peanut Butter Protein Shake | Fake Food Free

I know, I know. Who needs another smoothie recipe? January hit and food blogs erupted with smoothies and juices. But bear with me. This one wasn’t planned. I threw it together the other day and it was so good that I felt required to share.

Three things about me and smoothies.

First, I should admit that I can’t stand the word smoothie. I do not know why. It has something to do with the way it rolls off the tongue. So you will find me calling them shakes. And for most that I make, protein shakes. This is because I’m always throwing things in that help naturally boost the protein content, like nut butters and nut flours.

Second, I go through phases with shakes. I either crave them or I can’t stand the thought of them. Each phase usually lasts about a month. Yet another thing that I have no explanation for.

Third, I’ve found that a pinch of salt makes all the difference. I’ve put together shake combos that turned out to be so disappointing, but a dash of salt, even in a sweet shake, is all it needed to bring out the flavors.

The past week or so I can feel myself entering the crave phase. (It might have something to do with the smoothie eruption I mentioned earlier.) So I’ve been trying to come up with some combinations that are outside the yogurt and banana box.  I’ve also been trying to find more ways to incorporate peanut flour because I love the stuff.

The result? This protein shake. Feel free to jump on the bandwagon with me and give it a try.

Apple Peanut Butter Protein Shake

Makes: 1 serving

1 cup milk (Any variety. I used almond, and if you make it yourself that’s even better.)
1/3 cup unsweetened applesauce
2 tbsp light roasted peanut flour
1 tbsp natural, unsweetened peanut butter
1/8 tsp ground cinnamon
Pinch of salt
1 to 1 ½ cups of ice

Combine all ingredients in the blender, except for the ice. Puree until smooth.

Add the ice a little at a time and blend well, until it reaches your desired thickness.

Thanks for reading! All images and content are the property of Fake Food Free unless otherwise stated. Please do not republish recipes and images without written permission. Feel free to Pin images and share links to my posts, but please do not copy and paste recipes or photos and share them on other sites. Confused about copyright and food blogs? Here is some helpful information on Recipe Attribution.

Sourdough Stuffing with Artichokes and Sundried Tomatoes Recipe

November 5, 2013
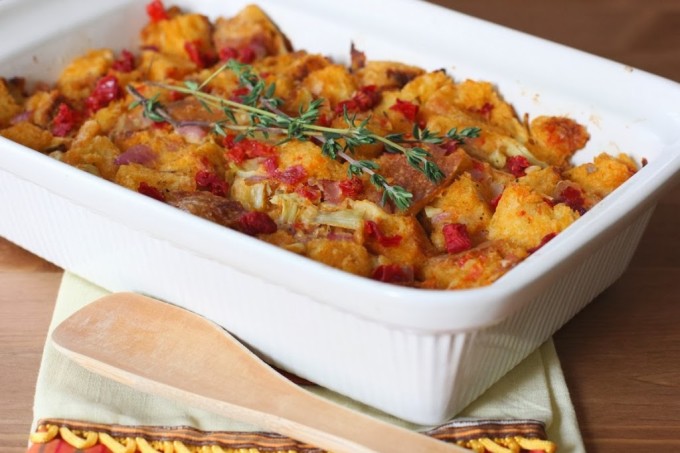
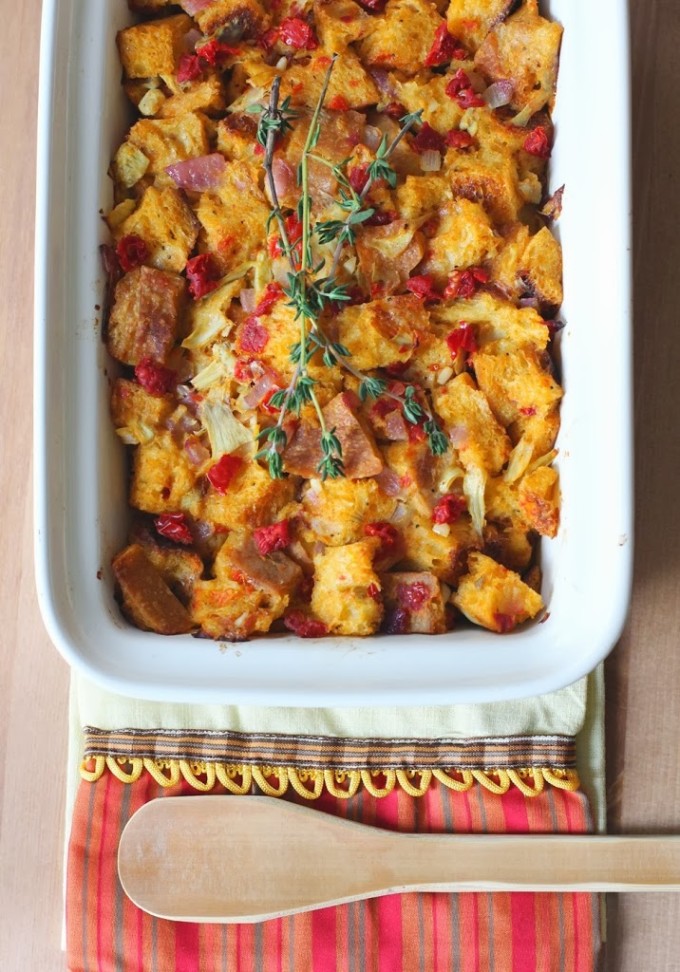
Stuffing is my favorite dish on the holiday table! This recipe for sourdough stuffing combines local flavors with a traditional favorite.
 Sourdough Stuffing with Artichokes and Sundried Tomatoes | Fake Food Free

When I first started thinking about this year’s Thanksgiving menu (and believe me, I’ve been thinking about it a while), I was set on traditional. I didn’t cook at all last year. I was visiting my husband here in California, in the midst of our move, and we ate Thanksgiving dinner at a local restaurant.

Knowing this year would be different, I started planning early. Sweet potato casserole, my usual cranberry pecan stuffing — it had all been penciled in. But then I considered all the new ingredients I have access to. It seemed silly not to take full advantage and incorporate them into some new traditions.

So I’ve shifted gears a bit. There will still be some old favorites, like my grandmother’s pumpkin pie. But otherwise, I want avocados, artichokes, dates and figs to make an appearance. I’ve never had such access to these foods and it seems to me they should fit right in with what we are used to this time of year.

I’ve been experimenting a little so that the big day isn’t a big fail. My first challenge was the stuffing (my favorite thing on the menu, next to cranberry sauce).

It had to be sourdough. No exceptions. Then I came across some California sundried tomatoes and I thought they would be the perfect partner for the artichoke hearts I’d been considering.

Sourdough Stuffing with Artichokes and Sundried Tomatoes | Fake Food Free

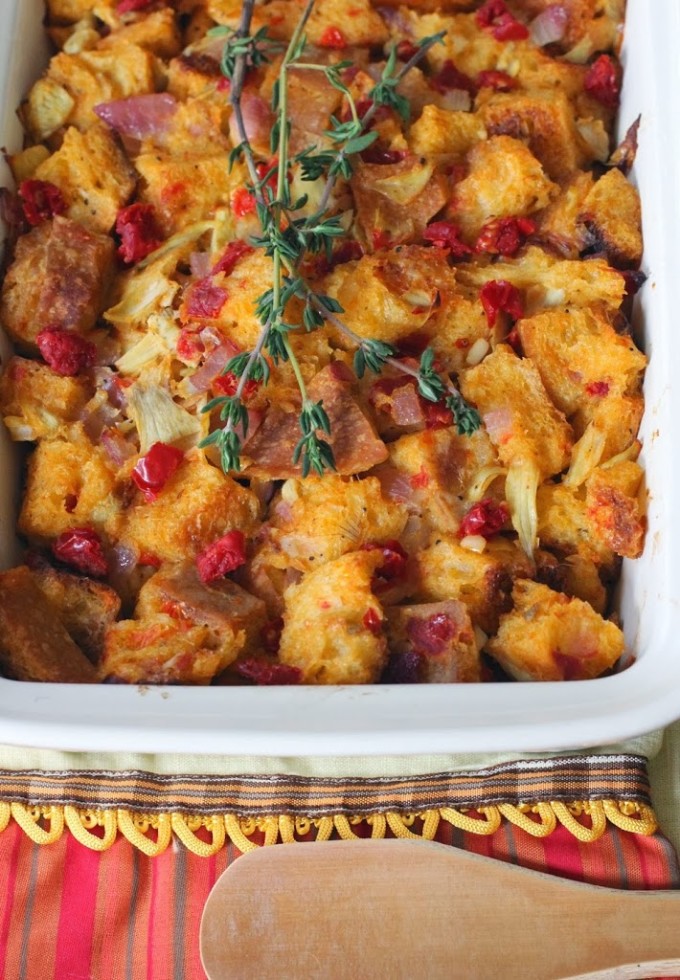
The result? What a winner! The sweet sundried tomatoes and the tart artichoke hearts were meant to be with the tangy sourdough. I don’t always add an egg white to my stuffing, but this time I was glad I did. It created a soft, but solid center that was balanced by the crispy, crunchy edges on top.

I may not go back to my old favorite. Or I might have to start making two stuffings. I haven’t decided yet.

Sourdough Stuffing with Artichokes and Sundried Tomatoes

Makes: 4 servings

Ingredients

1 ½ tbsp olive oil
½ cup red onion, chopped
3 cloves garlic, minced
2 tbsp finely chopped sundried tomatoes
3 canned, unseasoned artichoke hearts, chopped (marinated would work, but it may add a different flavor)
3 ½ cups toasted sourdough bread cubes (I cut my own from a stale loaf and broiled for about 5 minutes)
1 ¼ cups vegetable stock
1/8 ground black pepper
1/8 tsp poultry seasoning
¼ – ½ tsp salt
1 egg white

Prep

Preheat the oven to 375 degrees F. Lightly grease a 1 quart casserole dish or loaf pan with your oil of choice.

Heat the olive oil in a medium skillet on medium-high heat. Add the onion and garlic. Cook, stirring occasionally, for 4 minutes, until the onion begins to soften.

Add the sundried tomatoes and artichoke hearts. Cook for 1 more minute. Turn off the heat.

Place the bread cubes in a large bowl. Add the cooked vegetables. Add the vegetable stock a little at a time as you stir the stuffing. Continue to stir until the bread cubes are well saturated.

Stir in the black pepper and poultry seasoning. Add the ¼ to ½ teaspoon of salt to taste (you may need less if your stock is salted).

Once you’ve added the right amount of salt, stir in the egg white. Continue to stir until it is incorporated into the stuffing.

Transfer the stuffing to the baking dish. Press it gently into the dish to smooth the surface.

Bake for 20 minutes, until the edges are browned and the top has a nice golden color. Serve warm.

Sourdough Stuffing with Artichokes and Sundried Tomatoes | Fake Food Free

Thanks for reading! All images and content are the property of Fake Food Free unless otherwise stated. Please do not republish full recipes and images without written permission. What is okay? Feel free to Pin images, share links to my posts or share the photo in a round up post with the title of this recipe and a link back to the post. Confused about copyright and food blogs? Here is some helpful information on Recipe Attribution. If you want to use a photo or full recipe, just ask. I’m sure we can work something out. 

Breakfast Farro with Kabocha and Coconut Milk Recipe

October 29, 2013
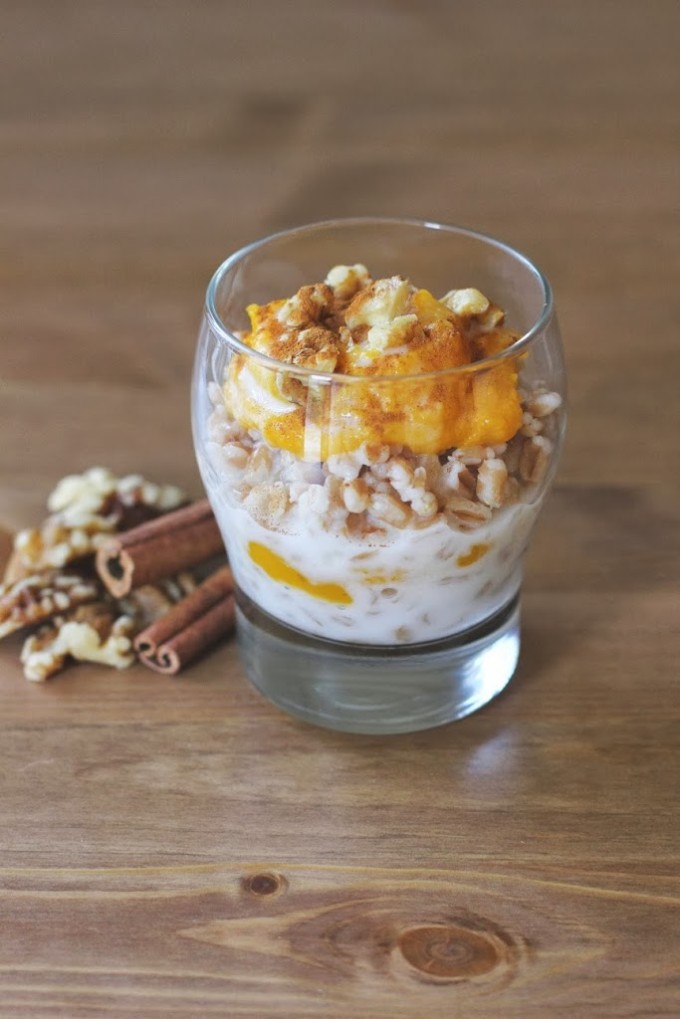
Breakfast Farro with Kabocha and Coconut Milk Recipe | Fake Food Free
 

When it comes to grains at breakfast, I love taking things beyond oats. A little sweetness and a few spices, and almost any whole grain makes a delicious morning meal. It can really break you out of an oatmeal rut.

I’ve made Gingered Pear Quinoa with Walnuts for breakfast, but this time around I had a new grain to work with – farro. I’m familiar with farro (a version of whole wheat), but this was my first time cooking it. It’s quickly becoming a new favorite.

I also had a kabocha squash that has been staring at me from the counter for a while, so I roasted it up to use throughout the week. The puree added the perfect touch to a sweet farro dish. Despite all the winter squashes I have tried, this was my very first kabocha. The texture and sweetness can’t be beat. I can definitely see what all the hype is about.

So there were a lot of firsts in this dish, but this won’t be the last time I make it. This was exactly the type of fall-inspired breakfast I’ve been craving.

Breakfast Farro with Kabocha and Coconut Milk

Makes: 4 servings

Ingredients

½ cup kabocha puree, warmed
2 tablespoon pure maple syrup
½ teaspoon cinnamon or pumpkin pie spice
Pinch of salt
2 cups cooked farro, warmed
1/2 cup coconut milk, warmed
2 tablespoons chopped walnuts for garnish

Prep

In a small bowl, stir together the kabocha, maple syrup, cinnamon and salt.  

In each of 4 serving glasses, add about 1 tablespoon of the kabocha. Top with 1/2 cup farro and 2 tablespoons of coconut milk. Finish with 1/4 of the remaining kabocha and sprinkle with a 1/2 tablespoon of walnuts. 

Thanks for reading! All images and content are the property of Fake Food Free unless otherwise stated. Please do not republish full recipes and images without written permission. What is okay? Feel free to Pin images, share links to my posts or share the photo in a round up post with the title of this recipe and a link back to the post. Confused about copyright and food blogs? Here is some helpful information on Recipe Attribution. If you want to use a photo or full recipe, just ask. I’m sure we can work something out.

Beecher’s Flagship Cheddar with Avocado, Lime, and Shell Pasta from Melt: The Art of Macaroni and Cheese

October 23, 2013
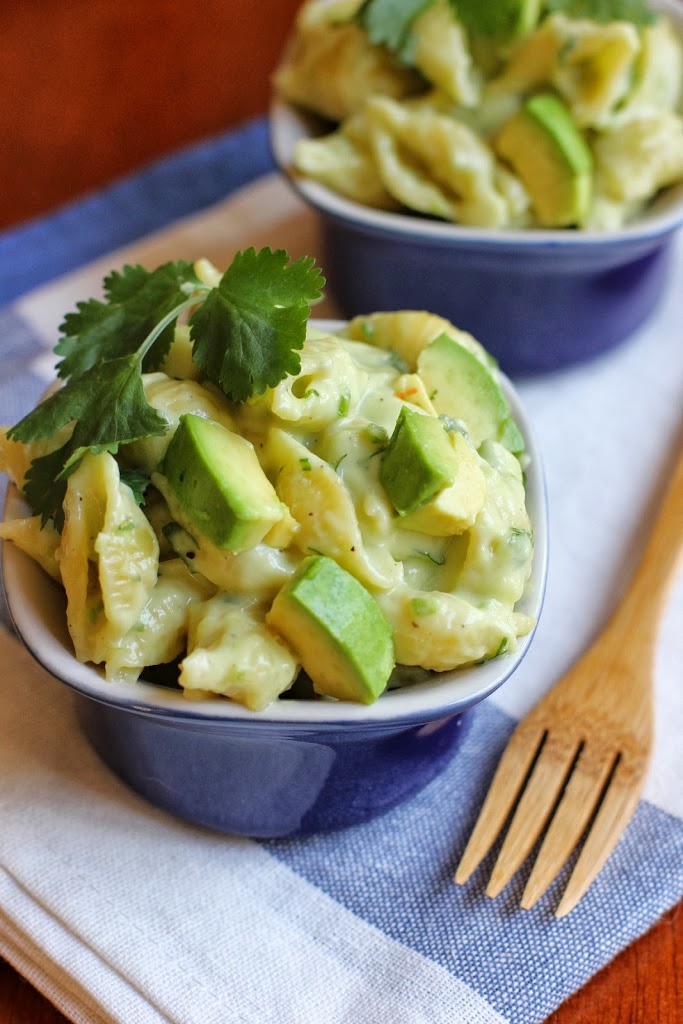
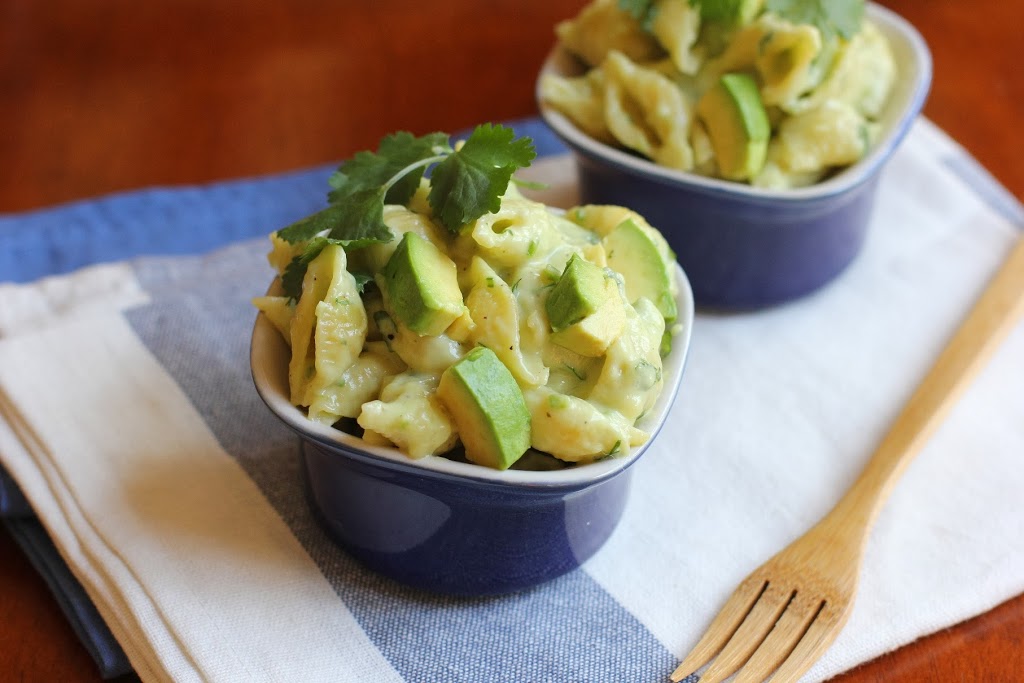
Cheddar with Avocado, Lime, and Shell Pasta Recipe from Melt: The Art of Macaroni and Cheese on Fake Food Free


I’ve only had the book for a week, but every person I’ve told about it or shown it to has had the same response. It’s something like, “Oh, wow,” accompanied by a deep, long sigh. You know, the kind of sigh that is reserved for thoughts of, and longing for, comfort food.

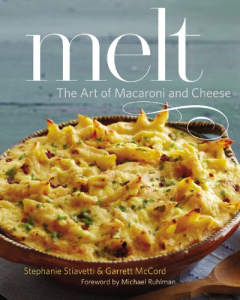
The book is Melt: The Art of Macaroni and Cheese by Stephanie Stiavetti & Garrett McCord, and it deserves every comfort food sigh and oh-wow that it prompts.


I mean, it’s mac and cheese. It’s the heart of the definition of comfort food. Even though most of us grew up with the fake stuff in a box or that made with cheese food, we still have a place in our hearts for the real deal.

If you don’t know what the real deal is, let me explain. 

The real deal is a perfect combination of creamy and pleasantly gooey cheese with well-cooked pasta. It can be straight from the stovetop or out of the oven. Take your pick. It also goes beyond cow’s milk cheddar and Monterey jack to include blue cheese, goat and sheep’s milk cheeses.

The real deal is summed up and well defined by Melt.

Stephanie and Garrett have managed to recreate macaroni and cheese while maintaining its roots and deep traditions. I fell for it within the first few pages as they explain how so many amazing cheeses are reserved for the cheese plate or the wooden serving block, positioned next to a few grapes or figs and a glass or two of good wine. One of their goals with this book is to introduce ways to use these amazing cheeses in your cooking.

I found that goal to be a huge relief. I love cheese. I’ve taken cheese making courses and written an article on making it at home, but I still find cheese overwhelming. This is especially true considering all the cheeses I now have access to here in California, many of which are recommended in this book.

I found myself thinking – you mean it’s okay if I actually cook with these cheeses instead of reserving them for a platter of fruit and crackers?

Yes. It is. And this book will show you some the best recipes and methods for doing just that.

Melt is full of cheese education. But don’t be discouraged if you haven’t heard of the cheeses mentioned in the recipes. Each has a helpful list of alternative cheeses you can use. There are also wine and additional food pairings to help you enjoy your new cheese find even more.

Before you begin to think that this book is only pasta coated in delicious cheese and baked into a comfort-food casserole, let me share the titles of some recipes with you. There are plenty of flavorful twists on casseroles and stovetop versions, but there are also refreshing pasta salads such as Drunken Goat with Edamame, Fennel, and Rotini and side dishes like Point Reyes Original Blue with Pecans, Figs, and Shell Pasta (which will make it on our Thanksgiving table this year). There is even a dessert section with recipes like Fromage Blanc, Chevre, Peach, and Ghost Pepper Cannelloni.

Despite all those wonderful options, the Beecher’s Flagship Cheddar with Avocado, Lime, and Shell Pasta caught my attention for two reasons. First, I just got back from Seattle where I walked by the Beecher’s Handmade Cheese Shop. I reluctantly passed up their mac and cheese because I was on the mission for another food find. (Yes, I regret that decision.) Second, because I am crazy about avocados and I was completely intrigued with the idea of mixing them into a bowl of macaroni and cheese.


Recipe for Mac and Cheese with Cheddar, Avocado and Lime! | Fake Food Free


One taste of this dish and I was ready to grab my fork and eat it straight from the pan. It’s creamy, tangy, sweet and salty all at the same time with the prominent qualities of traditional, southern-style macaroni and cheese.

Make it. Then consider it a good indicator of what is to come when you get yourself a copy of the book. You may not have realized you needed a cookbook devoted to macaroni and cheese, but trust me, you do.


From the book:
If you ever have the opportunity to wander through the Pike Place Market, the heart of the food scene in Seattle, you’ll likely come across the Beecher’s Handmade Cheese shop. Inside, you can sample their wares and watch the cheesemaking process unfold before your eyes. The proprietors serve what they call the World’s Best mac and cheese; with its jaunty kick of spice and smooth sauce, it’s definitely a contender for the title.

We love to use Beecher’s Flagship—a fierce, creamy paragon of Cheddar if ever there was one—in this avocado macaroni and cheese. The svelte texture of avocado melds so well with this sharp, tangy Cheddar. Smooth and buttery with a slight citrus tang, this jade-colored mac is a casual way to enjoy mac and cheese.

Beecher’s Flagship Cheddar with Avocado, Lime, and Shell Pasta

©2013 Stephanie Stiavetti and Garrett McCord. Reprinted with permission from Little, Brown and Company.

Serves 4 to 6

1 jalapeño pepper
Zest of 1 lime
Juice of 1 lime
2 green onions, green parts only, chopped
2 cloves garlic, chopped
3 ripe avocados, pits and skin removed, divided
10 ounces conchiglie or other medium shell pasta
1½ cups milk
2 tablespoons butter
3 tablespoons flour
1 teaspoon sea salt
½ teaspoon freshly ground black pepper
10 ounces Beecher’s Flagship
Cheddar, shredded
¼ cup chopped cilantro
Lime wedges for garnish

1. Remove the stem from the jalapeño and cut the jalapeño half. Remove the ribs and seeds—or keep them, depending on how much heat you like. Toss the jalapeño into the bowl of a food processor with the lime zest and lime juice. Add green onions, garlic, and flesh of 2 of the avocados. Blitz together into a very smooth paste.

2. Cook the pasta in a large pot of salted boiling water until al dente. Drain through a colander and set aside.

3. To prepare the mornay sauce, heat the milk in a small saucepan over medium heat. As soon as the milk starts to steam and tiny bubbles form around the edges of the pan, turn off the heat. Place the butter in a medium saucepan and melt over medium flame. Add the flour and stir with a flat-edge wooden paddle just until the roux begins to take on a light brown color, scraping the bottom to prevent burning, about 3 minutes. Slowly add the milk and stir constantly until the sauce thickens enough to evenly coat the back of a spoon—a finger drawn along the back of the spoon should leave a clear swath. Remove from heat and stir in salt and pepper. Add cheese to sauce, stirring until completely melted. Add the avocado-onion paste and whisk together until uniform and creamy. The key word here, if you haven’t guessed, is smooth. Season with more salt and pepper to taste.

4. Add the pasta and cilantro to the sauce and stir together. Dice the last avocado and toss together with the mac and cheese. Serve immediately with a splash of lime juice.

Alternative cheeses: Jasper Hill Cabot Clothbound Cheddar, Fiscalini Bandage Wrapped, Cheddar, Shelburne Reserve

Wine pairings: Pinot Grigio, Verdelho, Godello

Additional pairings for the cheese, outside of this recipe:
corn, cooked black beans, persimmons, most chili peppers, winter squashes such pumpkin or butternut


Disclosure: This book was sent to me for review purposes. I was not required to write about it and received no compensation for doing so. Thoughts are my own and this is a really great book.

Baking with Coconut Sugar: Spiced Coconut Sugar Cookies Recipe

October 3, 2013

 These cookies were one of my first baking experiments with coconut sugar! It’s now a staple in my pantry. 

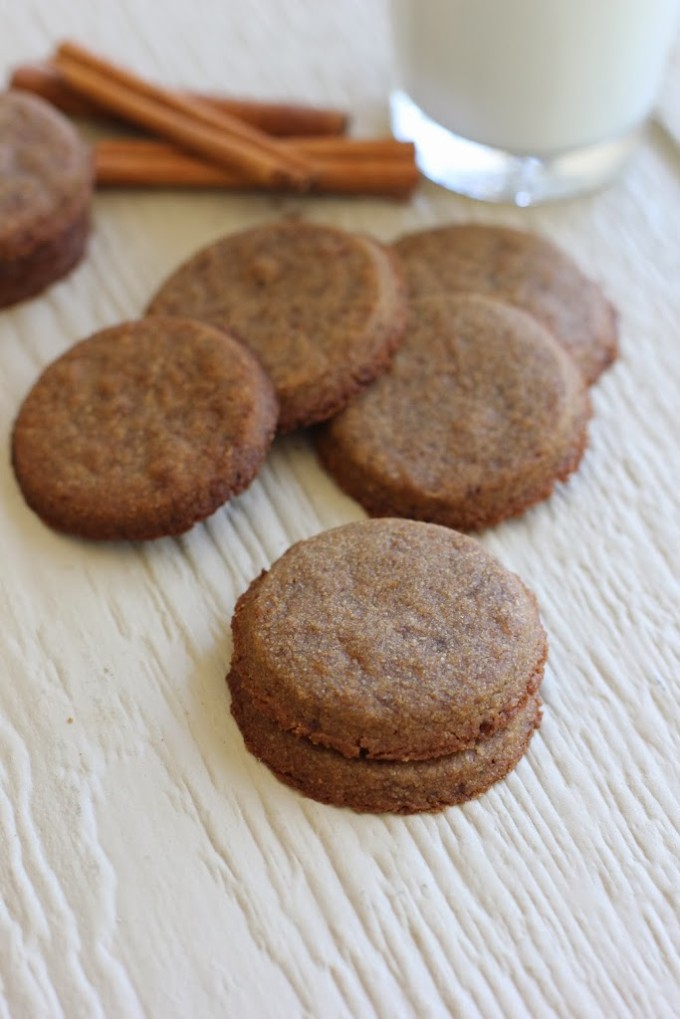
Baking with Coconut Sugar: Spiced Coconut Sugar Cookies Recipe | Fake Food Free

 We finally gave in and went for it.

We got our first Costco membership.

While a household of two has little need for 40 rolls of toilet paper at one time, we were tempted by the travel deals we’d heard about from friends. Not to mention, if you can go at a time when it isn’t swamped, it’s kind of fun just to look around.

I was somewhat surprised to find several foods that will likely make my future shopping lists – avocado oil, unsweetened dried cherries, quinoa in bulk. Ours even carries California craft beer bombers.

Considering the size of everything, I figured I should pace myself. One bulk item at a time. So I had my eye on something specific our past few visits.

Coconut sugar.

I’ve purchased a little in small amounts, but I decided that some baking experiments were in order. So I picked up the size of bag that one can only find at a warehouse club.

I’ve used mascavo sugar ever since we lived in Brazil, but I find it harder to come by here. The coconut sugar is similar in texture and flavor so it is turning out to be a good substitute.

First up, cookies. It’s finally fall and I can barely contain my excitement for the season! I thought this spiced whole wheat cookie would be a great way to celebrate the season.

The dough needs to be refrigerated for one hour so be sure to plan ahead with this one. These cookies bake up crispy around the edges and chewy on the inside. They do spread just a little so instead of cutouts that need an exact shape I’d just go for circles or squares.

Spiced Coconut Sugar Cookies
Makes: 24, 2 inch cookies
Write a review
Print
Ingredients
  1. ½ cup unsalted butter, softened
  2. ½ cup coconut sugar
  3. 1 tablespoon molasses
  4. ¼ teaspoon salt
  5. ¼ teaspoon ground cinnamon
  6. 1/8 teaspoon ground nutmeg
  7. 1/8 teaspoon ground ginger
  8. 1/8 teaspoon ground clove
  9. Pinch of ground black pepper
  10. 1 cup white whole wheat flour
Instructions
  1. In the bowl of a mixer fitted with the paddle attachment, combine the butter and sugar. Cream on medium-high for 45 to 60 seconds, scraping the sides of the bowl as needed.
  2. Add the molasses and mix for 30 more seconds.
  3. Add the salt, cinnamon, nutmeg, ginger, clove and black pepper. Turn the mixer to low and slowly add the flour. Mix just until the ingredients are incorporated, scraping the bowl as needed.
  4. Transfer the cookie dough to a sheet of plastic wrap. Form into a ball, wrap and refrigerate for 1 hour.
  5. Preheat the oven to 350 degrees F.
  6. Roll the dough out on a floured surface or between two sheets of parchment paper to about ¼ inch thickness. Cut into your desired shapes.
  7. Bake on an ungreased baking sheet for 8 minutes. Until the cookies are firm and the edges slightly browned. Cool 5 to 7 minutes before removing them from the baking sheet.
Fake Food Free https://www.fakefoodfree.com/

I should probably mention that if you do a search on coconut sugar, you will find all kinds of opinions on both production and health benefits.  Personally, I like coconut sugar simply because it is a minimally refined, natural sugar that retains some of its mineral content (a sugar we found often throughout Southeast Asia). I’m not into the miracle marketing claims. If you eat natural foods, health tends to fall into place. And regarding the sustainability and farming issues, well, there are many sides to every story.


Thanks for reading! All images and content are the property of Fake Food Free unless otherwise stated. Please do not republish full recipes and images without written permission. What is okay? Feel free to Pin images, share links to my posts or share the photo in a round up post with the title of this recipe and a link back to the post. Confused about copyright and food blogs? Here is some helpful information on Recipe Attribution. If you want to use a photo or full recipe, just ask. I’m sure we can work something out.   

Smoky Boiled Peanuts Recipe

August 27, 2013

One thing I wasn’t expecting to find at the markets here were fresh peanuts. I know that there are a few areas on this side of the U.S. where they are grown, but I was definitely closer to the peanut growing states of Virginia and Georgia when we lived in Kentucky.

Yet, I can’t remember ever coming across a fresh peanut. But then again, I wasn’t looking for them either.

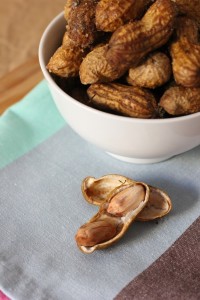
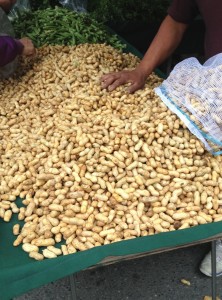
When I saw the light blond shells piled up on the tables at the market, I knew right away that they were peanuts. It took me longer to figure out that they were fresh. (Often called, green peanuts.)

Never one to resist the urge to buy a new ingredient, I bagged up a few handfuls still speckled with the dirt and brought them home. Honestly, I had no idea what else to do except boil them.

After researching several recipes, I made my first batch which was a huge fail. According to a few recommendations, I soaked them in water first, drained them and then boiled them. They were much too wet and soggy for my taste.

So when I picked up another bagful last week, I skipped the extra soaking step. I covered the 1 pound of peanuts in about 5 cups of water. I added salt, garlic powder and smoked hot paprika and let them boil.

Full disclosure. I forgot about them.

I had intended to boil them for 2 hours, but I returned to the stove about 2 hours and 45 minutes later to find almost no water left in the pan. Oops.

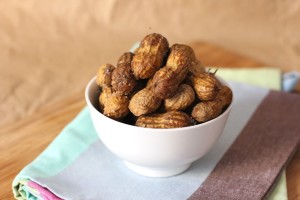
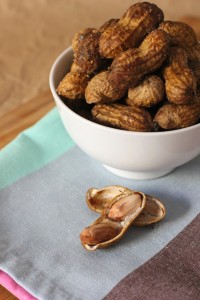
I pulled the pan off the burner and gave them a stir to distribute some of the seasonings that had collected at the bottom. Then, I tried one. They were delicious! They really reminded me more of the pinhão (pine nut) we used to find in Brazil, like a firm bean with a nutty flavor.

So there you have it. I accidentally discovered exactly how I like my boiled peanuts. Sometimes kitchen mistakes lead to grand results. And it’s even better if those mistakes and results come without setting off the fire alarm.

Smoky Boiled Peanuts

About 1 pound of fresh, green peanuts
5 to 6 cups of water
¼ cup finely ground sea salt
¼ tsp garlic powder
¼ tsp smoked hot paprika

Add the peanuts to a large saucepan and add enough water to cover the nuts. Stir in the sea salt, garlic powder and paprika. Bring the peanuts to a boil over high heat, partially cover the pan with a lid. Reduce the heat to medium to maintain a low boil, just above a simmer.

Let cook for 2 ½ to 3 hours, until almost all of the water has evaporated. There should still be at least a half inch in the bottom of the pan.  Stir to distribute the salt. Let cool before shelling and eating. Store in an airtight container in the refrigerator for up to 2 days. 

Bacon, Corn and Brown Rice Stuffed Squash Recipe

August 8, 2013
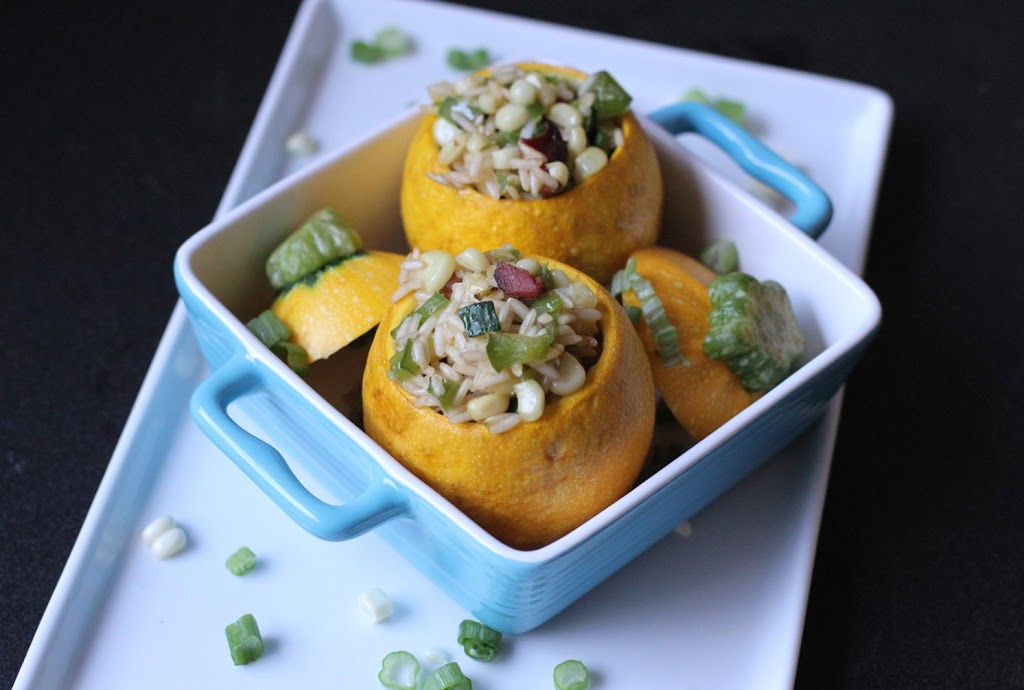
Summer Squash Stuffed with Bacon, Corn and Brown Rice | Recipe | Fake Food Free
 

 When I tell people that we moved here from Kentucky I get the usual response. It’s the same response I received any time we traveled while living there.

It is something similar to, “I bet this is (that was) different,” or “This must be an adjustment.”

Now, I don’t get cranky or offended. It’s not like I’m out to defend the upper southern part of the U.S. There are a lot of things that are different here in a very good way, and there are a lot of things that are the same.

Regardless of whether you live in rural Kentucky or Northern California, if you rarely go anywhere else, well, there you are. There are as many people here that haven’t seen other parts of the US as there are people who haven’t in Kentucky. So I don’t blame people for having this perception, but as you know from my blog I had myself in a pretty good food situation back East.

California wins when it comes to variety of produce, growing seasons and ethnic cuisines, but it falls way behind in something else – meat.

Oh, it’s here. It’s grass-fed and finished, pastured, organic, whatever you want. But it’s one other thing.

Impersonal.

I really dislike buying meat here. There are a few butchers, but when you add in the price of a quality product along with the fact that it’s being sold in California, ouch. The Farmers Markets have better prices for similar products, but it’s difficult to talk to people about the meat as a line 10 people deep waits behind you.

When people ask me what I miss most about Kentucky, that’s easy. The farms.

I’ve asked about buying farm direct, coming out for a visit, and so far the answer is that they only sell at the market. Although, some do have a dinner for customers one day a year.

I miss knowing the breeds, conditions and getting things like housemade prosciutto, sausage without the casing and blue/eggs that are mixed right in with the brown ones because they all come from the same group of chickens.

I know – cry me a river, Lori. I see all those Instagram and Facebook pictures of produce and landscape. Life is rough. Boo-hoo.

I get it. I’m not complaining. I realize I haven’t covered every base yet. I’m sure there are options out there. I guess my point is that I will, at least for a while, still have a reason to respond to all those who suggest Kentucky is different with – yes, yes it is.

bacon-ends


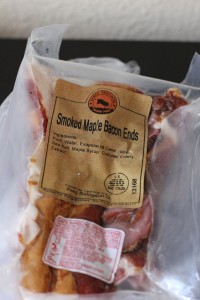
With all that being said, the meat I have ventured to get here has been very good. I finally found bacon ends last weekend at the Farmers Market. 


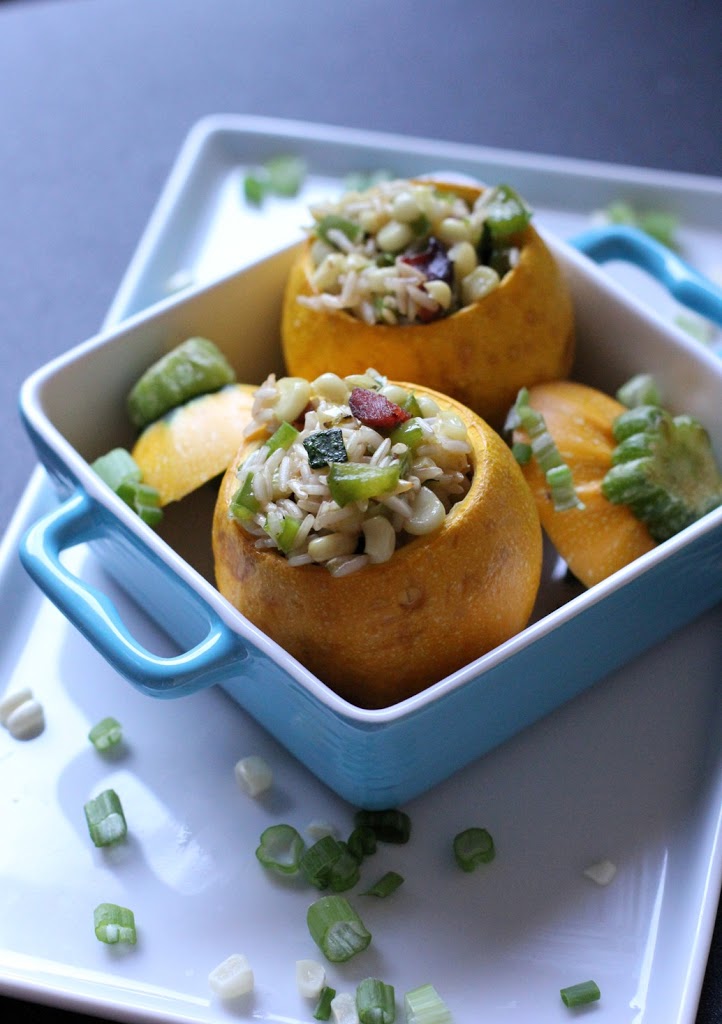
Bacon, Corn and Brown Rice Stuffed Squash Recipe | Fake Food Free
It called for a celebration of summer stuffed squash. Feel free to substitute any grain here. Cue ball or patty pan squash will work the best since this is a loose stuffing.


Bacon, Corn and Brown Rice Stuffed Squash

Makes: 6 stuffed squash


Ingredients

½ cup long grain brown rice
Extra virgin olive oil
6 cue ball or small patty pan (scalloped) squash
½ cup chopped pastured bacon ends
Kernels from 2 ears of corn
2 green onions, sliced, green and white portions divided
1 small bell pepper, diced
½ teaspoon finely chopped rosemary
¼ teaspoon salt
¼ teaspoon ground black pepper
½ cup finely grated cheddar cheese.


Preparation

Preheat the oven to 400 degrees. Lightly coat a casserole dish with olive oil.

Bring 2 cups of water to a boil and add the rice. Bring to a boil and reduce heat to a low boil. Cook for 15 minutes until just barely tender, drain and set aside.

Meanwhile, cut the tops off the squash and scoop out the insides with a spoon. Reserve the flesh. Lightly rub the squash with olive oil and arrange in the baking dish. Pre-bake the squash for about 10 minutes.

In a deep skillet, brown the bacon on medium-high for about 5 minutes. Cook until your desired crispness. I like mine super crispy.

Add the corn, whites of the onions (reserve greens for garnish), the bell pepper and the chopped flesh of the squash. Cook for about 5 more minutes on medium to medium-high, until most of the moisture has evaporated.

Stir in the brown rice. Add the rosemary, salt and black pepper. Stir in the cheddar cheese. Transfer the stuffing to each of the squash.

Bake for 20 to 25 minutes, until the squash is tender. Garnish with reserved onion greens. Makes 6 stuffed squash.


Thanks for reading! All images and content are the property of Fake Food Free unless otherwise stated. Please do not republish full recipes and images without written permission. What is okay? Feel free to Pin images, share links to my posts or share the photo in a round up post with the title of this recipe and a link back to the post. Confused about copyright and food blogs? Here is some helpful information on Recipe Attribution. If you want to use a photo or full recipe, just ask. I’m sure we can work something out.

Peanut Pie from Pie by Ken Haedrich

July 18, 2013


I love food discoveries. Those times when you learn about a food which you never knew existed. A unique food or recipe that hails from a specific area or a local restaurant. It reminds me why I love food culture. It is also the reason why I branch out of the whole grain, raw sugar, fresh vegetable pattern to feature a little tradition and food history.

I had one of these food discoveries a few weeks ago. It was one that also just happened to align with my renewed love for peanuts.

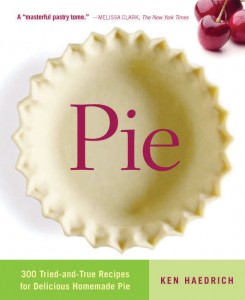
I was flipping through a review copy of the cookbook Pie: 300 Tried-and-True Recipes for Delicious Homemade Pie by Ken Haedrich when I stumbled upon, Like Virginia Diner’s Peanut Pie. Peanut pie? I’d never heard of such a thing.

This cookbook is full of new-to-me recipes. Page after page of everything pie. And I’m no pie novice. I’m not an expert at making them, but my mom is. As a result, I’ve had my fair share of slices. Growing up we were a pie family — from-scratch chocolate pie and butterscotch pie, the most amazing pumpkin pie in the world (my grandmother’s), grape pie, raisin pie (although I wasn’t a fan of this one), gooseberry, strawberry-rhubarb, cherry, apple, pecan, coconut cream. You get the idea.

So finding new pies that impress me isn’t an easy task, but this cookbook accomplished it. There are combinations that I could never dream up like Coffee-Hazelnut Custard Pie, Orange Pie with Pistachio Crumb Crust and Pear and Jalapeno Jelly Pie. Many have an interesting story attached, a region that made them popular or a unique ingredient. Cream, silk, crumble,  flaky, lattice — whatever the pie style, there is a recipe for it in here.

Now this isn’t a picture cookbook, although there are a few pretty photos gathered in the center as examples. It is a pie resource book. The one you turn to when you are curious about a traditional pie or you want something new to wow your guests.

Such as Peanut Pie.

If you are like me, your first thought when you hear peanut pie is peanut butter. Peanut as a dessert always equals peanut butter, right? I have since learned the answer to that is no.

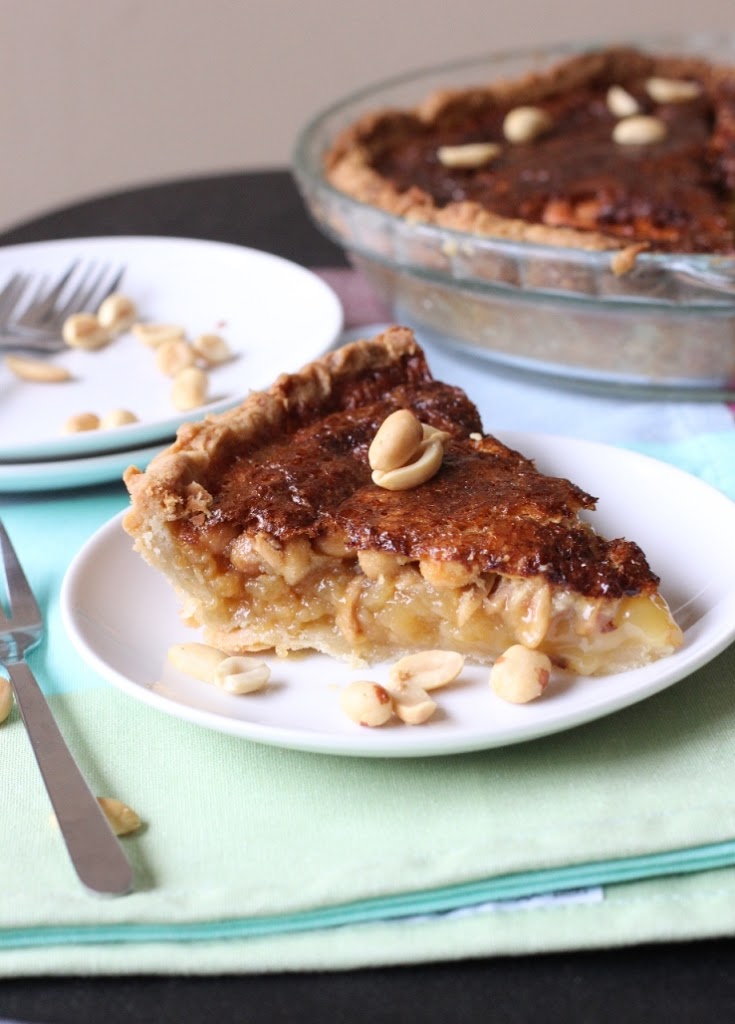
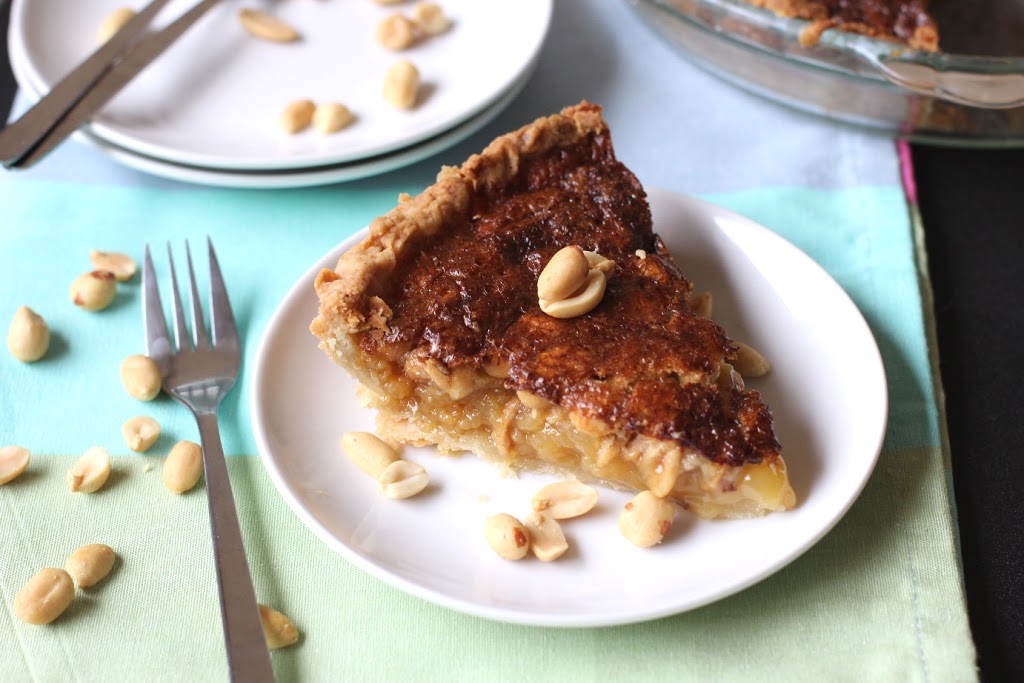
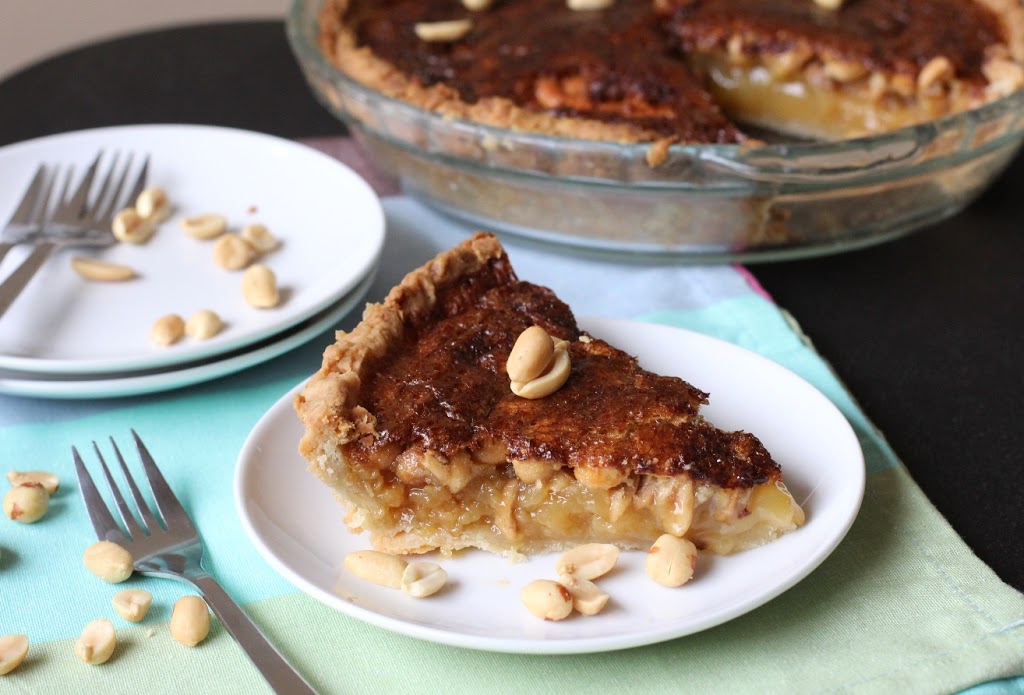
This pie resembles pecan, but it’s different. I couldn’t put my finger on what was different until I was polishing off the last bite of crust. Good thing, or I might have needed a second slice.

Pecans are naturally sweet, making pecan pie a super sweet dessert. I do like it, but it’s the kind of sweet you only want around the holidays, and for me, one slice is enough. In peanut pie, the peanuts provide a more savory flavor that balances the sweetness. The peanuts stay crunchy, the crust flaky — it’s pretty much everything I ever wanted in a pie. To the point that I’ve vowed to make it instead of pecan for the holidays.

I could hear your shrieks of horror from here. Trust me, though. This pie is pretty special.

And if your cookbook shelf is aching for a pie resource. Look no further.

Like Virginia Diner’s Peanut Pie

Recipe © 2013 by Ken Haedrich and used by permission of The Harvard Common Press

From the book:
I had been hearing that a restaurant called the Virginia Diner, in Wakefield, Virginia, made the best peanut pie around, so I contacted one of the owners, who was quick to point out that the diner’s peanut pie is indeed deliciously world famous. She described it as “like a pecan pie, only better,” and, of course, she said, it is always made with great homegrown Virginia peanuts.

Having learned that there’s an inverse relationship between the level of self-hoopla and one’s chances of securing a recipe, I held my breath when I finally got around to asking her whether she would be willing to share the recipe with me and my readers. Alas, she would not, but she was kind enough to direct me to a Web site, www.aboutpeanuts.com, which has a recipe for peanut pie that is “pretty similar.” Would she care to enumerate the differences? “Sorry.” Turns out the recipe at that Web site, reprinted here with permission, is so good that I’ve forgiven the Virginia Diner for not sharing theirs. This pie is superlative: a golden layer of roasted peanuts on top of a soft and yummy filling. I always serve it with a scoop of vanilla ice cream and Warm Mocha Sauce (see cookbook).

Makes 8 to 10 servings

Ingredients
1 recipe Basic Flaky Pie Pastry, Single Crust (see below), refrigerated
FILLING:
3 large eggs
1/2 cup sugar
1 1/2 cups dark corn syrup
1/4 cup (1/2 stick) unsalted butter, melted
1/4 teaspoon salt
1/2 teaspoon vanilla extract
1 1/2 cups chopped salted dry-roasted peanuts

Instructions

  1. If you haven’t already, prepare the pastry and refrigerate until firm enough to roll, about 1 hour.
  2. On a sheet of lightly floured waxed paper, roll the pastry into a 13-inch circle with a floured rolling pin. Invert the pastry over a 91/2-inch deep-dish pie pan, center, and peel off the paper. Tuck the pastry into the pan, without stretching it, and sculpt the edge so it is even with the rim. Place in the freezer for 15 minutes, then partially prebake and let cool. Reduce the oven temperature to 350°F.
  3. In a large bowl, whisk the eggs and sugar together just until frothy. Whisk in the corn syrup, butter, salt, and vanilla until well blended. Stir in the peanuts. Slowly pour the filling into the cooled pie shell. Using a fork, gently rake the peanuts to distribute them evenly.
  4. Place the pie on the center oven rack and bake for 30 minutes, then rotate the pie 180 degrees, so that the part that faced the back of the oven now faces forward. Continue to bake until the filling is set and does not move in waves, about 20 minutes. To check, give the pie a quick nudge.
  5. Transfer the pie to a wire rack and let cool thoroughly. Serve at room temperature, or cover with loosely tented aluminum foil and refrigerate for 1 to 2 hours before serving.
Recipe for Success
Be sure not to use unroasted peanuts here. The roasting really brings out the nut flavor. By the same token, do not use honey-roasted or other sweetened nuts or the pie may be too sweet.

Basic Flaky Pie Pastry

This pie pastry is used frequently throughout this collection because it yields such excellent results. I sometimes call it a half-and-half pastry, referring to the equal amounts of vegetable shortening and butter—the former for flakiness, the latter for flavor. It can be made in a food processor if you have a large-capacity machine. But I’ll repeat my usual advice, which is to make it by hand or with an electric mixer if you don’t. Both methods are quite easy. If you could have only one pastry to work with, this would probably be it.

Makes a single or double crust for a 9-inch standard pie or 9 ½-inch deep-dish pie

Ingredients
For a single crust:
1 1/2 cups all-purpose flour
1 1/2 teaspoons sugar
1/2 teaspoon salt
1/4 cup (1/2 stick) cold unsalted butter, cut into 1/4-inch pieces
1/4 cup cold vegetable shortening, cut into pieces*
1/4 cup cold water

For a double crust:
3 cups all-purpose flour
1 tablespoon sugar
1 teaspoon salt
1/2 cup (1 stick) cold unsalted butter, cut into 1/4-inch pieces
1/2 cup cold vegetable shortening, cut into pieces
1/2 cup cold water

Instructions

To make in a food processor: Put the flour, sugar, and salt in the food processor. Pulse several times to mix. Scatter the butter over the dry ingredients and pulse the machine 5 or 6 times to cut it in. Fluff the mixture with a fork, lifting it up from the bottom of the bowl. Scatter the shortening over the flour and pulse 5 or 6 times. Fluff the mixture again. Drizzle half of the water over the flour mixture and pulse 5 or 6 times. Fluff the mixture and sprinkle on the remaining water. Pulse 5 or 6 times more, until the dough starts to form clumps. Overall, it will look like coarse crumbs. Dump the contents of the processor bowl into a large bowl. Test the pastry by squeezing some of it between your fingers. If it seems a little dry and not quite packable, drizzle a teaspoon or so of cold water over the pastry and work it in with your fingertips.

To make by hand: Combine the flour, sugar, and salt in a large bowl. Toss well, by hand, to mix. Scatter the butter over the dry ingredients and toss to mix. Using a pastry blender, 2 knives, or your fingertips, cut or rub the butter into the flour until it is broken into pieces the size of small peas. Add the shortening and continue to cut until all of the fat is cut into small pieces. Sprinkle half of the water over the mixture. Toss well with a fork to dampen the mixture. Add the remaining water, 11/2 to 2 tablespoons at a time, and continue to toss and mix, pulling the mixture up from the bottom of the bowl on the upstroke and gently pressing down on the downstroke. Dough made by hand often needs a bit more water. If necessary, add water 1 or 2 teaspoons at a time until the pastry can be packed.

To make with an electric mixer: Combine the flour, sugar, and salt in a large bowl. Add the butter, tossing it with the flour. With the mixer on low speed, blend the butter into the flour until you have what looks like coarse, damp meal, with both large and small clumps. Add the shortening and repeat. Turning the mixer on and off, add half of the water. Mix briefly on low speed. Add the remaining water, mixing slowly until the dough starts to form large clumps. If you’re using a stand mixer, stop periodically to stir the mixture up from the bottom of the bowl. Do not overmix.

Using your hands, pack the pastry into a ball (or 2 balls if you are making a double crust) as you would pack a snowball. If you’re making a double crust, make one ball slightly larger than the other; this will be your bottom crust. Knead each ball once or twice, then flatten the balls into 3/4-inch-thick disks on a floured work surface. Wrap the disks in plastic and refrigerate for at least an hour or overnight before rolling.

*Just a note. I don’t use vegetable shortening in my baking so I used all butter in this crust and it turned out great.

*************************

If you are interested in perfecting your pie making skills, I just recently learned about Ken’s The Pie Academy. It is such a great resource with tools, tutorials and recipes focused on pie making. Be sure to check it out!

Disclosure: I received this cookbook for review purposes from the Harvard Common Press. I was not required to write about it and received no compensation for doing so.

Want to create beautiful food and product photos that you can't wait to share?!
Discover your style, control the light, and shoot using the tool you know how to use (yes, your phone included). Learn about free resources, Live Q&As with Lori, and online courses you can take from anywhere in the world!
We respect your privacy. Unsubscribe at any time.