Have you ever picked up a book and after reading the first couple of paragraphs you were suddenly in a better mood? A smile slowly starts to spread on your face, the wheels in your brain kick into gear and a voice somewhere inside starts chanting – you can do this!
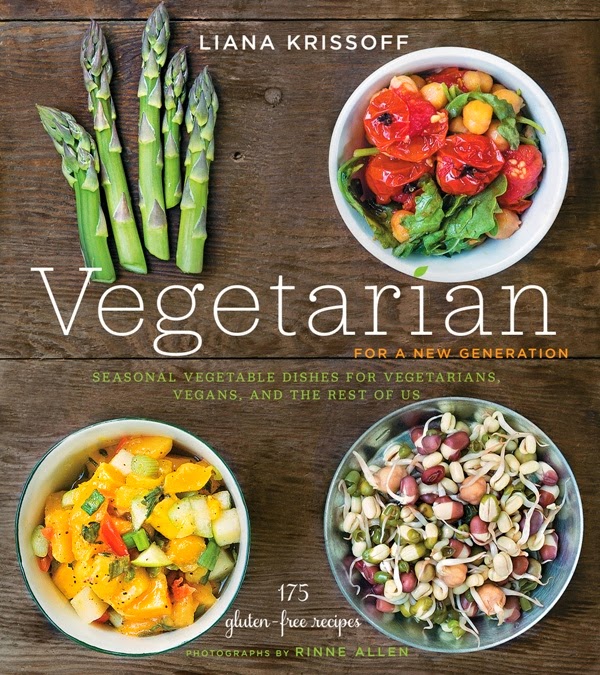
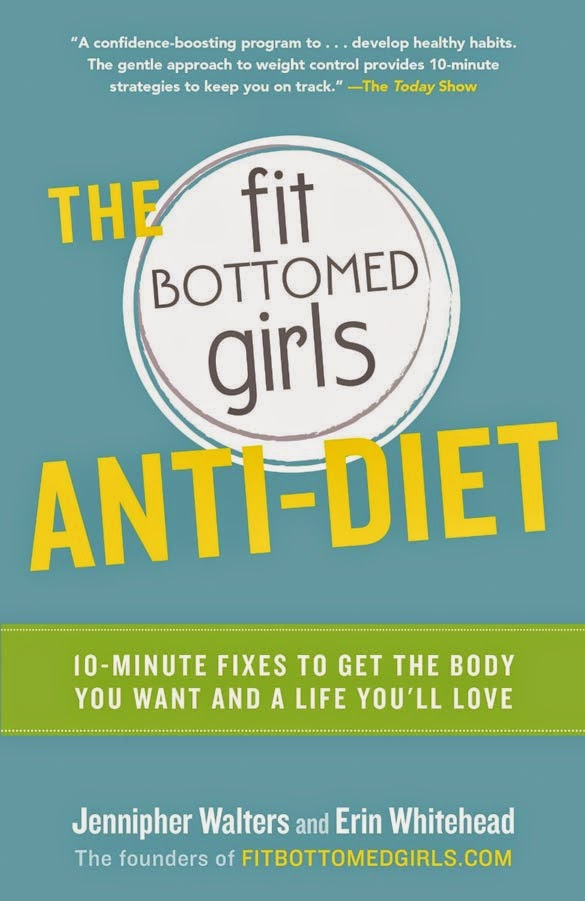
That’s how I felt the moment I cracked open Jennipher Walters and Erin Whitehead’s new book The Fit Bottomed Girl Anti-Diet.
I think most people assume that if you work in health promotion in any way, or if your persona is all about eating vegetables and staying active, that a healthy lifestyle comes super easy for you. That choosing kale over French fries requires no internal debate and that every evening you lace up your shoes ecstatic over the four miles you have get to run.
Untrue.
I have my ups and downs. Times when I gain weight and lose weight. Times when kale tastes good and when it tastes awful. Times when I bust through an eight mile long run and when I have to walk after just one mile.
I have to admit I was experiencing a down when I got this book. It launched me right out of it!
If you are a blogger, you remember those blogs you associated with at the very beginning when you first started out. Fit Bottomed Girls is one of those for me; one I connected with. I can still remember Jenn’s motivating comments on some of my original posts here at Fake Food Free. She and the Fit Bottomed Girls crew continue to motivate me. I’ve been thrilled to be featured a Fit Blogger We Love on the site and share a few guest posts on Fit Bottomed Eats over the past few months.
Their new book truly encompasses what is great about their site. These are five things I loved about it, and you will, too.
- It’s about ditching the diet mentality and getting back in touch with eating because you’re hungry, because it tastes good and because it nourishes you.
- It’s loaded with tips for quick exercise sessions that encourage movement, not punishment. It even gave me a few new ideas.
- It focuses on the positive and being grateful. Too few healthy lifestyle books emphasize gratefulness. Being grateful for what you have, for the simple fact that you can walk or run, changes your attitude.
- It emphasizes balance. I know there are people who feel that balance is not an achievable reality, but I completely disagree. It’s one of those journey, not a destination type of things and this book highlights that.
- When you read scenarios in the book like the dreaded weigh-in you will laugh out loud while saying – holy crap, that is exactly me.
Intrigued? Good news, the book was released yesterday! Get yourself a copy and as they say – drop the diet drama.
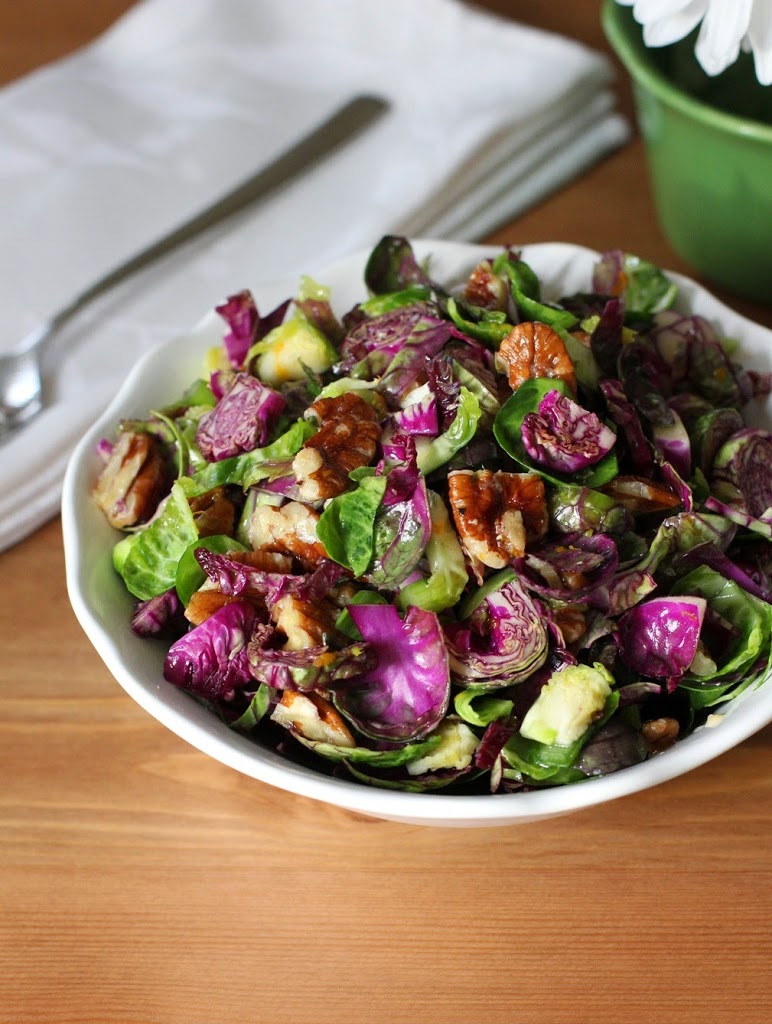
If you are already a fan of the FBG website, then I’m sure you are also familiar with the Big-Ass Salad. It always makes me giggle a bit when I read the term, but I love it when Jenn shares her ideas for healthy lunches.
There are some quick and healthy recipes in the book that you’ll love, but I decided to share one of my salads with you in celebration of a healthy eating attitude.
It felt like such a long wait, but cherries, nectarines and peaches are beginning to show themselves at the farmers market here. Since they come at a time when we go back and forth between cool and warm temps (well, that’s pretty much always the case in the Bay Area), I struggle to decide between a cold salad or a hot lunch. This recipe combines the two. Perfect solution.
Congrats to Jenn and Erin on the book!
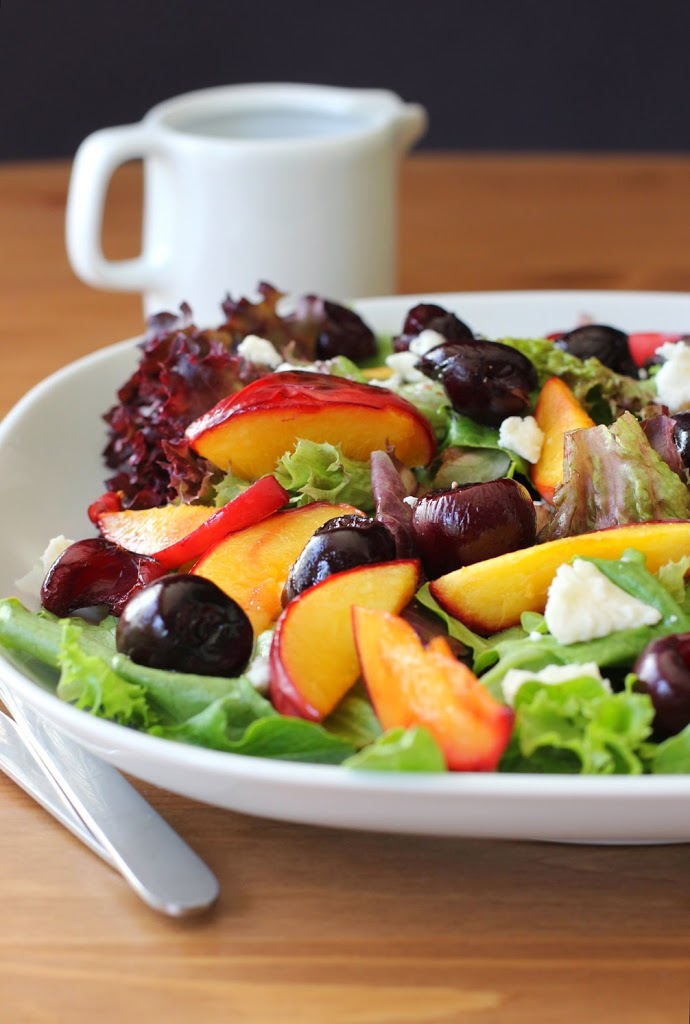
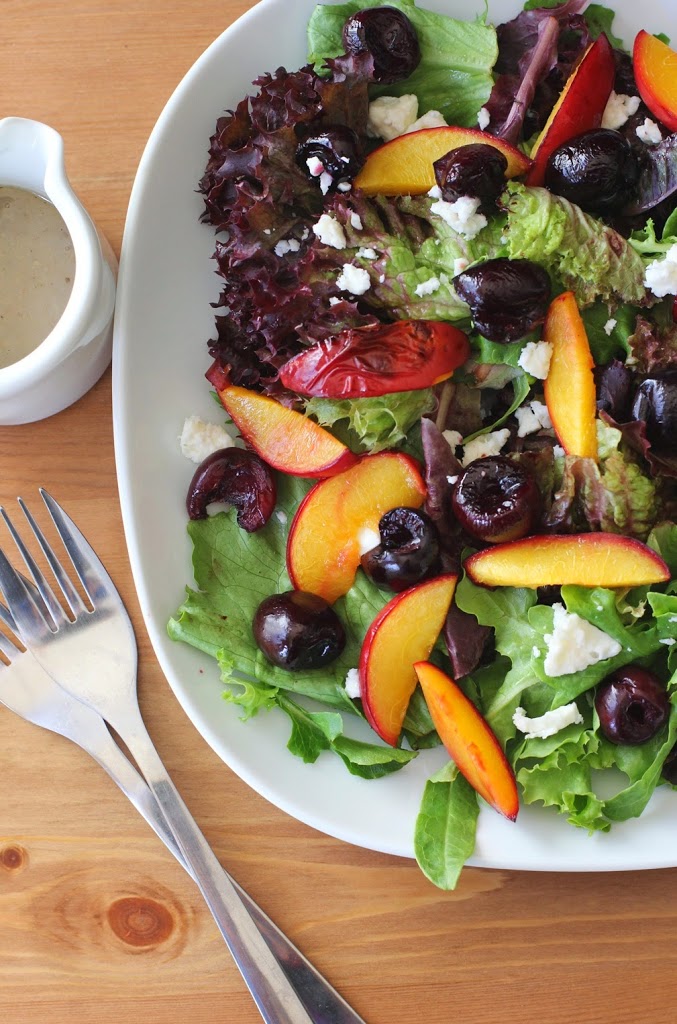
Roasted Cherry and Nectarine Salad with Honey-Walnut Dressing
Servings: 2 to 3
Dressing
4 tbsp walnut oil
2 tbsp chopped walnuts
1 tbsp honey
1 tbsp apple cider vinegar
Pinch of salt
3 yellow nectarines, pitted and sliced
1 cup cherries, pitted
4 cups mixed greens
3 oz. crumbled cheese (Blue cheese or feta works well. I used goat milk feta.)
Preheat the oven to 400 degrees F. Spray a baking sheet with olive oil or coconut oil.
In a small food processor, add 2 tablespoons of the walnut oil, walnuts and honey. Puree until the walnuts are finely chopped and a paste forms. Add the remaining 2 tablespoons of walnut oil and puree for about 30 seconds. You will be left with a thick walnut paste and a sweet milky liquid. Transfer to a bowl.
Whisk in the vinegar and salt. This will take a little time, but trust me, it will turn into a thick dressing. Keep whisking. Set aside.
Place the nectarine slices and cherries in a single layer on the baking sheet. Bake for 10 minutes, until softened and the juices begin to bubble.
Place the greens in a bowl, add the warm fruit and cheese. Pour in the dressing and toss well to coat. (You can also serve the dressing on the side as pictured, but because the dressing is thick, it really works better to toss the salad in it.) Serve right away.
Disclosure: The book in this post was sent to me for review purposes. I was not required to write about it and received no compensation for doing so.
Thanks for reading! All images and content are the property of Fake Food Free unless otherwise stated. Please do not republish full recipes and images without written permission. What is okay? Feel free to Pin images, share links to my posts or share the photo in a round up post with the title of this recipe and a link back to the post. Confused about copyright and food blogs? Here is some helpful information on Recipe Attribution. If you want to use a photo or full recipe, just ask. I’m sure we can work something out.