I wrote this post back in 2010, but we have since returned to beautiful Antigua! We hired Roger, the tour guide mentioned in this post, once again and had another great trip exploring this stunning island!
“What would you like for lunch?,” our guide asked.
“Something local,” my husband and I said in unison.
I think our guide was a little surprised. There are a lot of food choices available on the island of Antigua, especially considering its rather European history. I had, however, read up on some of local, native foods of island before our trip and had been looking forward to trying them for months.
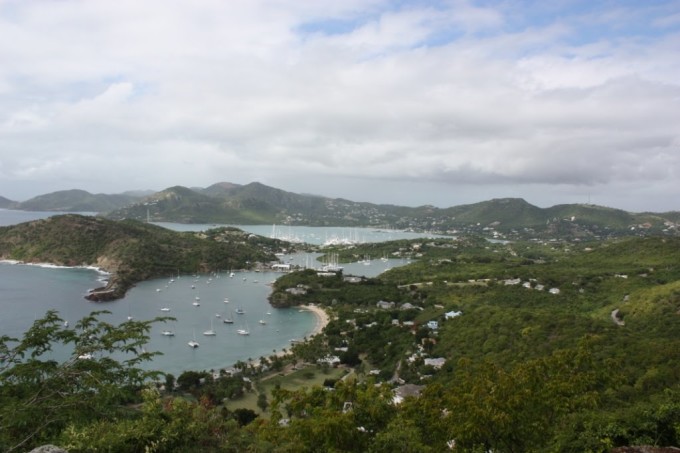
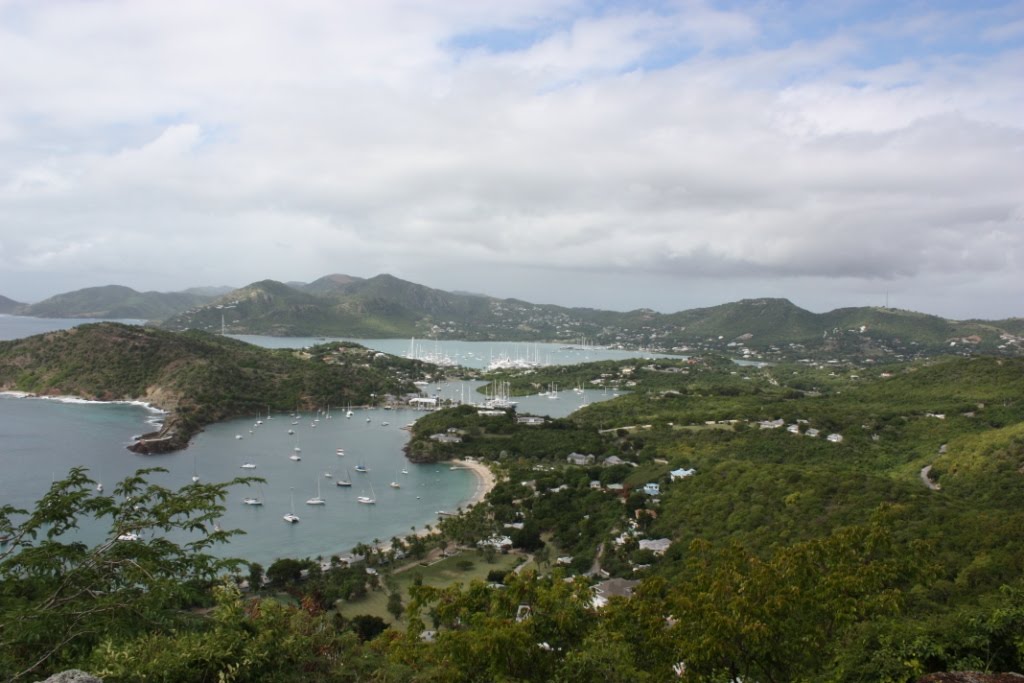
For the past several years we’ve taken a vacation in the Caribbean the week before Christmas. This year we made our first visit to the island of Antigua. We stay at Sandals resort, which we love, but as we’ve traveled more and more we find it important to get off the comfy resort and learn more about the places we are visiting. That, of course, also means having some local food.
This year we hired a private driver, a local named Roger. He took us out driving for the day and taught us so much about the history of his island. Probably due to the focus of my questions a large portion of what we learned was focused on food. For starters, he showed just about every fruit plant that grows in the area. I tried to make a list of the things we saw, but I’m sure I missed a few.
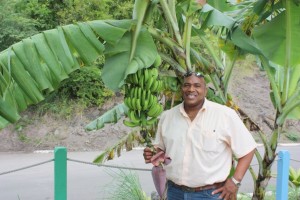
Sorrel, breadfruit, pomelo, lemon, lime, cacao, guava, passion fruit, pomegranate, custard apple, pineapple, banana,
soursop, mango, avocado,
ackee, papaya, tamarind and coconut.
That’s a lot of tropical fruit for one small island! In fact, Roger told us that many fruits such as the lemon and mango simply go to waste because they aren’t used in a lot of local cooking.
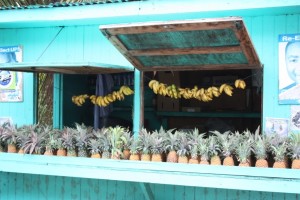
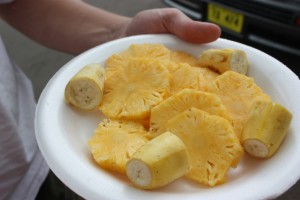
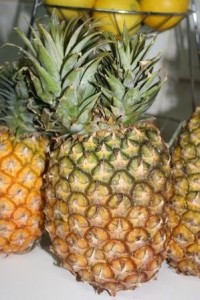
Midday we passed a few roadside stands selling fresh fruit, the highlight being the Antiguan Black Pineapple. Roger assured us that it would be the sweetest we’ve ever tried. I was skeptical considering all the delicious pineapples we were able to try in Brazil, but Roger was spot on. The flavor rivaled those of South America.
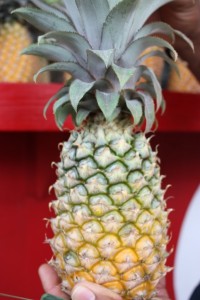 As you can see the pineapple isn’t black at all. It is small in size with a dark, golden skin when ripe. The owner of the stand we stopped at prides herself on only selling the Antiguan Black Pineapple. We got a plate of the pineapple and some finger bananas (as they were being called). The bananas were much like the banana maça we used to get in Brazil, but I’m not sure that they are the exact same variety. What a plate of nature’s goodness!
Roger came across as a natural, unprocessed food advocate and we had a lot of interesting, informative conversations throughout the day. He told us that because Antigua is so small many foods are imported. That also means that many food trends come along with it. For example, he said when he was growing up they made their own sea salt harvesting it from the water around them. Then all of a sudden they started receiving shipments of table salt and it began showing up in stores.
They began eating that type of salt being told that it was better, likely because of the iodine. Of course, today the focus is back on sea salt because of its beneficial mineral content. So what they had done as kids turned out to be the best practice.
I think we can all relate to that. Food trends whether for health or taste always seem to upset cultures and often healthy practices whether it be a large landmass or a small island.
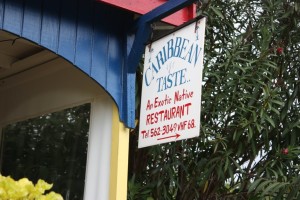
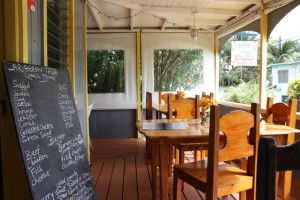
For lunch we ended up at a small restaurant called Caribbean Taste. The best way to describe it was a home-slash-restaurant. Family and friends came in and out while we ate and groups of women sat in the main area of the building eating and preparing more food for cooking.
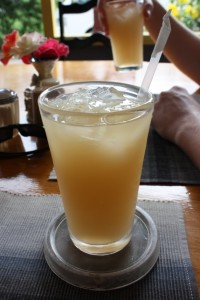
I was hoping to get to try the sorrel drink which is made around the holiday season, but they had not made it that particular day. Instead, we got some homemade ginger drink. This stuff was amazing. I’ve had ginger beer before which is carbonated, but this was like lemonade, but made with ginger instead. It was sweet with that spicy burn specific to fresh ginger root.
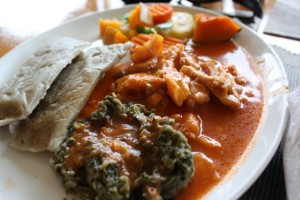
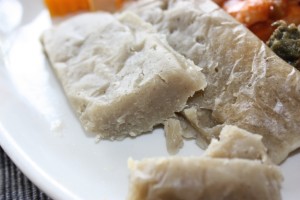
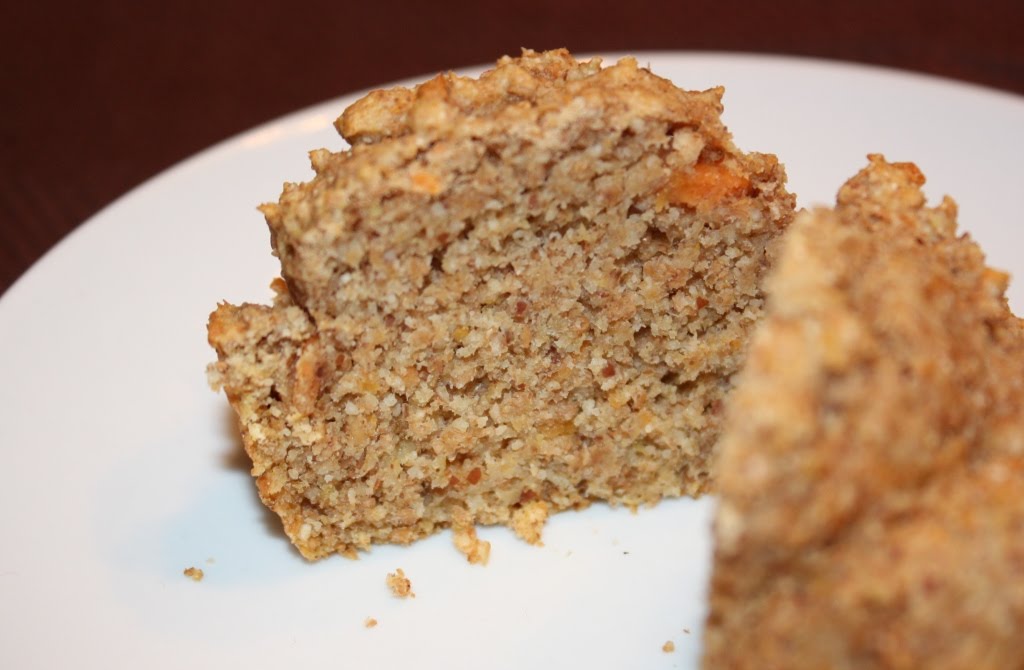
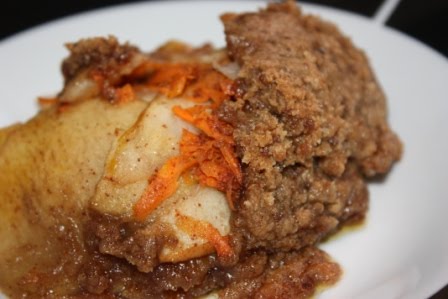
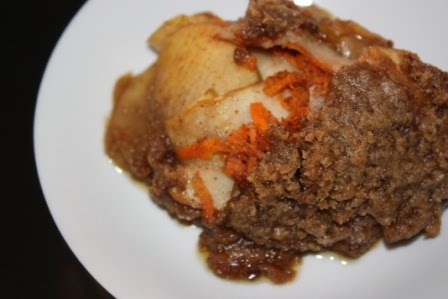
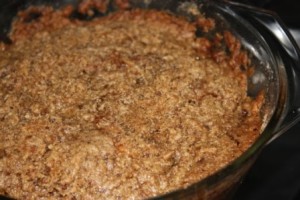
When I found out there was only one order of Ducana left for the day I quickly decided what I wanted. I had read about it prior to our trip and Roger explained it to us on the tour as well. Made of sweet potato, flour, sugar, coconut and spices it is a dumpling steamed in a banana leaf. Mine was served with salted cod in a red sauce and chop-up which is a mixture of veggies most prominently spinach. A delicious sweet and savory combination.
My husband tried the curried goat. Okay, I did try it. Since I had pet goats growing up and my parents still raise them I have a really hard time enjoying goat as a meal. However, I do understand the fact that it is a common protein source for many cultures. So in the spirit of being open to foods and culture I tried a bite.
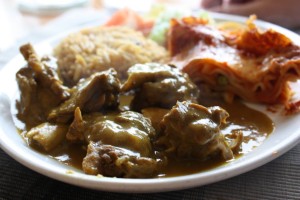
I can’t say I loved it and that had nothing to do with the fact that it was goat. It reminded me of a roast like my mom used to make when I was growing up. Kind of fatty, but with tender yet slightly chewy meat. The flavor of the sauce was great, but I didn’t enjoy the meat, however, I think my husband would order it again for sure.
Along with the great food out on the island, the food at the resort wasn’t too shabby either. I will say we were disappointed that more local foods didn’t make the menu. We talked to Roger about this and he expressed that he wished the people of Antigua would demand that local foods be used on the menu. I’m speaking of local dishes/recipes here, not necessarily local ingredients. Apparently in Jamaica it is a priority so although you may not have something truly authentic it is likely you will find a version of escovitch fish, jerk chicken and ackee and salt fish even on the menus of all-inclusive resorts.
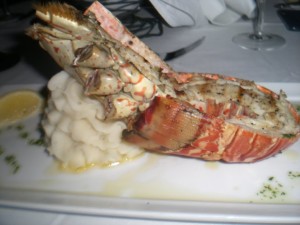
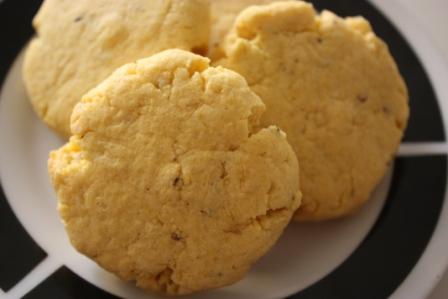
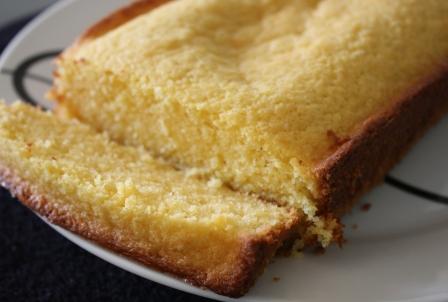
The one exception was the Caribbean rock lobster for which Barbuda (part of the same country as Antigua) is known. We had grilled lobster many times during our visit. I also had a bit of fungi for breakfast one morning which is a cornmeal similar to polenta. This version was formed into patties or cakes and served with okra.
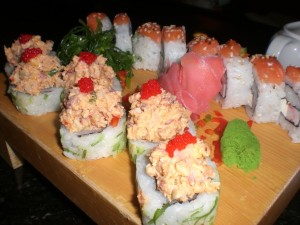
Sushi with spicy crab
Fried Calamari

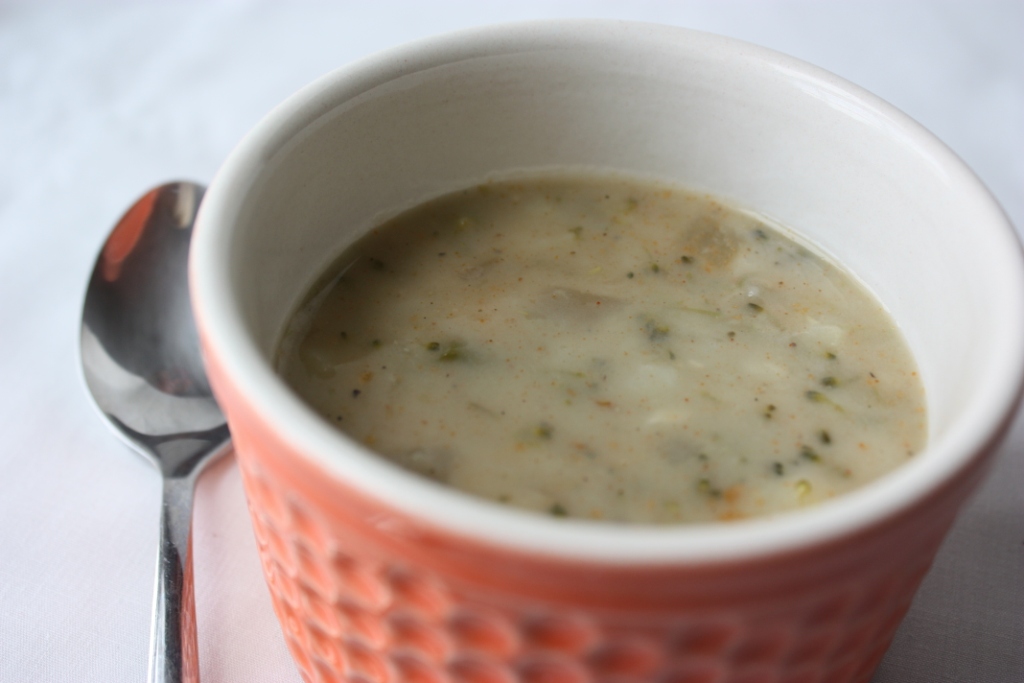
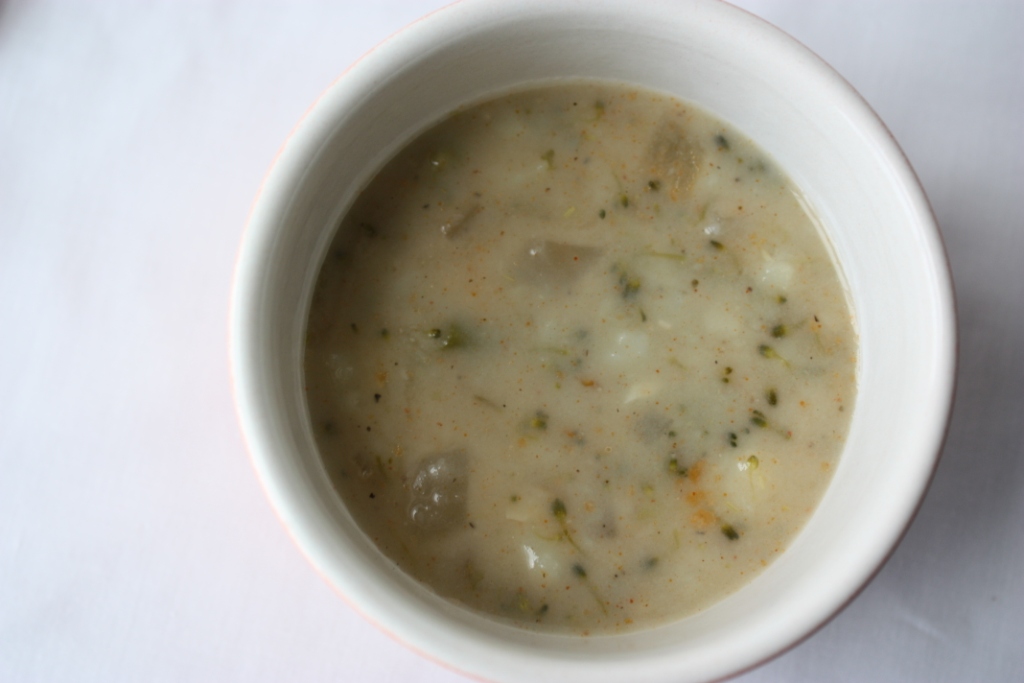
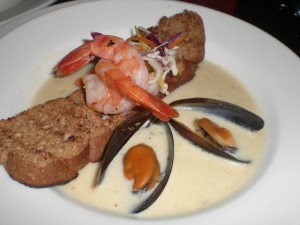
Seafood Chowder
Curry Lamb
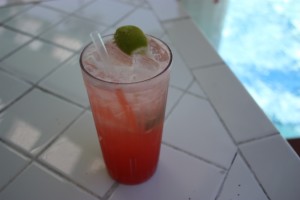
Paradise Punch from the swim-up bar
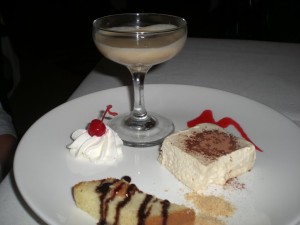
Pumpkin Cheesecake

Deconstructed Tiramisu
I love foods of the Caribbean and Antiguan cuisine was no exception. If you find yourself there, head out and explore the island and eat some fantastic food while you’re at it!
Need a guide when you are there?
Our day with Roger was fantastic!
Roger’s Taxi & Tours
(268) 764 -6331
rogertaxitours (at) gmail (dot) com

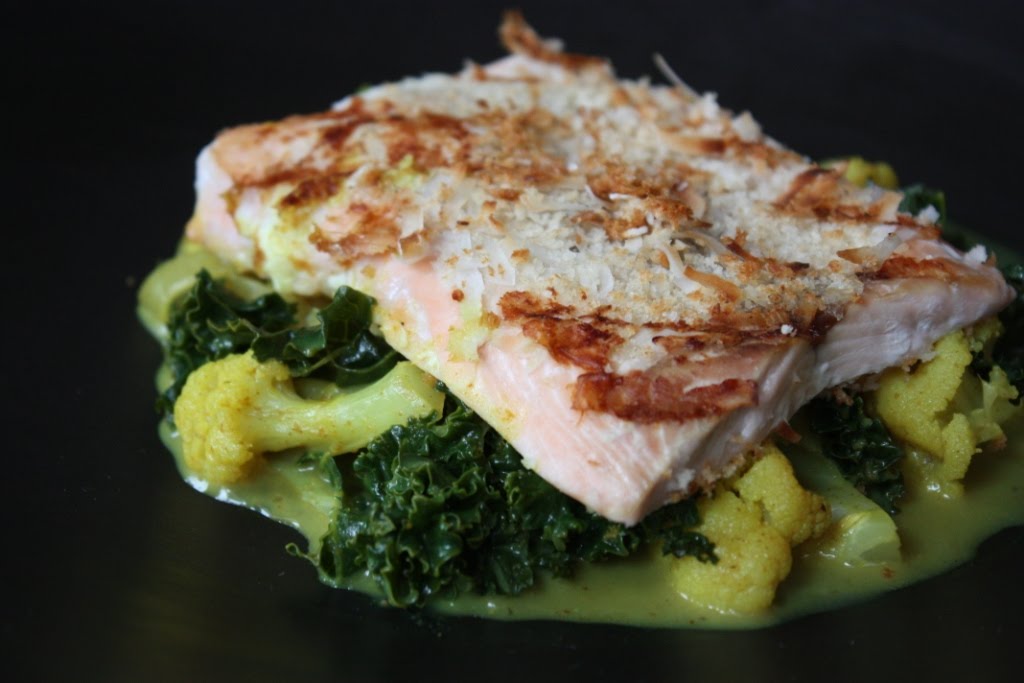
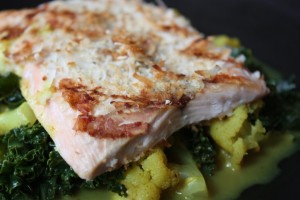 Kale in Curry Coconut Milk
 Kale in Curry Coconut Milk


