
It’s difficult for a meal to be light, but at the same time comforting and filling. Somehow, though, this recipe seems to do it.
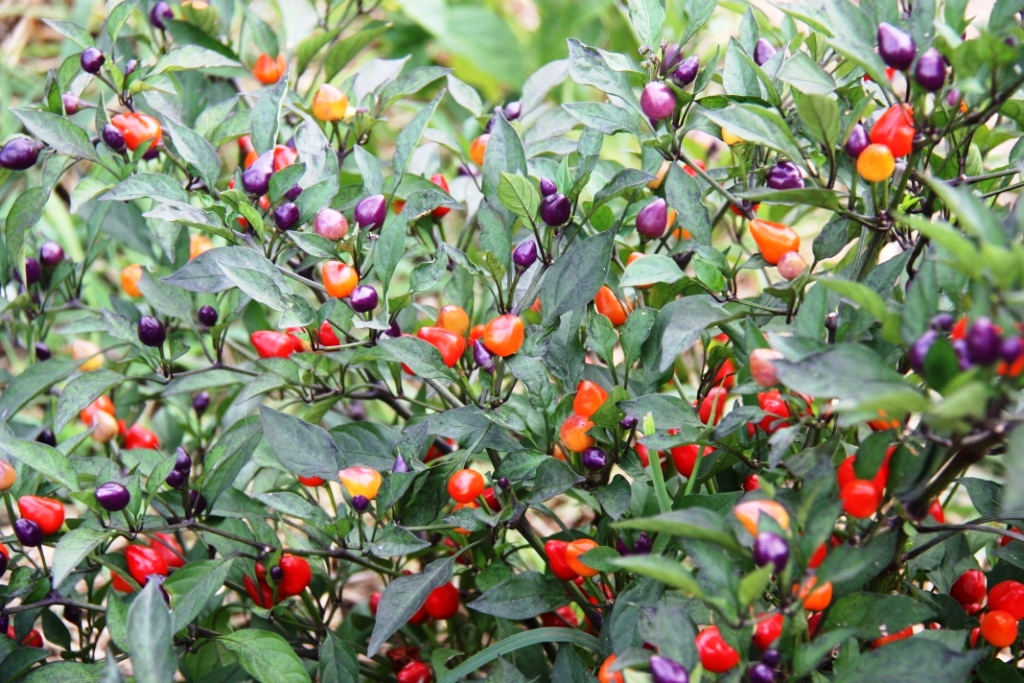
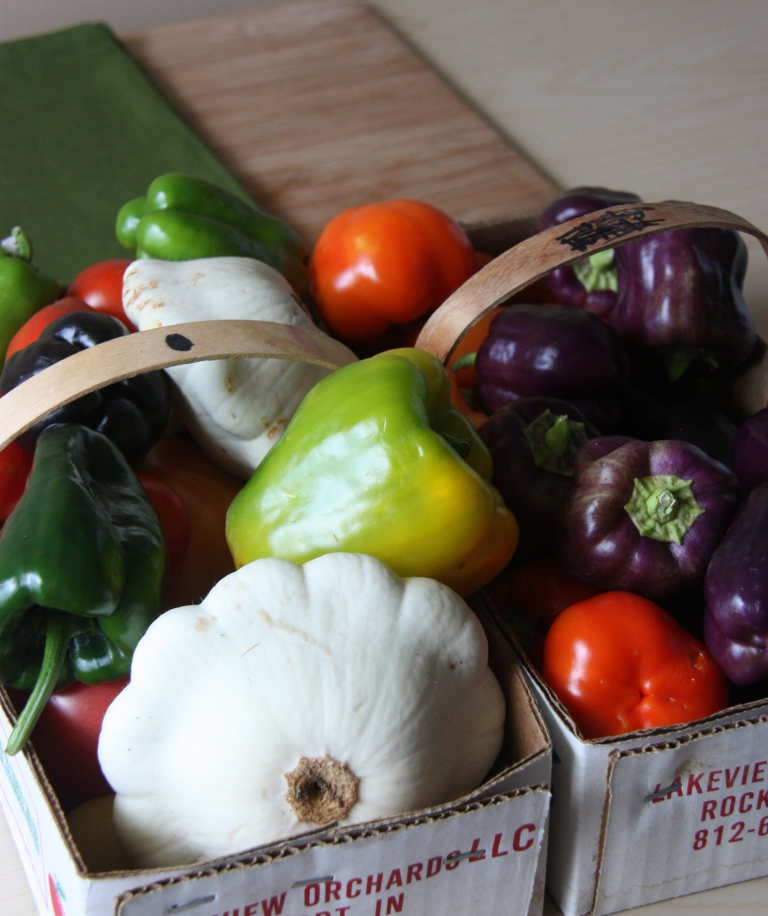
The idea of poaching fish in coconut milk was new to me when I came across a recipe for Coconut Poached Mahi Mahi in the September 2011 issue of Better Homes and Gardens. I did some modifying by first using some heartier greens – kale. I then used up the very last of our Anaheim peppers from the garden and pulled out one Thai chili I had harvested earlier in the season and tucked away in the freezer.
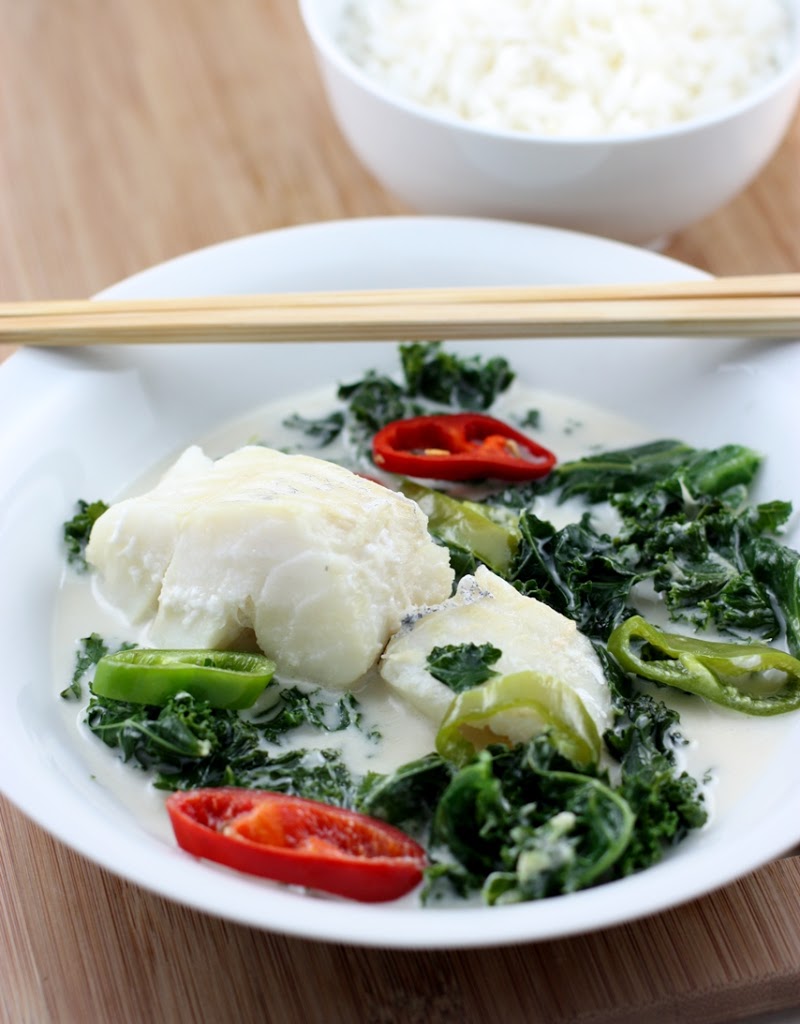
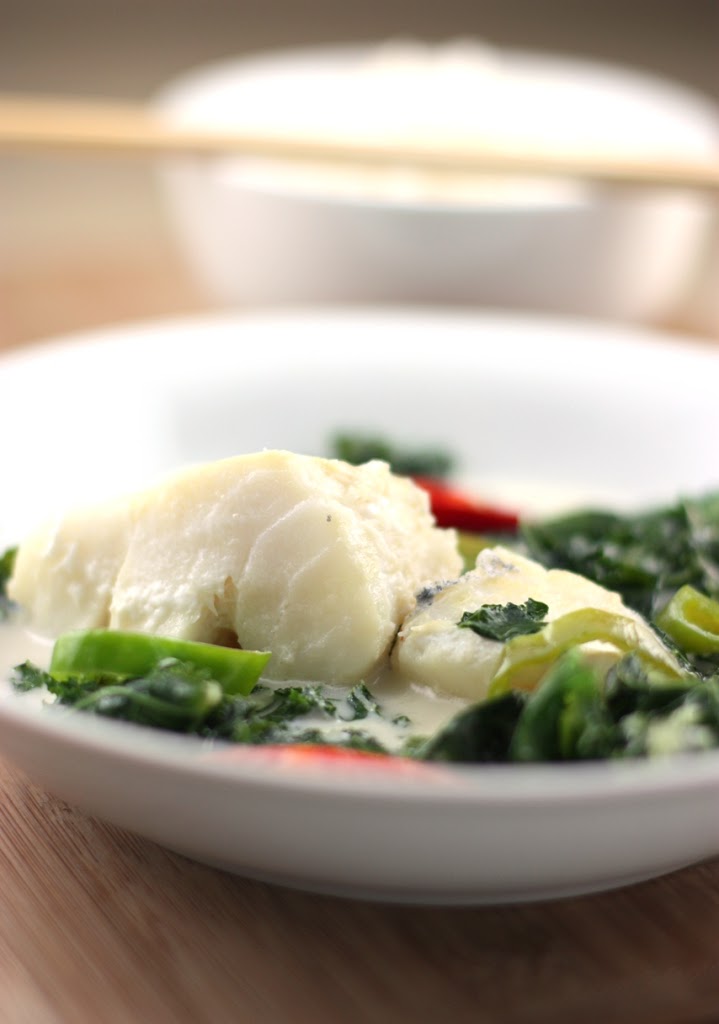
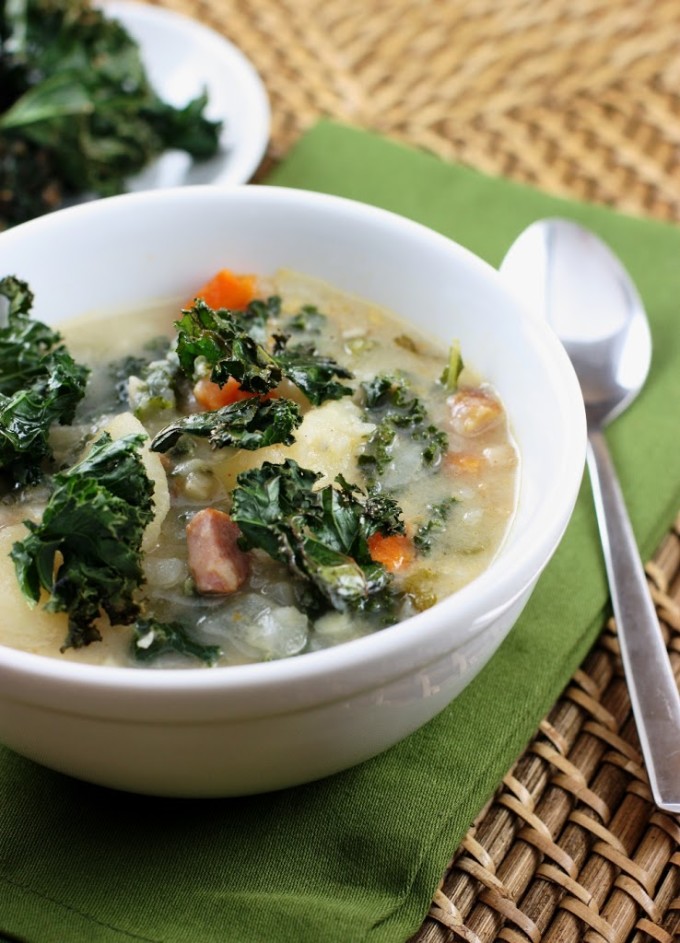
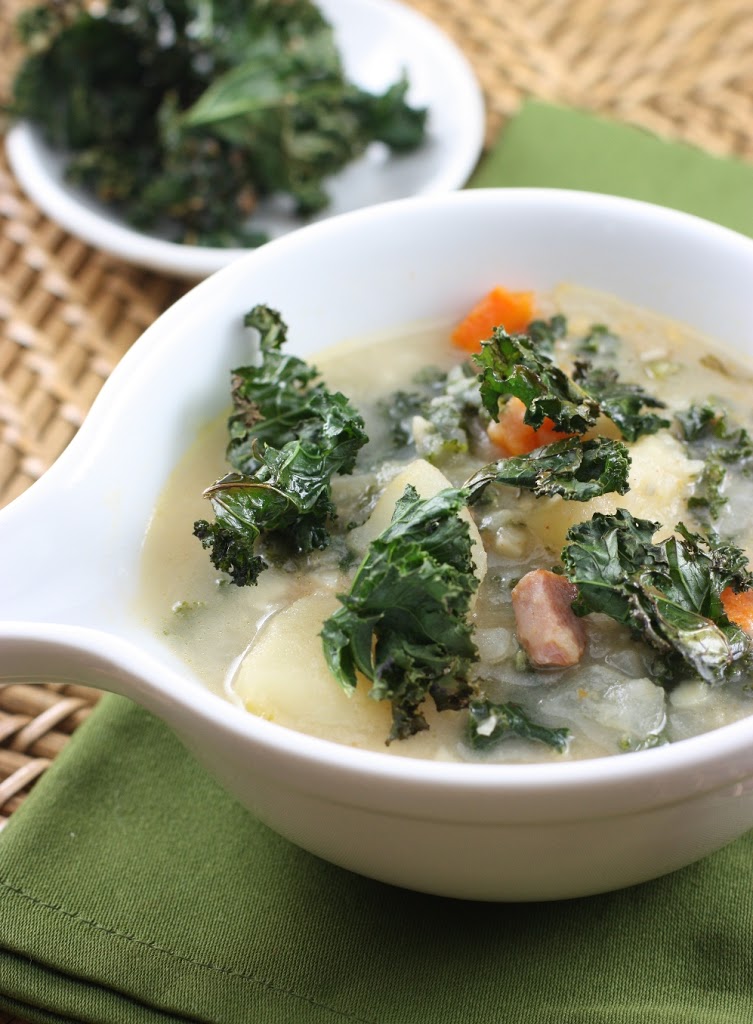
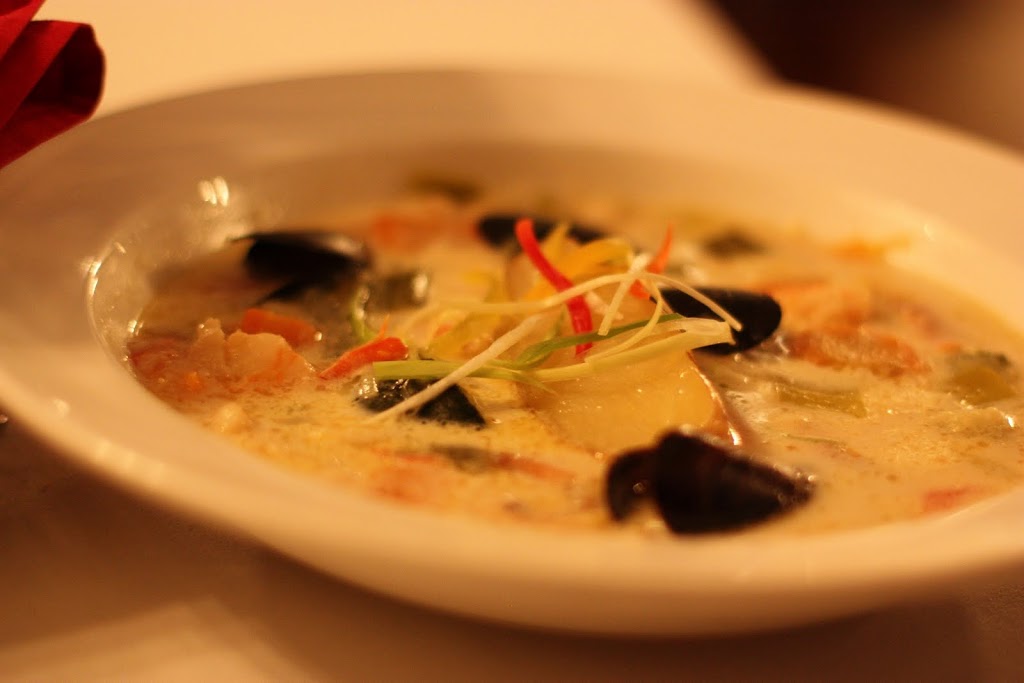
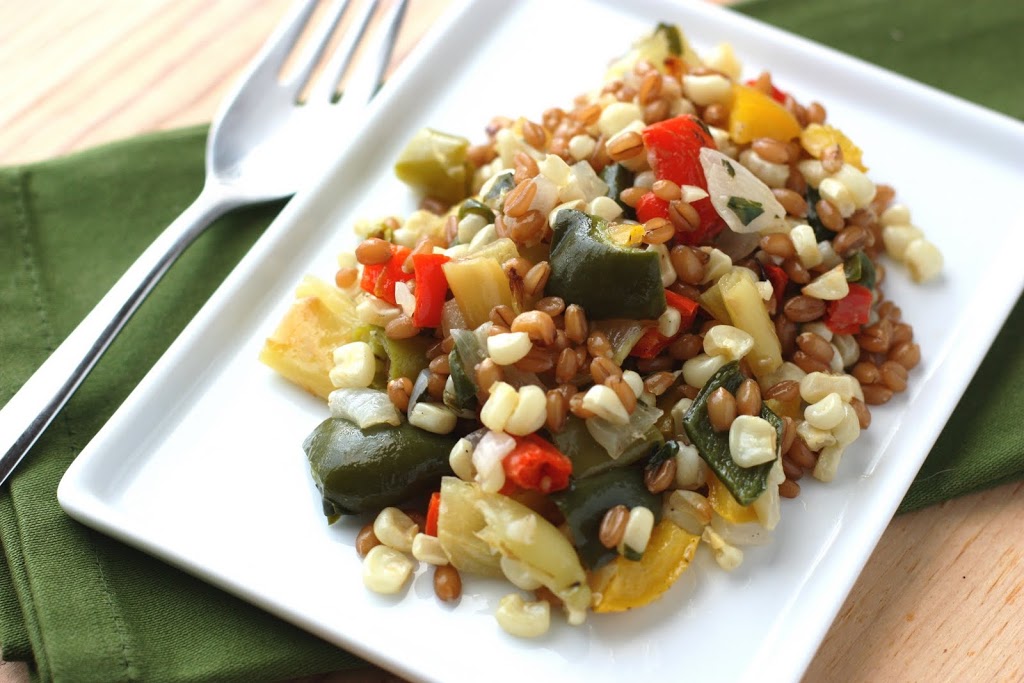
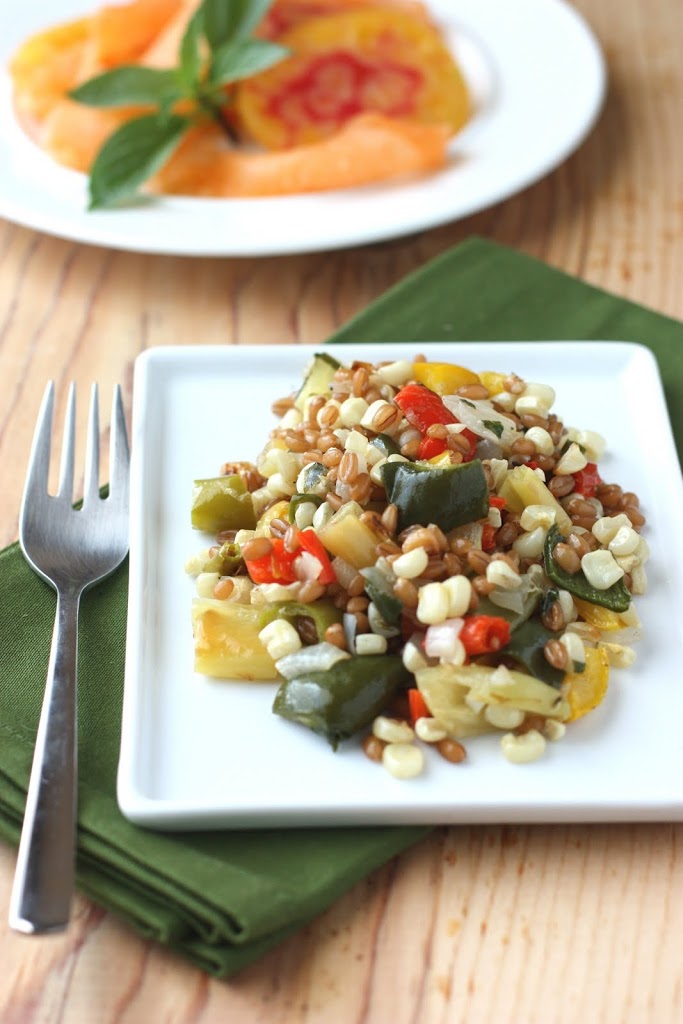
You can serve this alone, with rice or have it like I did with a nutty serving of quinoa. I’m convinced that this is the one and only way to enjoy good fish! The coconut milk is sweet with a warming heat. Matched with the kale, it’s the perfect dish for a cold evening while the fish adds a light, refreshing note.
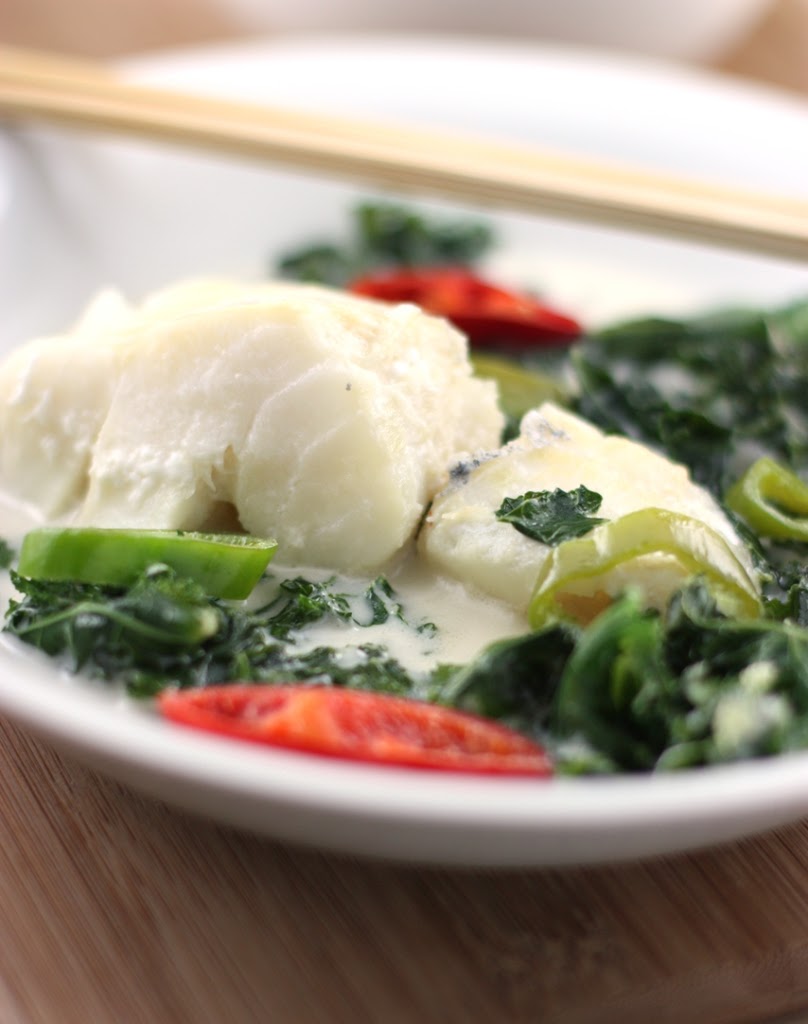
Coconut Fish with Kale
Modified from Coconut Poached Mahi Mahi Better Homes and Gardens Sept 2011
1-15 oz can coconut milk
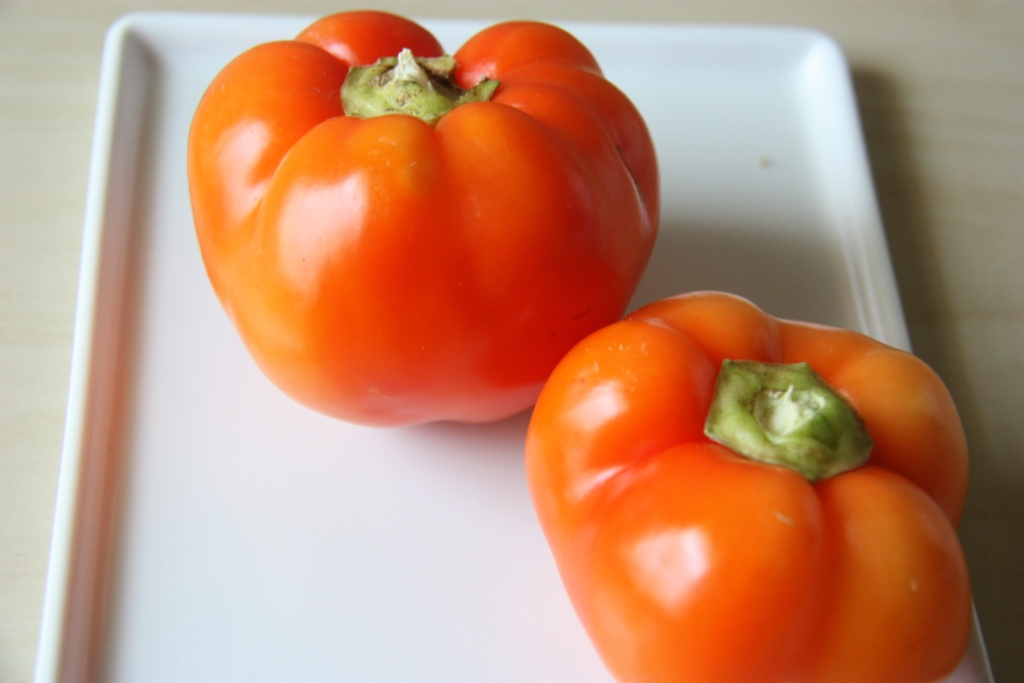
4 Anaheim peppers, thinly sliced
1 Thai chili, thinly sliced
½ cup water
1 tsp fresh ginger, grated
½ tbsp raw sugar
3 cups kale, de-stemmed and chopped
3-4, 4oz cod fillets
Using a medium to large pot (I used a 5 ½ qt Dutch oven), set the stove to medium-high and add the coconut milk, peppers, water and ginger. Stir and slowly bring to a simmer. Add the sugar and the kale.
Slowly turn the kale to coat it with the coconut milk until it begins to wilt, about 3 min.
Place the fish in the coconut milk. Partially cover the pot with a lid, slightly increase the heat to bring the milk to a simmer. Allow to cook for 5-7 minutes, or until the fish is white, cooked through and flakes when using a fork.
Place each piece of fish in a shallow bowl, add some kale and ladle coconut milk over the top. Serve with rice or quinoa if desired.


