Browsing Category

Farmers Market

Bacon, Corn and Brown Rice Stuffed Squash Recipe

August 8, 2013
Summer Squash Stuffed with Bacon, Corn and Brown Rice | Recipe | Fake Food Free
 

 When I tell people that we moved here from Kentucky I get the usual response. It’s the same response I received any time we traveled while living there.

It is something similar to, “I bet this is (that was) different,” or “This must be an adjustment.”

Now, I don’t get cranky or offended. It’s not like I’m out to defend the upper southern part of the U.S. There are a lot of things that are different here in a very good way, and there are a lot of things that are the same.

Regardless of whether you live in rural Kentucky or Northern California, if you rarely go anywhere else, well, there you are. There are as many people here that haven’t seen other parts of the US as there are people who haven’t in Kentucky. So I don’t blame people for having this perception, but as you know from my blog I had myself in a pretty good food situation back East.

California wins when it comes to variety of produce, growing seasons and ethnic cuisines, but it falls way behind in something else – meat.

Oh, it’s here. It’s grass-fed and finished, pastured, organic, whatever you want. But it’s one other thing.

Impersonal.

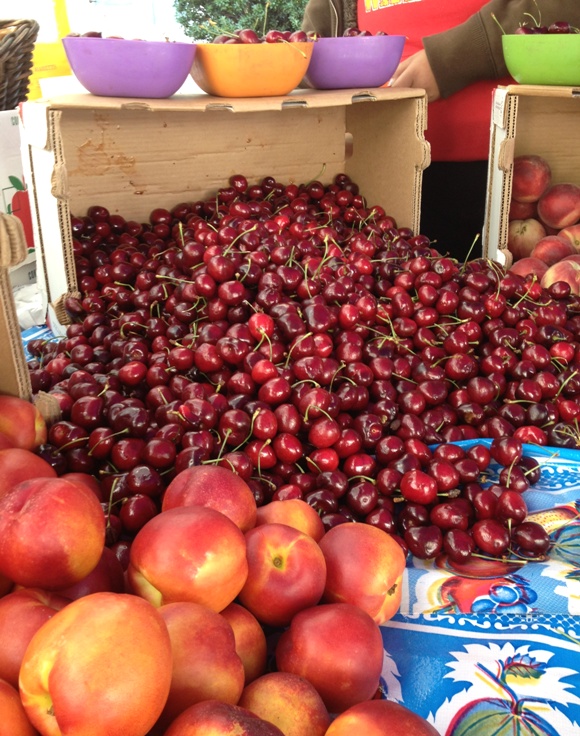
I really dislike buying meat here. There are a few butchers, but when you add in the price of a quality product along with the fact that it’s being sold in California, ouch. The Farmers Markets have better prices for similar products, but it’s difficult to talk to people about the meat as a line 10 people deep waits behind you.

When people ask me what I miss most about Kentucky, that’s easy. The farms.

I’ve asked about buying farm direct, coming out for a visit, and so far the answer is that they only sell at the market. Although, some do have a dinner for customers one day a year.

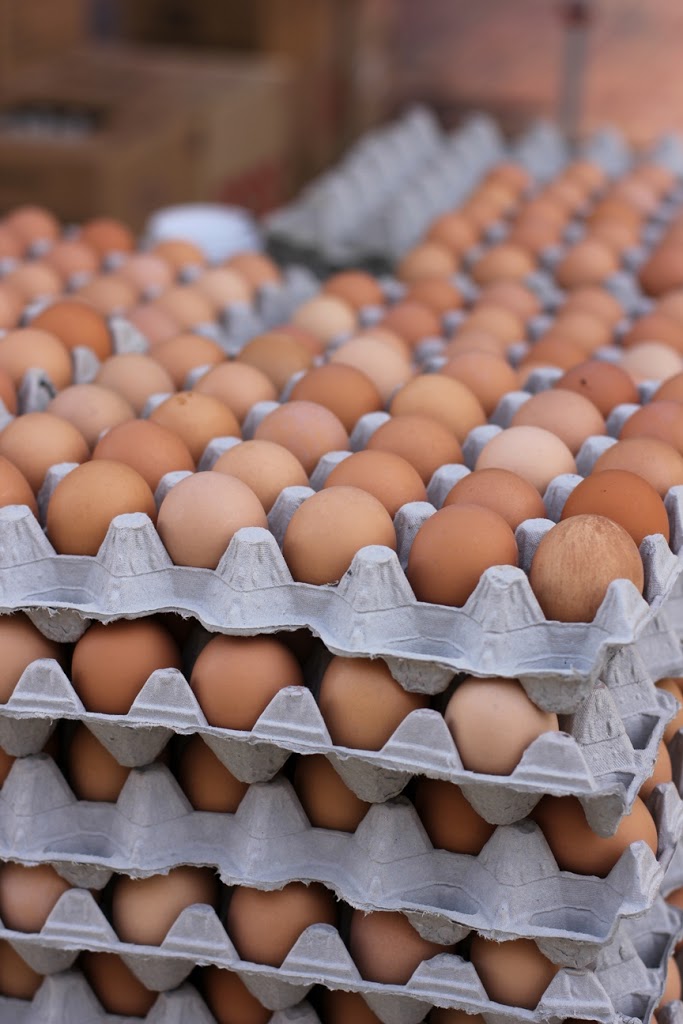
I miss knowing the breeds, conditions and getting things like housemade prosciutto, sausage without the casing and blue/eggs that are mixed right in with the brown ones because they all come from the same group of chickens.

I know – cry me a river, Lori. I see all those Instagram and Facebook pictures of produce and landscape. Life is rough. Boo-hoo.

I get it. I’m not complaining. I realize I haven’t covered every base yet. I’m sure there are options out there. I guess my point is that I will, at least for a while, still have a reason to respond to all those who suggest Kentucky is different with – yes, yes it is.

bacon-ends


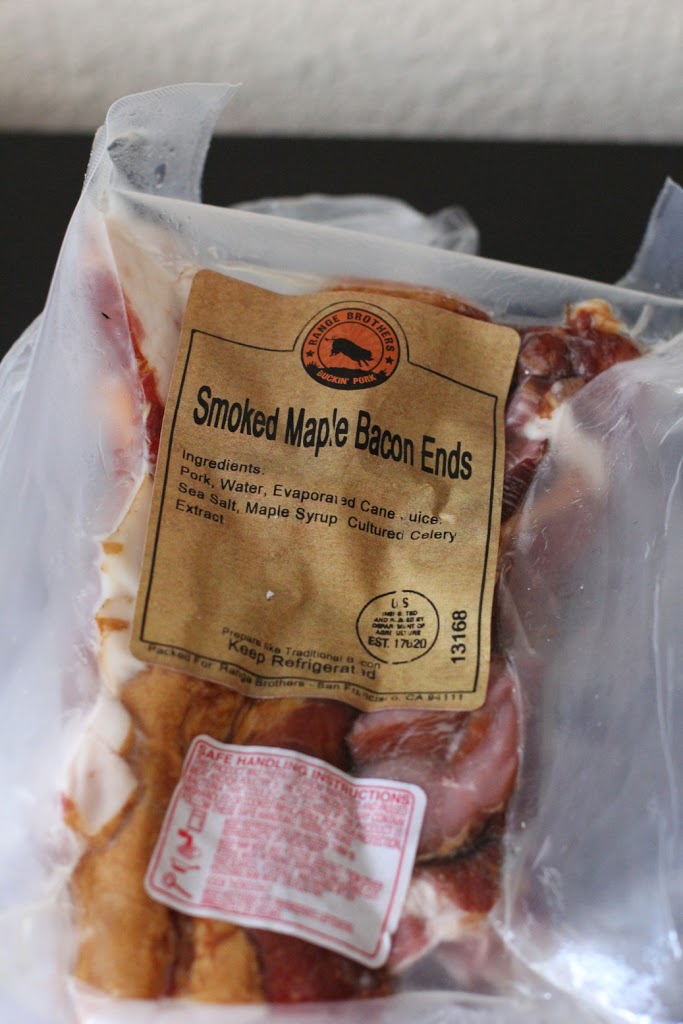
With all that being said, the meat I have ventured to get here has been very good. I finally found bacon ends last weekend at the Farmers Market. 


Bacon, Corn and Brown Rice Stuffed Squash Recipe | Fake Food Free
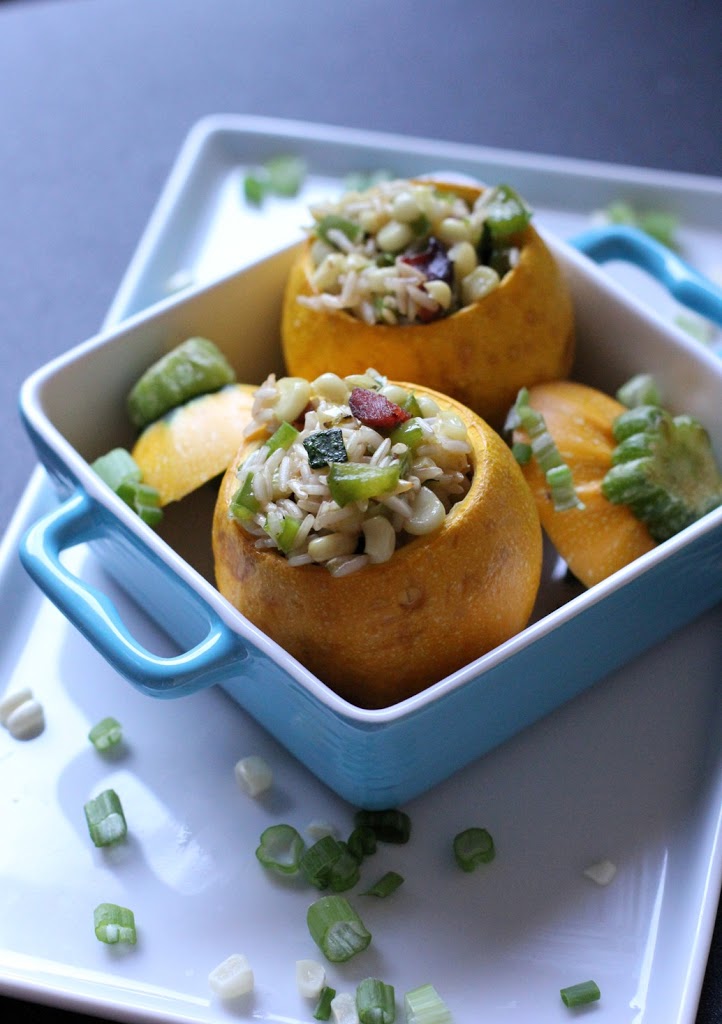
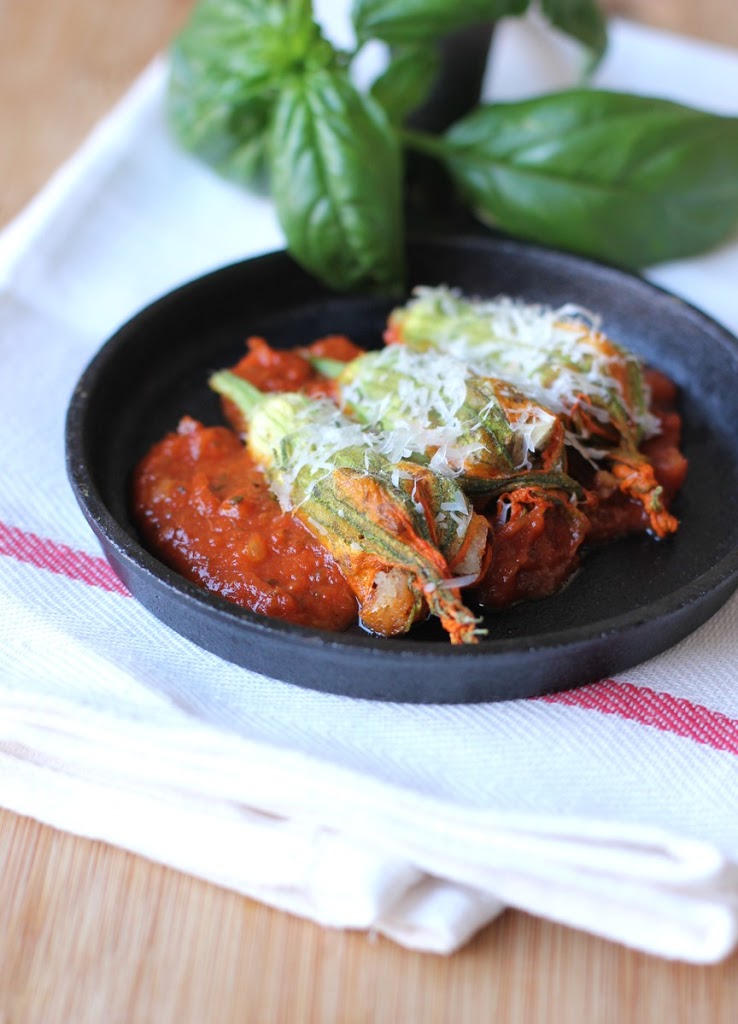
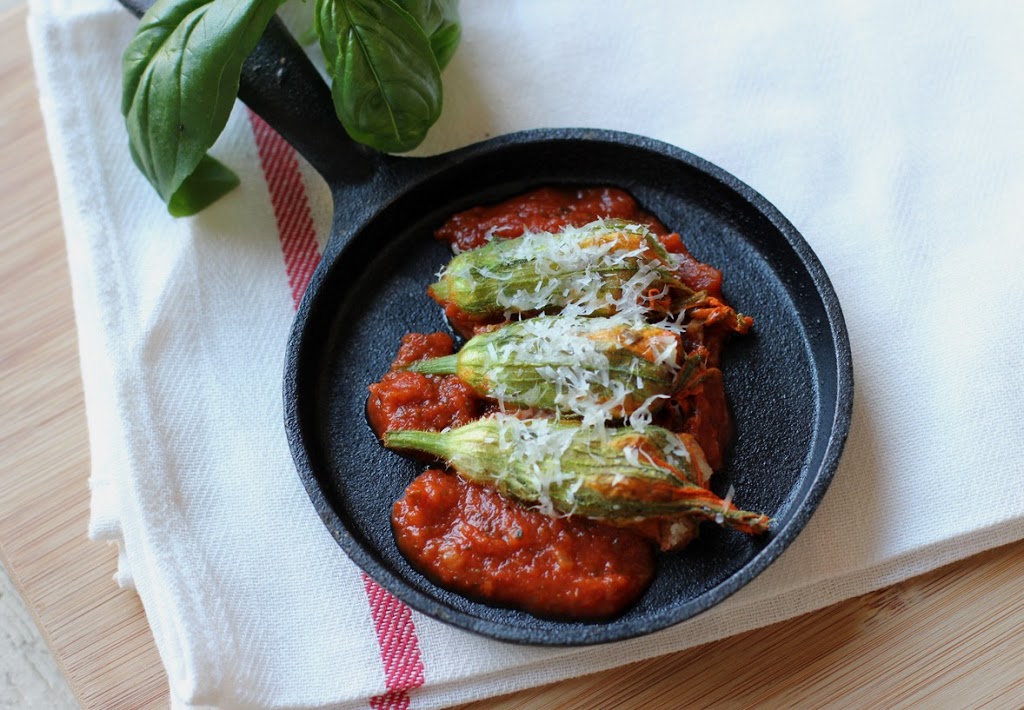
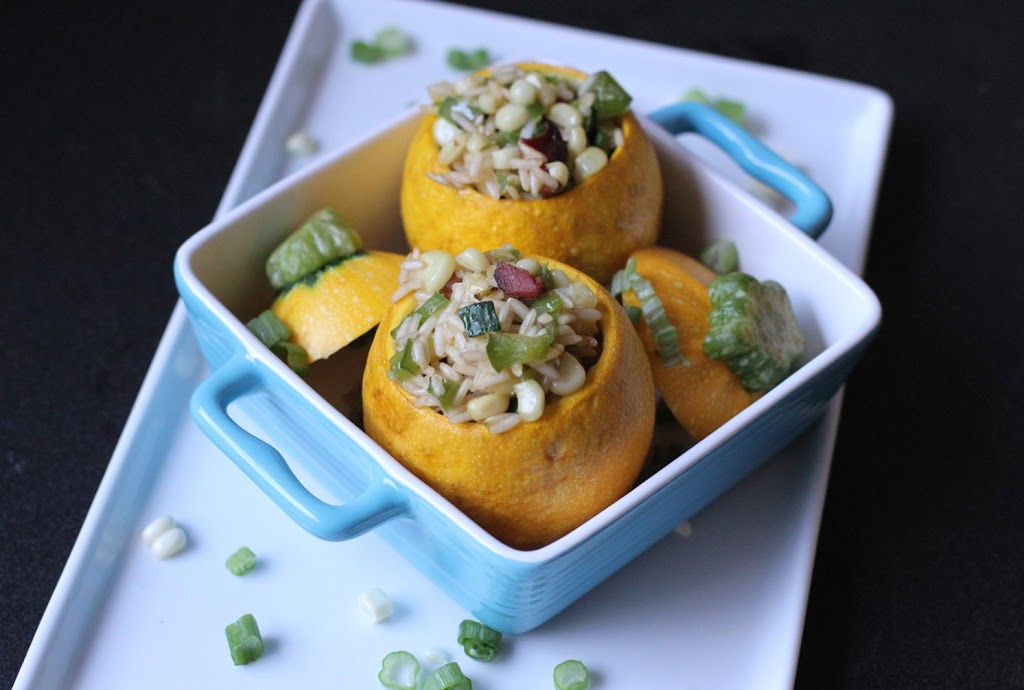
It called for a celebration of summer stuffed squash. Feel free to substitute any grain here. Cue ball or patty pan squash will work the best since this is a loose stuffing.


Bacon, Corn and Brown Rice Stuffed Squash

Makes: 6 stuffed squash


Ingredients

½ cup long grain brown rice
Extra virgin olive oil
6 cue ball or small patty pan (scalloped) squash
½ cup chopped pastured bacon ends
Kernels from 2 ears of corn
2 green onions, sliced, green and white portions divided
1 small bell pepper, diced
½ teaspoon finely chopped rosemary
¼ teaspoon salt
¼ teaspoon ground black pepper
½ cup finely grated cheddar cheese.


Preparation

Preheat the oven to 400 degrees. Lightly coat a casserole dish with olive oil.

Bring 2 cups of water to a boil and add the rice. Bring to a boil and reduce heat to a low boil. Cook for 15 minutes until just barely tender, drain and set aside.

Meanwhile, cut the tops off the squash and scoop out the insides with a spoon. Reserve the flesh. Lightly rub the squash with olive oil and arrange in the baking dish. Pre-bake the squash for about 10 minutes.

In a deep skillet, brown the bacon on medium-high for about 5 minutes. Cook until your desired crispness. I like mine super crispy.

Add the corn, whites of the onions (reserve greens for garnish), the bell pepper and the chopped flesh of the squash. Cook for about 5 more minutes on medium to medium-high, until most of the moisture has evaporated.

Stir in the brown rice. Add the rosemary, salt and black pepper. Stir in the cheddar cheese. Transfer the stuffing to each of the squash.

Bake for 20 to 25 minutes, until the squash is tender. Garnish with reserved onion greens. Makes 6 stuffed squash.


Thanks for reading! All images and content are the property of Fake Food Free unless otherwise stated. Please do not republish full recipes and images without written permission. What is okay? Feel free to Pin images, share links to my posts or share the photo in a round up post with the title of this recipe and a link back to the post. Confused about copyright and food blogs? Here is some helpful information on Recipe Attribution. If you want to use a photo or full recipe, just ask. I’m sure we can work something out.

Farmers Market Photo Tour

July 3, 2013
One of the best things about moving to California has been the Farmers Markets. Throughout the past six months I have been to many, but I still haven’t scratched the surface of the total number that operate each week within walking, biking and driving distance of where we live. 
Life has me pretty busy at the moment, so with no time to make a recipe in honor of the 4th of July, I thought the next best thing would be to celebrate all the wonderful foods I’ve found at the markets. Here is a photo tour of a few of my favorites. 
Over the next few weeks there are fun things to come including more reviews of outstanding cookbooks and a virgin coconut oil giveaway!
Happy Independence Day to all my readers in the States! 

Kentucky Bourbon-Vanilla Soaked Cherries Recipe

June 26, 2013
Kentucky Bourbon-Vanilla Soaked Cherries | Fake Food Free | The perfect ice cream topping or cocktail garnish!

Last week at the Farmers Market, I saw this sign.

That sad face sums up my feelings pretty well. I have enjoyed my first cherry season in California so much. I think it’s because I wasn’t expecting to have such a selection. It completely took me by surprise.

Aside from a few cherry trees here and there in Kentucky, I’ve always associated cherries with Michigan. My past experience includes picking out a few in the grocery store and barely getting enough from a tree to make a mini cherry pie. This year, I had all the cherries I wanted. I took full advantage, too. I can’t begin to estimate how many pounds I carried home throughout the season.

But alas, it is coming to an end. I know there will be other fruits to take their place, but I will miss them all the same.

Every time I carried home by big bag of joy I said I was going to make bourbon cherries. It was now or never. Well, maybe now or next season, but the pressure motivated me to get on it.

Kentucky Bourbon-Vanilla Soaked Cherries | Fake Food Free | The perfect ice cream topping or cocktail garnish!

I came across these Vanilla-Bourbon Cherries at Sweetsonian a little while back. (Aren’t her pictures gorgeous?) I wanted those same flavors so I adjusted it and then got some exact measures for the ingredients. I know I’ll want to make them again and I’m horrible at remembering what I did from recipe to recipe so I’m hoping this will help me recreate them next year.

Dark red Bing cherries make pretty soaked cherries, but as always, I was steered by the sale. These yellow-red Rainier cherries were priced to sell so my cherries look a little lighter in their bourbon bath.

I’ve had them in the fridge a little over a week and they are delicious. I’ve dropped a few in our cocktails and I hope to use them on a dessert if I can stop eating them straight from the jar.

Kentucky Bourbon-Vanilla Soaked Cherries

Inspired by Vanilla-Bourbon Cherries by Sweetsonian

Ingredients

1 pint cherries, pitted
4 tbsp sugar
3 tbsp water
1 tsp pure vanilla extract
1/3 to ½ cup Kentucky bourbon

Prep

Tightly pack the cherries into a clean pint jar leaving about ½ inch headspace.

In a small sauce pan, heat the sugar and water on medium-high. Bring it just up to a simmer and cook until the sugar dissolves and it thickens a little, about 2 to 3 minutes. Remove from the heat and stir in the vanilla.

Pour the sugar syrup over the cherries. Pour the bourbon into the jar. How much you need will depend on how tightly your cherries are packed in. Ensure that all the cherries are covered, leaving about a ½ inch headspace.

Seal the jar. Give it a shake to mix the sugar syrup and bourbon.

Store in the refrigerator for at least 3 days before eating to allow the flavors to soak into the cherries. Then they should keep in the fridge for about a month.


Thanks for reading! All images and content are the property of Fake Food Free unless otherwise stated. Please do not republish full recipes and images without written permission. What is okay? Feel free to Pin images, share links to my posts or share the photo in a round up post with the title of this recipe and a link back to the post. Confused about copyright and food blogs? Here is some helpful information on Recipe Attribution. If you want to use a photo or full recipe, just ask. I’m sure we can work something out.  

Bacon and Oyster Mushroom Stuffed Squash Blossoms Recipe

June 11, 2013

It’s surprising that with all the squash plants I’ve grown, I’ve never tried cooking with squash blossoms. I always blamed it on bad timing.

Those pretty yellow flowers would appear in early summer and I would think – No way am I picking those. I want a squash out of that. What if the plant doesn’t produce much this year?

Then (as you know if you’ve grown squash) by mid to late summer when I was buried with summer squash up to my eyeballs, I wish I had used some of those blossoms. 

I no longer have my own squash plants, but I did spot some of those pretty blossoms at the Ferry Building Farmer’s Market last weekend. I wasn’t quite sure what I would do with them, but I had oyster mushrooms, bacon, bread and tomato sauce, too, so this is how it went. And when I have my own squash plants again someday, I will definitely be picking those blossoms.

Bacon and Oyster Mushroom Stuffed Squash Blossoms

1.5 ounces oyster mushrooms, chopped
2 slices bacon, chopped
2 tbsp finely chopped onion
1 clove garlic, minced
1/3 cup bread crumbs
3 leaves fresh basil, chopped
Salt and pepper to taste
12 small to medium squash blossoms
¾ cup your favorite marinara sauce
2 tbsp grated Parmesan cheese

Preheat the oven to 350 degrees F.

Preheat a deep skillet over medium-high, add the bacon and mushrooms. Cook for about 3 minutes. Add the onion and garlic. Continue to cook until the bacon is browned and the mushrooms are tender, about 3 to 4 minutes more.

Stir in the bread crumbs and the basil. Add salt and pepper to taste. Remove from the heat.
Fill each squash blossom with about a heaping tablespoon of the stuffing, depending on the size of the blossom. Twist the end of the flower to seal.

Pour the marinara in a baking dish and spread over the bottom of the dish. Arrange the blossoms in a single layer over the sauce. Top with the Parmesan cheese.

Bake for 20 minutes or until the blossoms become tender and the cheese begins to brown. Serves 2 to 3, if the squash blossoms are on the smaller side.


 Thanks for reading! All images and content are the property of Fake Food Free unless otherwise stated. Please do not republish full recipes and images without written permission. What is okay? Feel free to Pin images, share links to my posts or share the photo in a round up post with the title of this recipe and a link back to the post. Confused about copyright and food blogs? Here is some helpful information on Recipe Attribution. If you want to use a photo or full recipe, just ask. I’m sure we can work something out.  


Coconut Bamboo Rice with Green Garbanzo Beans Recipe

May 31, 2013

I consider myself well-versed in fresh foods and in what my food looks like before it gets to my plate. I’ve grown a lot, and I have seen a lot in my travels. And that’s not to mention all the things I come across online. Yet, California continues to surprise me when it comes to produce.

I find something new to me at the Farmers Market almost every week. As you’d probably expect, I’m not shy. Many of the foods don’t have signs and at the market I go to some of the signs are only in an Asian language. As soon as something catches my attention, I walk right up to the vendor and ask what it is. I refuse to pass up on any food knowledge.

This past week, I spotted some small pods that I’d never seen before. Guess what they were. Garbanzo beans! I use garbanzo beans all the time, but I’ve never once seen the fresh version. I purchased a couple handfuls, not quite sure what I would do with them.

After posting the picture on Instagram, I got some help with how to cook them. The easiest way is to steam or boil them, and they cook rather quickly, similar to peas. I shelled and boiled mine, it took about 7 minutes or so to cook them.

It’s hard to describe the taste. They are obviously similar to the cooked-from-dried and canned versions, but they are fresher and lighter in both flavor and texture. I don’t know. Maybe it is just that green color making me think that, but either way, I loved them!

I picked up some bamboo rice (short grain rice infused with bamboo extract) a little while back and I’ve been hungry for something coconut. I used both and put together this very simple dish. It hit the spot for lunch after my mid-morning run.

Coconut Bamboo Rice with Green Garbanzo Beans

1 tsp extra virgin olive oil
¾ cup bamboo rice
¾ cup chicken or vegetable stock
¾ cup lite coconut milk (I chose lite this time because it’s thinner)
1 tbsp chopped, fresh chives
¼ tsp salt (optional)
1 cup cooked, fresh (green) garbanzo beans

Heat the oil in a large saucepan over medium, add the rice. Cook about 60 to 90 seconds, stirring often. Pour in the stock and coconut milk. Bring to a low boil. Lower the heat and simmer for about 15 minutes, stirring occasionally. Cook until the liquid is absorbed and the rice is softened.

Stir the chives and the salt into the rice. Note: if you are using salted stock you may not need the salt, so taste before adding it.

Divide the rice onto two plates and top with a ½ cup of the garbanzo beans. Serves 2.

Want to create beautiful food and product photos that you can't wait to share?!
Discover your style, control the light, and shoot using the tool you know how to use (yes, your phone included). Learn about free resources, Live Q&As with Lori, and online courses you can take from anywhere in the world!
We respect your privacy. Unsubscribe at any time.