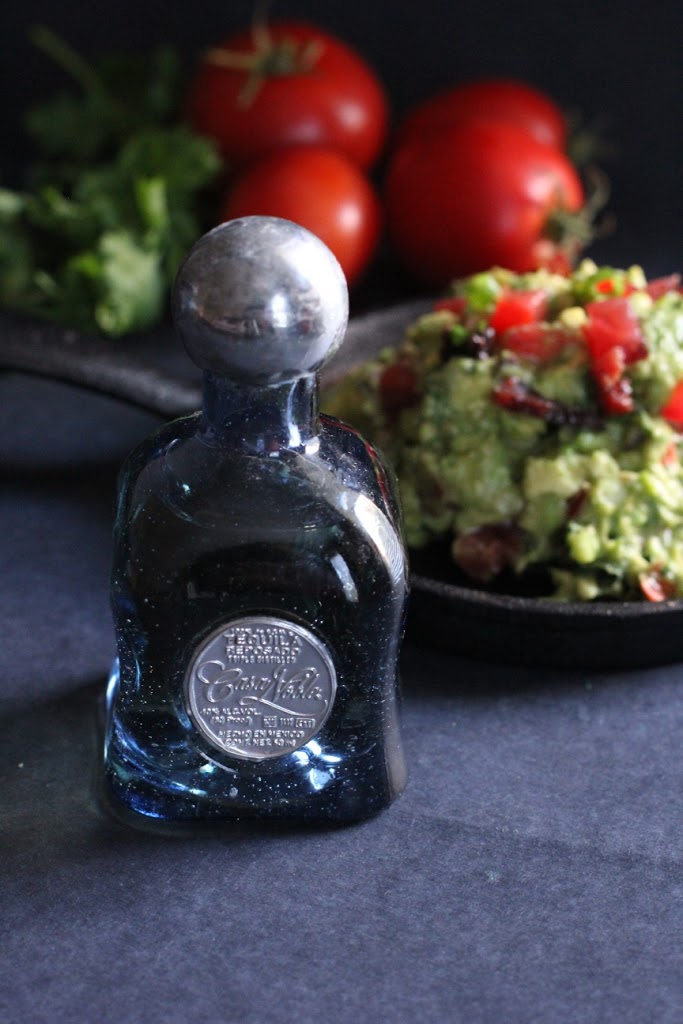
This year was our first time spending Derby Day in California and I had every intention of celebrating big — dressing up, mint juleps, meeting some University of Kentucky Alumni folks at a party in the city. And then I got an invitation that caused me to quickly trade pecan chocolate chip bourbon pies for peanuts.
I spent the first weekend in May at a sponsored Science & Culinary retreat on Plant-Powered Eating in Napa hosted by The Peanut Institute. A combination of nutritional research and cooking — I can think of few things that are more, well…me.
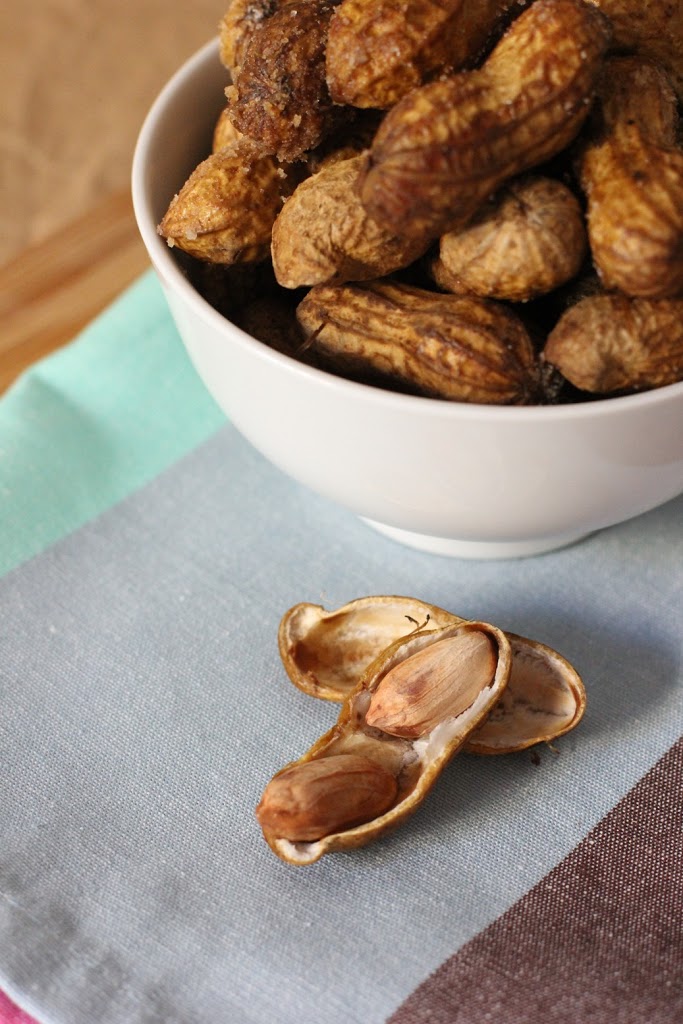
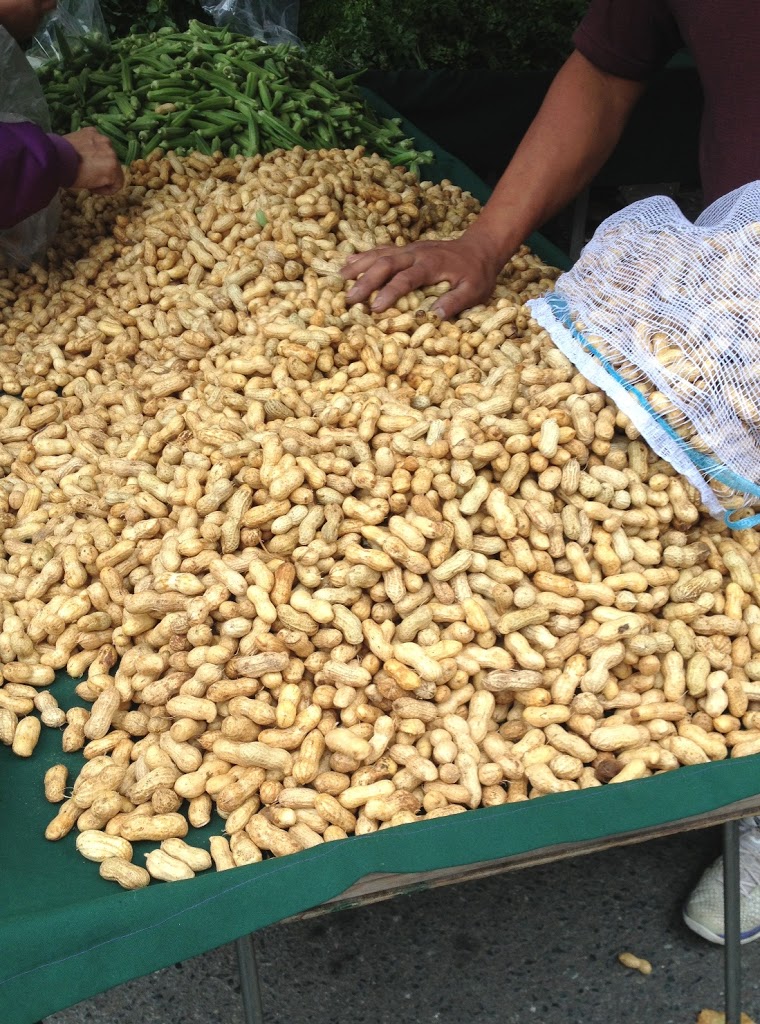
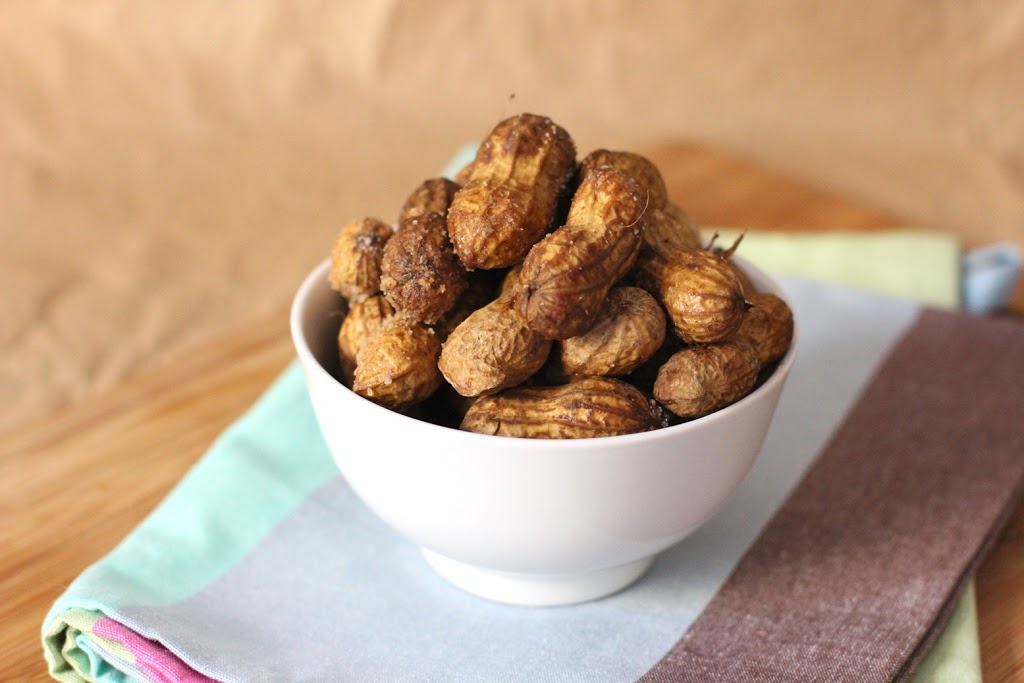
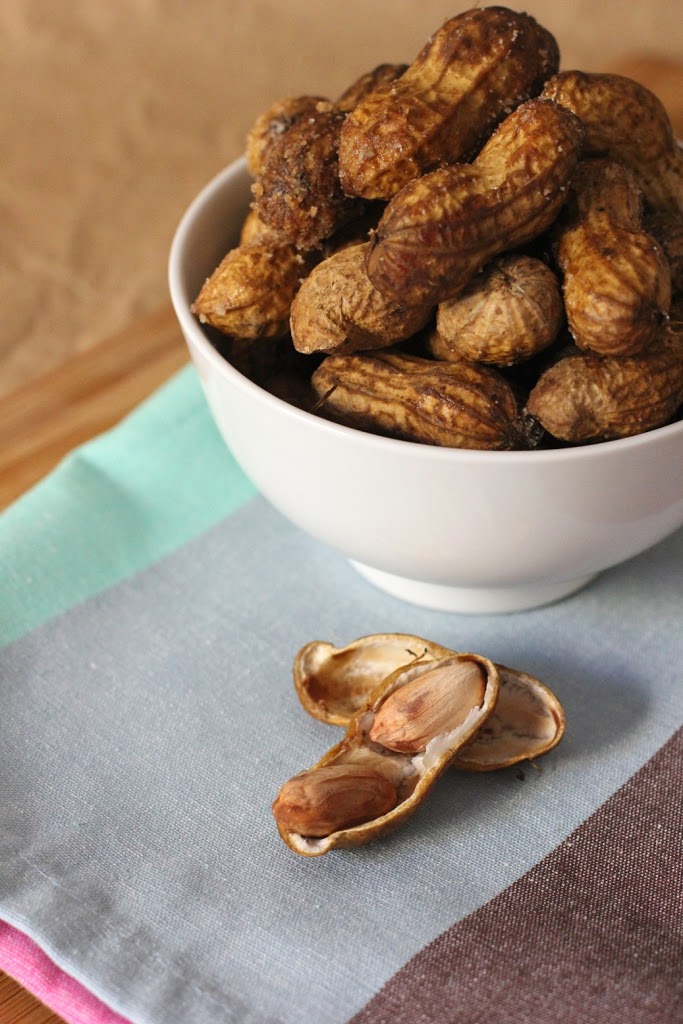
Truth be told, I was already a huge fan of peanuts. My preferred sandwich growing up was not PB&J, but straight up peanut butter. Now days I tend to skip over the sweetened versions and fully enjoy natural peanut butters with nuts and salt only. We also eat a fair share of dry roasted, unsalted nuts and I find shelling my own peanuts oddly rewarding.
So I really needed no convincing as to why one should eat peanuts as part of a plant-based diet, but I enjoyed the informative research presentations about recent studies using peanuts and the resulting health benefits.
You can expect more posts sharing the information learned at the retreat, but first I want to focus on a few things — the cooking (at the Culinary Institute of America at Greystone in Napa, no less!), the incredibly diverse uses for peanuts in both sweet and savory cooking, and finally, my new favorite ingredient — peanut flour.
As you can imagine, almost every course of every meal of the weekend was touched by the peanut in some way. On Saturday night, we enjoyed an outstanding meal from the chefs at Hess Collection Winery. This was my first visit to this winery, but I encourage you to make it a stop if you are in Napa. The Chardonnay was outstanding and the tour of the art collection still has me a bit speechless.
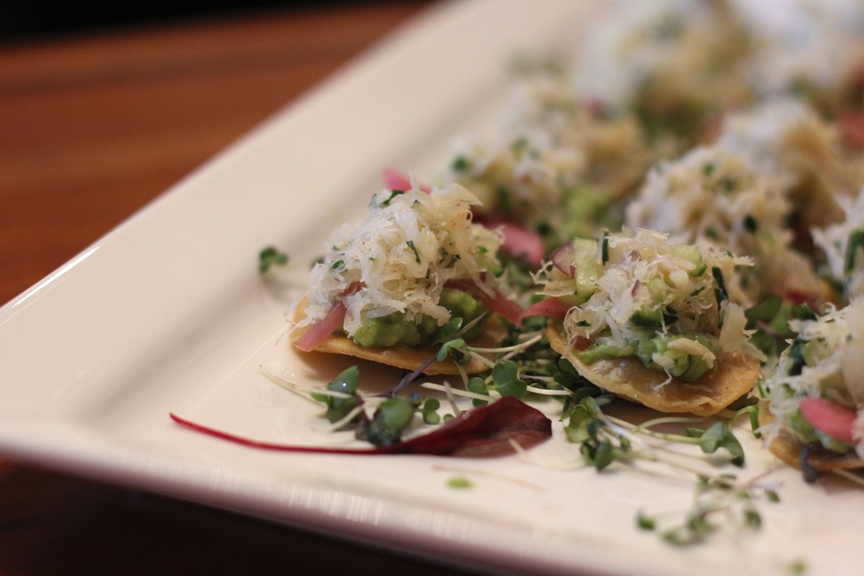
It started with appetizers of Crab Ceviche.
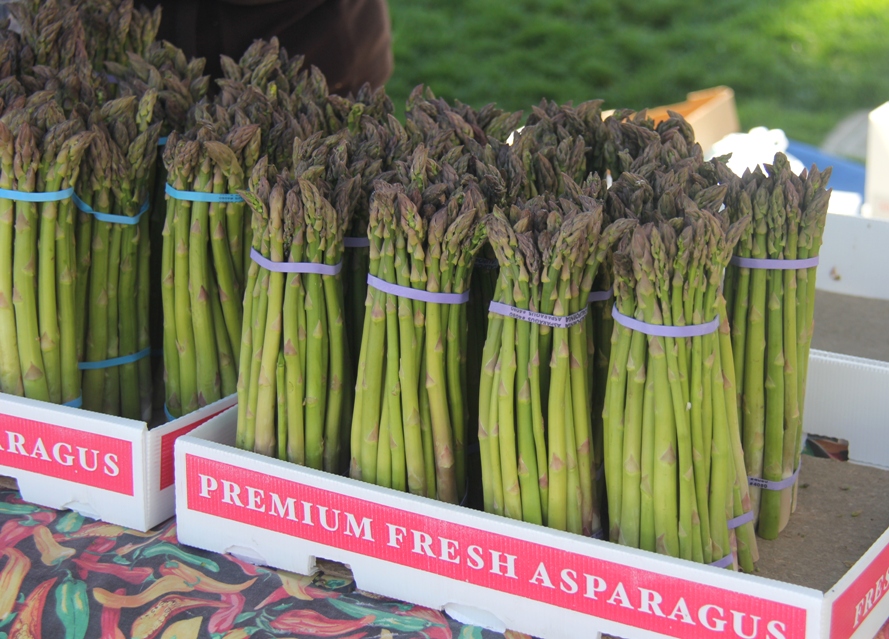
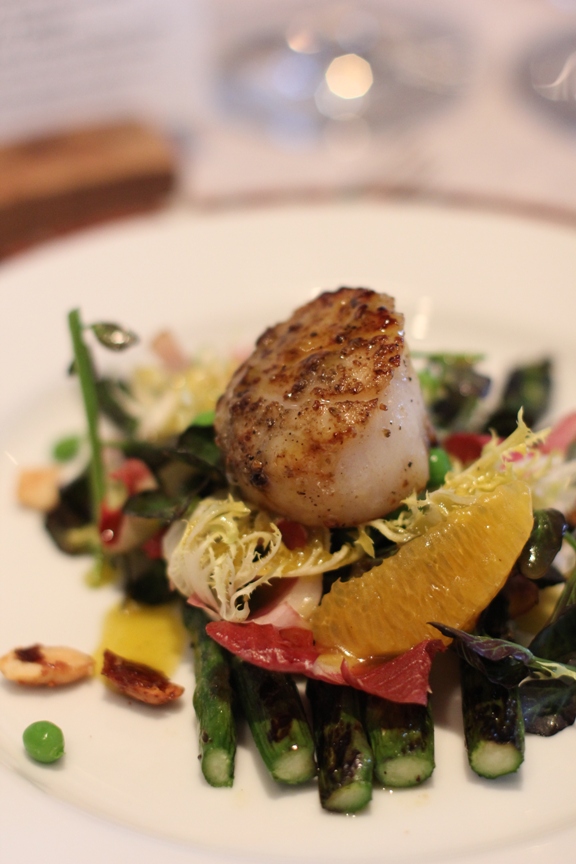
Our salad included a Fennel Dusted Scallop over Red Watercress, Frisee, Endive, English Peas, Navel Oranges, Grilled Asparagus and Togarashi Candied Peanuts with a Wildflower Honey Citrus Vinaigrette. Is it possible to fit more seasonal ingredients in one dish? I think it may have been my favorite of the weekend.
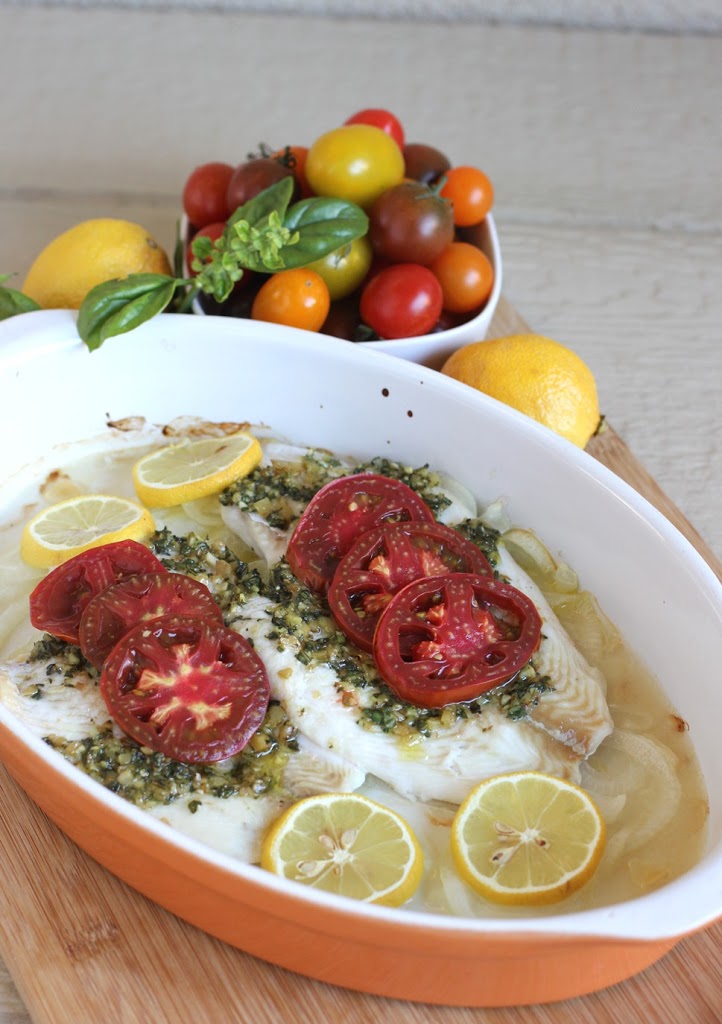
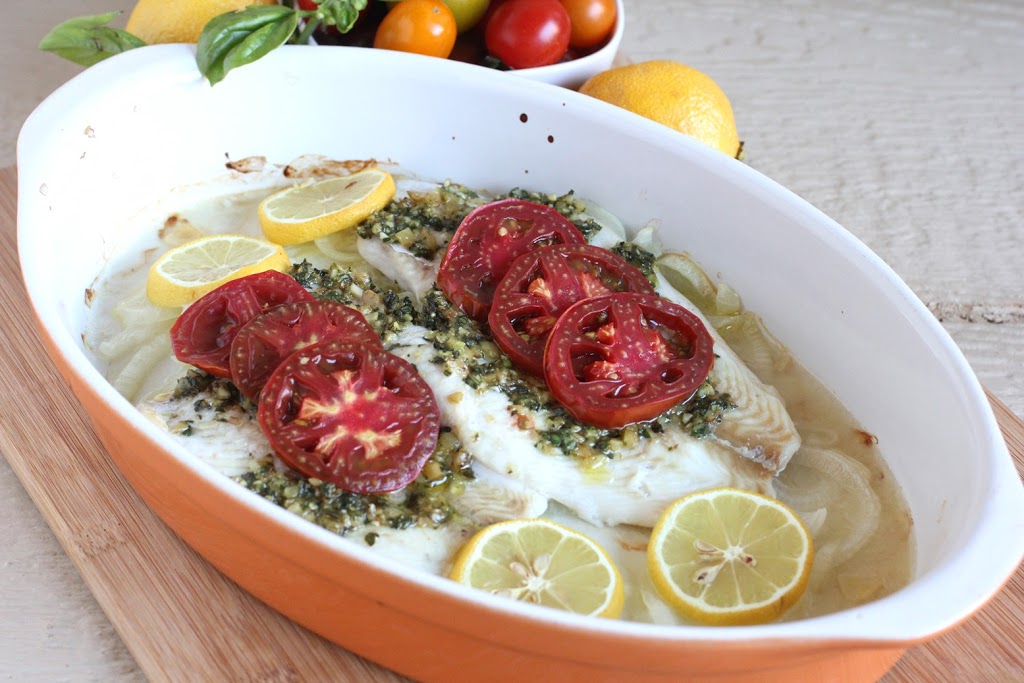
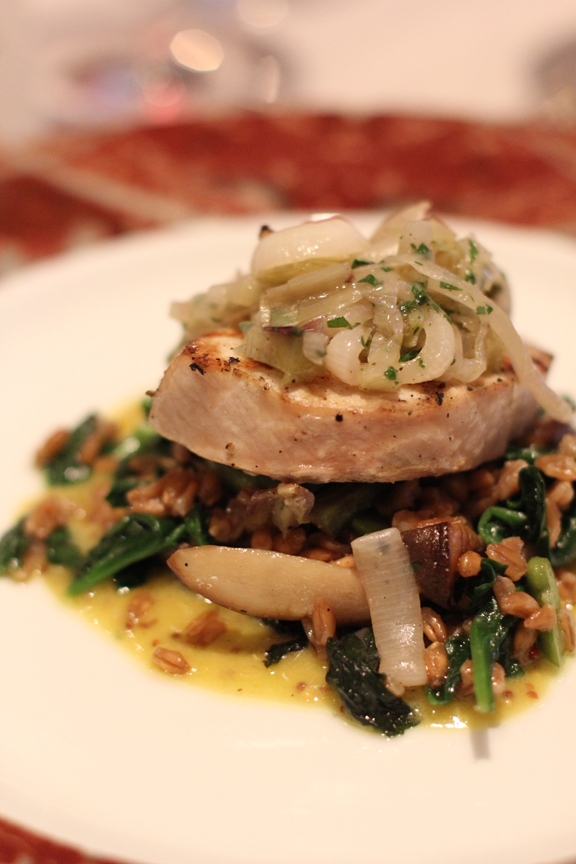
Dinner included Oak Fire Grilled Line Caught Local Swordfish with Toasted Farro, Lollipop Kale, Royal Trumpet Mushrooms and Fava Beans with Truffle Whole Grain Mustard Sauce and Fresh Herb & Spring Onion Relish.
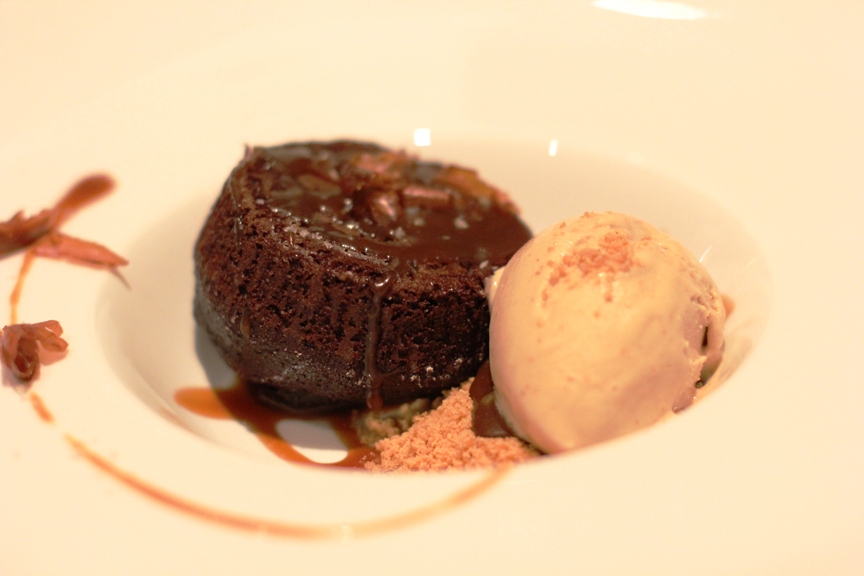
Dessert was a creative twist on the southern practice of dropping a few salted peanuts into a bottle of cola before drinking it — Chocolate Cola Cake, Peanut Horchata Sorbet and Cola Caramel.
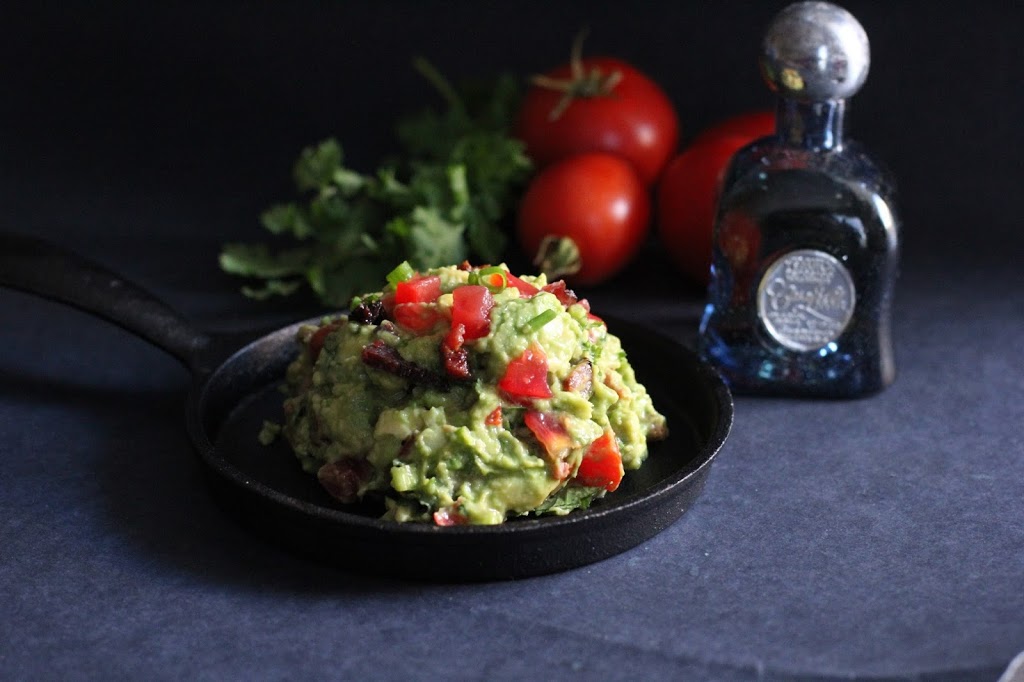
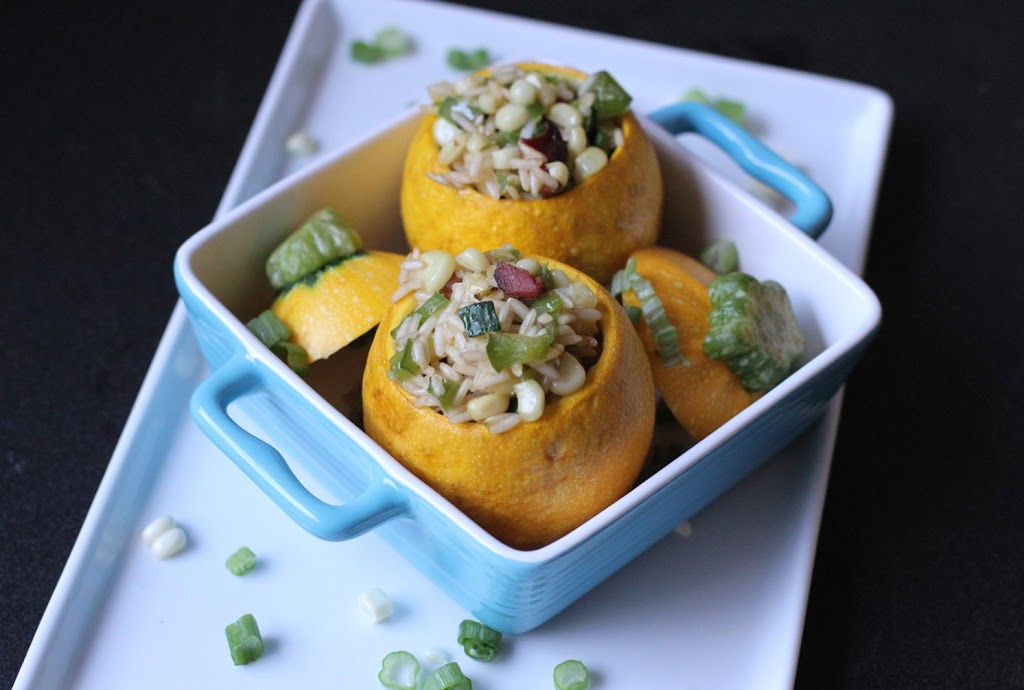
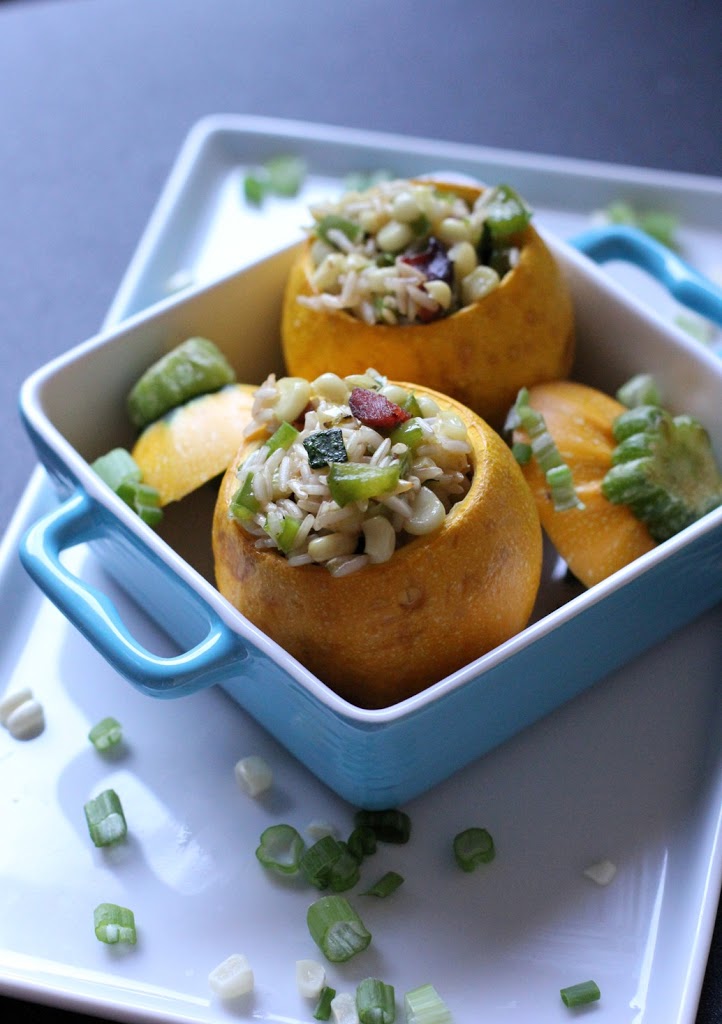
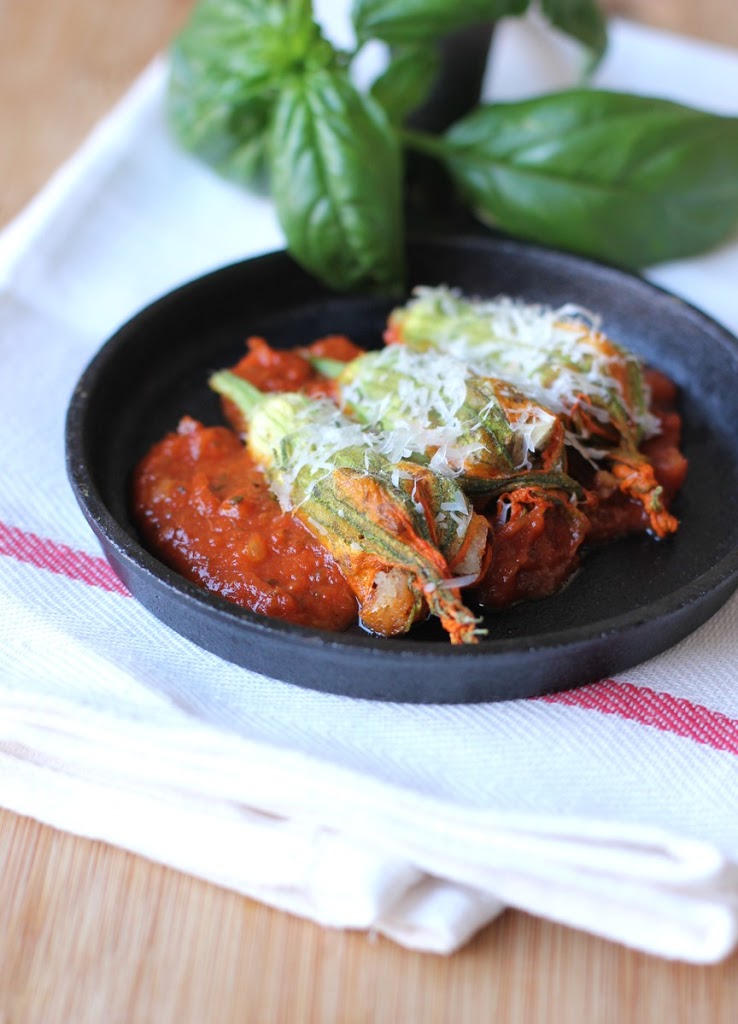
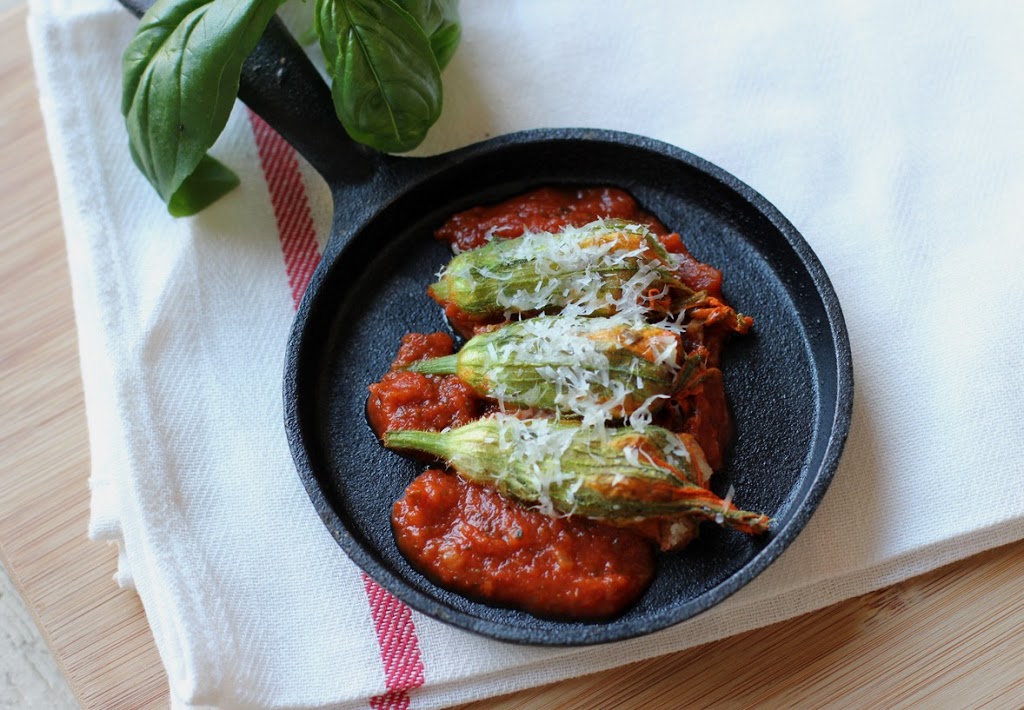
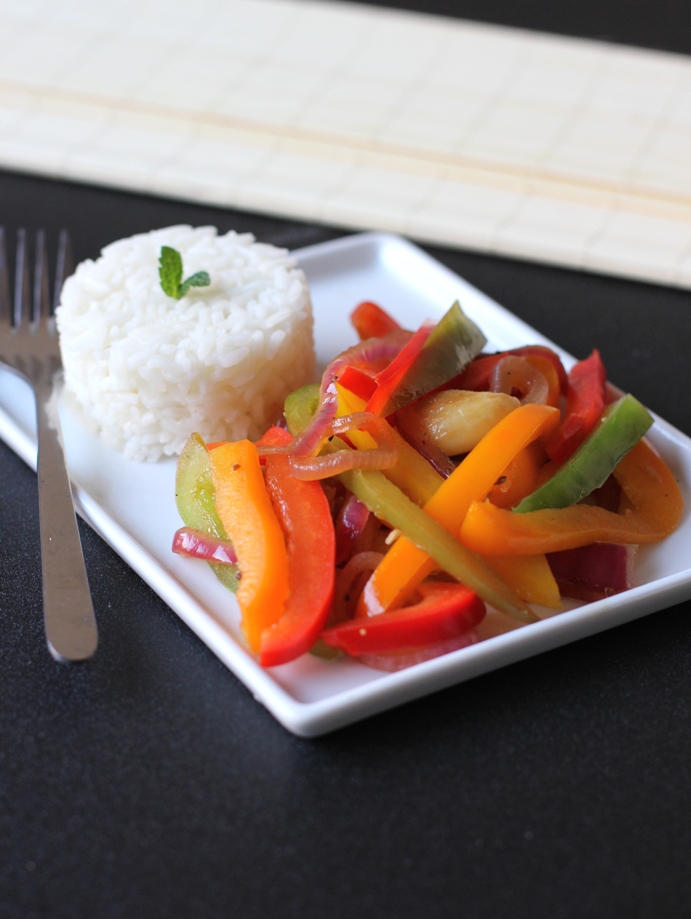
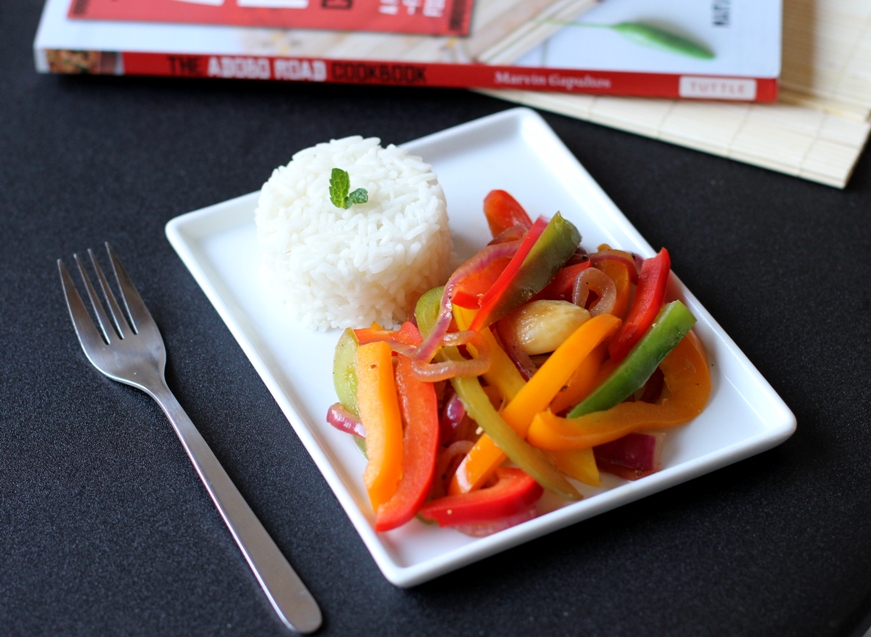
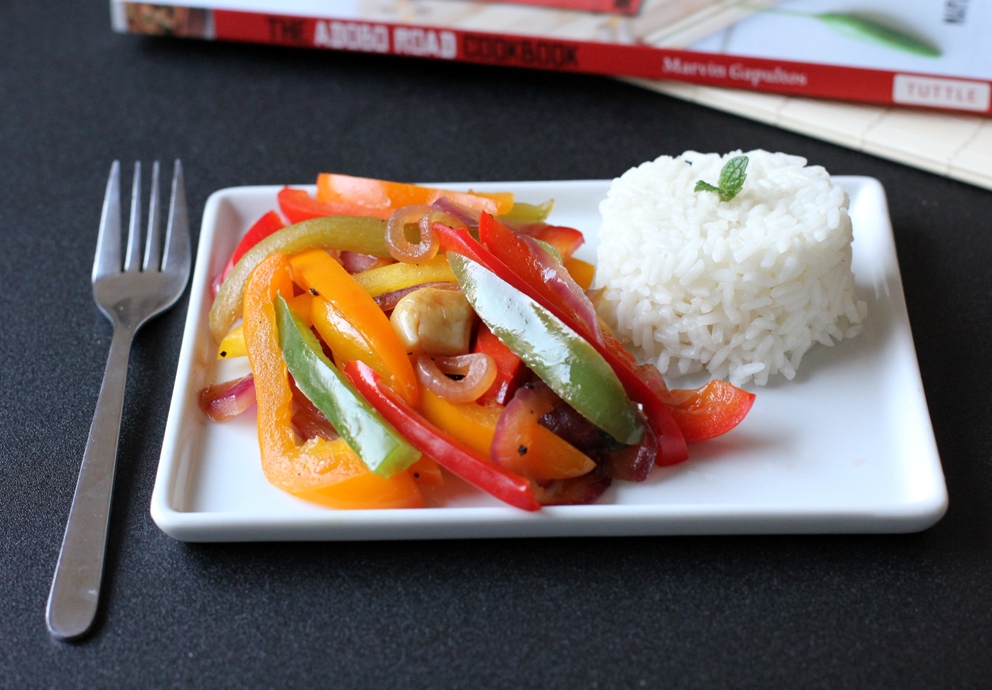
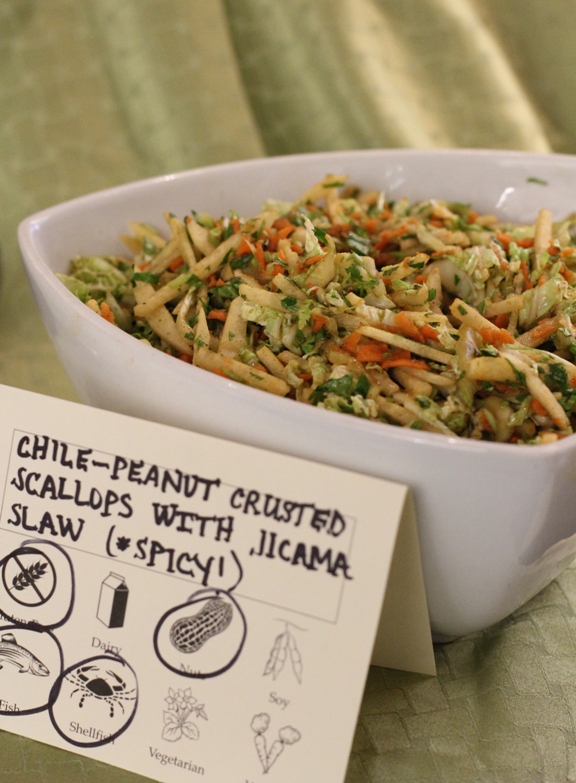
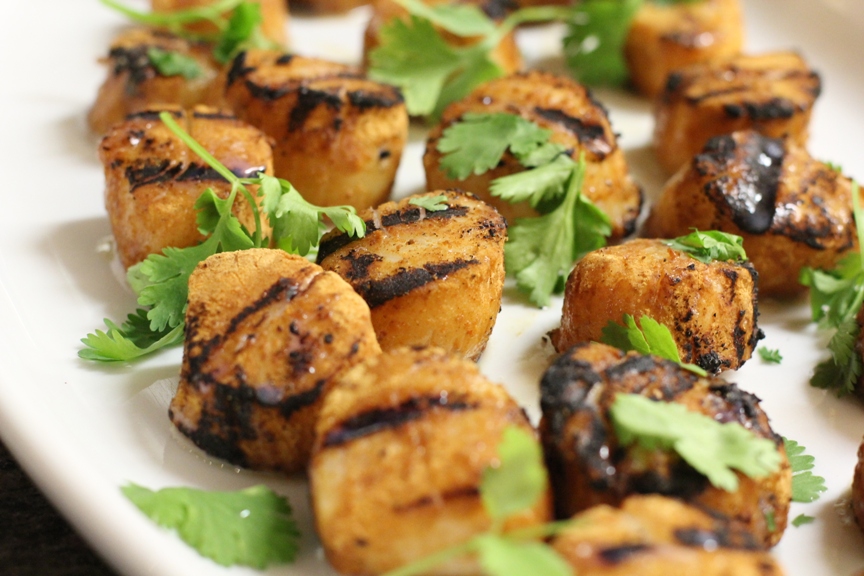
Sunday was spent at the CIA with peanut-focused cooking demos and group cooking sessions. Our lunch feast was pretty incredible. We were split into teams, each assigned recipes to make which were focused on a food region. Our group had Latin, and this was our final dish.
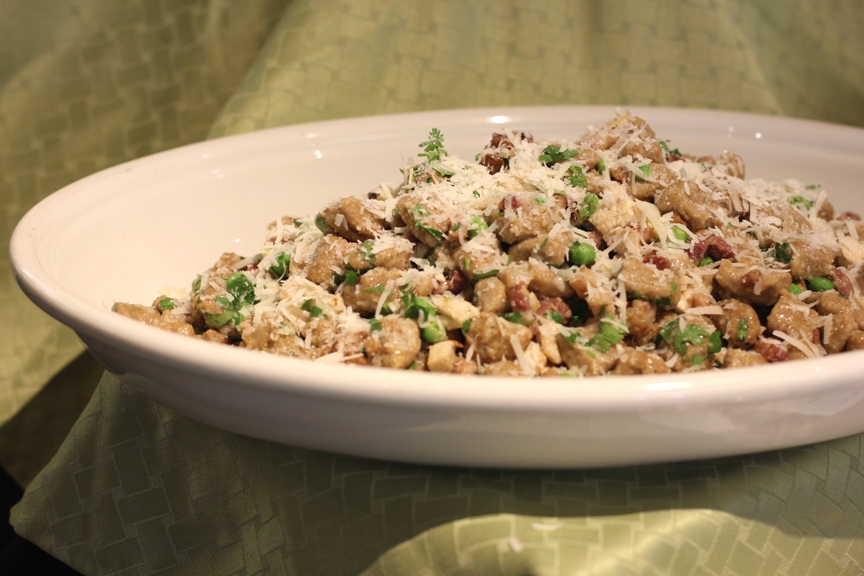
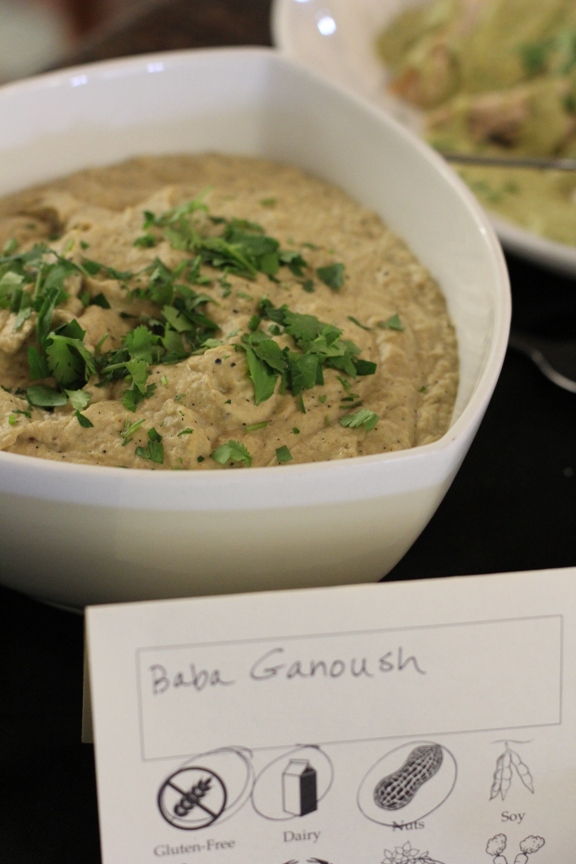
The other dishes ranged from a gnocchi made with peanut flour to baba ganoush made with peanut butter. Here are a few.
Peanut Gnocchi with Peas and Pancetta
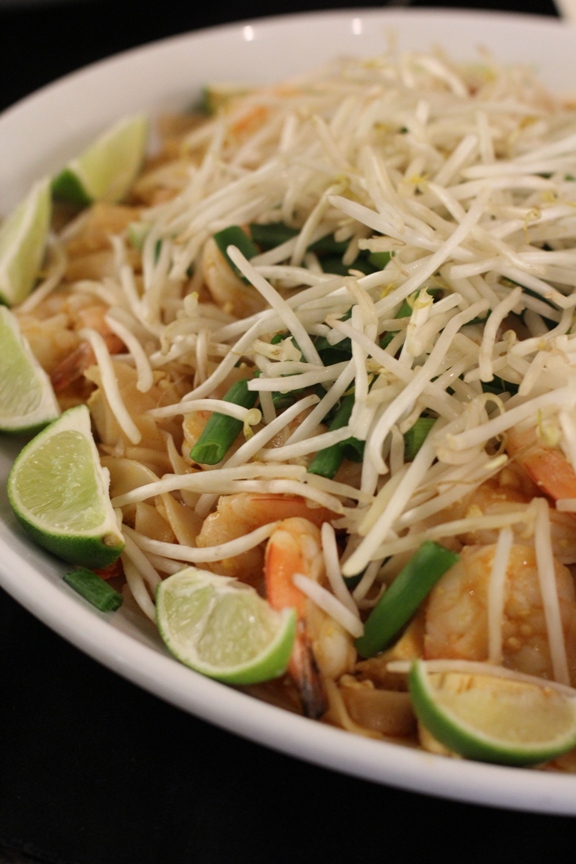
Pad Thai
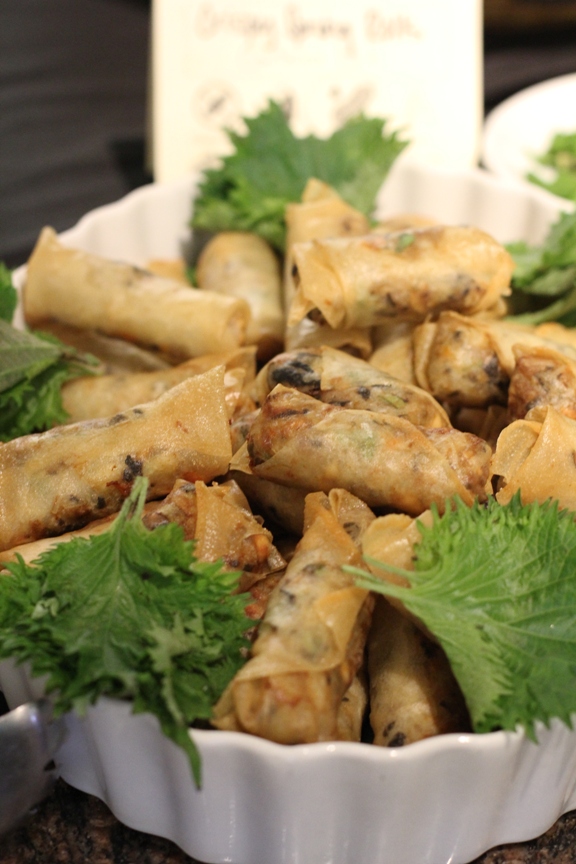
Crispy Spring Rolls
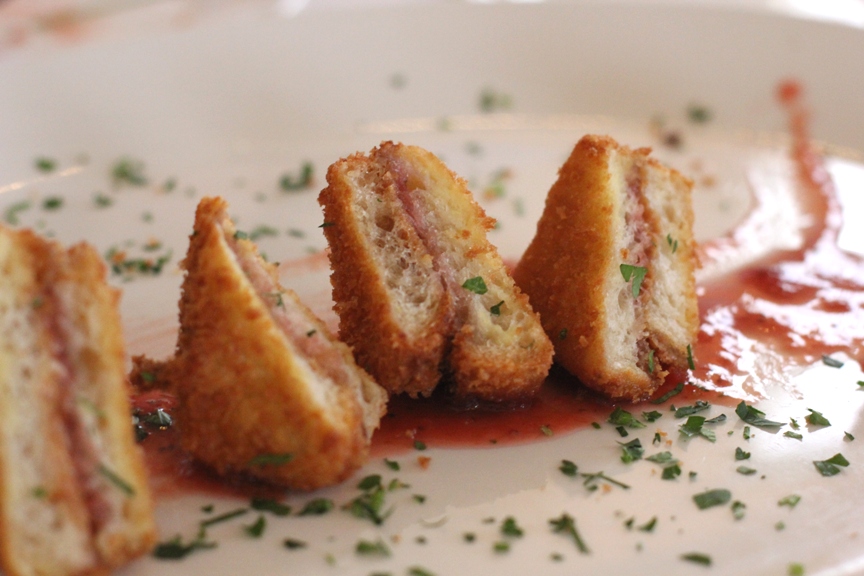
Our dinner Sunday night was at the quaint Cindy’s Backstreet Kitchen in downtown Napa. The food was delicious, but with lots of lively conversation I got fewer pictures this time around. That is, except for the one dish that gets the reward for the most peanut creativity.
Crispy Peanut Butter & Jelly Sliders! These were like little Monte Cristo sandwiches without the meat. Seriously tasty!
Not a bad weekend learning about the versatility of peanuts, right?
But now let’s talk about this peanut flour. It was mentioned the first day of presentations and everyone’s ears immediately perked up. Some people said they once bought it at Trader Joe’s, but that they no longer carry it. I had heard of it before, but that was the extent of my knowledge.
There are a few different varieties — lightly toasted, darker toasted and varying fat contents. Several of the recipes that were demonstrated or that we made used peanut flour. So I had a few ideas in my head before I got my bag home.
First of all, I’m a little amazed by it. If you taste it straight out of the bag, it’s actually quite good with a roasted peanut flavor without any grittiness. This is what makes it perfect for stirring into oatmeal and also for breakfast shakes. In fact, I’ve found the flour helps me get a more concentrated form of protein (and peanut flavor) into breakfast while reducing the calories I would get from adding peanut butter.
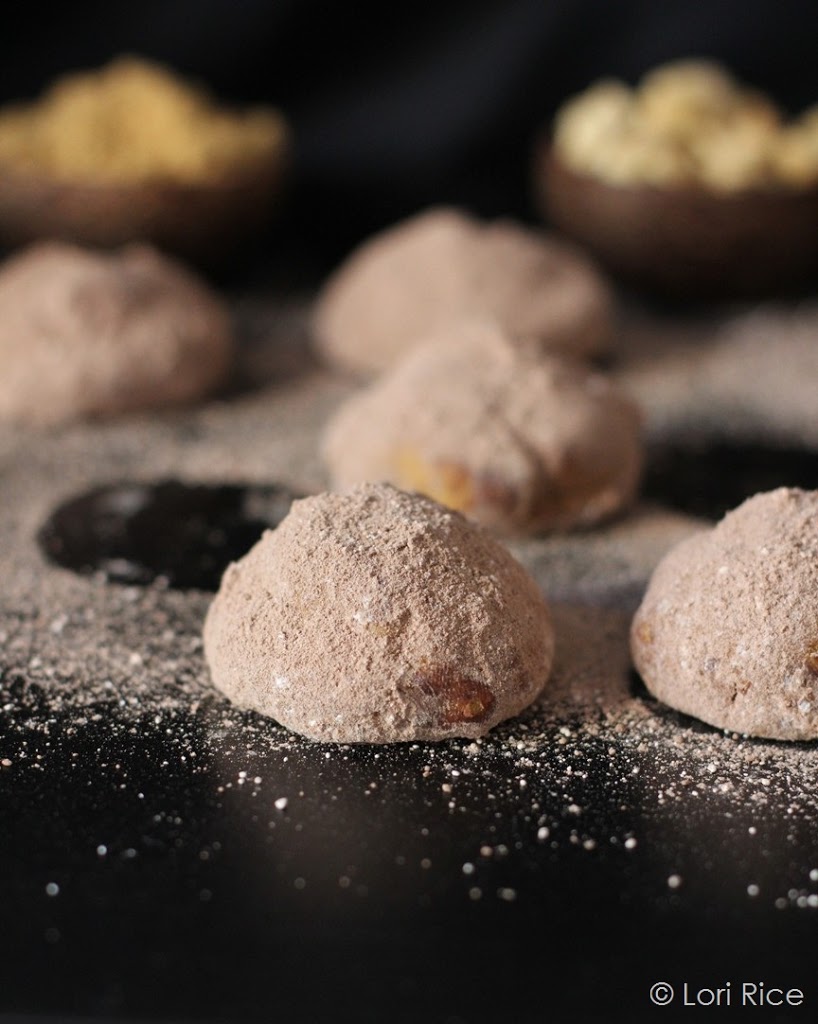
Aside from all this healthy breakfast stuff, I couldn’t wait to try the peanut flour in my baking. I was flipping through old posts when I got an idea. A few years ago, as part of the annual blogger holiday recipe exchange, I made Russian Tea Cakes. These were very similar to Mexican Wedding Cakes – light and tender cookies with nuts, coated in powdered sugar. I immediately wondered what might happen if I made a peanut version.
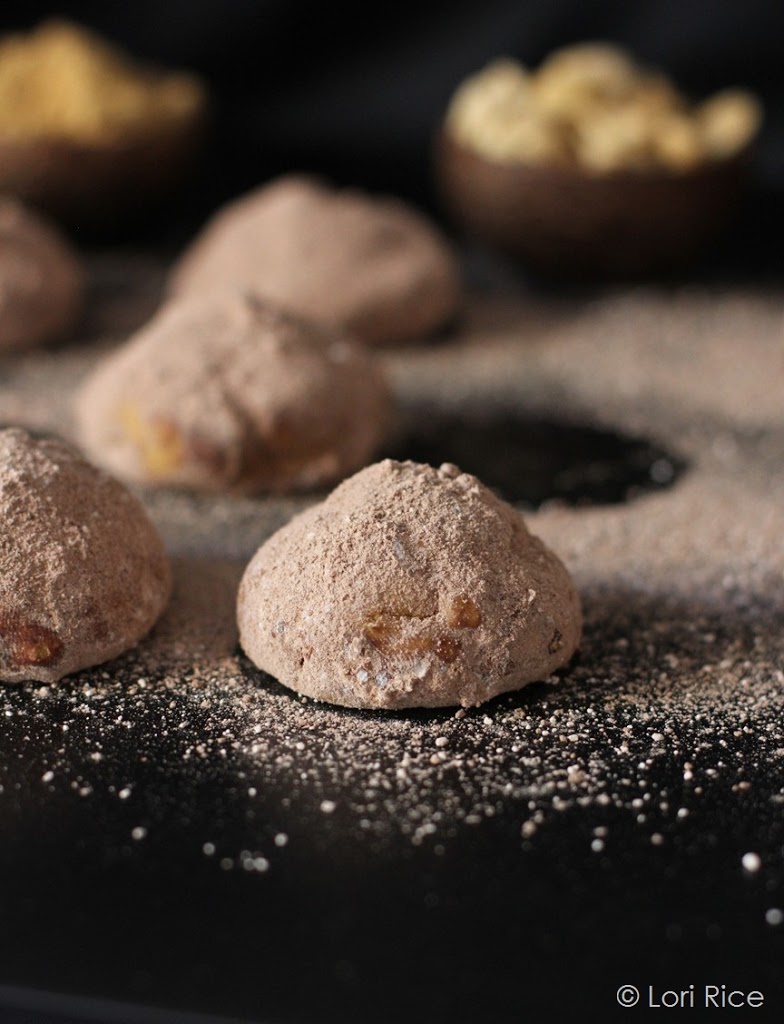
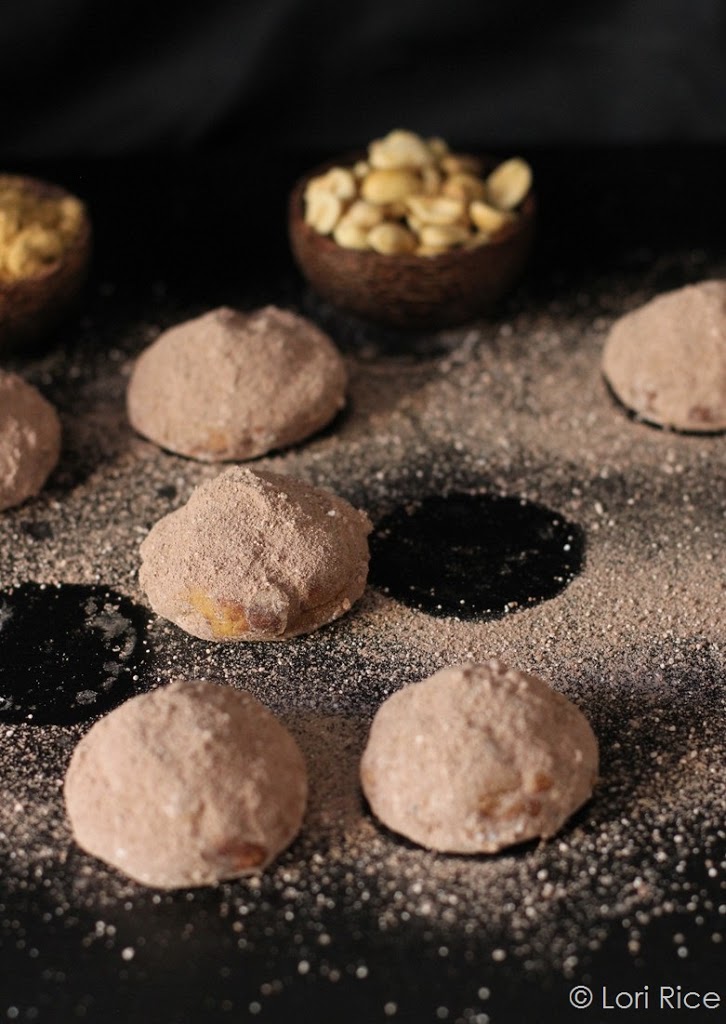
I was hoping to use all peanut flour, but I couldn’t get the consistency of the dough just right so I did add in a ¼ cup of unbleached, all-purpose flour. I used chopped dry roasted, lightly salted peanuts (so I omitted any extra salt in the recipe) and dusted the cookies with powdered sugar and cocoa powder.
First, your kitchen will smell amazing for hours after baking these cookies. And I’m thrilled with the result. They are a tasty peanutty twist on a classic.
Peanut Tea Cookies
Modified from Russian Tea Cakes
½ cup unsalted butter, softened
½ cup powdered (confectioner’s) sugar
½ tsp vanilla
1 cup + 2 tbsp 28% fat, light peanut flour
¼ cup unbleached all-purpose flour
⅓ cup dry roasted, lightly salted peanuts, chopped
For dusting:
¼ cup powdered sugar
¼ cup unsweetened cocoa powder
Preheat the oven to 400 degrees F.
In the bowl of an electric mixer, add the butter and powdered sugar, beat until smooth, about 2 minutes. Mix in the vanilla.
Add the peanut flour and white flour and mix on low until combined, scraping the sides as needed. Mix in the peanuts.
Roll the dough into balls just shy of the size of a golf ball. Place on an ungreased baking sheet or a baking sheet covered with a baking mat. Bake for 10 minutes, or until the bottom edges begin to brown. Be careful not to over bake.
Remove the baking sheet from the oven and do not disturb. The cookies are very fragile when warm.
In a flat dish, stir together the powdered sugar and cocoa powder. Once the cookies are completely cool, after about 15 -20 minutes, carefully remove them from the baking pan and roll in the dusting powder until completely coated. Store in a single layer in an airtight container for up to three days. Makes 12 cookies.
Disclosure: My attendance to the Science & Culinary retreat May 4-6, 2013 was fully sponsored by The Peanut Institute. The peanut flour from Old Virginia Byrd Mill used in this recipe was provided to me at this event. I was not required to post about this event or any products received, and I received no compensation for doing so. Thoughts are my own. I liked peanuts and peanut butter long before blogs existed and the FTC set disclosure regulations for them.