Every time I make a stuffed mushroom recipe, I have to research the correct spelling – portobello or portabella.
Have you ever Googled this topic? It’s more debated than most health information.
Some say one or the other is translated from Italian. Others say it was a name made up by the U.S. mushroom industry and has no roots in any specific culture. Still others say that our made-up word in the U.S. has replaced what used to be the correct name in other countries. And with all that, there is still no clear answer. Does anyone really know at this point?
The best advice I’ve seen is that it’s up to author and both are correct. This leaves me uneasy, though. When it comes to food names, I really like to be correct, especially if the name has some historic or language-specific meaning.
One thing I have learned is that I may have been meshing the two and creating my own word in the past. I could have sworn that portobella was an option.
Ooops.
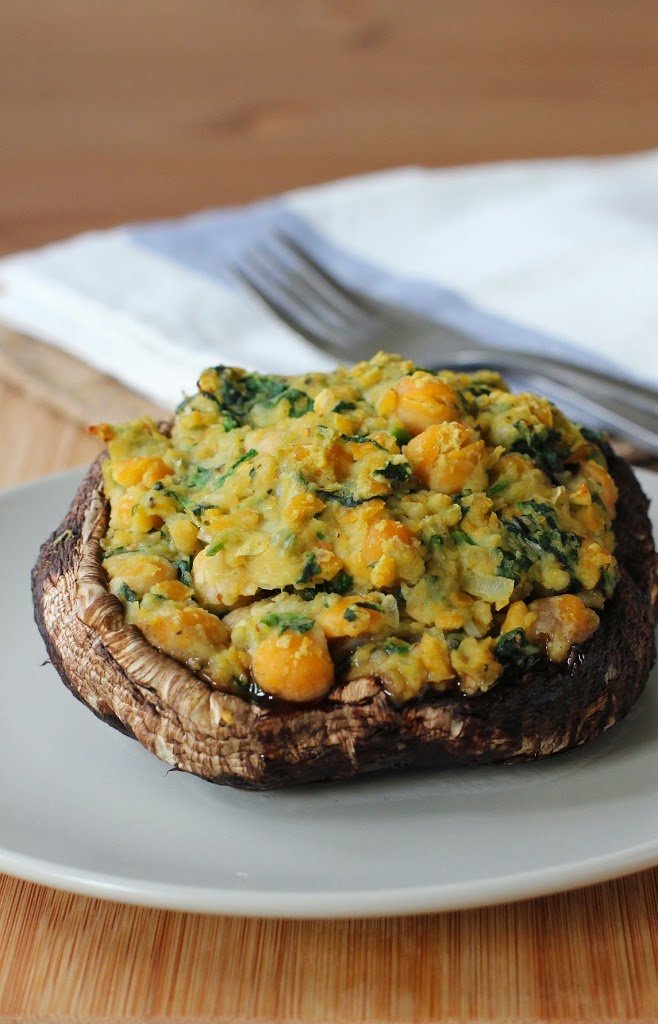
For this recipe, I think I’m going to go with portobello. An “o” because, oh my goodness, these portobello mushroom caps I picked up at Trader Joe’s were huge! I’ve never seen such monstrous caps.
They tasted delicious, stuffed with chickpeas, sautéed spinach and shallots with a hint of coriander. They also happen to be vegetarian, vegan and grain-free, if you are in the market for foods that fit those categories. The ratio of mushroom to filling was just a little heavier on the mushroom side. So if you set out to make these hearty portobellos (great, now I’m questioning myself on the correct plural of the word), opt for some small to medium sized mushroom caps.And if you have a reference on the portabella vs. portobello debate, do tell.
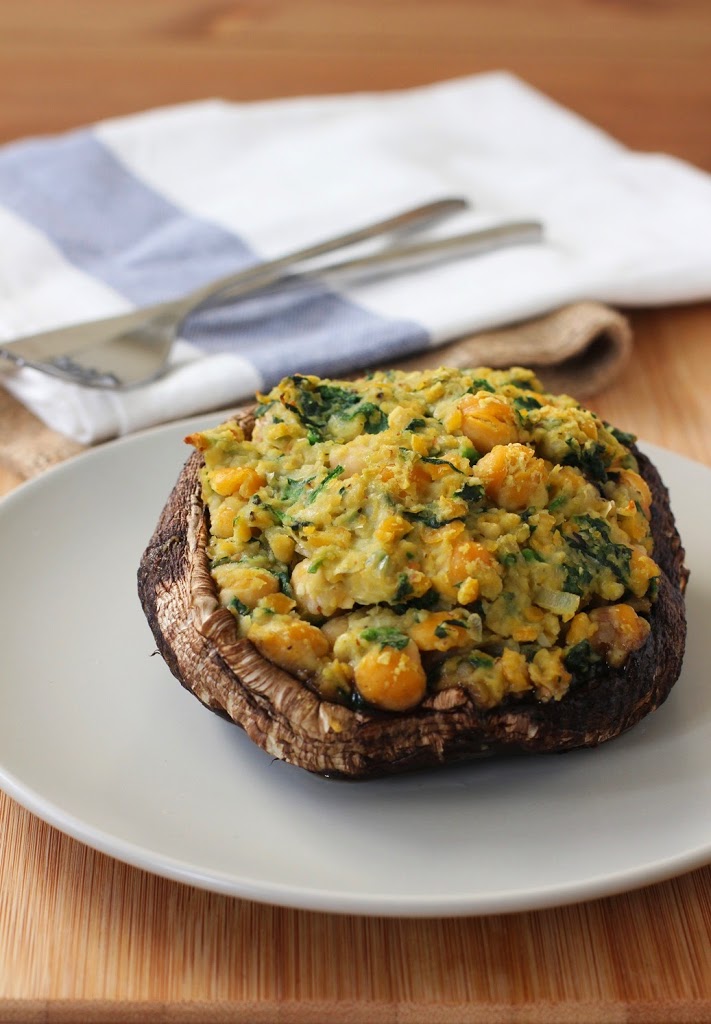
Chickpea and Spinach Stuffed Portobello Mushrooms
Makes 2 servings
1 tbsp + 2 tsp olive oil (or your favorite cooking oil)
2 medium portobello mushroom caps
2 cloves garlic, minced
1 small shallot, finely chopped
2 cups loosely packed spinach leaves, chopped
1 ½ cups cooked chickpeas (rinsed and drained if using canned)
1 tbsp almond meal
1 tbsp low sodium vegetable stock
¼ tsp ground coriander
1/8 to ¼ tsp fine ground sea salt
Pinch of ground black pepper
Preheat the oven to 425 degrees F. Wipe the mushrooms with a clean, damp cloth and gently scrape out the gills. Use the 2 teaspoons of olive oil to lightly coat each cap and grease the bottom of a baking dish or sheet pan. Place the mushrooms gill-side up in the pan.
In a small skillet, heat the 1 tablespoon of olive oil over medium-high. Add the shallots and garlic. Cook about 1 minute, until the oil begins to bubble, and then reduce the heat to medium to prevent burning. Cook for about 3 more minutes, until softened.
Stir in the spinach and cook for about 1 more minute, just until the spinach wilts. Remove from the heat. Transfer the vegetables to a large bowl.
Add the chickpeas to the bowl and use a potato masher to combine all ingredients, gently mashing the beans while you work. You will want the beans to be slightly chunky once the ingredients are mixed.
Stir in the almond meal and stock. Add the coriander and the salt according to taste. Start with 1/8 teaspoon and add more if you’d like. Stir in the pinch of black pepper.Divide the chickpea mash in two and divide it between the two mushroom caps. Pack it firmly and mound it slightly to fill the mushroom.Bake for 20 minutes, or until the mushroom is tender and the filling is slightly browned.