

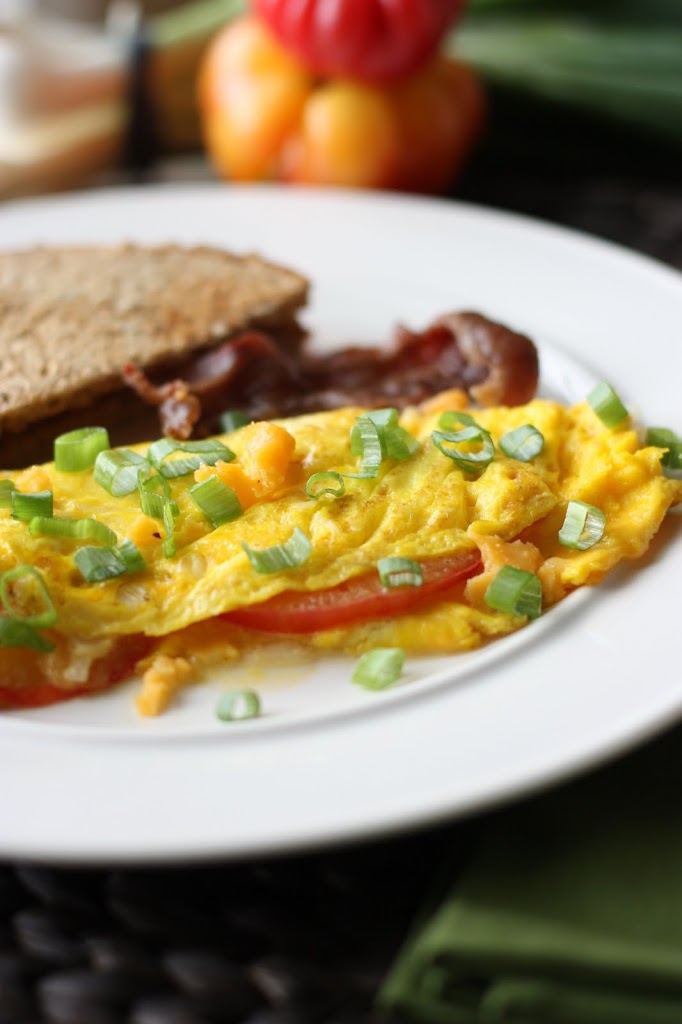
If you’ve read my blog much at all you know that Ireland has a special place in my travel-loving heart. I’ve had the opportunity to visit three times, exploring gorgeous landscape, overdosing on amazing food and drink and even meeting bloggers. So I can’t let March 17 pass without making something that uses a few flavors from Ireland. I’m always tempted by the incredible desserts that pop up on other blogs, but I decided to go savory. This is a super simple meal, but the Guinness adds a deep flavor to the kale that tastes so good with the eggs and potatoes. Bonus, it’s perfectly suitable for breakfast, lunch or dinner.
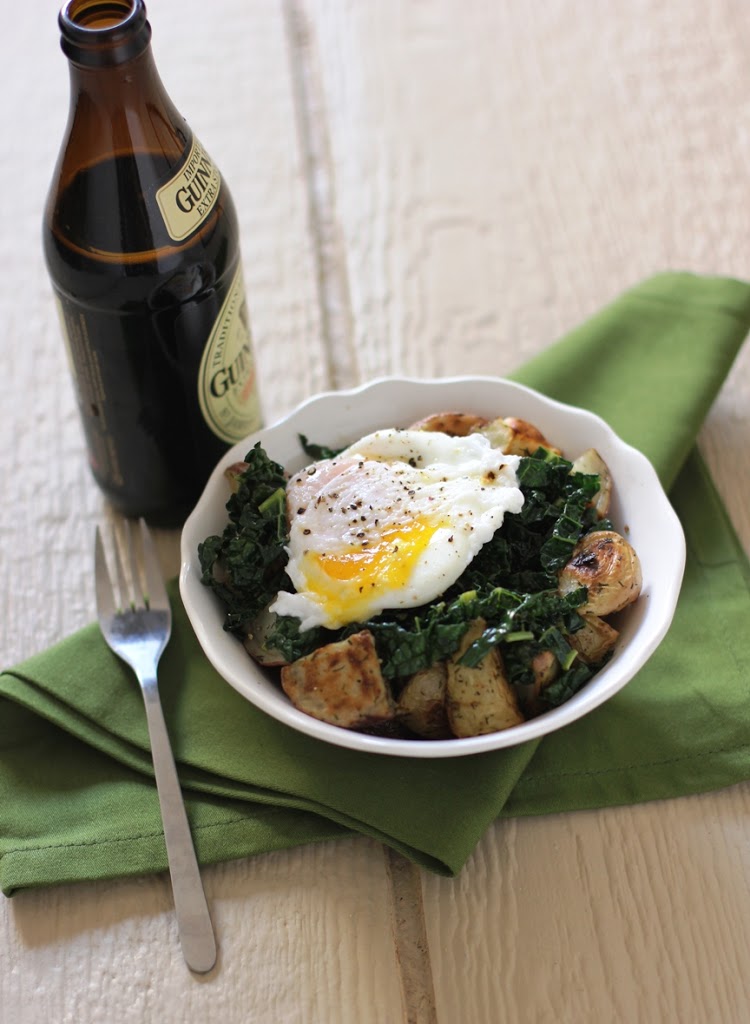
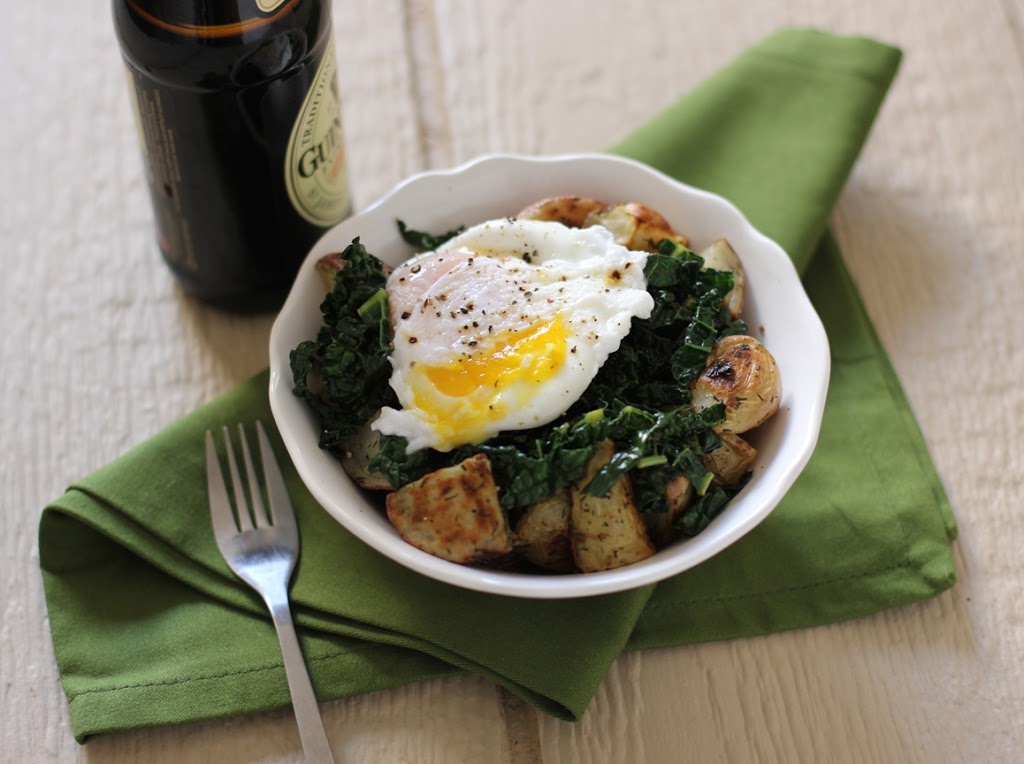
Guinness Braised Kale with Roasted Potatoes and Poached Eggs
Makes: 4 servings
Ingredients
10-12 red or white new potatoes, quartered
2 tbsp extra virgin olive oil, divided
2 tsp dried dill
½ tsp sea salt
¼ tsp ground black pepper
1 lb. kale, stemmed and chopped
3 cloves garlic, minced
¼ cup Guinness Extra Stout beer
¼ tsp sea salt
4 poached eggs
Prep
Preheat the oven to 425 degrees F.
In a large bowl, combine the potatoes, 1 tablespoon of the olive oil, dill, sea salt and black pepper. Stir to coat the potatoes with the oil and spices. Transfer the potatoes in a single layer on a baking sheet.
Bake for 15 minutes. Remove from the oven and stir the potatoes. Return to the oven and bake 15 to 25 more minutes, or until the potatoes are tender with crispy edges.
While the potatoes are baking you can prepare the kale. Heat the remaining tablespoon of oil in a large skillet over medium-high. Add the kale and garlic. Cook for about 1 minute, stirring to coat the kale in the oil.
Add the beer. Cook 30 seconds more, or until the kale begins to wilt. Remove from the heat and stir in the sea salt.
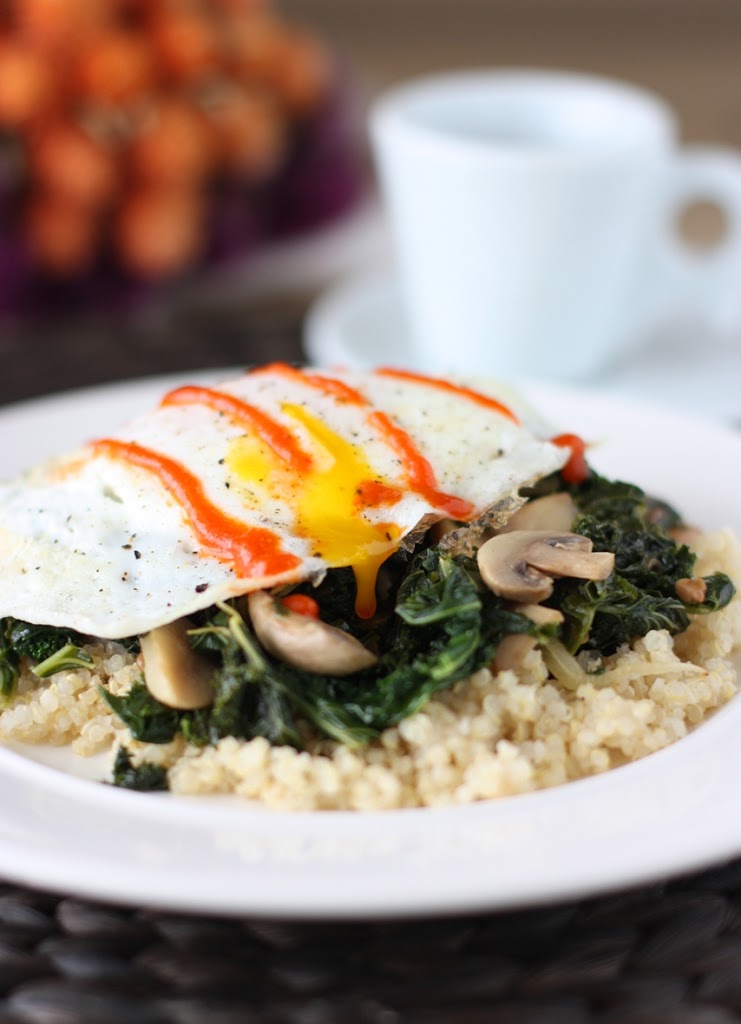
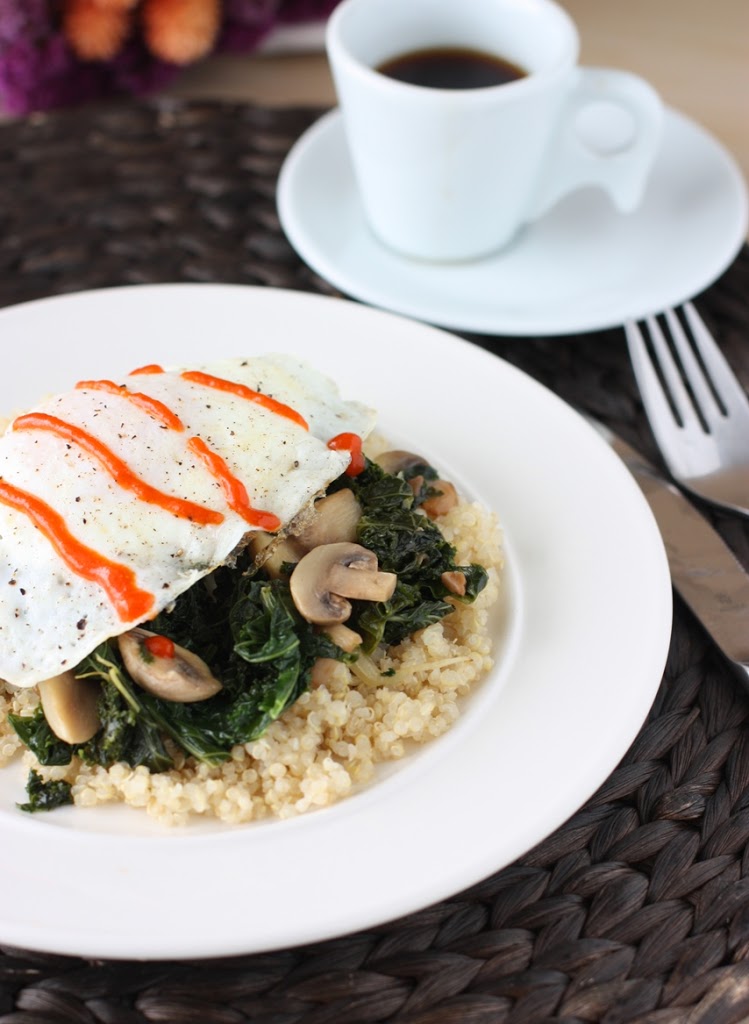
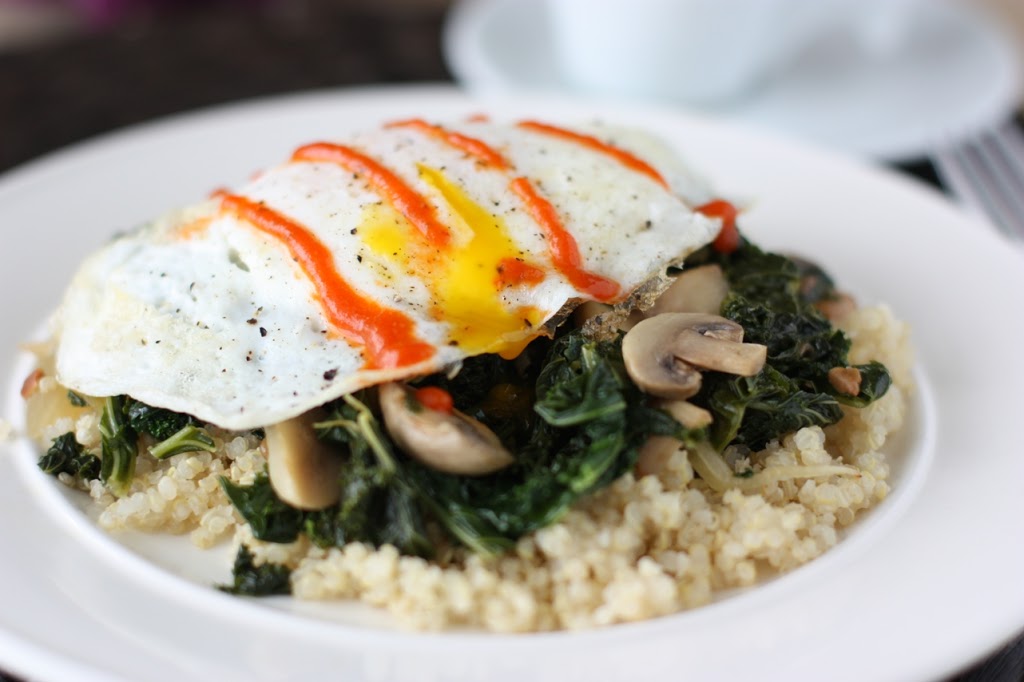
To assemble, divide the potatoes into 4 serving bowls, top with ¼ of the kale and finish it off with a poached egg. Serve warm.
I leave you with two short PSAs for this Irish holiday that we all enjoy so much in the States. # 1 It’s St. Paddy’s Day, not St. Patty’s Day. I learned this just a few short years ago, but definitely click on that link. #2 Skip the green beer and order a Guinness (or a Kilkenny, or a Smithwicks, or a Bulmer’s Cider).
Sláinte!
Thanks for reading! All images and content are the property of Fake Food Free unless otherwise stated. Please do not republish full recipes or images without written permission. What is okay? Feel free to Pin images, share links to my posts or share the photo in a round up post with the title of this recipe and a link back to the post. Confused about copyright and food blogs? Here is some helpful information on Recipe Attribution. If you want to use a photo or full recipe, just ask. I’m sure we can work something out.


