I tend to want ice cream more during the holidays than during the heat of summer. Forget the chocolate versus vanilla debate. When I eat ice cream, I want pumpkin, peppermint stick and eggnog flavors. Everything that says – holiday season. So when late fall rolls around, so do the ice cream cravings.
As you probably could have guessed pumpkin is my favorite flavor and I thought if I was going to do a few posts about Thanksgiving worthy desserts I should go that direction. But don’t worry. I took it a bit further with a brown sugar swirl and a crunchy topping. I also decided to give no churn ice cream a try.
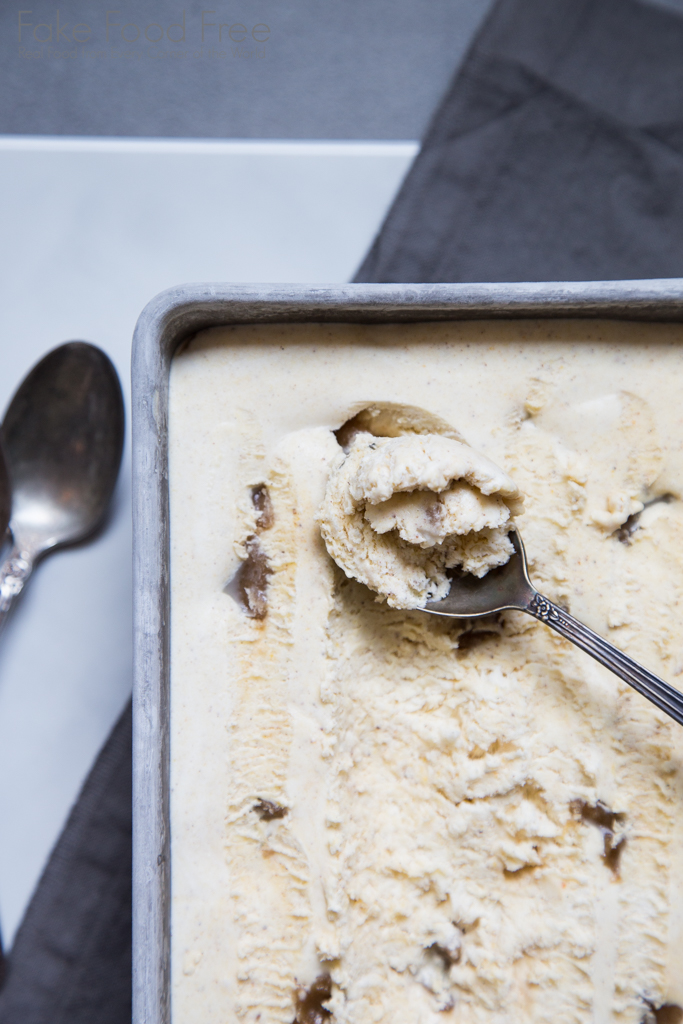
I have no clue what took me so long to get on the no-churn ice cream train. It’s probably all the cream, but if you are going to eat high quality ice cream, you are getting some hefty cream either way. Why not make it at home and make it easy? It’s pretty self-explanatory. You basically stir up the ice cream ingredients and they go straight to the freezer, no churning required. It’s ready to scoop out and serve in 4 to 6 hours.
I may never go back to churned, and that’s not just because I’m pretty sure the freezer bowl of my ice cream maker is on its last leg.
For this version, I blended in pumpkin puree with seasonal spices and vanilla. There are a few different methods around for no churn. I used whipping cream, not heavy whipping cream. I also whipped the cream to soft peaks before stirring it into the other ingredients.
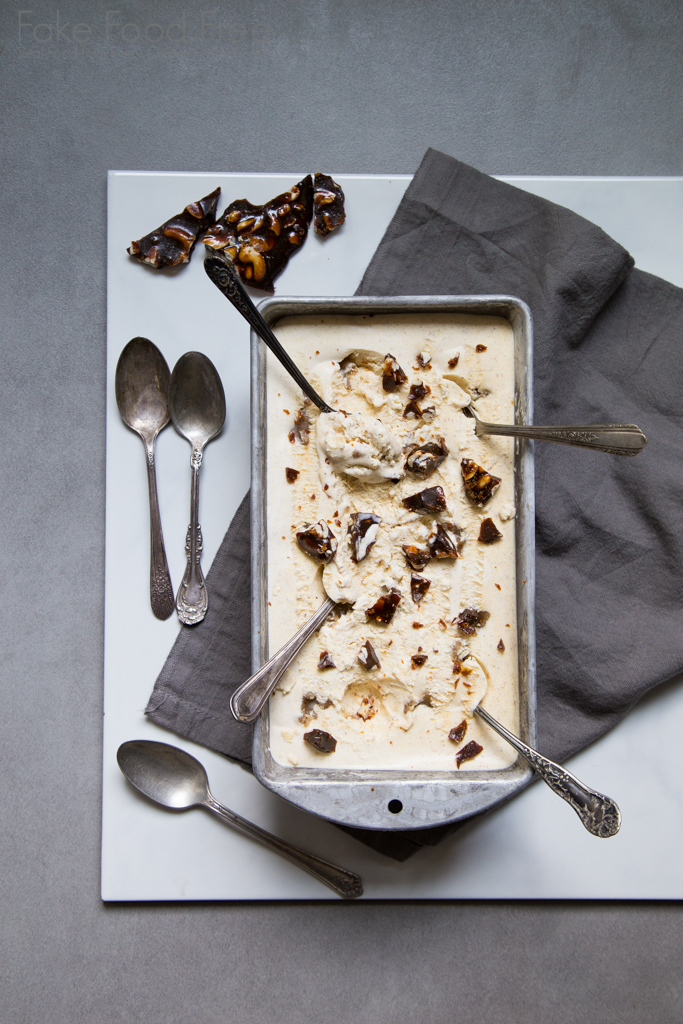
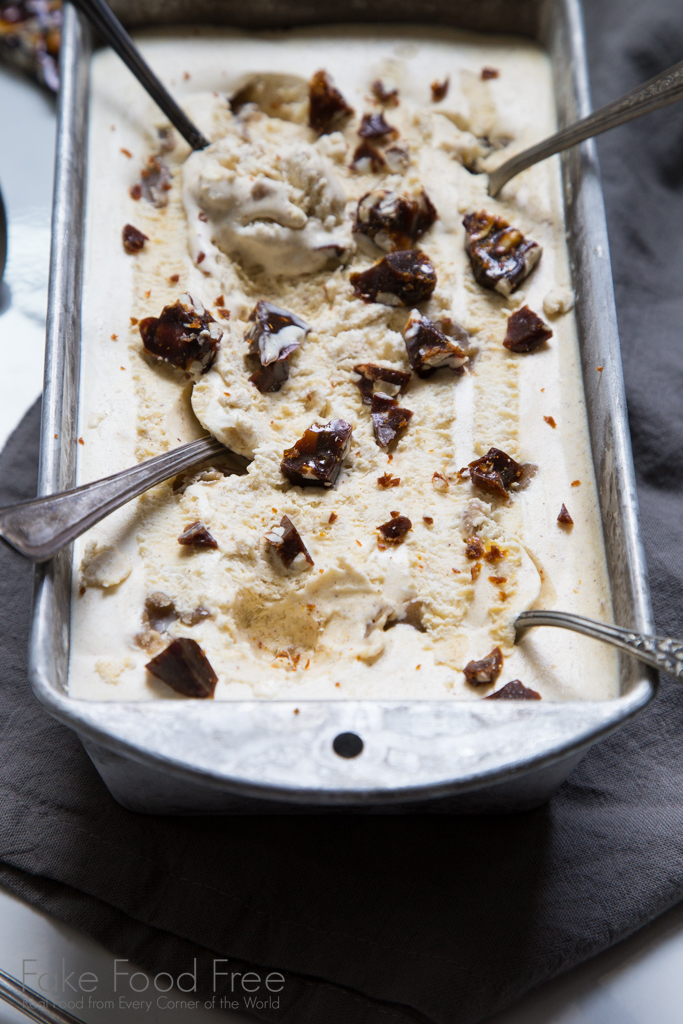
The brown sugar swirl is simply a mix of butter and brown sugar. It gets a little clumpy as it cools before going into the ice cream mix, but don’t worry. Spread it evenly throughout the container and you’ll get some nice pieces of soft, sugary, buttery goodness with each scoop.
Now, lets talk about this brittle. Burnt sugar desserts aren’t everyone’s cup of tea. I get that. Personally, I think the slightly bitter flavor of a burnt sugar garnish makes a lovely contrast to sweet desserts. It can be tricky to make, but I really enjoyed it with this ice cream.
There is good news if you don’t like burnt sugar, though. This recipe works whether you want it more on the burnt side or as a standard brittle. You will heat the candy to the same temperatures, just keep the heat level lower for a more traditional brittle and watch the color closely as it cooks. The recipe makes a full batch of brittle so you’ll have some leftover to sprinkle over the whipped cream that tops your pies and other desserts, too. If you want to skip the brittle altogether, go for it. This ice cream can stand on it’s own as a delicious holiday dessert.
I’ll be back with posts after the holiday so let me say thank you very much for reading this blog and for all the lovely comments I get along the way. Happy Thanksgiving!
Pumpkin No Churn Ice Cream with Brown Sugar Swirl and Burnt Cashew Brittle
Makes 10 to 12 servings
What you’ll need:
1/3 cup brown sugar
2 tablespoons unsalted butter
1 can (14 oz.) sweetened condensed milk
1/2 cup pumpkin puree
1/2 teaspoon ground cinnamon
1/2 teaspoon pumpkin pie spice
1/4 teaspoon ground vanilla bean or 1/2 teaspoon pure vanilla extract
2 cups whipping cream
Brittle
1 1/2 cups sugar
1 cup light corn syrup
1 cup water
3 tablespoons unsalted butter
1 1/2 teaspoons baking soda
1/2 teaspoon pure vanilla extract
1 1/2 cups raw cashew pieces
Pinch of salt
How to make it:
To make the ice cream, melt the brown sugar and unsalted butter in a small saucepan, just until all ingredients are blended. Remove from the heat and set aside.
Whisk together the sweetened condensed milk, pumpkin, cinnamon, pie spice and vanilla in a large mixing bowl.
Place the whipping cream in the bowl of a mixer. Beat on medium and then high, until soft peaks form, 3 to 4 minutes. Spoon the cream into the ice cream ingredients.
Pour half of the mix into a 9 inch loaf pan, or similar size freezer-safe container. Divide the brown sugar mixture in half. It will be a little clumpy. Break it into pieces and dot the surface of the ice cream. Use toothpicks to swirl the brown sugar a little. Pour in the rest of the ice cream mix and top with more brown sugar.
Cover with plastic wrap and freeze for 4 to 6 hours, until firm.
To make the brittle, stir together the sugar, corn syrup and water in a large, heavy saucepan. Turn the heat to medium and stir to dissolve the sugar. Use a pastry brush dipped in warm water to brush down any crystal formation along the sides of the saucepan. Insert a candy thermometer and boil to 240 degrees F or soft-ball stage. Do not stir as it boils.
Remove the candy from the heat and stir in the butter and baking soda until the butter is melted. Return to the heat and bring to a boil. Gradually increase the temperature so that the brittle begins to turn golden brown to orange to dark brown. Bring the candy to 300 degrees F or the hard-crack stage. Do not stir while it boils. Adjust the heat to medium-high so that the color begins to show no earlier than about 15 degrees from the hard crack stage. It will burn quickly so play close attention and turn down the heat as necessary. You want the slightly burnt aroma to fill the air just before it reaches it’s final temperature. (For a more traditional brittle, boil over medium heat and reduce the heat if the candy begins to darken too quickly.)
Stir in the vanilla, cashews and salt. Transfer to a baking sheet covered in buttered parchment paper or silicone mat. Use a buttered spatula to spread the brittle into a single layer. Let sit for 1 to 2 hours until firm. Then break into tiny pieces.
Serve ice cream with brittle pieces sprinkled on top.