I want to introduce you to my friend, Jane. Even if you are familiar with her work, there is likely something you don’t know about her.
Without Jane’s support and interests in me, Food on Tap might have never come into existence.
She’s the one that connected me with publishers which led to my getting an agent and finally creating a full proposal for an idea I’d had for two years that Countryman Press eventually picked up.
This food blogging world is so big that sometimes I forget how I originally meet people. Jane and I got to know each other through all the fun food events I used to attend when we lived in the Bay Area.
But we actually go back further than that.
Way back in 2010 and 2011, I used to host a Blogger Holiday Cookie Exchange along with a co-hosting blogger friend. All involved traded recipes and made the cookies to post on our blogs and share the holiday love. In 2011, Jane participated in that. In 2012, she asked if I was doing it again, but that was the year that all my baking supplies, as well as most of my Christmas spirit, were boxed up and ready to move to California. But I always appreciated Jane’s interest in the project.
Soon, I got to meet Jane in person. I quickly learned that her positive attitude, friendly nature, and pleasant spunk stick with you.
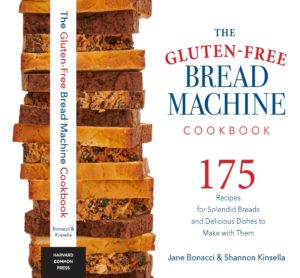
A gluten-free food blogger over at The Heritage Cook, Jane and I share a strong love of Europe and the region’s baked goods. She’s managed to find a way to enjoy amazing baked goods despite her GF restrictions and earlier this year she teamed up with Shannon Kinsella to co-author the book, The Gluten-Free Bread Machine Cookbook.
Full disclosure, I do not own a bread machine.
Then Jane informed me that some of the breads in the book can be made without a bread machine. She also added that the gingerbread was outstanding.
I’m not gluten-free, but I have a lot of gluten-free friends and I love gingerbread. I thought this might be the perfect recipe to experiment with for the season.
I was right.

In addition to the gingerbread, the book is loaded with creative, gluten-free breads. And real-deal slice and make a sandwich kind of breads, I might add. The image on the front cover of the book are breads from the book, sliced and stacked.
So if you have a bread machine, this book is the next natural addition that you need to make to your cookbook collection. And if you don’t, well the sweet breads offer plenty of opportunity for some great baking.
I have the gingerbread recipe for you below.
The first set of instructions is directly from the book and what you would follow if you have the machine. After that I’ve listed how I made it without the machine. Also, each recipe provides weighted measures for ingredients. Below, I’m giving you cups and standard measures that are also provided because 1) that’s how I bake, and 2) that’s what I used to make this gingerbread and it turned out great.
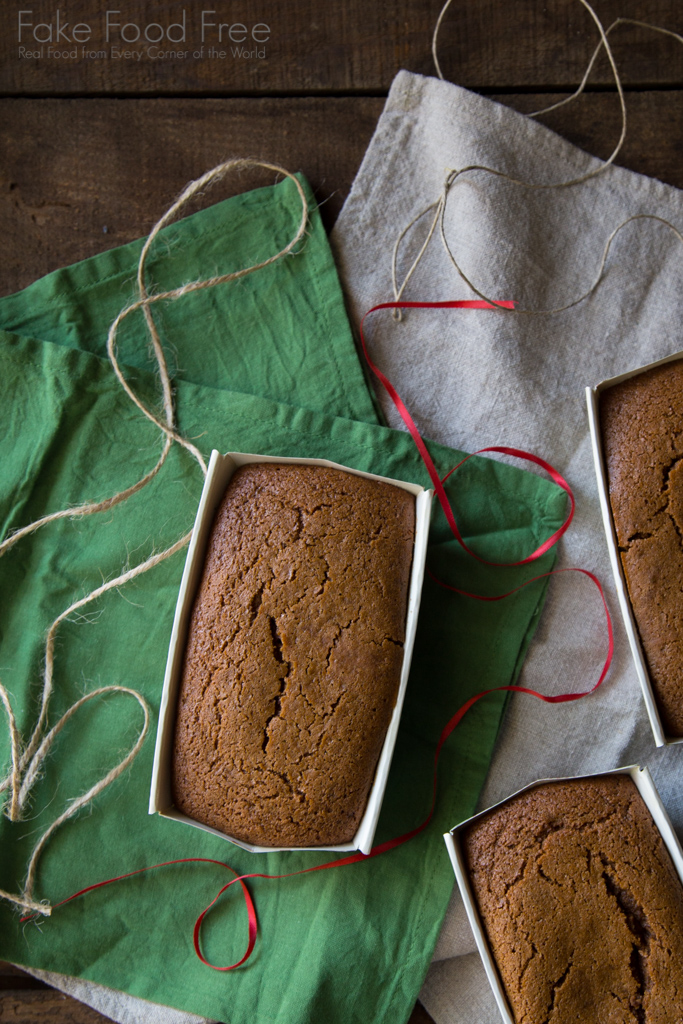
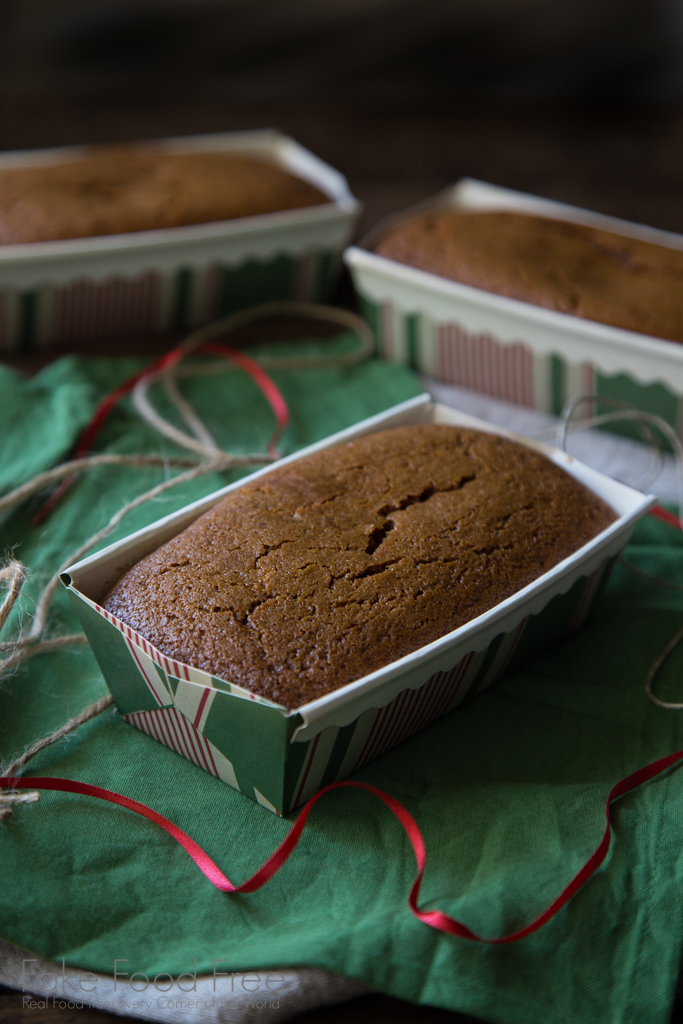
I baked it in small holiday loaf pans and made some special deliveries around here to friends that I knew would appreciate a gluten-free holiday treat!
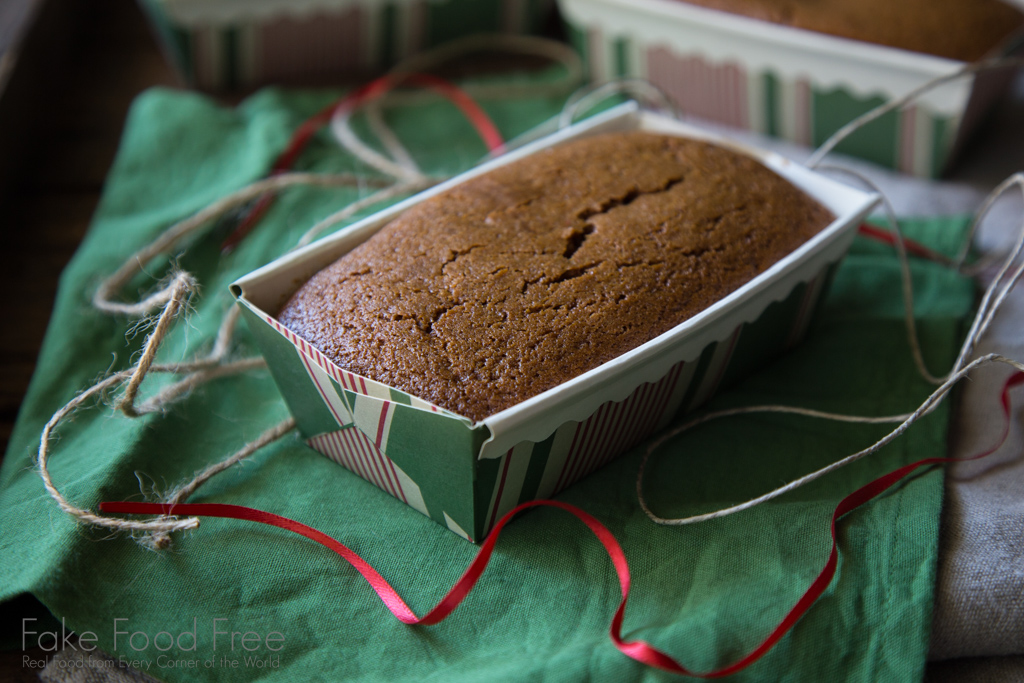
Gluten-Free Gingerbread
Makes 1 (1 1/2 pound) loaf, or 4 mini 6-by-3.5-inch loaves
Recipe reprinted with permission.
From the book:
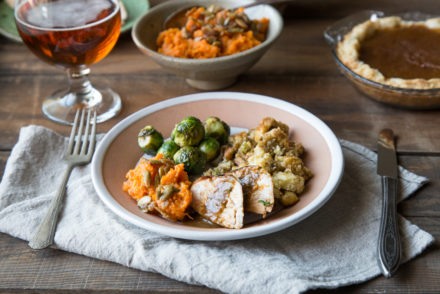
This bread fills your house with the aromas of the holidays. Don’t be surprised if a hungry crowd gathers around when you are taking it out of the machine. Traditional gingerbread is not made with yeast, depending instead on chemical leaveners such as baking soda and baking powder for lift. But gluten-free flours are often heavier and need a little more help, so using yeast is the perfect solution. It also gives this rich, aromatic bread a finer textured crumb. For an intriguing change of pace, slice the bread and use it to make panini with sliced turkey and Pomegranate-Cranberry Relish (page 357 of the book).
What you’ll need:
DRY INGREDIENTS
2 tablespoons active dry yeast
3 cups Light Flour Blend (recipe below)
1 cup granulated cane sugar
1 tablespoon baking powder
1 tablespoon psyllium husk flakes or powder
3 tablespoons ground ginger
3/4 teaspoon ground cloves
1/2 teaspoon ground cinnamon
1/2 teaspoon kosher salt
WET INGREDIENTS
1 cup unsulfured molasses (not blackstrap)
3/4 cup water, heated to 80 degrees F
1/4 cup vegetable oil or 1/2 stick non-dairy butter substitute, melted and slightly cooled (I swapped unsalted butter)
3 large eggs at room temperature, beaten
How to make it with a bread machine:
Set the bread pan on the counter and insert the beater paddle(s). Unless otherwise directed by your machine’s manufacturer, add the liquids first, then the dry ingredients, and finally the yeast.
Measure the yeast into a small bowl and set aside. In a large mixing bowl, whisk the remaining dry ingredients together.
In a 4-cup (1 liter) glass measuring cup, whisk the molasses into the water to dissolve the molasses. Add the remaining wet ingredients and whisk again. Pour into the bread pan. Use a spatula to spread the dry ingredients over the wet ingredients. Make a shallow well in the center and sprinkle in the yeast.
Place the bread pan in the machine, settle it in the center, and lock it in place. Close the lid and select: Quick bread/cake cycle; Loaf size: 1 1/2 pounds; Medium crust; Start.
After the first knead cycle, scrape the sides and bottom of the pan with a spatula to make sure all the dry ingredients are incorporated. Once the mixing/kneading is done, leave the lid closed during the rise and bake cycles.
At the end of the bake cycle, lift the lid and check the temperature. When the bread reaches 206 to 210 degrees F on an instant-read thermometer inserted in the center, it is done. Remove the pan from the machine and place on its side on a wire rack. Leave the bread in the pan for 3 minutes, then turn the pan upside down and slide the loaf onto the wire rack on its side. Carefully remove the paddle if it is embedded in the bottom of the loaf. Let the bread cool upside down for at least 2 hours before slicing.
Store the bread in a resealable plastic bag or airtight container on the counter for up to 3 days. For longer storage, cut into even slices, double-wrap tightly in plastic, place in a resealable plastic bag, and freeze for up to 3 months.
My method for making it without a bread machine:
Preheat the oven to 375 degrees F. Grease 4 mini loaf pans with non-stick cooking spray or butter.
Stir 1 teaspoon of the molasses and all of the yeast into the water. Let sit until the yeast blooms, 3 to 5 minutes.
Add the flour to the bowl of an electric mixer fitted with the paddle attachment. With the mixer on low, pour in the yeast liquid. Continue to mix as you add the sugar and molasses. Scrape the sides of the bowl as needed.
Mix in the baking powder, psyllium husk, ginger, cloves, cinnamon, and salt. Next blend in the butter, increasing the mixer speed to medium or medium-high as needed. Finally, mix in the eggs until all ingredients are incorporated.
Place the loaf pans on a baking sheet. Fill each with an equal amount of batter to about 3/4 full.
Bake for 40 to 45 minutes, until a toothpick inserted in the center comes out clean. Cool for 10 to 15 minutes before removing from the pan and cool completely before slicing.
Light Flour Blend
Makes 6 cups
2 cups + 2 tablespoons sweet rice flour (not white rice flour)
2 cups + 4 3/4 teaspoons brown or white rice flour
1 cup + 4 3/4 teaspoons tapioca flour/starch
1/2 cup + 3 tablespoons + 2 1/4 teaspoons potato starch (not potato flour)