Browsing Category

Pork

Bacon, Corn and Brown Rice Stuffed Squash Recipe

August 8, 2013
Summer Squash Stuffed with Bacon, Corn and Brown Rice | Recipe | Fake Food Free
 

 When I tell people that we moved here from Kentucky I get the usual response. It’s the same response I received any time we traveled while living there.

It is something similar to, “I bet this is (that was) different,” or “This must be an adjustment.”

Now, I don’t get cranky or offended. It’s not like I’m out to defend the upper southern part of the U.S. There are a lot of things that are different here in a very good way, and there are a lot of things that are the same.

Regardless of whether you live in rural Kentucky or Northern California, if you rarely go anywhere else, well, there you are. There are as many people here that haven’t seen other parts of the US as there are people who haven’t in Kentucky. So I don’t blame people for having this perception, but as you know from my blog I had myself in a pretty good food situation back East.

California wins when it comes to variety of produce, growing seasons and ethnic cuisines, but it falls way behind in something else – meat.

Oh, it’s here. It’s grass-fed and finished, pastured, organic, whatever you want. But it’s one other thing.

Impersonal.

I really dislike buying meat here. There are a few butchers, but when you add in the price of a quality product along with the fact that it’s being sold in California, ouch. The Farmers Markets have better prices for similar products, but it’s difficult to talk to people about the meat as a line 10 people deep waits behind you.

When people ask me what I miss most about Kentucky, that’s easy. The farms.

I’ve asked about buying farm direct, coming out for a visit, and so far the answer is that they only sell at the market. Although, some do have a dinner for customers one day a year.

I miss knowing the breeds, conditions and getting things like housemade prosciutto, sausage without the casing and blue/eggs that are mixed right in with the brown ones because they all come from the same group of chickens.

I know – cry me a river, Lori. I see all those Instagram and Facebook pictures of produce and landscape. Life is rough. Boo-hoo.

I get it. I’m not complaining. I realize I haven’t covered every base yet. I’m sure there are options out there. I guess my point is that I will, at least for a while, still have a reason to respond to all those who suggest Kentucky is different with – yes, yes it is.

bacon-ends


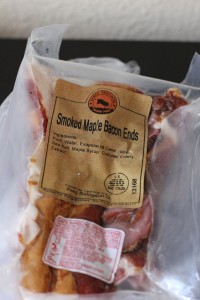
With all that being said, the meat I have ventured to get here has been very good. I finally found bacon ends last weekend at the Farmers Market. 
 

Bacon, Corn and Brown Rice Stuffed Squash Recipe | Fake Food Free
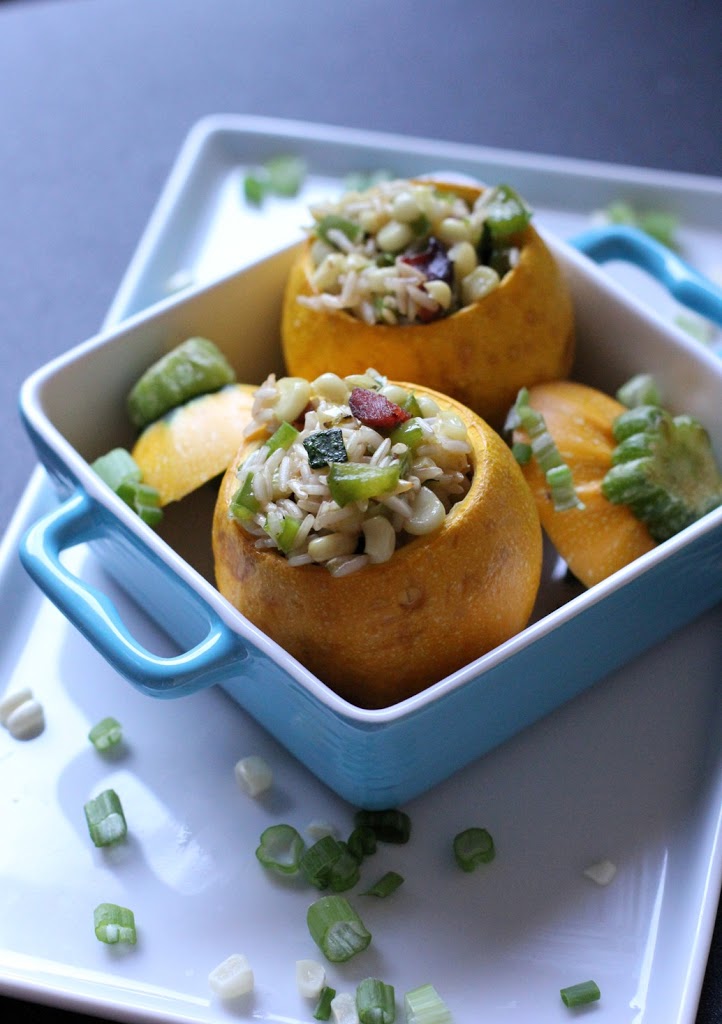
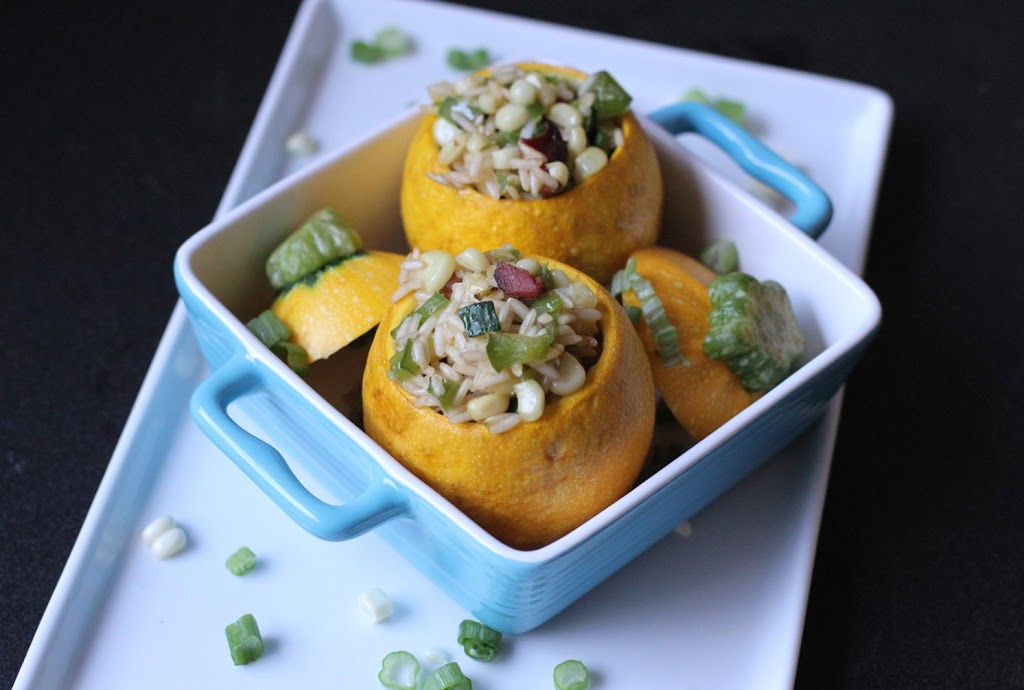
It called for a celebration of summer stuffed squash. Feel free to substitute any grain here. Cue ball or patty pan squash will work the best since this is a loose stuffing.


Bacon, Corn and Brown Rice Stuffed Squash

Makes: 6 stuffed squash


Ingredients

½ cup long grain brown rice
Extra virgin olive oil
6 cue ball or small patty pan (scalloped) squash
½ cup chopped pastured bacon ends
Kernels from 2 ears of corn
2 green onions, sliced, green and white portions divided
1 small bell pepper, diced
½ teaspoon finely chopped rosemary
¼ teaspoon salt
¼ teaspoon ground black pepper
½ cup finely grated cheddar cheese.


Preparation

Preheat the oven to 400 degrees. Lightly coat a casserole dish with olive oil.

Bring 2 cups of water to a boil and add the rice. Bring to a boil and reduce heat to a low boil. Cook for 15 minutes until just barely tender, drain and set aside.

Meanwhile, cut the tops off the squash and scoop out the insides with a spoon. Reserve the flesh. Lightly rub the squash with olive oil and arrange in the baking dish. Pre-bake the squash for about 10 minutes.

In a deep skillet, brown the bacon on medium-high for about 5 minutes. Cook until your desired crispness. I like mine super crispy.

Add the corn, whites of the onions (reserve greens for garnish), the bell pepper and the chopped flesh of the squash. Cook for about 5 more minutes on medium to medium-high, until most of the moisture has evaporated.

Stir in the brown rice. Add the rosemary, salt and black pepper. Stir in the cheddar cheese. Transfer the stuffing to each of the squash.

Bake for 20 to 25 minutes, until the squash is tender. Garnish with reserved onion greens. Makes 6 stuffed squash.



Thanks for reading! All images and content are the property of Fake Food Free unless otherwise stated. Please do not republish full recipes and images without written permission. What is okay? Feel free to Pin images, share links to my posts or share the photo in a round up post with the title of this recipe and a link back to the post. Confused about copyright and food blogs? Here is some helpful information on Recipe Attribution. If you want to use a photo or full recipe, just ask. I’m sure we can work something out.

Bacon and Oyster Mushroom Stuffed Squash Blossoms Recipe

June 11, 2013

It’s surprising that with all the squash plants I’ve grown, I’ve never tried cooking with squash blossoms. I always blamed it on bad timing.

Those pretty yellow flowers would appear in early summer and I would think – No way am I picking those. I want a squash out of that. What if the plant doesn’t produce much this year?

Then (as you know if you’ve grown squash) by mid to late summer when I was buried with summer squash up to my eyeballs, I wish I had used some of those blossoms. 

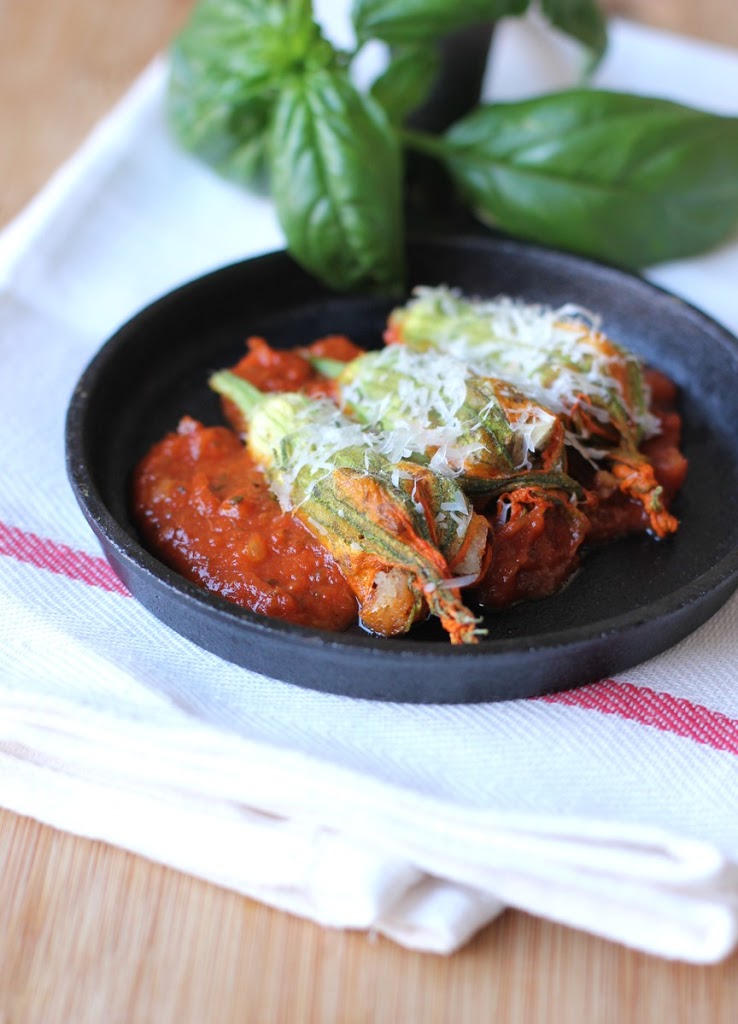
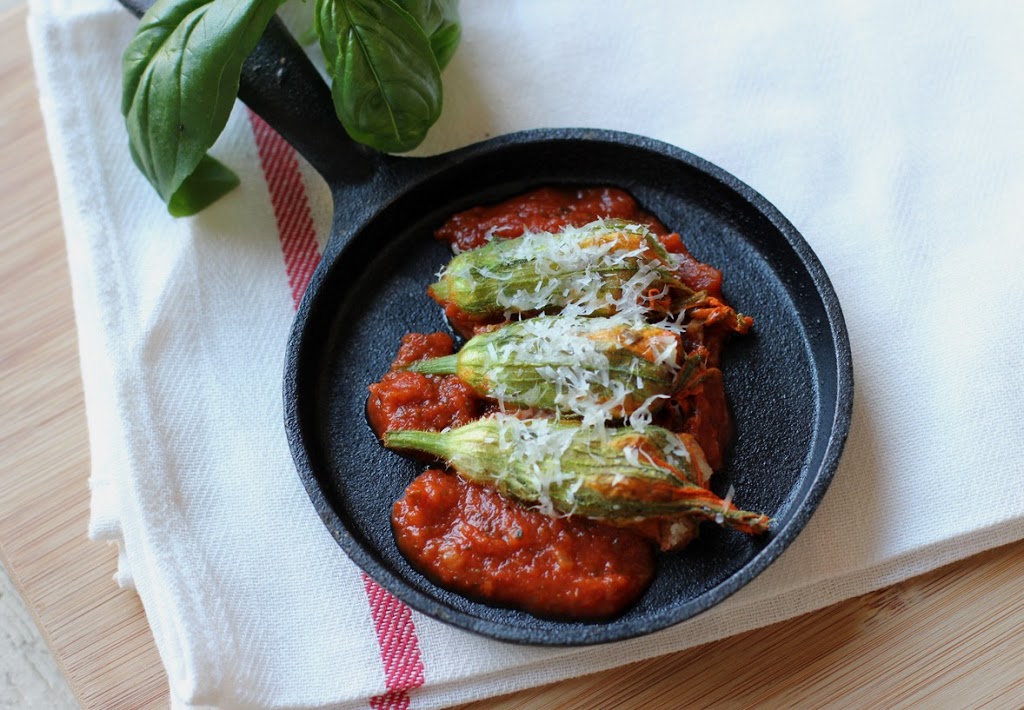
I no longer have my own squash plants, but I did spot some of those pretty blossoms at the Ferry Building Farmer’s Market last weekend. I wasn’t quite sure what I would do with them, but I had oyster mushrooms, bacon, bread and tomato sauce, too, so this is how it went. And when I have my own squash plants again someday, I will definitely be picking those blossoms.

Bacon and Oyster Mushroom Stuffed Squash Blossoms

1.5 ounces oyster mushrooms, chopped
2 slices bacon, chopped
2 tbsp finely chopped onion
1 clove garlic, minced
1/3 cup bread crumbs
3 leaves fresh basil, chopped
Salt and pepper to taste
12 small to medium squash blossoms
¾ cup your favorite marinara sauce
2 tbsp grated Parmesan cheese

Preheat the oven to 350 degrees F.

Preheat a deep skillet over medium-high, add the bacon and mushrooms. Cook for about 3 minutes. Add the onion and garlic. Continue to cook until the bacon is browned and the mushrooms are tender, about 3 to 4 minutes more.

Stir in the bread crumbs and the basil. Add salt and pepper to taste. Remove from the heat.
Fill each squash blossom with about a heaping tablespoon of the stuffing, depending on the size of the blossom. Twist the end of the flower to seal.

Pour the marinara in a baking dish and spread over the bottom of the dish. Arrange the blossoms in a single layer over the sauce. Top with the Parmesan cheese.
Bake for 20 minutes or until the blossoms become tender and the cheese begins to brown. Serves 2 to 3, if the squash blossoms are on the smaller side.


 Thanks for reading! All images and content are the property of Fake Food Free unless otherwise stated. Please do not republish full recipes and images without written permission. What is okay? Feel free to Pin images, share links to my posts or share the photo in a round up post with the title of this recipe and a link back to the post. Confused about copyright and food blogs? Here is some helpful information on Recipe Attribution. If you want to use a photo or full recipe, just ask. I’m sure we can work something out.  


Lettuce Wraps with Pork, Apple and Tamarind Recipe

October 6, 2012


I hate to be that person. The one who squeezes produce before they by it. I minded my manners on my last visit to the Farmer’s Market, and simply selected my basket of apples by sight alone. Big mistake. I grabbed one for a snack on the drive home only to find that it was soft, along with the rest in the basket.

You should know something about me and soft apples. I can’t stand them. If the first bite isn’t so crisp that it pops, I can’t even finish it. I know, I know. It’s a bit dramatic, but it’s the truth.
So this whole recipe started with soft apples. Since the basket I bought wouldn’t be good for eating fresh (by my standards) I had to find some more creative ways to use them.

The apples led me to a sweet and savory ground pork dish, which then led me to having it over rice, which then led me to wrapping it up in a lettuce leaf. I’m not quite sure why I don’t make lettuce wraps more often. I need to move them up the list of my go-to dishes.

I used sticky rice for this version, but any type of rice will work. Or you can use rice noodles, or leave it out all together.

Lettuce Wraps with Pork, Apple and Tamarind Recipe

~ 1 lb ground pastured pork
1 medium onion, chopped
3 cloves garlic, minced
1 apple, cored and diced
1 tsp tamarind concentrate
1 tbsp tamari or soy sauce
1 tsp fresh ginger, grated
1/4 tsp crushed red pepper
4 green onions, sliced (for garnish)
1 to 1 1/2 cups cooked sticky rice
1 head romaine lettuce

In a heavy skillet, brown the pork over medium-high heat. Break it up into small pieces as it cooks. After 2-3 minutes, add the onion, garlic and apple. Continue to cook until the pork is fully browned and no longer pink. Drain any excess grease, if necessary.

Add the tamarind, tamari, ginger and crushed red pepper. Sprinkle on some of the green onions.

Prepare about 3 lettuce leaves for each person. Top each leave with a portion of rice, and then the pork. Garish with any remaining onions. Serves about 4.

Pesto Pizza with Red Grapes and Bacon Recipe

August 20, 2012
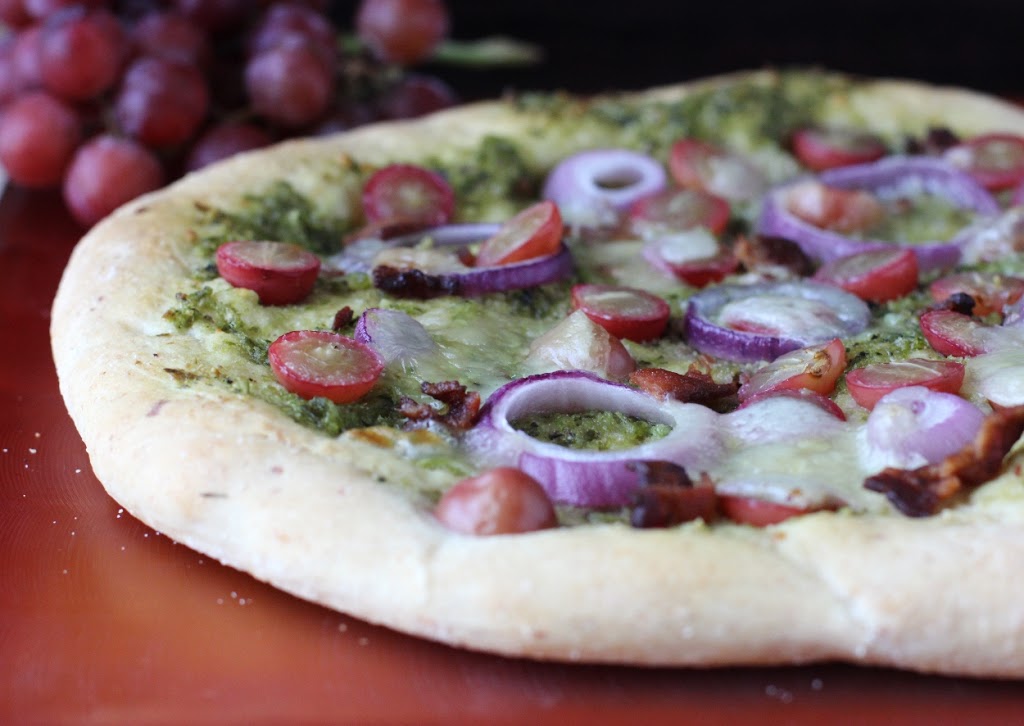
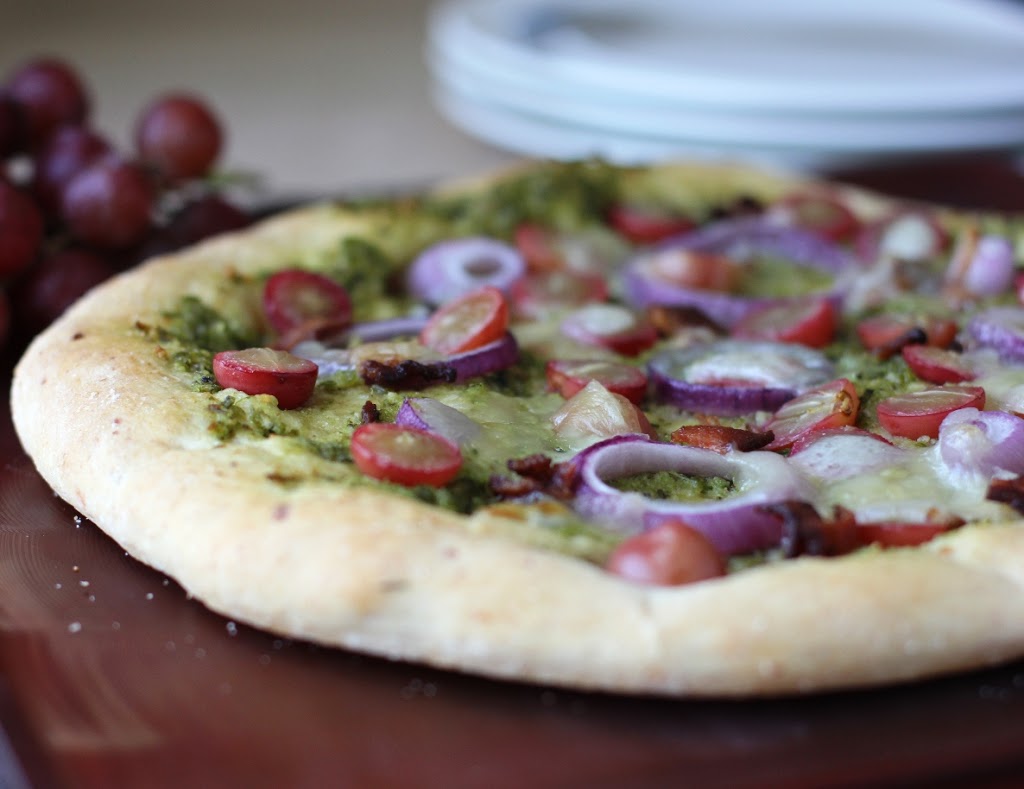
Pesto Pizza with Red Grapes and Bacon Recipe | FakeFoodFree.com


Grapes on pizza. Have you tried it yet?

I love fruit on pizza – pineapple, even mango – but I have to admit I wasn’t sure about grapes. Aside from picking a bunch off the vine, warm from the summer sun, I’d never had hot grapes before.

Although, after seeing it on several food blogs, I figured there had to be something I was missing. And there was. I’m sold! I love the burst of sweet, juicy flavor from the grapes.

For this pizza, I used pesto as the sauce and cooked up some pastured pork bacon for a little extra smoky, salty flavor. Red onions worked great, both in flavor and color. I can see all kinds of cheeses working for this, but I used a basic whole milk mozzarella.


Pesto Pizza with Red Grapes and Bacon

Makes:  3 to 4 servings 

Ingredients 
Dough for a 14 inch pizza
1/4 cup basil pesto
1/2 red onion, sliced into rings
3 slices bacon, cooked crisp and chopped
1 cup red grapes, halved
1/2 cup whole milk mozzarella cheese, sliced or shredded

Preparation
Preheat the oven to 425 degrees F.

Roll the pizza dough out to 14 inches and place on a pizza pan. Spread the dough with pesto.

Top the dough with the onion, bacon, and grapes. Top the pizza evenly with the cheese.

Bake for 12 to 15 minutes until the cheese is bubbly and browned. 

Pesto Pizza with Red Grapes and Bacon Recipe | FakeFoodFree.com


Okay, I want to know – what’s the most unique pizza topping you’ve had before? For me, it would be canned tuna. It was a pizza topping when we dined on rodizio pizza (kind of like a buffet brought to you) in Brazil. 


Thanks for reading! All images and content are the property of Fake Food Free unless otherwise stated. Please do not republish full recipes and images without written permission. What is okay? Feel free to Pin images, share links to my posts or share the photo in a round up post with the title of this recipe and a link back to the post. Confused about copyright and food blogs? Here is some helpful information on Recipe Attribution. If you want to use a photo or full recipe, just ask. I’m sure we can work something out.  

Bean Curd and Prawn Stew from Building a Perfect Meal

June 14, 2012
 
 
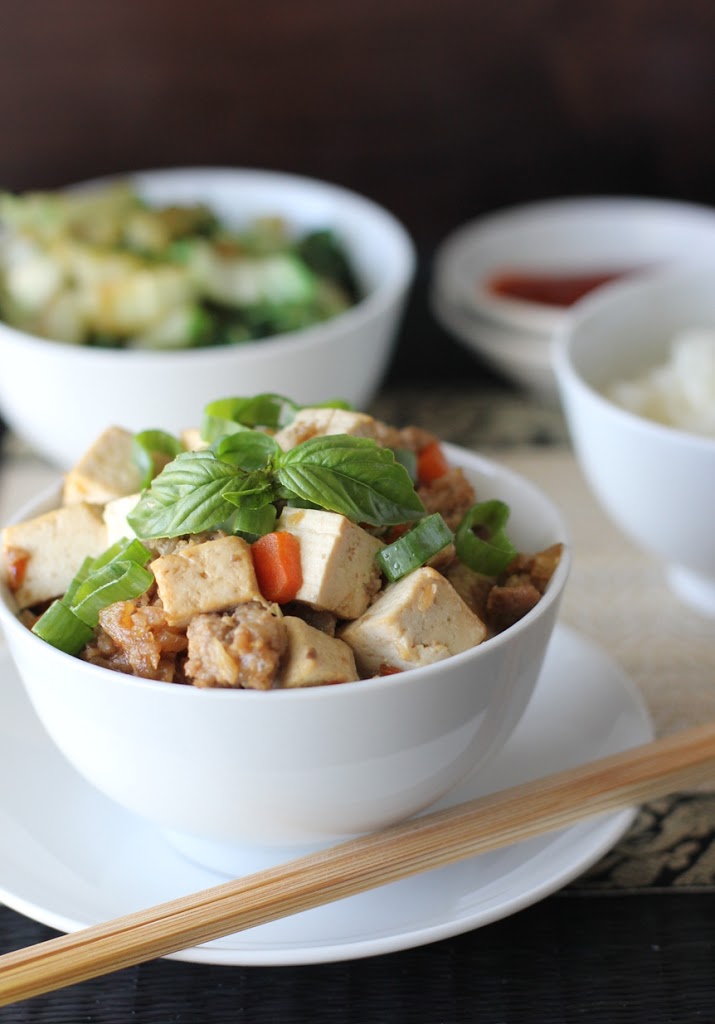
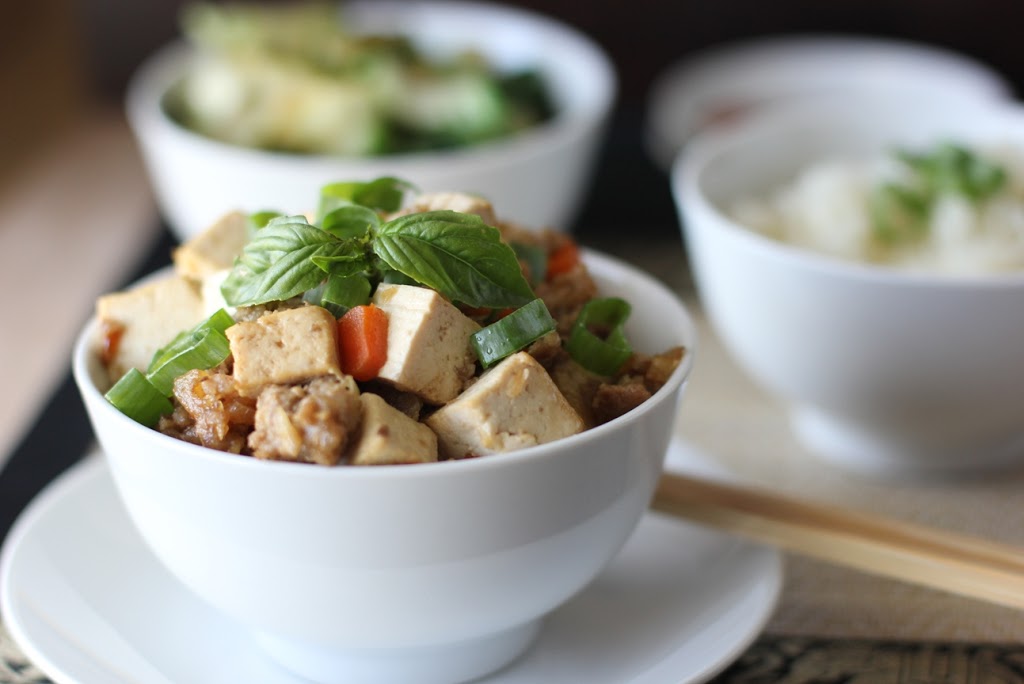
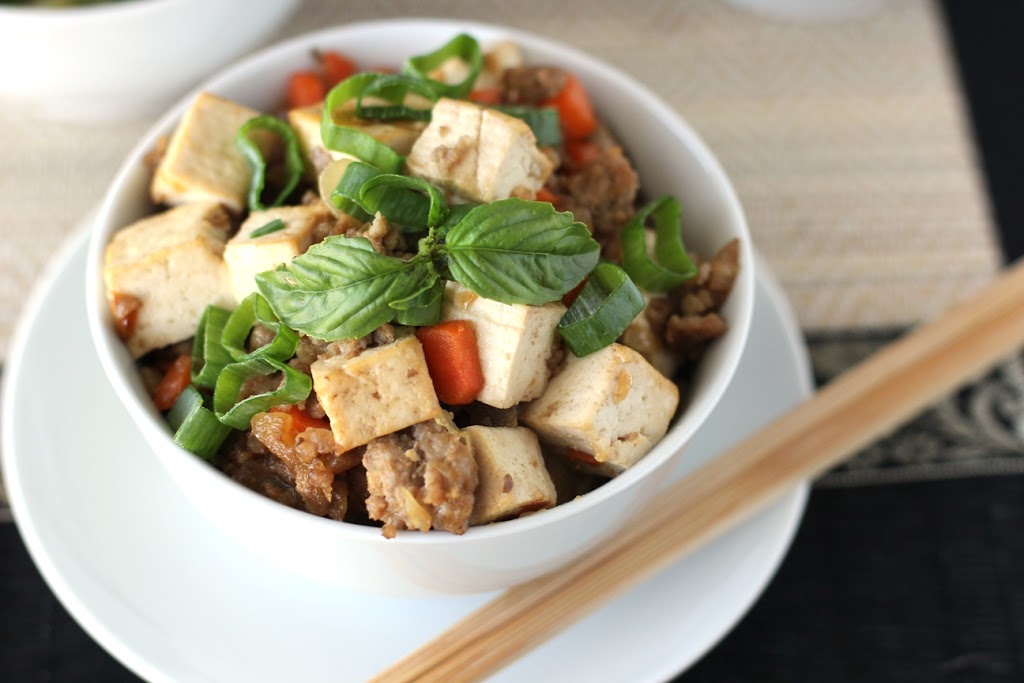
Bean Curd and Prawn Stew Recipe | Fake Food Free
 
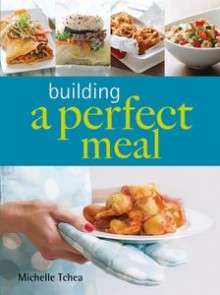
I love when a cookbook has a creative concept, so when I was given the opportunity to review Building a Perfect Meal by Michelle Tchea I knew it was going to be a fun adventure. I might add that when the creative concept is combined with Asian cuisine, well, it doesn’t get much better. 


The cookbook cover reads:
 
“The concept of this cookbook is simple:  start with a basic recipe and then elevate it into something spectacular…”
 
The book starts with a helpful explanation of ingredients including things such as red beans, taro, daikon and luffa. After the knowledge building, the fun begins! Each page has two recipes – the basic recipe to master and then the more complex recipe which incorporates the basic. 
 
For example, Boiled Eggs followed by beautiful Marbled Tea Eggs; Sesame String Bean Salad and then Peanut Summer Noodles; for dessert, Gloriously Sweet Red Beans followed up by Sweet Red Beans and Panna Cotta.
 
There aren’t many cookbooks ideal for both the seasoned cook and the beginner, but this one definitely meets that goal. The best part is that the recipes are straight forward with few ingredients, so if you like quick cooking, this book is for you. 
 
There are many recipes I can’t wait to try, but for my review I went straight to the Bean Curd and Prawn Stew. I was drawn to this recipe both by the flavors and by the beautiful photo (one of many that grace the pages through the entire book).
 
 
Bean Curd and Prawn Stew from Building a Perfect Meal by Michelle Tchea
 
The basic recipe for this dish is Stir-fried Minced Pork. A few more ingredients and the stew is born. This is one of those dishes that surprise you with flavor. Using only sugar and soy sauce for seasoning allows the taste of the other ingredients to shine through.
 

Bean Curd and Prawn Stew 

Reprinted with permission from Michelle Tchea

Serves 2-4
 
Cooking oil for shallow-frying
Onion 1 small, peeled and finely chopped
Prawns (shrimps) 4, peeled and roughly chopped
Minced pork 150 g (5 1/3 oz)
White wine or water (optional) 1 – 2 Tbsp
Diced carrots 45 g (1 ½ oz)
Firm bean curd 100 g (3 ½ oz), cut into small cubes
Dark soy sauce 1 Tbsp
Sugar ½ tsp
Hot water (optional) 1 – 2 Tbsp
Corn flour (cornstarch) 1 tsp, mixed with 2 tsp cold water
Spring onions (scallions) to garnish, finely chopped
 
Heat oil in a wok and lightly sauté onions until fragrant. Add prawns and cook until pink, about 1 minute.
 
Add pork, breaking up any large pieces. Add in a splash of wine or water if the mixture is drying up.
 
Add carrots and continue to cook over medium heat for another 2 minutes or until the meat is just cooked but still moist. 
 
Add bean curd, soy sauce and sugar and cook for another 2 minutes or until heated through. Add a splash of hot water if the mixture is looking dry.
 
Add corn flour mixture and simmer for further 1 minute before removing from heat. Garnish with spring onions and serve hot with rice.
 
Bean Curd and Prawn Stew Recipe


Disclosure: This cookbook was sent to me by Michelle Tchea for review purposes. I was not required to post about it and received no compensation for doing so. Thoughts and opinions here are my own.

Smoky Ham Salad with Olives

April 15, 2012


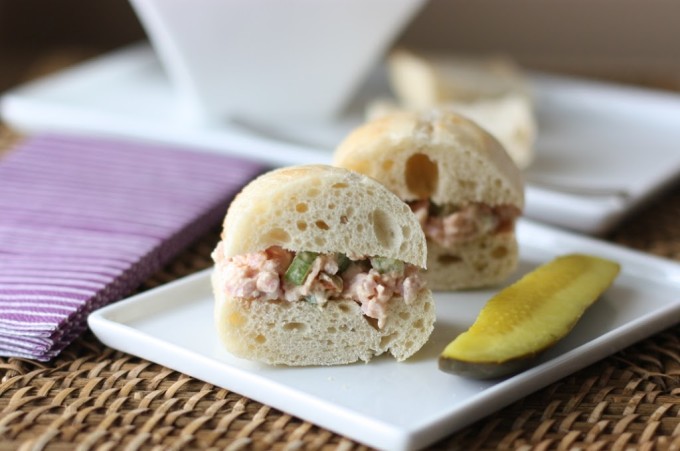
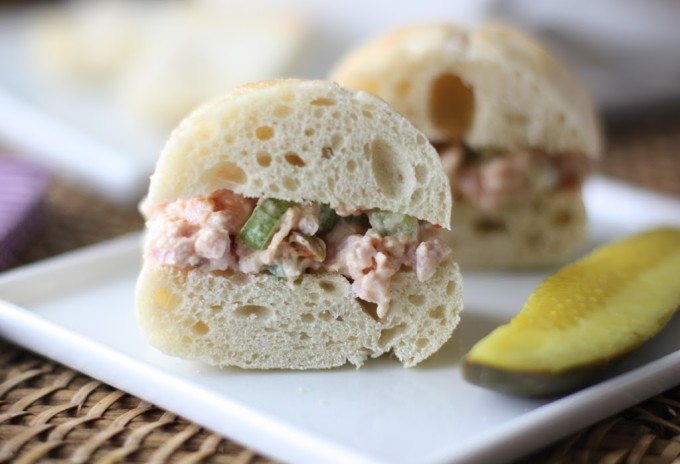
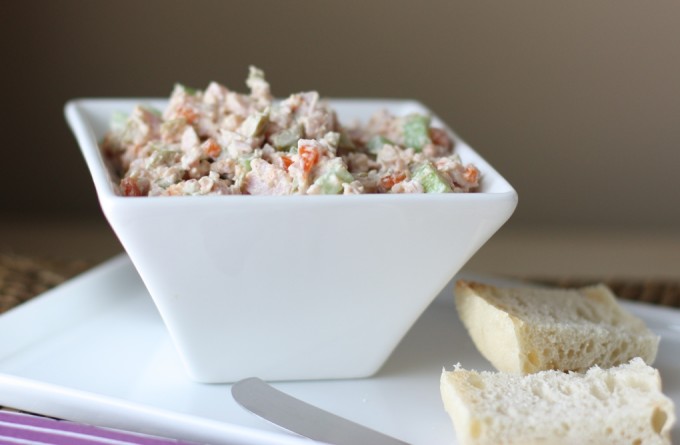
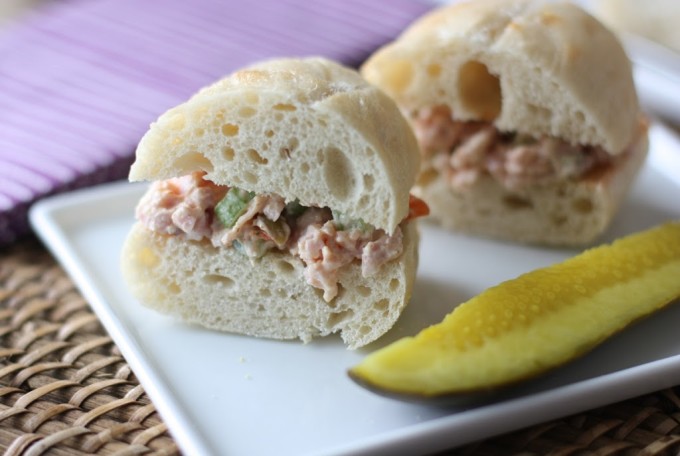
Smoky Ham Salad with Olives | Fake Food Free
 
 
I think I need to plan a picnic. I can’t stop thinking about picnic foods.
 
This is surprising because I’m not much of a picnic person. All that mayo sitting out for hours in 80 degree weather is enough to turn a person off. But for some reason I’m ready to set my food safety phobias aside for the sake of nice weather and a meal outside.
 
One food from my picnic memory book is ham salad. We always had it growing up, and I really liked the way my mom would make it. She ground up the ham so it was more of a spread than other versions I’ve seen. 
 
Despite being a fan, I have never made ham salad myself. But with some ham leftover from Easter I thought it was a good time to try and put my stamp on it. 
 
I decided to use what I now call my classic combo for former mayo-only based salads – plain Greek yogurt, a little mayo and spicy brown or Dijon mustard. I’ve had success with coleslaw, potato salad and chicken salad, and I actually like it a lot more than the all mayo versions. 
 
I’d suggest using full fat Greek yogurt. I hear over and over again that people don’t like Greek yogurt, and for the life of me I haven’t been able to figure out why. Then I bought some fat free Greek yogurt by one of the popular brands. (The ones famous for their flavored, diet yogurt who decided to do Greek because it’s cool.)
 
I now know why people say they don’t like Greek yogurt. I’m not exaggerating when I say it was one of the worst things I have tasted. I threw it out.
 
So try a full fat version (Greek Gods and Fage are my favorites). I promise it will change your life, at least as far as yogurt is concerned. And because it is yogurt the way it was meant to be, you’ll need much less of it to fill you up, and for flavor and fat in your recipes. 
 
Smoky Ham Salad with Olives | Fake Food Free
 
 
Back to the ham salad. I keep a small amount of mayo in the recipe because it cuts the sour flavor of the yogurt just enough so that it’s not overpowering. I also added some olives, and finished it off with just a bit of smoked hot paprika.
 
Crackers or a crusty baguette make the best form of transport. And be careful, it might put you in the mood for a picnic. That’s fine by me. I could use the company!
 
Smoky Ham Salad with Olives | Fake Food Free


Smoky Ham Salad with Olives

Makes: About 3 cups

Ingredients 

2 ½ cups cooked ham, finely chopped
1 large rib celery, chopped
¼ cup green olives, diced
½ tbsp grated onion
¼ cup plain Greek yogurt
1 tbsp mayonnaise
1 tsp spicy brown mustard
¼ tsp black pepper
¼ tsp smoked hot paprika
 
Prep
 
In a bowl, combine the ham, celery, olives and onion. Set aside.
 
In a separate bowl stir together the yogurt, mayo, brown mustard, pepper and paprika. Pour the yogurt mixture over the ham. Stir to mix all ingredients. Refrigerate at least 30 minutes before serving. 
 
hamsalad3
 
Thanks for reading! All images and content are the property of Fake Food Free unless otherwise stated. Please do not republish full recipes or images without written permission. What is okay? Feel free to Pin images, share links to my posts or share the photo in a round up post with the title of this recipe and a link back to the post. Confused about copyright and food blogs? Here is some helpful information on Recipe Attribution. If you want to use a photo or full recipe, just ask. I’m sure we can work something out.

Broccoli and Pastured Bratwurst over Pumpkin Quinoa

March 23, 2012

Quick and easy. That’s the motto for cooking around here right now. It’s not that I don’t want to cook. Well, okay, maybe just a tiny bit. I’m going through that seasonal transition thing when, despite a love of cooking, you still need a break.
That aside, it is more that other things are taking up my time. Fun things like this:
Gardening season has arrived, and we are prepped and ready to go. So far kale, Brussels sprouts, arugula, and radishes have been planted. The strawberries are blooming, and asparagus is popping up.
Longer days mean I’d rather be outside than in the kitchen, but that will soon change when the plants start producing.
For now, it’s quick and easy.
My husband picked up some smoked local, pastured bratwurst from Marksbury Farm Market. There is something I like about broccoli and sausage together so I combined the two once again. We are still on a mission to clean out the pantry, and I found some quinoa hidden behind the rice. I promise I try to keep it organized, but grains have tendency to get lost in there.
The quinoa needed a little something. I had frozen a small amount of leftover pumpkin that I roasted with rosemary over the winter, so that got stirred in. The result was a bowl that balanced comfort food with spring vegetables and grilling season!
Broccoli and Pastured Bratwurst over Pumpkin Quinoa

1 tbsp olive oil

½ large onion, sliced
4 cups broccoli florets
3 smoked bratwursts, sliced
Salt and black pepper to taste
1 cup quinoa, cooked
¾ cup pumpkin puree
Salt to taste
In a large skillet or wok, heat the oil over medium-high. Add the onions and cook until almost translucent, about 4-5 minutes. Add the broccoli, and continue to cook until it reaches your desired doneness. That’s about 5 minutes for me. Add the bratwursts and cook about 1 minute longer, just to heat the sausage through. Add salt and pepper to taste.
Stir the pumpkin into the hot quinoa. Salt to taste. Place the quinoa on a plate or in a bowl, and top with the broccoli and sliced brats. Serves 4.  

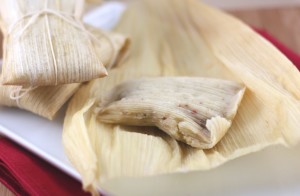
Jerk-style Country Ham and Pineapple Tamales

December 6, 2011

This is the fourth in my series of Cookbooks for Christmas. Be sure to check out The Fundamental Techniques of Classic Bread Baking, The Vegetarian Option and How to Cook Indian.

Before I moved to Kentucky, country ham was nothing more than the step-child of meat options on the Cracker Barrel breakfast menu. I had no idea why someone would select ham over bacon or sausage despite the fact that they all came from the same animal.
Then I moved to Kentucky. Suddenly country ham is everywhere. There are country ham biscuits as party appetizers and skillet-fried country ham for breakfast. It is a regular offering in the meat case at my local butcher, and my most recent job exposed me to a youth agriculture program where the kids made their own country hams to auction off at the local stock sale.
See, I told you. It’s everywhere.
My first encounter with country ham had me gasping for a drink of water. Salty. Very salty. Things haven’t changed much since that first impression, but I have found that I like country ham in things. Meaning, those things it is in helps balance the salty flavor.
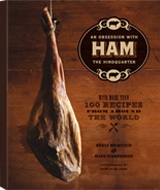
A few weeks ago I got a copy of the cookbook Ham: An Obsessionwith the Hindquarter by Bruce Weinstein and Mark Scarbrough. I never knew there was so much one could do with ham. The book contains 100 unique recipes from the around the world.

Guess what is featured from my part of the world. Yep, country ham.
As I flipped through I saw recipes for Collards and Country Ham, Country Ham Butternut Squash and Chile Stew, and Country Carbonara. That doesn’t include all the things that don’t use country ham such as Steamed Ham Buns and Roasted Fresh Ham with Apple Wheatberry Salad.
If you’ve read a cookbook by Weinstein and Scarbrough before you know it’s as much about the text as it is about the recipes and photography. It is part comical novel, part recipe book. I was immediately sucked into the story about the taking of their pig from farm to market.  

So back to this country ham.

One thing that I wasn’t expecting (nor would most Kentuckians), was to see country ham Caribbean-style with a side of Mexican cuisine thrown in. The second I turned to page 151 I knew what I was making.

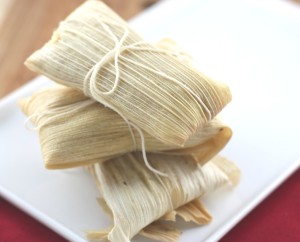
Jerk-style Country Ham and Pineapple Tamales.
Sounds pretty amazing, right? Not only was I excited about these flavors, but this was my very first time making tamales. As with post things I put off, I was left thinking – why in the world did I wait so long?
These tamales are simple to make. The construction takes a little time, but not so much that it’s overwhelming.
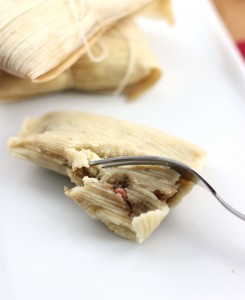
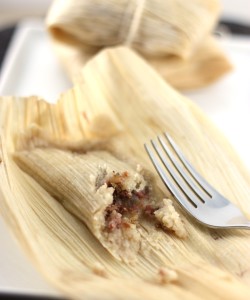
Now, let’s talk about these flavors. The spices, pineapple and rum are just what the country ham needs. The tamales are sweet with just a touch of saltiness. With all of the spices, the flavor explodes in your mouth with each bite. This recipe is such a creative representation of Kentucky meets Caribbean!

Jerk-style Country Ham and Pineapple Tamales
Reprinted with permission from Abrams Books

Makes 20 Tamales

Call this Bruce’s culinary free-for-all: a Caribbean filling made with American country ham and served as a Tex-Mex delicacy in corn husks. There’s not much more I can say, except they freeze well. Make them in advance, then wrap them individually in plastic and freeze for up to 3 months; thaw on the counter for 30 minutes before steaming as directed.

20 large, dry corn husks for tamales
6 ounces dried pineapple
10 ounces cooked country ham, rind removed and discarded, the meat cut into little cubes (a little less than 2⁄3 cup)
3 medium scallions, cut into 2-inch pieces
1/4 cup dark rum such as Myers’s
2 tablespoons minced peeled fresh ginger
2 tablespoons packed dark brown sugar
2 tablespoons red wine vinegar
2 teaspoons ground cumin
1 teaspoon ground coriander
1 teaspoon dried oregano
1 teaspoon dried thyme
1/2 teaspoon ground allspice
1/2 teaspoon ground cloves
1/2 teaspoon grated nutmeg
1/2 teaspoon cayenne
1/4 teaspoon garlic powder
4 cups instant masa harina
3 cups very hot water
2⁄3 cup peanut oil
1 teaspoon onion powder
1. Put the corn husks in a large bowl and cover with boiling water. Set them aside to soak until soft, about 30 minutes. If they all won’t stay submerged, place a little plate over them in the bowl to force them down into the hot water.
2. Meanwhile, put the dried pineapple in a medium bowl and cover with boiling water. Soak for 10 minutes, then drain in a colander set in the sink. Chop the pineapple into tiny bits.
3. Transfer those pineapple chunks to a food processor fitted with the chopping blade. Add the ham, scallions, rum, ginger, brown sugar, vinegar, 1 teaspoon cumin, the coriander, oregano, thyme, allspice, cloves, nutmeg, cayenne, and garlic powder. Pulse until well chopped and thoroughly blended but not pureed. This is the filling for the tamales, so you want some tooth in the thing—in other words, no baby food.
4. Mix the masa, hot water, oil, onion powder, and remaining 1 teaspoon ground cumin in a large bowl to make a wet dough.
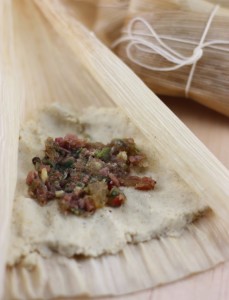
5. Take a corn husk out of the hot water and spread it on your work surface so that its natural curl faces you. Spread a generous 1/4 cup of the masa dough into the corn husk, smoothing it out but also keeping it near the thicker bottom of the husk, like a little bed of dough for the filling. Spread the dough out to the sides a bit so that when you roll the husk closed the long way, that dough will encircle and even cover the filling.
6. Place about 11/2 tablespoons of the ham mixture in the center of the dough in the corn husk.
7. Fold the sides of the husk up and over the filling, thereby also bringing the masa dough up and around the filling inside. Make sure the sides overlap and fully close, holding the filling tightly inside. Fold the wider bottom up over the husk and do the same with the narrower top. Tie these in place with butchers’ twine so the tamale will stay closed.
8. Repeat steps 5 through 7 with the remaining husks.
9. Set up some kind of steaming contraption: either a large vegetable steamer in a large saucepan with about an inch of so of water in the bottom, or a couple of bamboo steamers placed over a wok with a similar amount of water in it. Bring the water to a boil over high heat.
10. Stand the tamales up in the vegetable steamer or lay them in the bamboo steamers. Cover, reduce the heat, and steam for 40 minutes, checking the water occasionally and adding more if necessary. In no event should the water rise and come in contact with the tamales. You want the water gently simmering in the pan or wok but not boiling vigorously. Once steamed, set the tamales aside for 5 minutes before serving, just so no one gets a steam burn from the incredibly hot filling inside. And don’t be a Gerald Ford. In the 1976 presidential race, he tried to eat a tamale still in the husk while campaigning in Texas. He lost the state. Unwrap the husk and fork out the tender filling inside.

Smoky Potato Soup with Kale

September 26, 2011

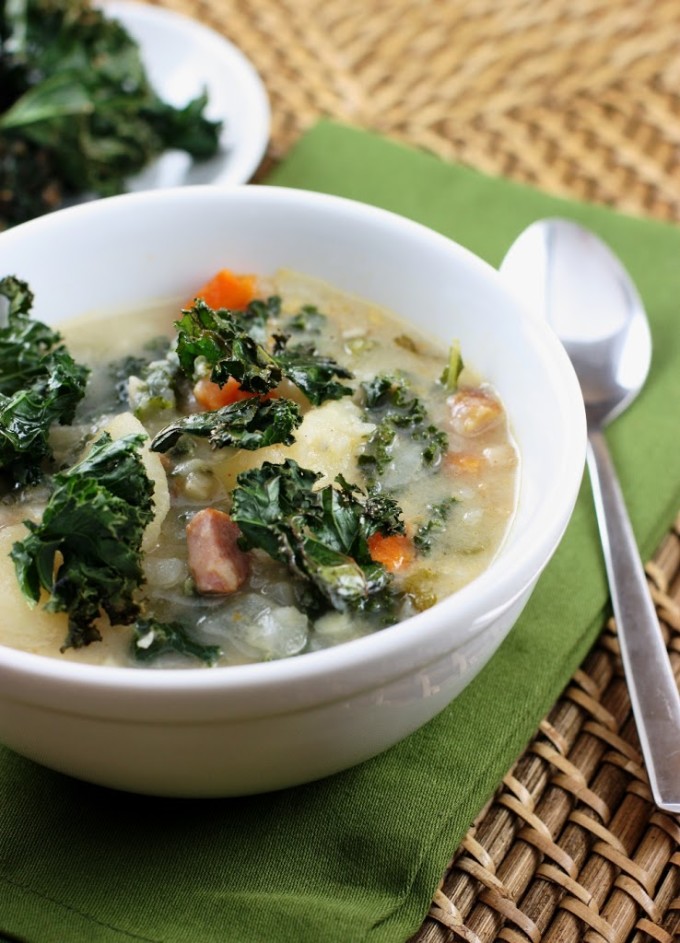
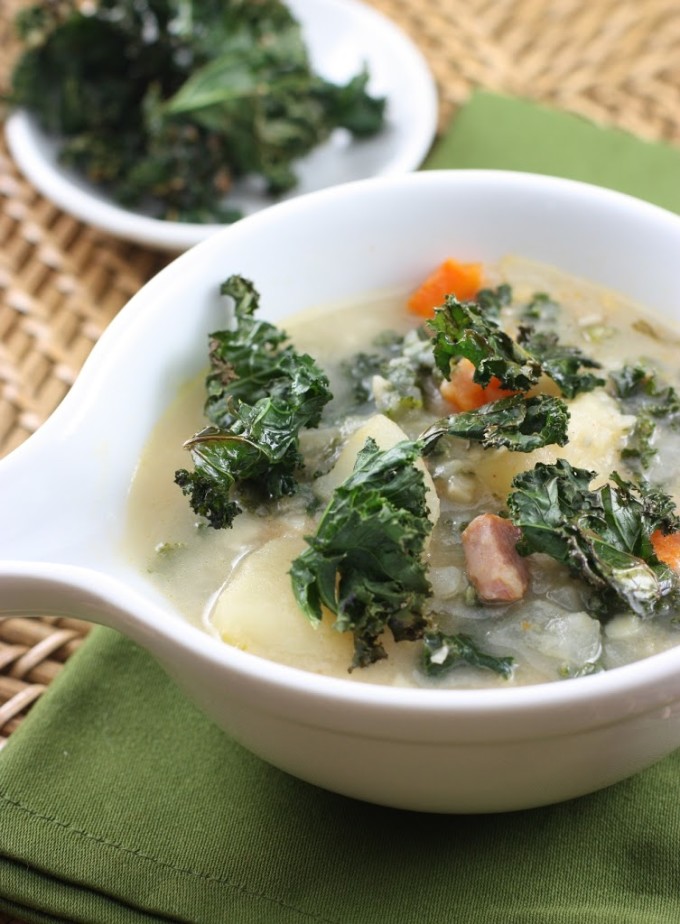
This hearty potato soup with kale is filled with smoky bacon ends and topped off with crunchy kale chips!

Smoky Potato Soup with Kale | Fake Food Free

Kale chips are the new cracker.

Since discovering kale chips last year, thanks to all my favorite food blogs, I can’t get enough of them. Every time I pull a pan out of the oven I still look at them, amazed that a leafy green can turn so crisp and tasty.

When I decided to make some potato soup tonight I wanted to add a little something extra so I decided on a little kale in the soup itself. Then one thing led to another and I was topping my bowl with kale chips before dinner. Now I’m officially proclaiming kale chips as my new cracker for all my soups!

Smoky Potato Soup with Kale | Fake Food Free

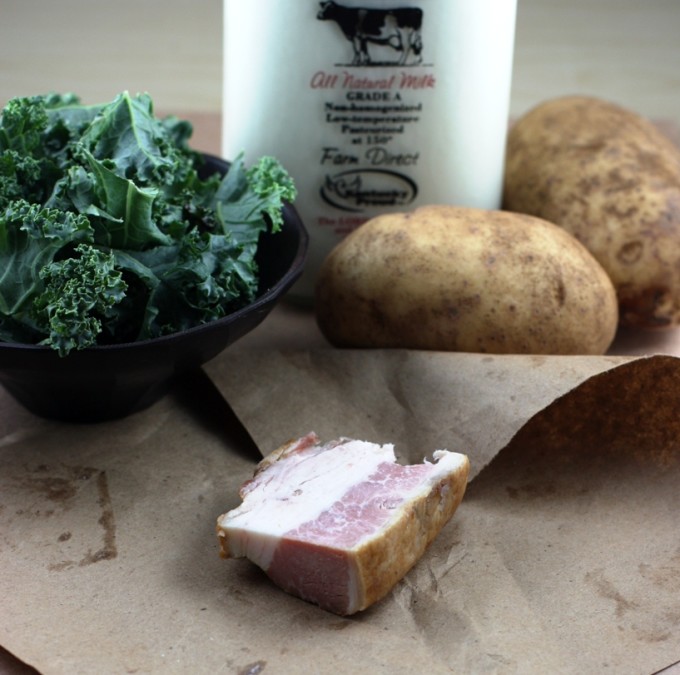
The soup starts with a little bacon. I’m able to get smoked, pastured bacon ends at our local meat shop which is perfect for this kind of thing. It chops up easily and I can use just what I need for each recipe.

Smoky Potato Soup with Kale | Fake Food Free

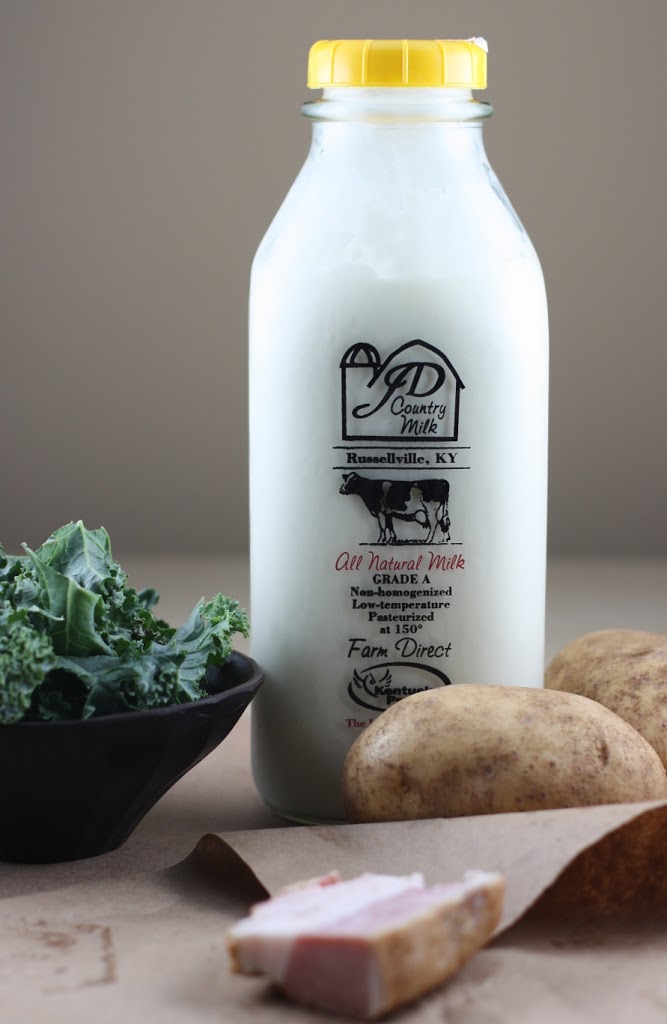
Once all the veggies are cooked, I finish it off with a little half and half from one of my favorite Kentucky dairies. This half and half is low heat pasteurized and non-homogenized so the creamy fat thickens the soup nicely. To finish it off with just a little more smoky flavor, I turn to some smoked paprika.

I was a rainy, cool day here and I have a feeling more days like this are to come. This soup fits in nicely with the change of seasons; hearty, creamy and filled with a good dose of dark, leafy greens.

Smoky Potato Soup with Kale

Makes: 4 servings

Ingredients

Kale Chips
2 cups kale, chopped
1/2 tbsp olive oil
1/4 tsp fine ground sea salt
1/8 teaspoon ground black pepper


Soup
¼ cup smoked bacon ends, diced
2 ribs celery, sliced
1 large carrot, peeled and chopped
½ large onion, chopped
4 cloves garlic, minced
6 small potatoes, peeled and chopped
2 cups kale, chopped
2 tsp salt
½ tsp ground black pepper
1 ½ tsp smoked paprika
½ cup half and half

Prep

To make kale chips:

Preheat the oven to 400 degrees F. Place the 2 cups of chopped kale pieces in a single layer on a baking sheet. Sprinkle with the olive oil, salt and pepper, and toss to coat. Bake at 400 degrees F for 15 to 20 minutes until crisp. 

To make the soup:

In a 3 to 4 quart soup pot, cook the bacon over medium heat until fat becomes visible in the bottom of the pan. Increase the heat to medium-high and add the celery, carrot and onion. Cook about 3 minutes and stir in the garlic. Continue to cook until the veggies are tender, about 5 more minutes.

Add the potatoes and cook for 2 minutes. Add water to the pot just to cover the potatoes. Bring to a boil and reduce to simmer until the potatoes are tender, about 10 minutes. As soon as the potatoes become tender, add the kale. Cook just until wilted, about 1 minute.

Stir in the salt, pepper and paprika. Using a potato masher, gently mash the soup, breaking up some of the potatoes, but not all. Stir in the half and half. Transfer to serving bowls, top with kale chips and serve warm. 

Smoky Potato Soup with Kale | Fake Food Free

Thanks for reading! All images and content are the property of Fake Food Free unless otherwise stated. Please do not republish full recipes or images without written permission. What is okay? Feel free to Pin images, share links to my posts or share the photo in a round up post with the title of this recipe and a link back to the post. Confused about copyright and food blogs? Here is some helpful information on Recipe Attribution. If you want to use a photo or full recipe, just ask. I’m sure we can work something out.

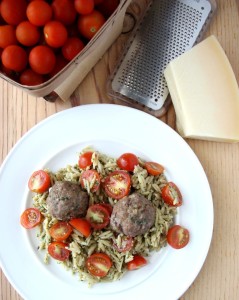
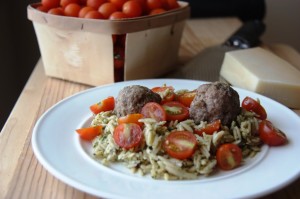
Thai Basil Pesto Orzo with Local Meatballs

August 15, 2011

When it comes to food, I do a lot of impulse buying. Although it’s not really food anymore, like, say, a candy bar in the check out aisle. No, now I guess you could call it ingredient impulse buying. Now it’s more like splurging on the chocolate bar I will later use in cookies.

Sometimes, though, I resist the temptation and I wait. This most often happens with things I know will be there a month or so later, especially meat.

Take these meatballs for example. I saw them at our local meat market well over 6 months ago. I wanted to try them, but decided to wait.

Every time I went they were there and every time I saw them I thought more about what I could do with them. Pasta, sure, but did I really need to buy them instead of making my own?

Turns out the answer to that is yes.

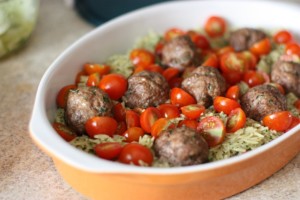
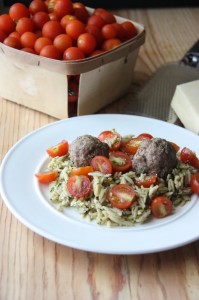
I finally picked up a small pack of these local, pastured meatballs that include a combination of beef, lamb and pork. They are spiced perfectly – a little garlic, a little parsley and a little of what I think was fennel seed.

They definitely needed a place to shine so I decided not to cover them in sauce. Instead, I combined them with a sauce in the raw, one that was more garden-fresh.

Despite the fact that my sweet basil is about to dry up, the Thai basil has been going strong. Now, I can’t say I like Thai basil as much as sweet, but it’s a nice substitute every now and then.

I used it in my standard walnut pesto and then topped the dish with some of the gorgeous red cherry tomatoes we’ve been fortunate enough to have most of the summer. They are juicy and sweet and just pop in your mouth, they are so fresh.

Thai Basil Pesto Orzo

1 cup packed Thai basil leaves
2 cloves garlic, peeled
2 tbsp chopped walnuts
2 tbsp freshly grated parmesan cheese
2 to 4 tbsp olive oil
Salt and pepper to taste
½ lb orzo, cooked to package directions
1 ½ cups cherry tomatoes, halved
½ lb meatballs, baked (optional)

In a small food processor, combine the basil, garlic, walnuts, cheese and 1 tbsp olive oil. Pulse until everything is finely chopped. Continue to pulse and the mixture will get slightly creamy due to the walnuts.

Continue to add olive oil to reach your desired consistency, whether you like it thick or thin. Add salt and pepper to taste.

Cook and drain the orzo. In a large bowl, combine the pesto and the orzo. Stir until all the orzo is coated. Transfer to a serving platter. Top with meat balls, if using, and cherry tomatoes. Serves 4-6.

Want to create beautiful food and product photos that you can't wait to share?!
Discover your style, control the light, and shoot using the tool you know how to use (yes, your phone included). Learn about free resources, Live Q&As with Lori, and online courses you can take from anywhere in the world!
We respect your privacy. Unsubscribe at any time.