Browsing Category

Canning

Orange Jam from The Joys of Jewish Preserving

December 6, 2017
Orange Jam from the cookbook, The Joys of Jewish Preserving, by Emily Paster | Recipe at FakeFoodFree.com

Citrus is such a highlight in the winter. I look forward it every year. The oranges, lemons, and mandarins – there are so many varieties to choose from around here. 

The season is just getting started and navels have started popping up at the farm stand. 

As soon as I spotted that the local, in-season oranges had arrived, I knew exactly what I was going to make. 

Continue Reading…

Pineapple Mint Chutney Recipe

July 25, 2014

Friday is cookbook review day throughout the summer here at Fake Food Free. If you have a love of cookbooks be sure to swing back by for plenty of new ideas and recipes.

Pineapple Mint Chutney Recipe | fakefoodfree.com

I don’t like to call it an addiction. That makes it sound as though it’s a bad thing.

Let’s go with attraction.

Yes. I have a strong attraction to canning and preserving cookbooks.

I have my mom’s old ones, I collect new ones and I never turn down the offer to test one out. Regardless of how simple or complex the recipes in the book may be, I always manage to find something I have never canned before.

Continue Reading…

Spicy Pickled Long Beans Recipe

September 11, 2013
 
Spicy Pickled Long Beans Recipe | FakeFoodFree.com 
 

I see them on every menu. On the appetizer page for restaurants that proudly serve housemade specialties. On the snack menus of every pub that serves craft beer. And as a half-price small plate at happy hour.

Pickled vegetables.

In case you missed it, they are all the rage. I have to say that I’m fully embracing the trend. I absolutely love pickled foods.

I finally tried pickled ginger a few weeks ago because I had a great cookbook to review. But experimenting with other pickled veggies is something I just couldn’t seem to get around to.

I’d buy a head of cauliflower or some carrots and I’d think — I should try pickling those. It happened over and over again and each time I’d end up using the vegetables for something else.

It wasn’t until I picked up a pound of long beans from the Farmer’s Market that I finally found my motivation to get pickling.

I associate long beans with Asian food (as I think most others do, too). More specifically, I associate them with Thai food because the first time I ever used them was in the green papaya salad we made while taking a cooking class in Chiang Mai.

I’m not that big of a fan of green beans, and since long beans are similar, I haven’t branched out to buy any since that class.

But as you know, I’ve been jumping in head first with buying new and different ingredients in the East Bay. So after seeing piles and piles of them on tables at the market for the outrageous price of $1 per pound, I grabbed some.

That was sarcasm, by the way. There are few vegetables that are not worth $1 per pound to me. You wave a sign saying that over produce and I’ll buy just about anything.

So after the long beans sat in the fridge for a few days a familiar thought popped in my head — I should pickle those. This time I followed through.

I am so glad I did. They turned out so well! We finished an entire jar the second I opened them! Knowing the season is quickly coming to an end, I bought 3 pounds last Friday to make a few more jars to enjoy later in the year.

 
Recipe for Spicy Pickled Long Beans

I used a modified version of Marisa McClellan’s (Food in Jars) recipe that was featured on Serious Eats. She recommends water bath processing the beans to soften their slightly tough exterior. The texture was perfect and I love that this makes them more shelf stable as well.

I modified the recipe by using ginger and a Thai chile as seasoning. The Thai chile was what made them. They were spicy and tangy at the same time. I knew I would want smaller pieces of the bean so I went ahead and cut them into small pieces before I packed them.

We’ve eaten them straight out of the jar and I’ve also been chopping them up to eat over Asian noodle dishes. It’s going to take some serious self-control not to finish all the jars in a few weeks!

Pickled Long Beans Recipe

Spicy Pickled Long Beans

Modified from Pickled Chinese Long Beans by Marisa McClellan

Makes: 2 pint jars

1 lb. Chinese long beans (green or purple), cut into 2 to 3 inch pieces
4 cloves garlic, peeled
4, ¼ to ½  inch pieces fresh ginger, peeled
1 teaspoon black peppercorns
2 Thai chiles
2 cups distilled white vinegar (5% acidity)
2 cups water
2 tablespoons pickling salt

Pack the long beans into each of two sterilized pint jars. Add two cloves of garlic, two pieces of ginger, and ½ teaspoon of peppercorns to each jar. Cut a slit in the side of each of the chiles and place one in each jar.

Bring the vinegar, water and salt to a boil in a medium saucepan over medium high heat. Pour half of the hot brine into each of the jars, leaving ½ inch headspace. Wipe the rim of the jar with a clean, damp towel. Seal with a new lid and a band. Process in a boiling water bath for 10 minutes.

Remove from the water bath and set jars on a cooling rack. After one hour, check to make sure the jars have sealed. Let rest for 12 hours before labeling and storing. Let sit for at least 2 weeks before eating.


If you need help with safe canning practices, please check out the resources from National Center for Home Food Preservation at the University of Georgia.

Japanese Pickled Ginger Recipe from The Joy of Pickling

August 19, 2013

   Japanese Pickled Ginger Recipe from The Joy of Pickling | Fake Food Free

Two of my favorite condiments are served beside sushi. First, it’s that pleasantly spicy wasabi. Second is the pickled ginger. I could eat that ginger on just about anything. It has crossed my mind that I could probably make it at home, but I have never searched for a good recipe. Fortunately, now I don’t have to because this time around a good recipe found me. 

All summer I have been browsing the pages of one amazing cookbook. It contains recipes for pickled everything! Or at least it seems like just about everything. The Joy of Pickling: 250 Flavor-Packed Recipes for Vegetables and More from Garden or Market by Linda Ziedrich

Pickled-Ginger-Cookbook
 
While you will find a huge variety of cucumber pickles, this cookbook goes well beyond the standard dill. Figs. You can pickle figs?! And peaches? There is even pickled pig’s ear should you choose to go there. There is also page after page of interesting condiments and sauces like Hot Orange Ketchup and Rhubarb Chutney
 
There were so many tempting recipes to try in this book, but I knew I finally had to give Japanese Pickled Ginger a try. The best part about many pickling recipes is that they are so easy to make. Top a few fruits or veggies with a liquid, seal and rest. A few days later you have a crisp, tangy snack or condiment. 
 
That is definitely the case with this ginger. Peeling and slicing takes a little time, but I had this recipe done in less than 30 minutes. Now that I have the ginger down, it may be time to start practicing the sushi. 
 
Japanese Pickled Ginger Recipe from The Joy of Pickling | Fake Food Free
 
This book has been out for a while now and I’m so glad that it finally caught my attention. I can tell it will become a well-used resource book for me every year. If you are spending late summer and early fall wondering what to do with all your garden produce, the chances are good that you can pickle it. This cookbook will show you how. 
 
Japanese Pickled Ginger Recipe from The Joy of Pickling | Fake Food Free
Japanese Pickled Ginger
©Linda Ziedrich 2009. Reprinted with permission from The Harvard Common Press.
 
Makes: About 1 Pint
 
From the book:
Use fresh young ginger for this pickle. Available in Asian markets, young ginger is pale, almost white with very thin skin and pink stem stubs. A mandolin may be useful for slicing the root. Your pickled ginger may turn out faintly pink, but it won’t have the hot pink color you’ll see in commercial versions of this pickle, that color comes from food dye. A traditional accompaniment to sushi, pickled ginger refreshes the palate and cleanses the mouth of fishy tastes
.
Ingredients
1 quart water
½ pound fresh ginger, sliced paper thin
1 teaspoon plus a sprinkle of pickling salt
1 cup rice vinegar
3 tablespoons sugar
1 teaspoon light (usukuchi) Japanese soy sauce
 
Directions
Bring the water to a boil in a saucepan and add the ginger. Bring the water back to a boil and then drain the ginger well in a colander. Let the ginger cool.
 
Put the ginger into a bowl and sprinkle the ginger lightly with salt.
 
In a saucepan, bring to a boil the vinegar, the sugar, the 1 teaspoon salt, and the soy sauce, stirring to dissolve the sugar and salt. Pour the hot liquid over the ginger, mix well.
 
Store the ginger in a tightly covered container in the refrigerator. It will be ready to use in a day or two and will keep for several months, at least. 
 

Disclosure: This cookbook was sent to me for review purposes by The Harvard Common Press. I was not required to post about it and I received no compensation for doing so. 

13 Best Tomato Recipes

August 1, 2013

I did it again.

Every year when the end of May rolls around, I forget. Unlike other bloggers who spend weeks building up to the big day, planning giveaways and making special recipes, it passes me by, and few weeks later I think – oops, I forgot again.

I’m talking about my food blogging anniversary. Fake Food Free has been alive and well for over 5 years. It’s overwhelming to think where this blog has taken me since I began typing my first words in our apartment in Southern Brazil.

Things have evolved through my travel, adventures in food culture and gardening. My photos are a bit better than those dark point-and-shoot images I started with, and I’d like to think my recipe writing has improved as well. I’ve met amazing people, and now I’m at a place where health, food and recipe writing, and taking food photos are my work. As you’ll hear me say often – Life is good.

And it all started with this blog.

While things have changed a bit here, and I don’t get to post as much as I used to, this is certainly not a farewell post. It’s a big Cheers, Prost and Saúde to another 5 and beyond!

What better way to celebrate than with tomatoes! Well, okay, a cocktail might be better, but right now we’re in the heart of summer and all I can think about are beautiful heirlooms, sweet cherries and plump Romas.

After 5 years of blogging, I’ve created and adapted my fair share of recipes using my favorite part of this season.

Here are 13 that you must make before the 2013 tomato season passes us by! (Click on the name and it will take you to the post with the recipe.)

Roasted Garlic, Tomato and Black Bean Soup

Grilled Marinara Pasta

Honey Peach and Tomato Black Rice Salad

Hearty Tomato, Kale and Mushroom Sauce

Roasted Tomato, Black Bean and Arugula Salad

Smoky Tomato Jam

Beer Cheese Tomato Soup

Honey-Pecan Tomato Tarts with Blue Cheese

BLT Spinach Salad with Fresh Garlic Dill Dressing

Heirloom Tomatoes and Cantaloupe

Stuffed Poblano Peppers with Tomato Chile Sauce

Poblano Cilantro Salsa

Sweet and Simple Tomato Pepper Salad

Smoky Tomato Jam

September 25, 2012

Smoky tomato jam recipe | FakeFoodFree.com

 
You will never hear me use the word guilt in association with food and eating. Personally, I think it is a damaging word that has shaped our thoughts on eating habits, weight and health for far too long. 
 
That being said, I have one exception. 
 
The garden.
 
When this time of year rolls around and I see hot peppers so heavy on the plant that they touch the ground, and tomatoes that are ripe, but a little ugly, I start to feel guilty. It’s food, I can’t let it go to waste! And while I’m exhausted from thinking of ways to use it, I just can’t leave it out there to rot, or pull up the plants knowing they have some life left in them.
 
So with a full freezer, I turned to a little more canning this past week. 
 
First up? Tomato jam. 
 
I’d been entertaining the idea of making tomato jam, most of the summer, but never committed. Then I found a recipe from Food in Jars for Orange Tomato Jam with Smoked Paprika.  It was the smoked paprika that got me. I love that stuff!
 
Smoky Tomato Jam Recipe for summer | FakeFoodFree.com
 
 
So I gathered up the last of the tomatoes, and got cooking. Our orange tomato plants are done producing, but I still had Better Boy and San Marzano hanging on. They worked perfectly. I also used dried ginger (half the amount) instead of fresh, and skipped the cayenne simply because I didn’t have any dried on hand. 
 
You can find the recipe on the Food in Jars blog. This jam is the perfect balance of sweet, spicy and smoky. Next year, I will be pulling this recipe out early to get a head start during prime tomato season. Yes, it’s that good.
 
 
Smoky Tomato Jam Recipe | FakeFoodFree.com

Poblano Cilantro Salsa

August 21, 2011

Poblano Cilantro Salsa Recipe | Home Canning | Fake Food Free

I enjoy canning salsa. What I don’t enjoy is spending hours chopping veggies into tiny pieces. Yes, I love to cook and one batch of salsa like this is fun, but six or seven? No thanks.

So this presented a bit of a problem. That was, until I started making Charred Tomato and Chile Salsa from Canning for a New Generation by Liana Krissoff which I reviewed last year.

First of all, it tastes awesome – slightly sweet, but spicy. Second, there is no chopping! Well, very minimal chopping. The blender does all the work. As a result, after cooking you end up with a thick, but somewhat smooth salsa.

I’ve been making a lot of salsa this summer so I’ve had ample opportunity to experiment with the recipe by substituting peppers or adding herbs, all while keeping the important acidity the same.


New Mexico Centennial Pepper | Very hot peppers, but a pretty plant for the garden! | Fake Food Free
As I mentioned earlier this summer, we planted 19 varieties of pepper plants. Some were just for fun and out of curiosity. Others were to help us learn exactly what we want to grow in the future, based on what I use most in the kitchen. 

Poblanos are a keeper. This is the first year we’ve grown them and I’ve learned they have the perfect spiciness and cook well whether baked, broiled or grilled. So of course they had to make it into the salsa. 

One of my favorite varieties this summer has been poblano and cilantro. As for tomatoes I’ve used heirlooms and San Marzanos, even mixed them here and there and all work out well.

This is great for a big party. Just cook it up, cool and serve, or if no such occasion is coming up, can it for later use.

Poblano Cilantro Salsa Recipe | Fake Food Free

Poblano Cilantro Salsa

Adapted from Charred Tomato and Chile Salsa, Canning for a New Generation


What you’ll need:
5 lbs. tomatoes, cored and halved
8 oz. Poblano peppers, halved, stems and seeds removed
2 oz. garlic cloves, peeled
1 lb. 6 oz. candy onions (or any sweet variety), peeled and quartered
½ cup cider vinegar (5% acidity)
1 tablespoon canning salt
2 tablespoon sugar
1 cup fresh cilantro, chopped and loosely packed

How to make it: 
Place the tomatoes cut side down on a baking sheet. With the broiler on high, broil for 10 minutes until the skins begin to blacken. Meanwhile on a separate baking sheet, place the peppers cut side down and spread out the garlic and onions into a single layer.

Remove the tomatoes from the broiler and set aside until cool enough to handle. Broil the peppers, garlic and onions for 10 minutes on high.

Remove the skins from the tomatoes and place in a blender. Add the peppers, garlic and onions.  Work in batches if necessary, and pulse to finely chop all the veggies, but don’t puree completely. Pour the processed veggies into a large stock pot.

Add the vinegar, salt and sugar. Bring to a boil and boil, stirring often, for 5 minutes. Stir in the chopped cilantro. Remove from heat, cool and serve. Store in the fridge and use within 3 days.

If canning, process in pints with a ½ inch headspace in a boiling water bath covering the jars by at least one inch. Process for 40 minutes. Makes 4 pints, maybe a little to spare depending on the type of tomatoes.

Canning Poblano Cilantro Salsa | Fake Food Free

Canning Poblano Cilantro Salsa | Fake Food Free


If you have questions about home-based microprocessing, the best resource around is the National Center for Home Food Preservation at the University of Georgia. Their FAQ page will likely answer any question you come up with.


Thanks for reading! All images and content are the property of Lori Rice unless otherwise stated. Please do not republish full recipes and images without written permission. What is okay? Feel free to Pin images, share links to my posts or share the photo in a round up post with the title of this recipe and a link back to the post. Confused about copyright and food blogs? Here is some helpful information on Recipe Attribution. If you want to use a photo or full recipe, just ask. I’m sure we can work something out. This post contains affiliate links. 

Canning for a New Generation: A Cookbook Review

August 18, 2010
Call me easy to please, but there are few things more exciting than receiving an unexpected package in the mail. When that unexpected package turns out to be not only a cookbook, but a cookbook covering a topic and technique you are currently trying to master; well, the excitement goes beyond words.
I know you think I’m exaggerating, but I have no doubt that my neighbors heard me shout, “Awesome!” when I opened an envelope at the mailbox a couple weeks ago to discover a copy of Canning for a New Generation: Bold Fresh Flavors for the Modern Pantry by Liana Krissoff.

This summer is the first that I’ve finally been able to overcome the fear instilled in me by my food safety nutrition courses in college. I’m not kidding. The reason I have never canned is because of how strong the warnings were in those classes about botulism and all sorts of unpleasant things.

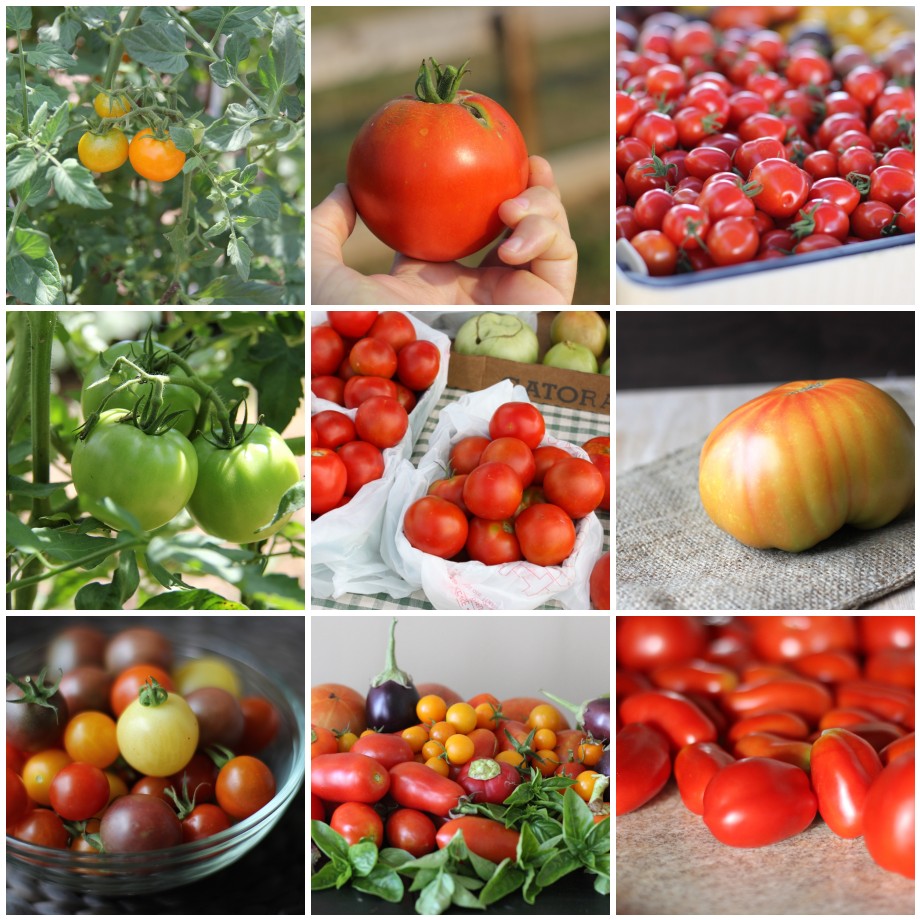
This year, however, things changed. One, we have our own garden, and two, I’ve been witnessing this canning craze going on in the food world accompanied by wonderful recipes and cookbooks.

My first sign that I’d love this particular cookbook came in the introduction as I read through helpful info that was down to earth and completely…well, me. For example, in an attempt to explain the basis for the book and how it relates to the reader, Krissoff writes:

“How an early-morning spoonful of perfect blueberry marmalade, made by a good friend you might know only via email and your perspective blogs, can help you make it through a busy day of office work.”

See? Perfect for me. Perfect for us. I’ve lost count of these types of relationships I’ve stumbled upon in the past couple years.

Before I go on and on with detailed stories about why I am a huge fan of this book (because I certainly could), let me break down the pros and cons.

Things I love about it:

  • There is a detailed, yet easy-to-read intro on the basics of canning including the purpose of different ingredients and equipment.  
  • The recipes are divided by season and fruit or vegetable.
  • There are freezing tips throughout the book for some of the same ingredients used in the canning recipes.  
  • The diversity in recipes is astounding, 200 total. There is everything from traditional U.S. jams, jellies and pickles to Indonesian and Indian vegetables and relishes.  
  • In addition to weight measurements for the ingredients in some recipes, numbers are listed too which is helpful and the ones I followed were spot on.  
  • While the author tells she uses white sugar, she does recommend a resource for using alternative sweeteners and aims to reduce the use of commercial ingredients. For example, she uses green apples for pectin in her canning. 
  • All the recipes are for water-bath method which is the only method I’m interested in at the moment. A pressure cooker is a whole other canning animal for me. 
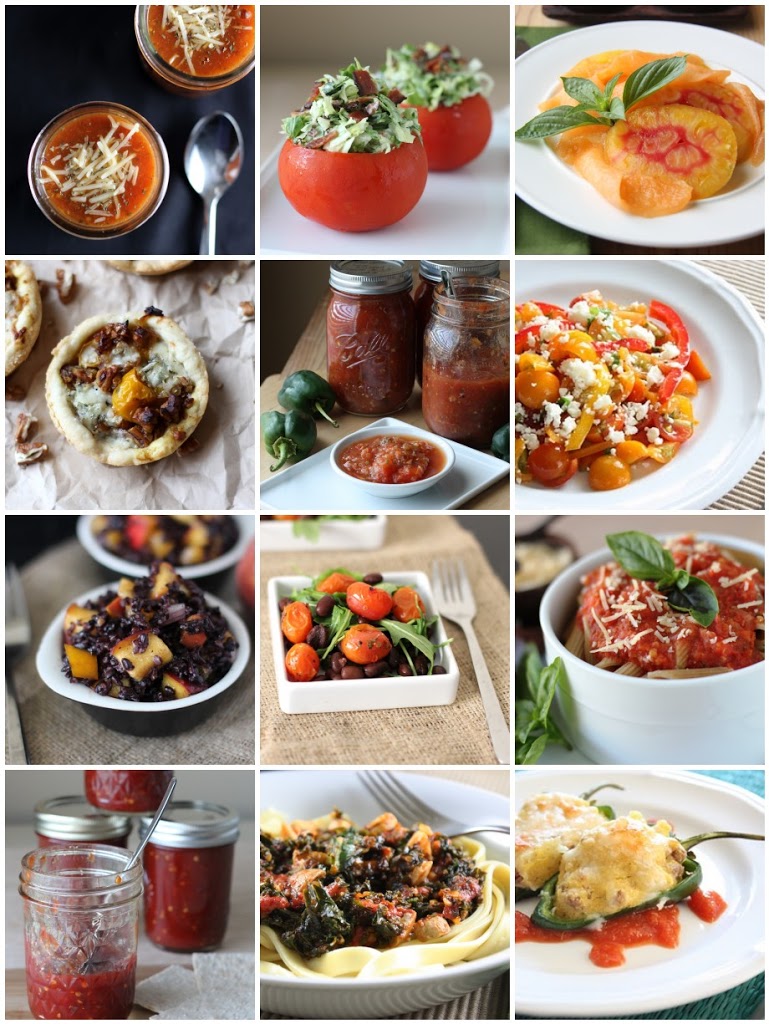
  • After you can your fruits and veggies, there are plenty of recipes provided for using up your stock of homemade canned goods. Enchiladas Verdes and Toffee Topped Vanilla Peaches, to name a couple.

Things I’m not so crazy about: 
  • Some of the instructions are in long paragraphs so you really have to sit down and read carefully before getting started. This makes it really easy to lose your place when you are going back and forth between the recipe and your pot.
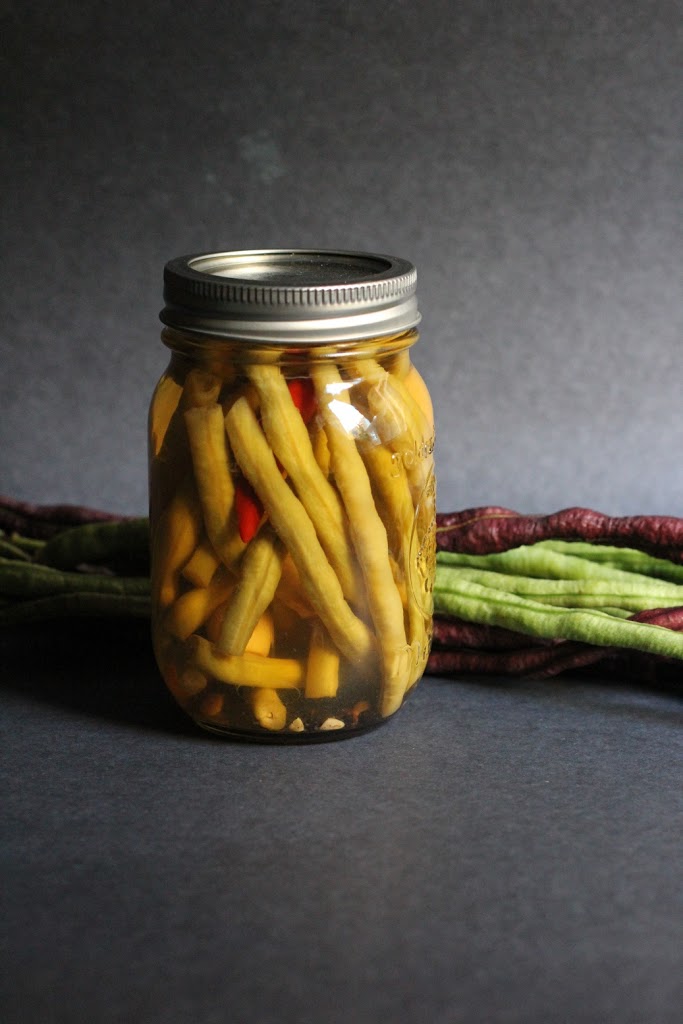
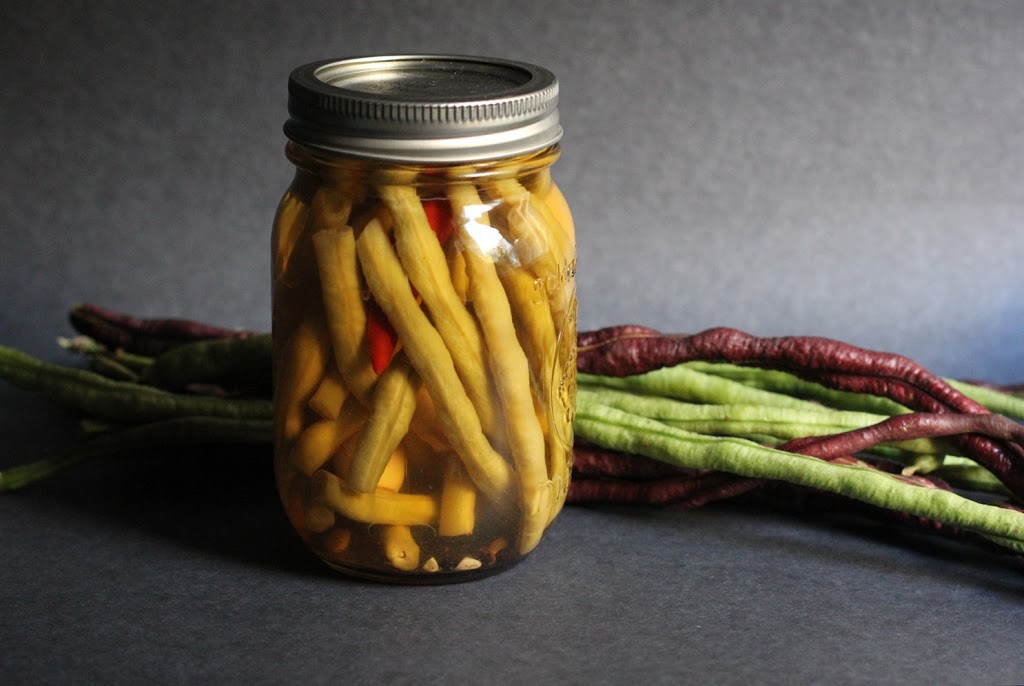
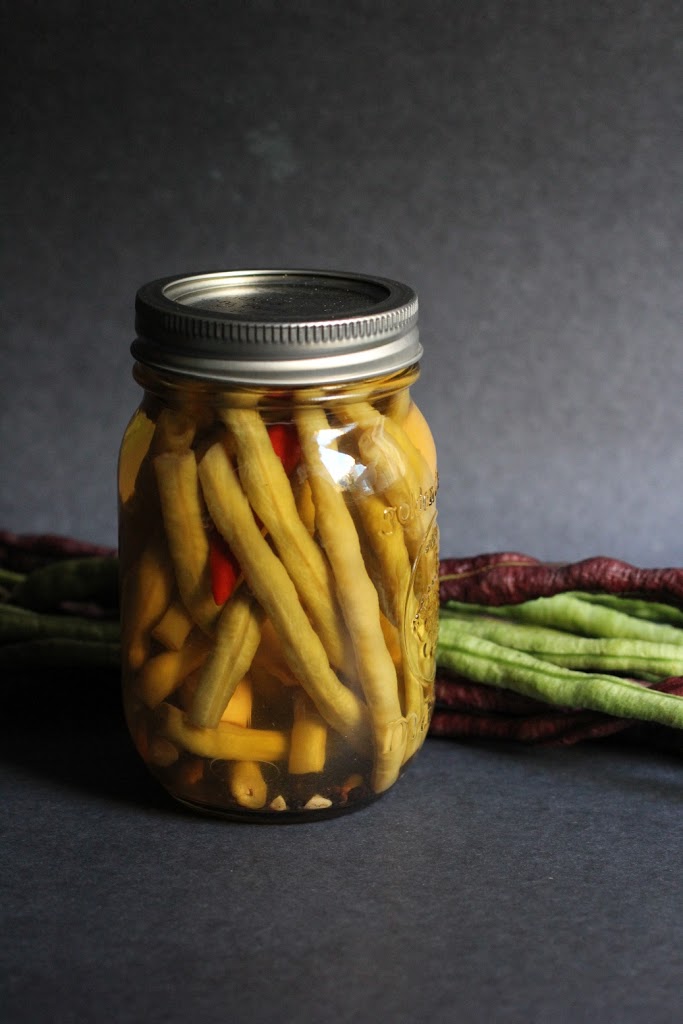
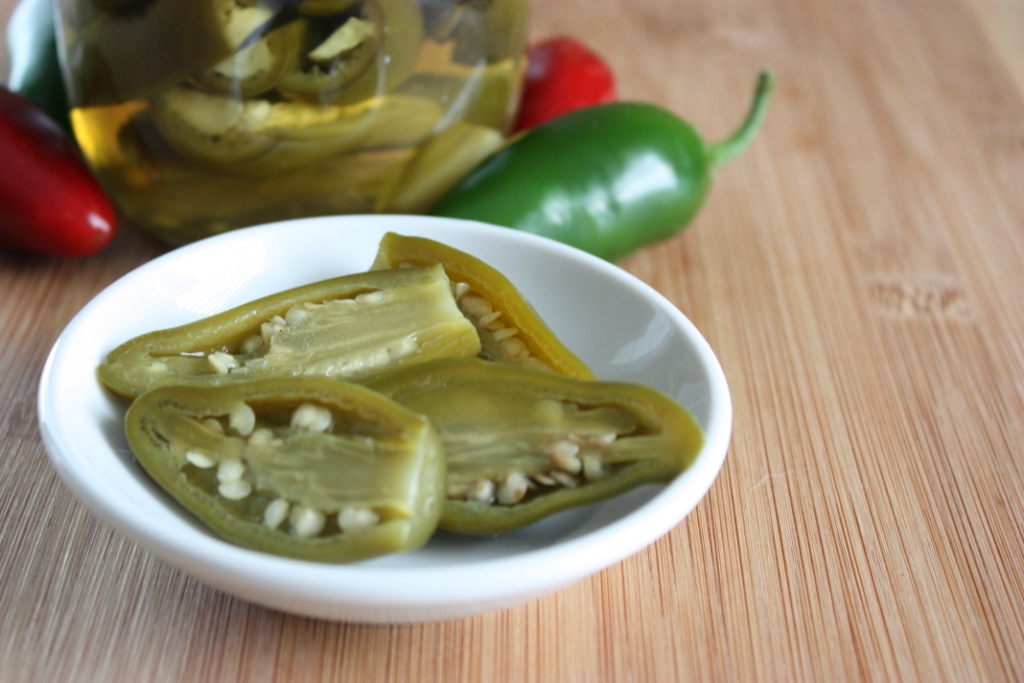
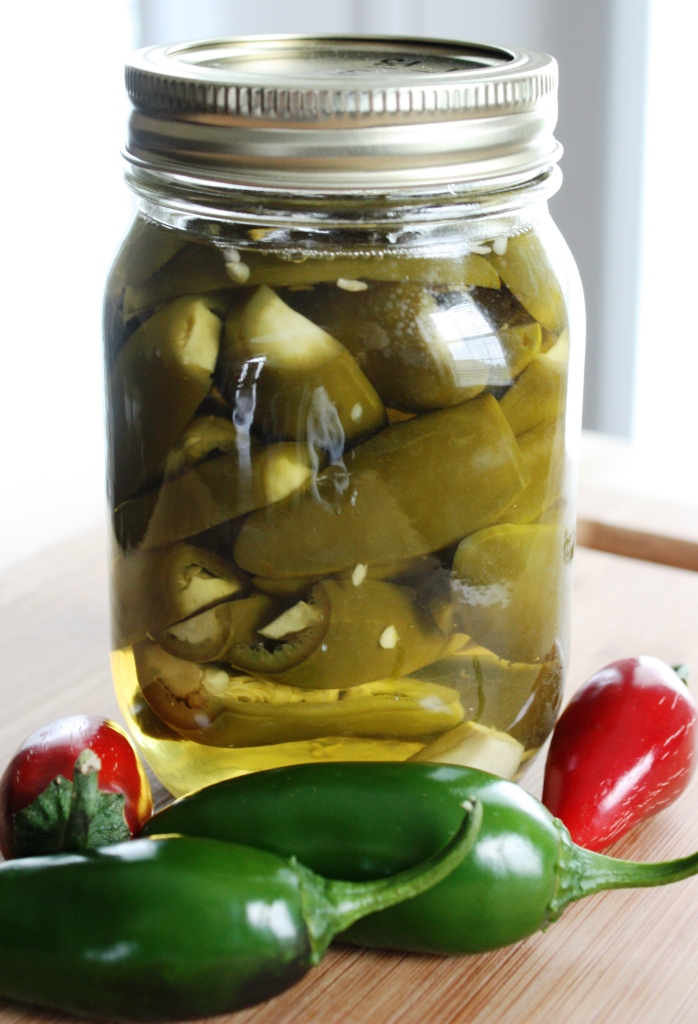
My first success using the book came with the Whole Jalapeños with Honey and Allspice which is the recipe I have to share with you. First of all, I like the fact that there is so little chopping with this recipe. The author explains that these are barely hot, but I left the ribs and seeds intact so there is no mistaking the heat in mine.

Next time I may remove those parts, but otherwise this recipe is a keeper for me. The spiced honey adds an element that is surprisingly tasty with the hot of the jalapeño. It is like sweet pickle meets chile pepper. I served them up with the Vegetable Fried Rice I made recently and they were delicious!

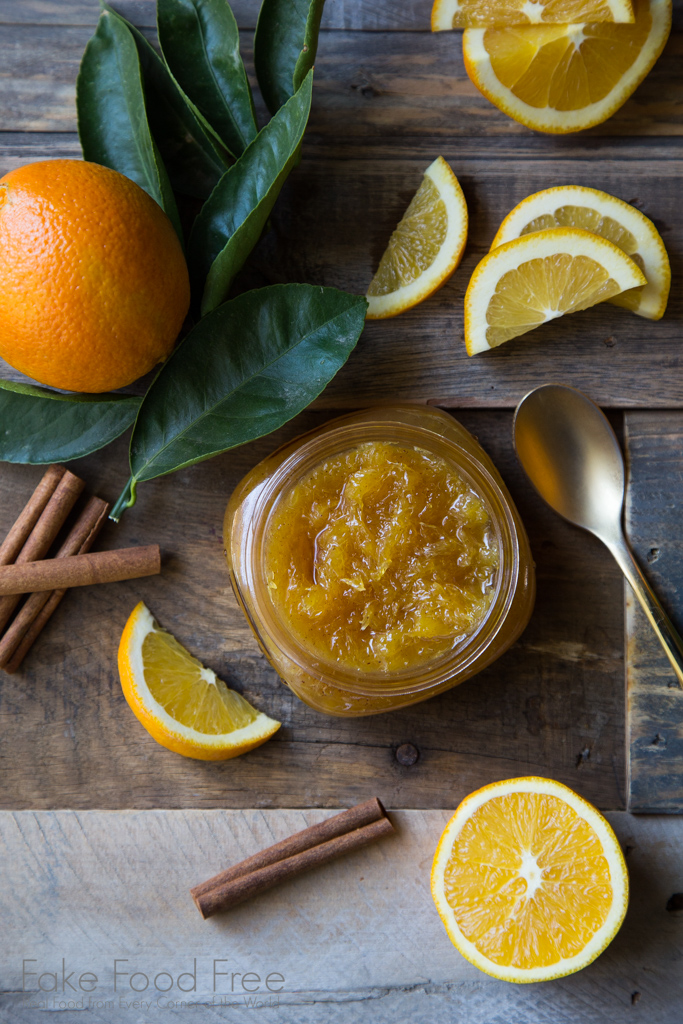
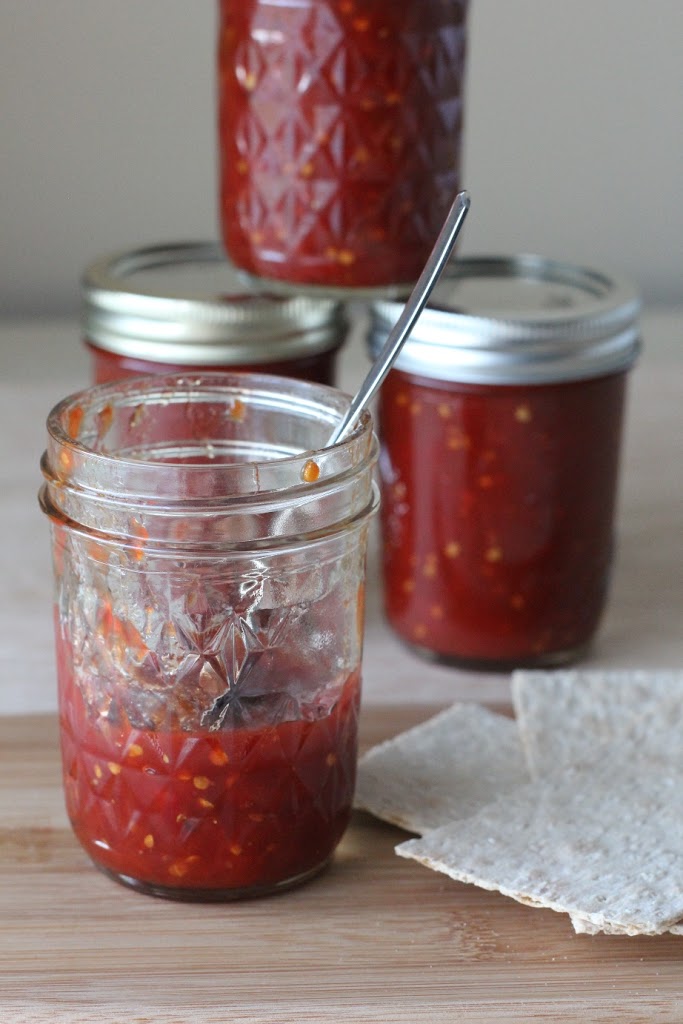
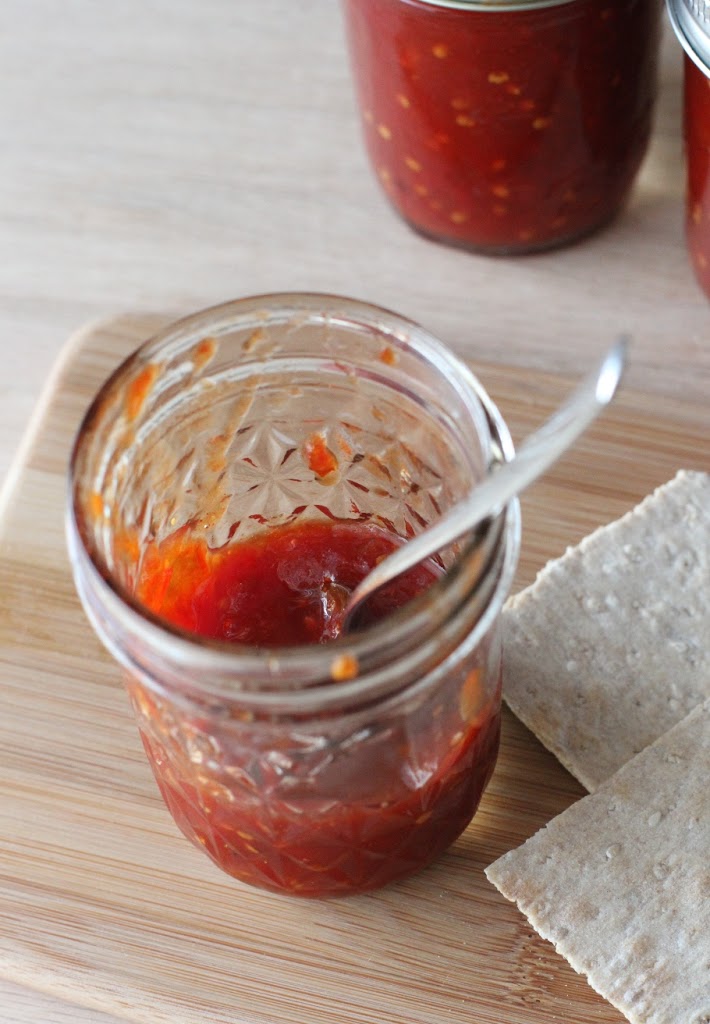
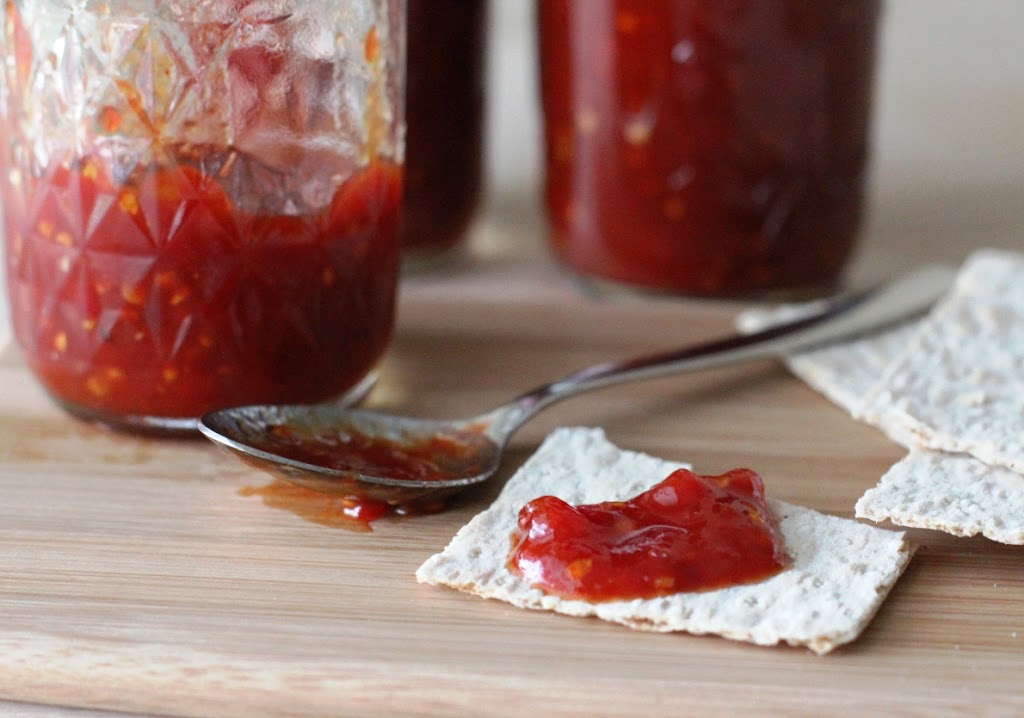
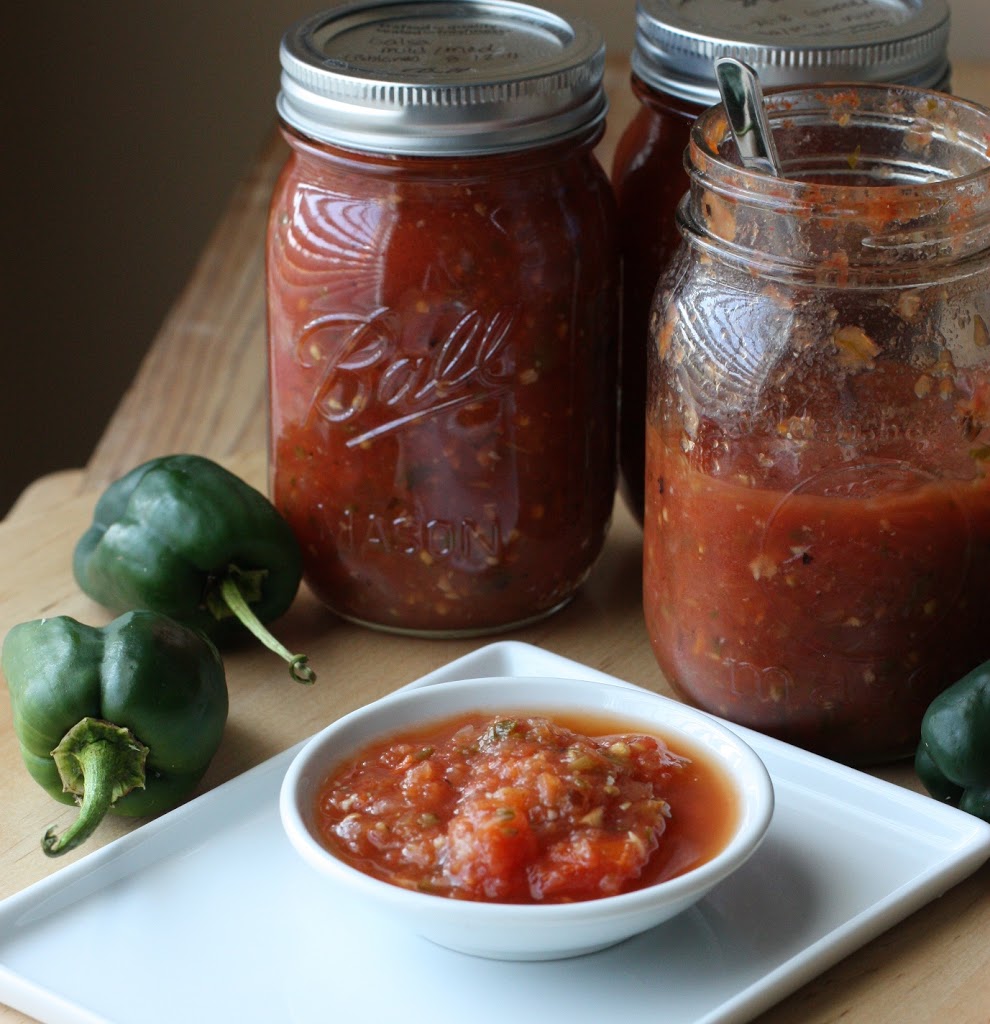
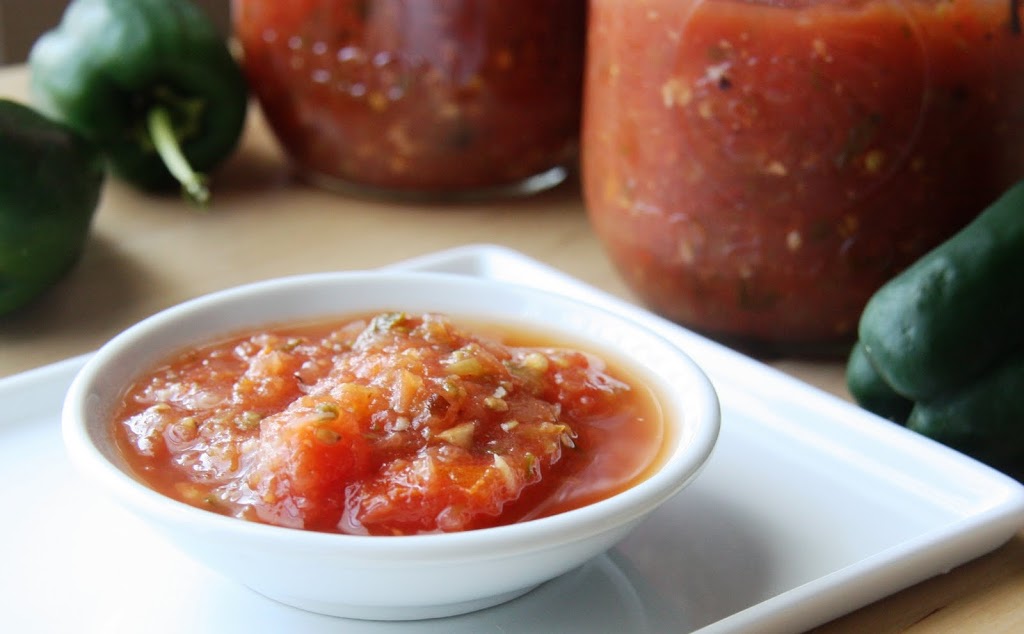
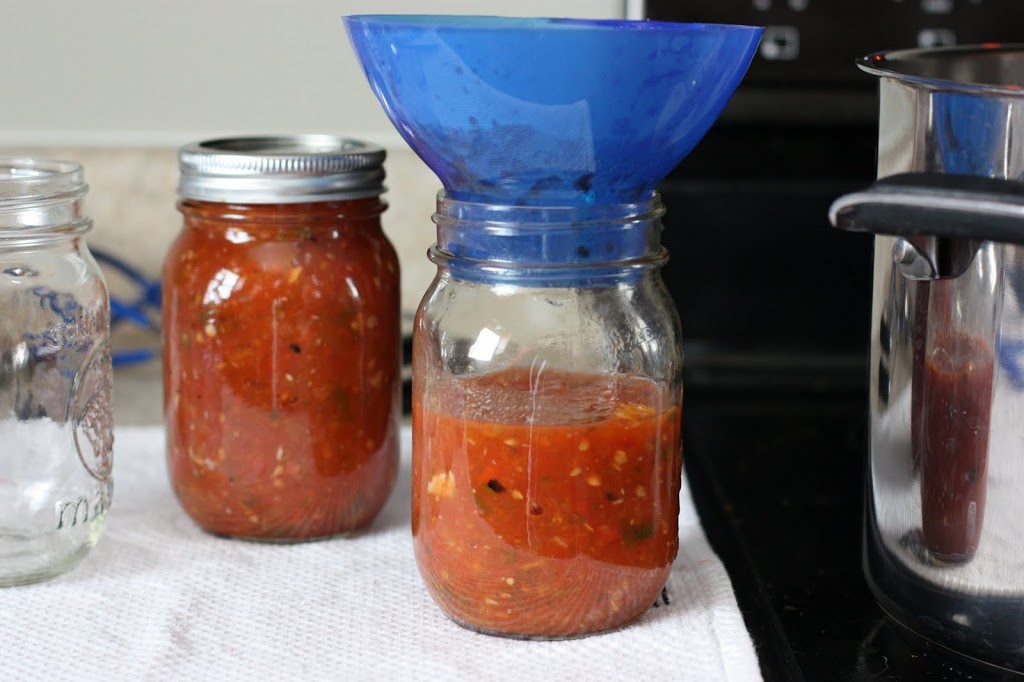
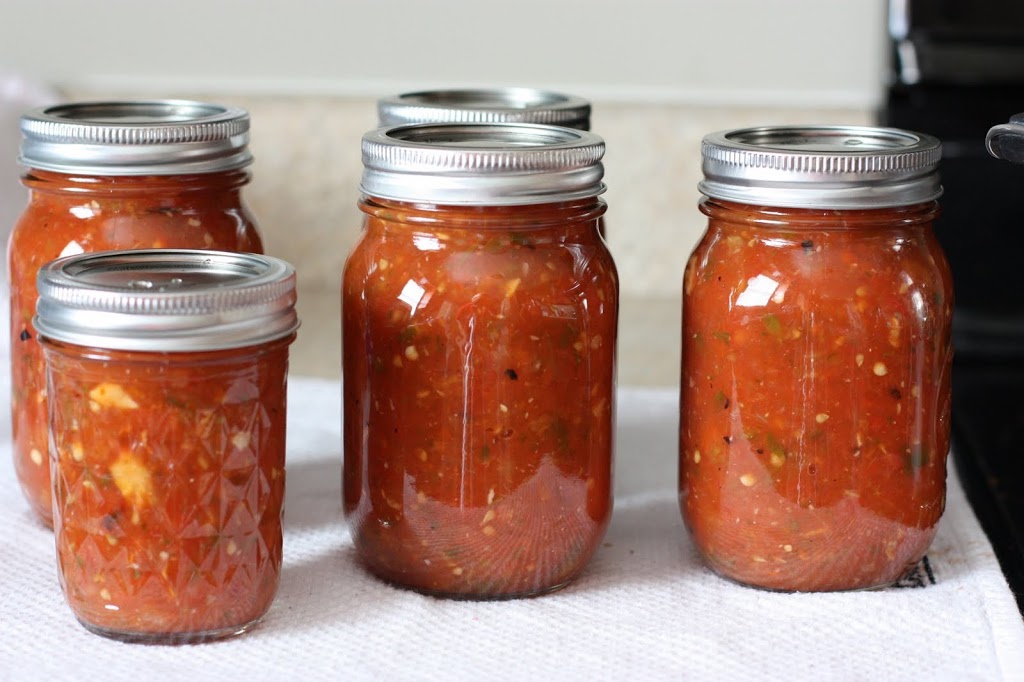
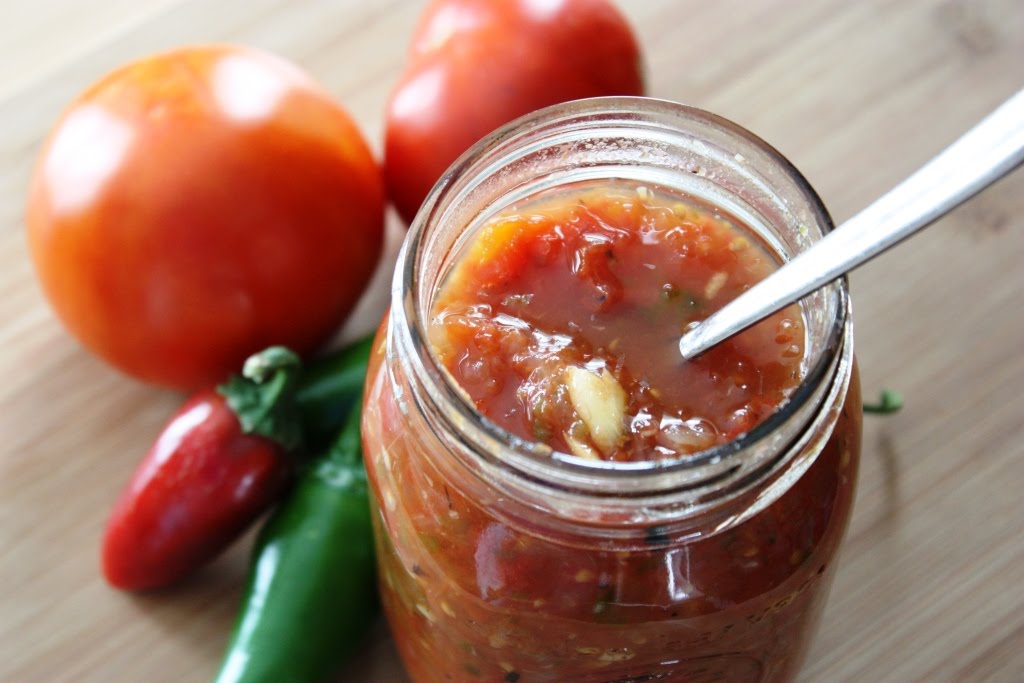
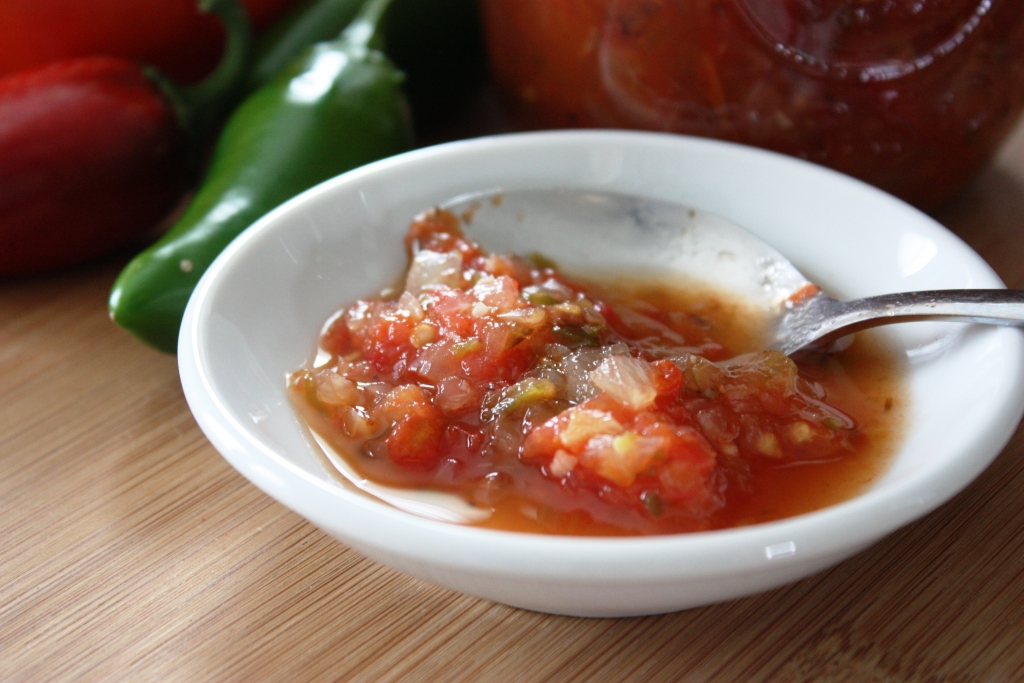
My next success was the Charred Tomato and Chile Salsa. At first I wasn’t sure how I would like the charred flavor of the veggies, but I opened a jar today and it is fantastic! There is a slight sweetness that hits you first and then the spicy jalapenos come in with a punch. This salsa is gift worthy for sure.

I have so much left to try in this book that I’ll be using it for seasons to come. My next project includes the Spiced Apple Butter, Hot Chile Jelly and the Minted Cranberry Relish with Walnuts!

Whole Jalapeños with Honey and Allspice
Reprinted with permission from Abrams Books

Makes about 5 pint jars

2 ½ pounds jalapeño chiles
6 cups cider vinegar (5% acidity)
2 tablespoons pure kosher salt
2 tablespoons honey
5 cloves garlic
5 small bay leaves
1 teaspoon whole allspice
½ teaspoon black peppercorns

Slit the chiles almost in half lengthwise from the bottom and set aside. (I did go ahead and remove the stems on mine and cut them fully in half.)

Prepare for water-bath canning: Wash the jars and keep them hot in the canning pot, and put the flat lids in a heatproof bowl.

In a non-reactive saucepan, combine the vinegar, 2 cups water, the salt, and honey. Bring just to a boil, stirring to dissolve the salt and honey.

Ladle the boiling water from the canning pot into the bowl with the lids. Using a jar lifter, remove the hot jars from the canning pot, carefully pouring the water from each one back into the pot, and place them upright on a folded towel. Drain the water off the jar lids.

Working quickly, pack the chiles as tightly as possible into the hot jars (flattening them first with your palm if necessary), along with the garlic, bay leaves, and spices, leaving 1 inch head space at the top. Ladle the hot vinegar mixture into the jars, leaving ½ inch headspace. Use a chopstick to remove air bubbles around the inside of each jar. Use a damp paper towel to wipe the rims of the jars, then put a flat lid and ring on each jar, adjusting the ring so that it’s just finger-tight. Return the jars to the water in the canning pot, making sure the water covers the jars by at least 1 inch. Bring to a boil, and boil for 10 minutes to process. Remove the jars to a folded towel and do not disturb for 12 hours. After 1 hour, check that the lids have sealed by pressing down on the center of each; if it can be pushed down, it hasn’t sealed, and the jar should be refrigerated immediately. Label the sealed jars and store.

Disclaimer: This cookbook was sent to me free of charge. I was under no obligation to review it and received no compensation for doing so.
Want to create beautiful food and product photos that you can't wait to share?!
Discover your style, control the light, and shoot using the tool you know how to use (yes, your phone included). Learn about free resources, Live Q&As with Lori, and online courses you can take from anywhere in the world!
We respect your privacy. Unsubscribe at any time.