Browsing Category

Gardening

Links to a Healthy Weekend

July 10, 2010

Happy Weekend! I’m not sure about you, but I am loving summer right now. After July 4th passes it seems that everyone starts to get in the mindset that summer is ending, but for me it feels like it just began.

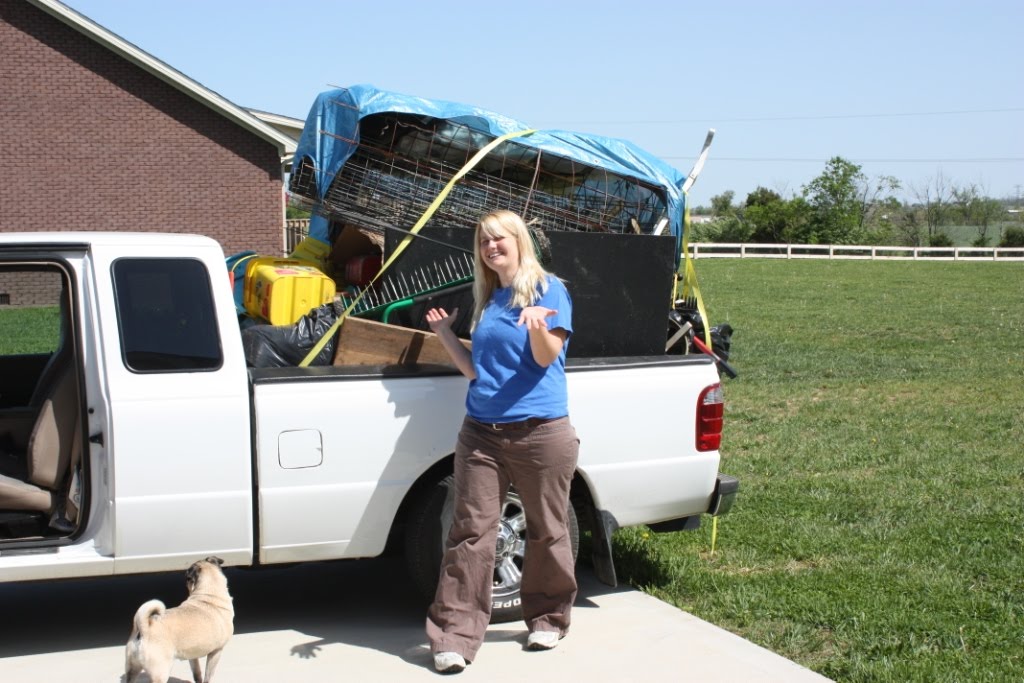
We had a wonderful morning at our Farmer’s Market today. Our community will be showing FRESH next week so I got hit up for a couple radio spots about that and our market products since our local station was out broadcasting with the vendors this morning.

I always feel so strange hearing myself! It was even worse today because I’m fighting a major head cold that has me down and out a bit. I’m hoping to kick it soon.

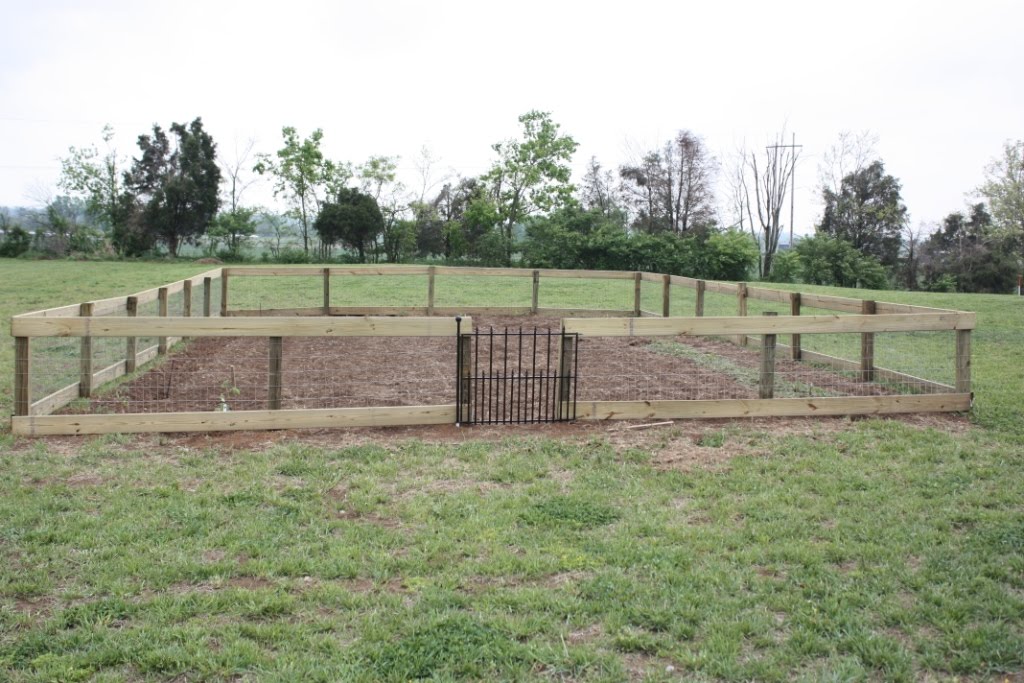
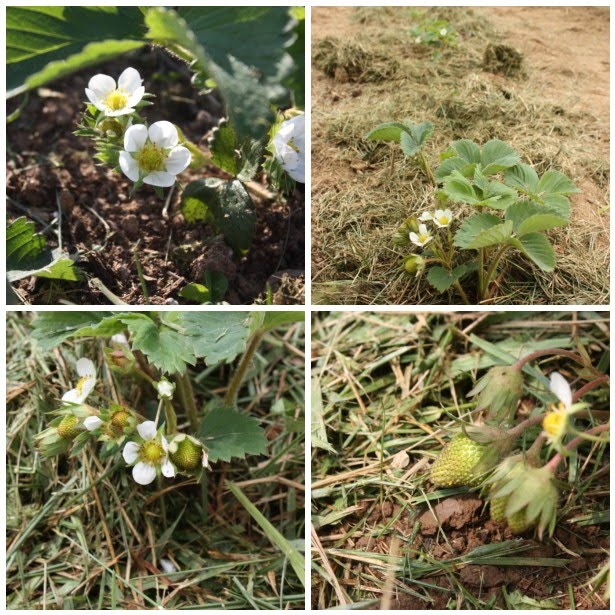
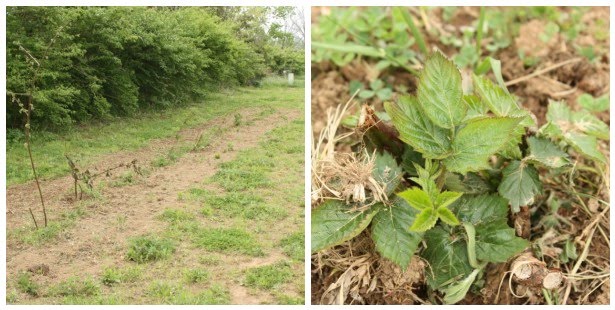
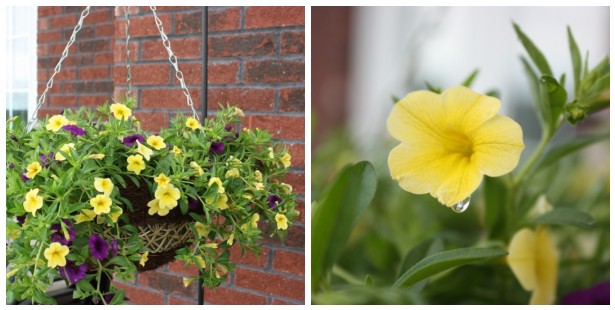
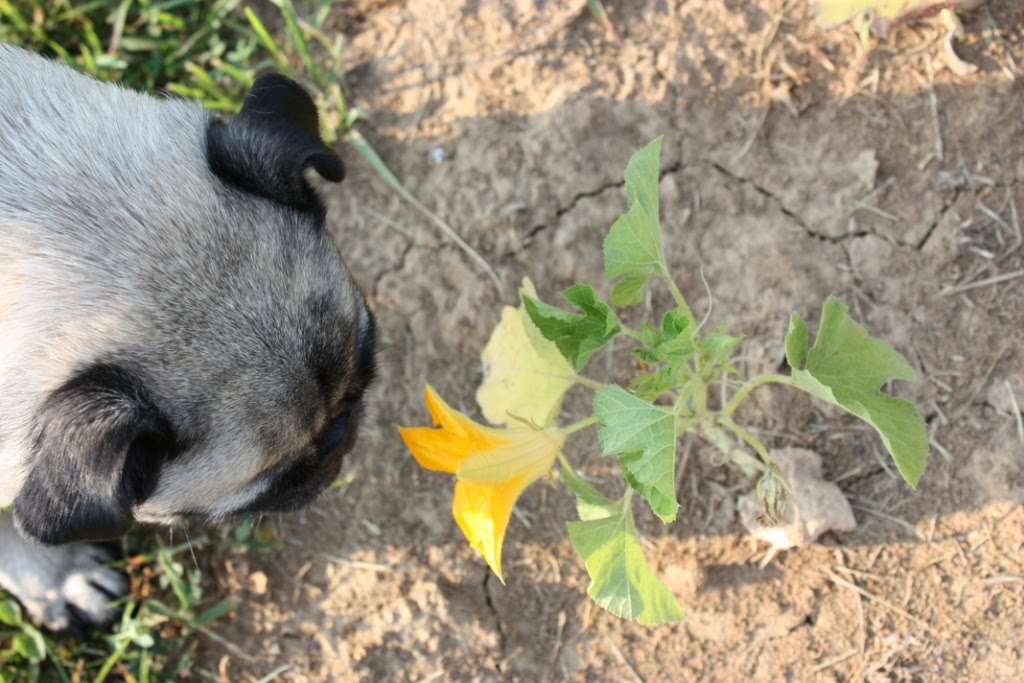
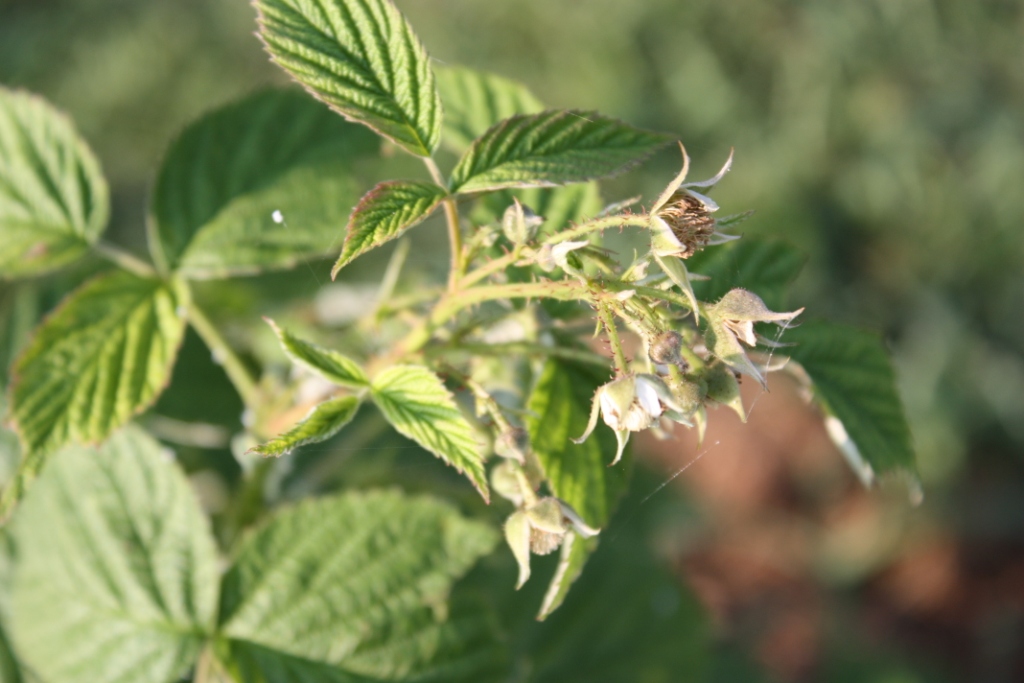
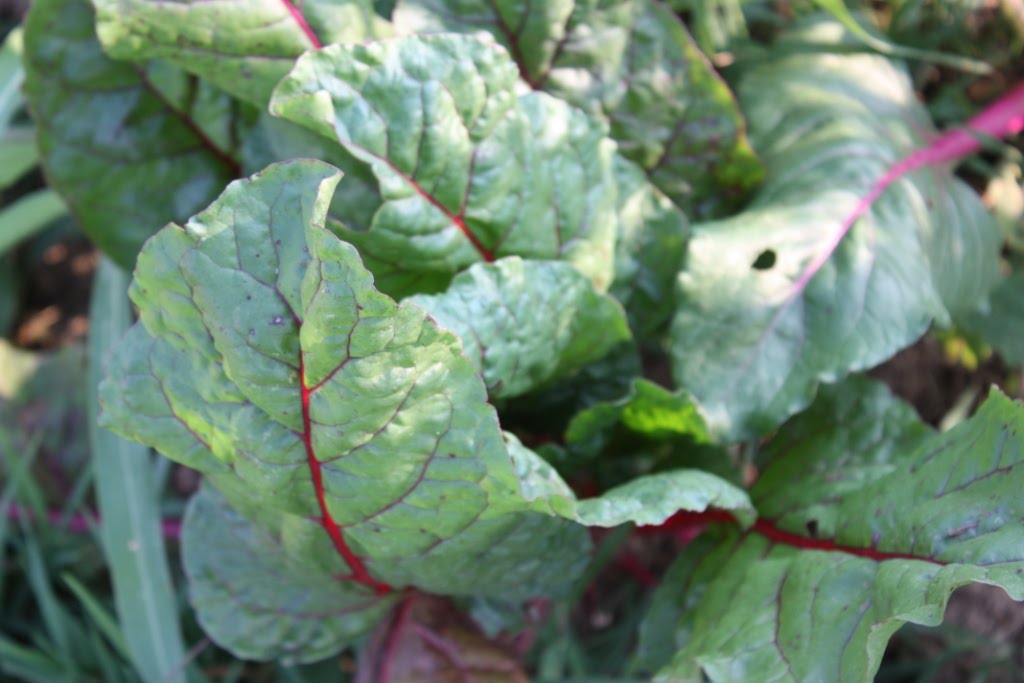
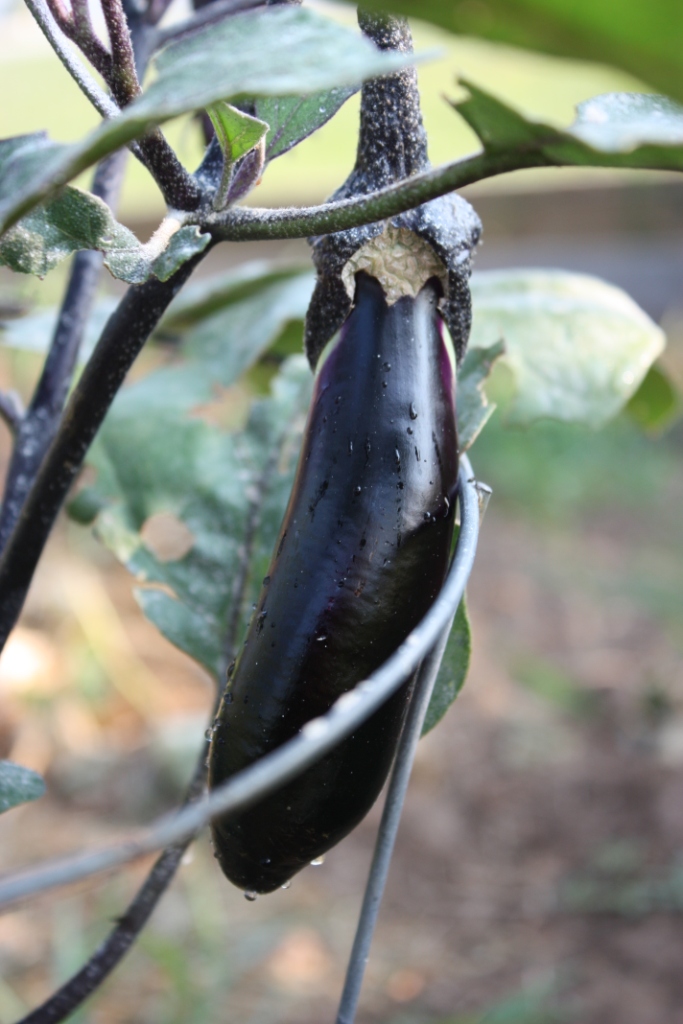
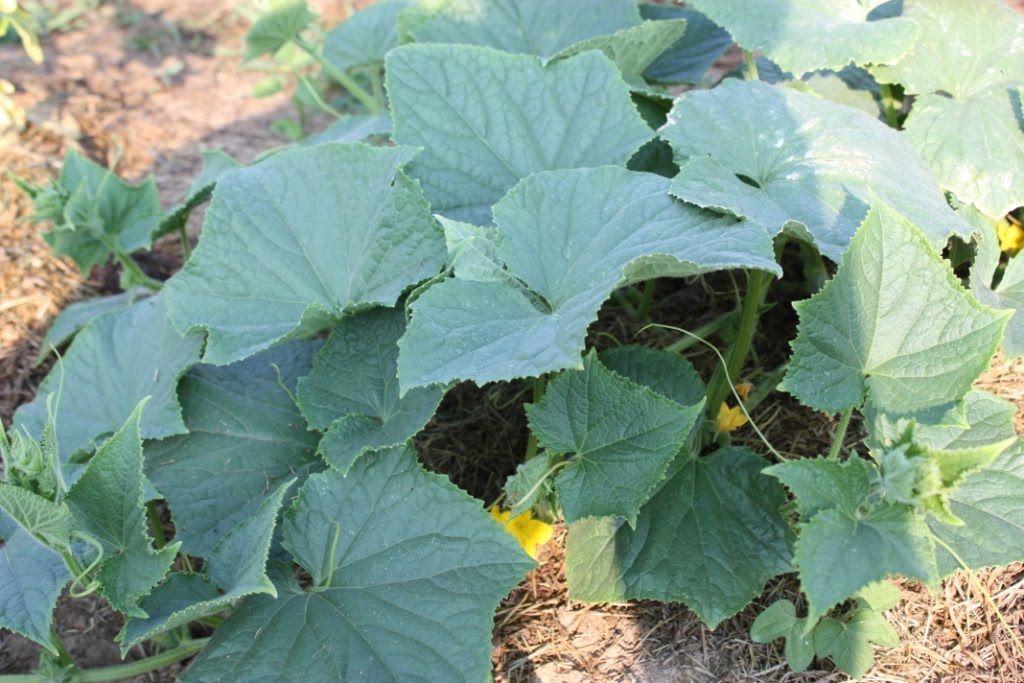
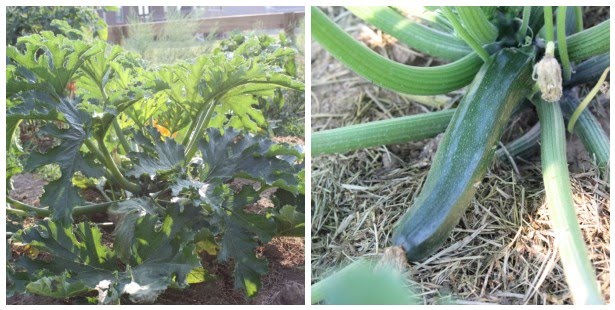
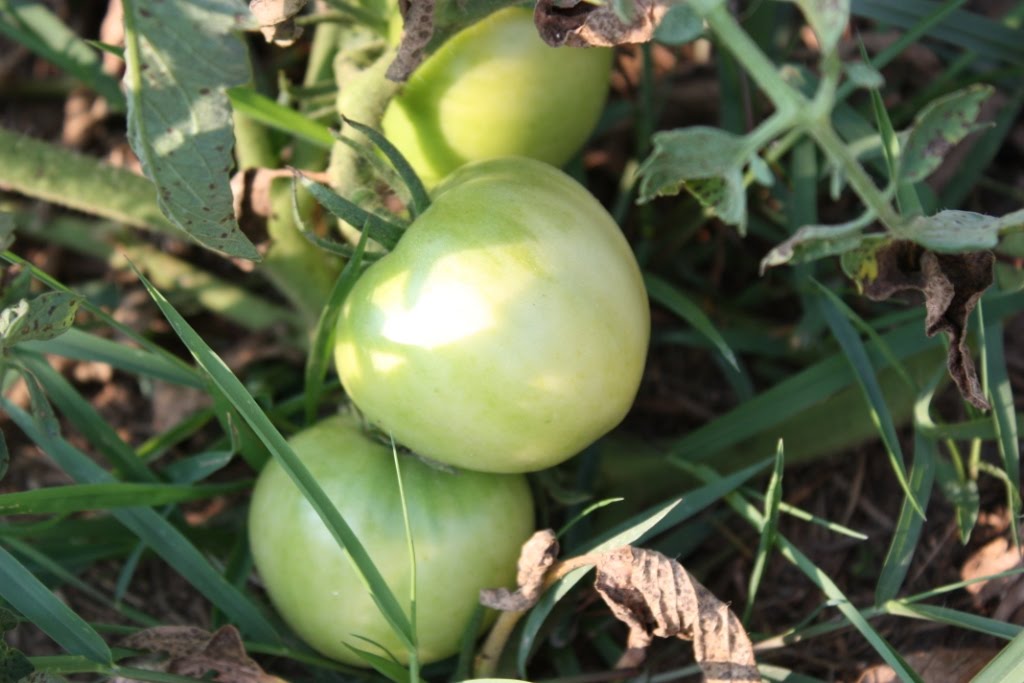
Back to it still being summer, I think one of the reasons I feel like celebrating it longer this year is our garden. I had some requests for a garden update so here you go. Then, finally I’m back with a few links for your healthy weekend!

These photos were taken in mid-June.

Corn and strawberry plants. A few tomato plants in the background.
Jalapenos, yellow squash blooms, cherry tomatoes and bell peppers
Brandywine tomato

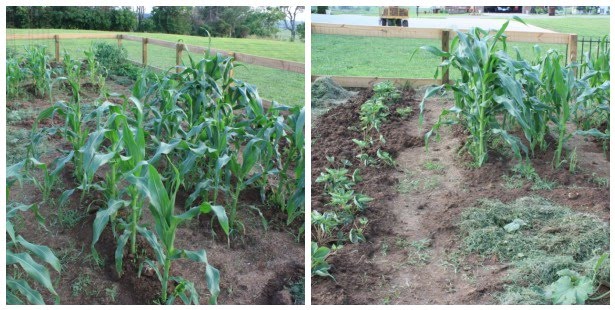
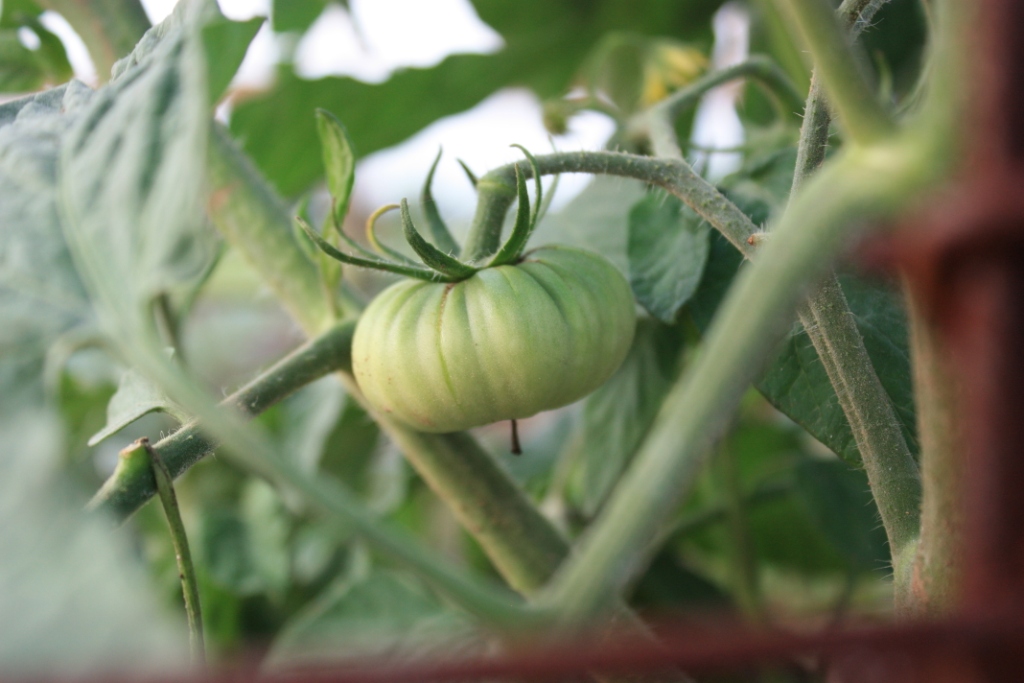
The following photos were taken last week.

Spaghetti squash bloom and a curious pug
Maybe a few raspberries this year
Plenty of Rainbow Chard
Japanese Eggplant
Cucumber plant
Massive zucchini plant and our first zucchini
Still waiting for the tomatoes to turn red

Hope you enjoyed the garden tour, now for the links!

Encyclopedia of Oats from The Edible Perspective will tell you everything you need to know about varieties of oats and how to prepare them. I know I have some oats lovers out there! You will enjoy this.

Japanese Soufflé Cheesecake from A Spoon Full of Sugah looks amazing. My husband is a big fan of light and airy cheesecakes so I can’t wait to make this one for him. I’ll let you know how it turns out when I do!

Nut Milk Troubleshooting from Choosing Raw is a great post about some common mistakes with making your own nut milk. Have you tried making it before? I haven’t, but it is definitely something I plan to at some point.

Chevre Cheesecake With Rhubarb Compote and Candied Pistachios was featured on Foodista a little while back. Such a unique combination to me. I do have some frozen rhubarb from this season…

Cucumber Dill Wheat Berry Salad

July 1, 2010

Cucumber Dill Wheat Berry Salad | Fake Food Free | A hearty cold grain salad with a tangy yogurt dressing and refreshing cucumber.

Ever since my food service class in undergrad I have been crazy about herb gardens. The class involved operating both the department cafeteria and a seated dining room two times a week. I had to take the course over the summer the year before I graduated so the fresh foods we used were at their peak.

On the first day of class Chef walked us outside and showed us the herb garden right behind our building on campus. I had walked by it on my way to classes for nearly 2 years and had never seen it. It was a modest row of basics – basil, thyme, parsley, oregano, dill, cilantro and a few others. The whole garden was only about 6 feet long and 3 feet wide, but the plants were overflowing out onto the side walk and most came to at least knee height.

It was my first introduction to using fresh herbs in cooking. I’m sure that was evident to my instructors when I kept pronouncing thyme as it looks with the “th” and not “time.” Our TA quietly told me the correct pronunciation to help me avoid embarrassment.

Since then I’ve been interested in herb gardens and while I still may mispronounce a name now and then, and I am thrilled to have my own again this year. The only problem is the plants produce A LOT and my cooking can’t keep up with them. I’m always looking for things to use them in, but I have to admit they tend to go a few days at a time without me picking a single leaf.

So last week, armed with some wheat berries, I began thinking about what herbs would go well with the grain. That led me to think about the fresh cucumbers I picked up at the farmer’s market which ended up in thoughts of Greek yogurt.

Finally, all those food thoughts resulted in this:

Cucumber Dill Wheat Berry Salad | Fake Food Free | A hearty cold grain salad with a tangy yogurt dressing and refreshing cucumber.

The Cucumber Dill Wheat Berry Salad ended up a hit. I was able to combine two of my favorite herbs for a refreshing cold grain salad. I used leftover, previously cooked wheat berries so if yours are still warm, wash them well under cold water to cool them off. Also, peel your cucumber before chopping if it is of the waxy skin variety.

I’ve already made this salad once more for lunch and now I have my eye out for a potluck to take it to (it can easily be doubled or tripled).

Cucumber Dill Wheat Berry Salad | Fake Food Free | A hearty cold grain salad with a tangy yogurt dressing and refreshing cucumber.

Cucumber Dill Wheat Berry Salad

Makes: 2 servings

Ingredients


1 cup cooked wheat berries
½ medium cucumber, chopped
1 T fresh lemon juice
½ T fresh dill, chopped
½ T fresh chives, chopped
1 ½ T plain Greek yogurt
Salt and pepper to taste

Prep

Place the wheat berries and chopped cucumber in a medium-sized bowl and set aside.

In a small bowl, whisk together the lemon juice, dill, chives and yogurt. Pour the dressing over the wheat berries and toss or stir to coat. Sprinkle with a generous amount of sea salt which adds great flavor and a little black pepper. Eat right away, or refrigerate for up to a day. 


This recipe was submitted to Souper Sundays at Kahakai Kitchen.
 
Thanks for reading! All images and content are the property of Fake Food Free unless otherwise stated. Please do not republish full recipes and images without written permission. What is okay? Feel free to Pin images, share links to my posts or share the photo in a round up post with the title of this recipe and a link back to the post. Confused about copyright and food blogs? Here is some helpful information on Recipe Attribution. If you want to use a photo or full recipe, just ask. I’m sure we can work something out. 

An Amateur at Everything: The Garden

April 25, 2010

These days about the only thing that I’m not an amateur at is eating and exercising, everything else is new territory. In fact, I’ve been trying to learn about so many new things lately that it is not uncommon for the mass confusion of new information swimming in my head to become evident in my actions. Between baking, writing and photography, you might find me trying to figure out how to set the aperture and ISO on my oven, or I could be halfway through writing before I realize I don’t need to structure an email to my husband like a query letter.

One of these new activities I’ve taken on is gardening. We had a small garden at our last house and I can handle herbs, but the main reason we moved out of town a bit to our new house was to have more land to grow food. Note to self — big garden is quite the undertaking.

Last weekend was full of outdoor frenzy as my parents came to visit and help put in the garden. My Dad’s truck was loaded with everything from plants, to a tiller, to tomato cages. This proved terribly embarrassing for my Mom who was a bit worried they would run into someone they knew during their 4 hour drive, Beverly Hillbillies-style.

Fortunately, things were strapped down well and it all made it into the garden. The weekend proved to me that I know absolutely nothing about the art. My main problem is I tend to experiment without researching. I mean, I like to research what works and what doesn’t, especially when it comes to nutrition. However, when it comes to things like cooking and gardening I tend to throw things together and see how they do.
I was given some valuable lessons over the weekend including how difficult it is to maneuver a massive tiller through soil. I had done this before when I was younger, but I had forgotten how challenging it was. I also have notes, thoughts and tips floating through my head about how far apart to plant things, which plants need water, when to mound up dirt, what parts to break off a plant, when items will sprout, how to harvest it…….
Yeah, my head hurts too. Good thing my parents are only a phone call away, and that plants can be hearty little suckers because I’m sure I’ll screw a few things up.
This is how it all started last Saturday.
And thanks to the hard work of my parents and husband, this is what we ended up with.
The main thing I have my eye on at the moment are the strawberries. The plants came directly from my Dad’s garden and they were blooming last week and now we even have signs of growing berries!

We’ve planted blackberries and raspberries in the back of our yard. I’ve also got some herbs going up near the house. In addition, there are some new trees around and the beautiful flower we got as a housewarming gift.

So far this is what we have planted:

Carrots, Asparagus, Potatoes (red and white), Tomatoes (Early Girl, Roma, Beef Master and Orange and Red Cherry), Green Beans, Cucumbers, Zucchini (Yellow and Green), Corn, Onions (Red and White), Spinach, Lettuce, Arugula, Bell Peppers (Orange and Yellow), Jalapenos, Banana Peppers, Anaheim Peppers, Strawberries, Kale, Blackberries, Raspberries, Blueberries, Basil, Thyme, Rosemary, Cilantro, Parsley, Dill, Mint. Later will come pumpkins, butternut squash, melons, broccoli and Brussels sprouts.

Whew! Bring on the produce!

What will I master next? Well, canning of course.

PS. Links will be back next weekend!

Raspberries – The First Sign of Summer

February 18, 2009

For a long as I can remember raspberries have represented a preview of all that is to come of summer produce. Among the blackberry bushes that line my parent’s property, there were always a few raspberry plants. While I would have to wait until mid-summer for the blackberries, the raspberries ripened for just a few weeks in the spring to early summer.

It was a quick harvest and I often ate more off the vine than we actually brought into the house for baking. However short lived, though, they always marked the start of the garden bounty.

A few days after I arrived back in the States for this visit I was given the challenge of using up some of the frozen raspberries that are taking up space in my parent’s freezer. You see, this past summer my Dad decided to experiment with new varieties of raspberries and more plants that peak at different parts of the season.

The raspberries were falling off the vine from spring through early autumn. I’m not complaining, I loved it during my visits. However, after giving away what they could and selling some at the local farmer’s market, the rest ended up in multiple bags in the freezer. We are talking a whole freezer door full!

Well, I took up my raspberry challenge last night and turned to one of my favorite recipes. This recipe comes from the web-site of Bryant’s Blueberries which is located just outside of Louisville, KY. If you are ever in the area, stop by. This place makes for a fun u-pick afternoon.

I’ve played with this recipe on several occasions using different berries and this time I, of course, used raspberries. I made it according to instructions, but by substituting unprocessed sugar, honey or maple syrup and whole grain flour it would be easy to turn these into more of an energy bar than a dessert.

These bars were often my go-to item when I took treats into my office. They are incredibly simple, incorporate fresh ingredients and everyone always loves them.

Raspberry Oat Bars
Modified from Blueberry Oat Bars, Bryant’s Blueberries New Salisbury, IN

Crust
1 ¾ cups old fashioned oats
1 ½ cups flour
¾ cup packed brown sugar
½ cup chopped nuts (I used pecans and walnuts)
½ tsp baking soda
¾ cup unsalted butter, melted

Fruit Filling
2 cups fresh or defrosted raspberries
½ cup sugar (I usually cut this way back for sweet berries)
3 tbsp water
2 tbsp cornstarch
2 tsp fresh lemon juice

Preheat oven to 350 degrees F. Combine the crust ingredients and mix well until crumbly. Reserve ¾ cup of the mixture and set aside. Press the remaining mixture into an 11×7 inch baking pan. Bake for 10 minutes.

Combine the fruit, sugar and 2 tbsp of water in a saucepan. Bring to a boil then simmer, covered, for about 2 minutes. Stir to break up berries. Mix the remaining water, cornstarch and juice. Pour into the berries and cook about 30 seconds or until thickened.


Pour the berries onto the crust leaving about a ¼ inch of crust around the edges. Sprinkle the remaining topping over the fruit. Bake 18 to 20 minutes until edges are browned. Cool and cut into bars.

Want to create beautiful food and product photos that you can't wait to share?!
Discover your style, control the light, and shoot using the tool you know how to use (yes, your phone included). Learn about free resources, Live Q&As with Lori, and online courses you can take from anywhere in the world!
We respect your privacy. Unsubscribe at any time.